
Preparing Your Home for Winter: An Essential DIY Guide
As the temperatures start to drop and the days grow shorter, it's time to start thinking about winterizing your home. Preparing your living space for the colder months ahead isn't just about comfort - it's also a crucial step in improving energy efficiency and keeping your utility bills in check. In this comprehensive guide, we'll explore cost-effective insulation techniques, efficient ways to seal drafty windows, and smart thermostat upgrades to help you create a warmer, more energy-efficient home this winter.Boosting Insulation for Maximum Efficiency
Proper insulation is one of the most impactful ways to improve your home's energy efficiency and keep the cold air out during the winter months. However, many homeowners overlook this critical step or make the mistake of using outdated or ineffective insulation materials.Assessing Your Home's Insulation Needs
The first step is to conduct a thorough assessment of your home's existing insulation. Pay close attention to areas like the attic, exterior walls, and crawl spaces, as these are common problem spots. Use a thermal imaging camera or simply feel for drafts to identify any gaps or thin spots in your insulation. According to the U.S. Department of Energy, the recommended R-value (a measure of insulation's thermal resistance) for attics in most climates is R-49, while exterior walls should have an R-value between R-13 and R-23, depending on your region.[(1)] If your home is falling short of these recommended levels, it's time to consider an insulation upgrade.Choosing the Right Insulation Materials
When it comes to insulation, there are several types to choose from, each with its own unique benefits and considerations. Some of the most common options include:- Fiberglass: One of the most affordable and widely used insulation materials, fiberglass comes in batts or blown-in forms. It offers good thermal and sound insulation properties.
- Cellulose: Made from recycled paper products, cellulose insulation is a eco-friendly choice that can be blown into tight spaces. It provides excellent coverage and air sealing.
- Spray Foam: Available in open-cell and closed-cell varieties, spray foam insulation expands to fill gaps and cracks, creating a highly effective air barrier. It has a higher R-value than traditional insulation.
- Rigid Foam: Rigid foam panels, such as XPS or EPS, are ideal for insulating exterior walls, basement walls, and other hard-to-reach areas. They offer superior thermal performance.
Proper Insulation Installation
Proper installation is crucial for maximizing the effectiveness of your insulation. Follow these best practices:- Carefully measure and cut insulation to fit snugly in wall cavities, attic spaces, and other areas without any gaps or voids.
- Seal any cracks, holes, or penetrations in the building envelope with caulk or expandable foam sealant to prevent air leaks.
- Ensure insulation is installed according to the manufacturer's instructions, with the vapor barrier (if applicable) facing the correct direction.
- In the attic, install insulation evenly across the floor, being careful not to cover any vents or recessed lighting fixtures.
- Consider adding a radiant barrier in the attic to further improve energy efficiency by reflecting heat.

Sealing Drafty Windows and Doors
In addition to insulation, addressing air leaks around windows and doors is another crucial step in winterizing your home. Drafty windows and doors can contribute to significant heat loss, driving up your heating costs and making your home feel less cozy.Identifying Air Leaks
Start by conducting a thorough inspection of your home's windows and doors, looking for any cracks, gaps, or areas where air may be seeping in. You can use a draft detector or even hold a lit incense stick or smoke pencil near potential problem spots to help identify the source of the leaks. Common areas to check include:- Around window and door frames
- Where the sash meets the frame
- At the base of doors and windows
- Around utility penetrations (e.g., electrical outlets, plumbing fixtures)
Sealing Techniques and Materials
Once you've identified the air leaks, it's time to seal them up. Depending on the size and location of the gaps, you can use a variety of materials and techniques:- Caulk: Apply a high-quality, flexible caulk around window and door frames, as well as any other small cracks or gaps. Be sure to clean the surfaces thoroughly before application.
- Weather stripping: Install adhesive-backed weather stripping around the movable parts of windows and doors to create a tight seal.
- Window film: Applying a clear, plastic window film can help insulate drafty windows by creating an additional barrier against cold air.
- Door sweeps: Attach a door sweep to the bottom of exterior doors to block air leaks at the threshold.
- Expandable foam sealant: Use this versatile product to fill larger gaps and cracks, such as those around utility penetrations or where the foundation meets the walls.
Upgrading to Energy-Efficient Windows
If your home has older, single-pane windows, consider replacing them with energy-efficient models. Modern, double-glazed or triple-glazed windows with low-E coatings can significantly improve your home's thermal performance and reduce heating costs.[(2)] While the upfront investment may be higher, the long-term energy savings can make it a worthwhile upgrade.Thermostat Upgrades for Improved Efficiency
Your home's thermostat plays a crucial role in managing your heating system and maintaining comfortable indoor temperatures throughout the winter. Upgrading to a smart or programmable thermostat can provide even greater control and energy savings.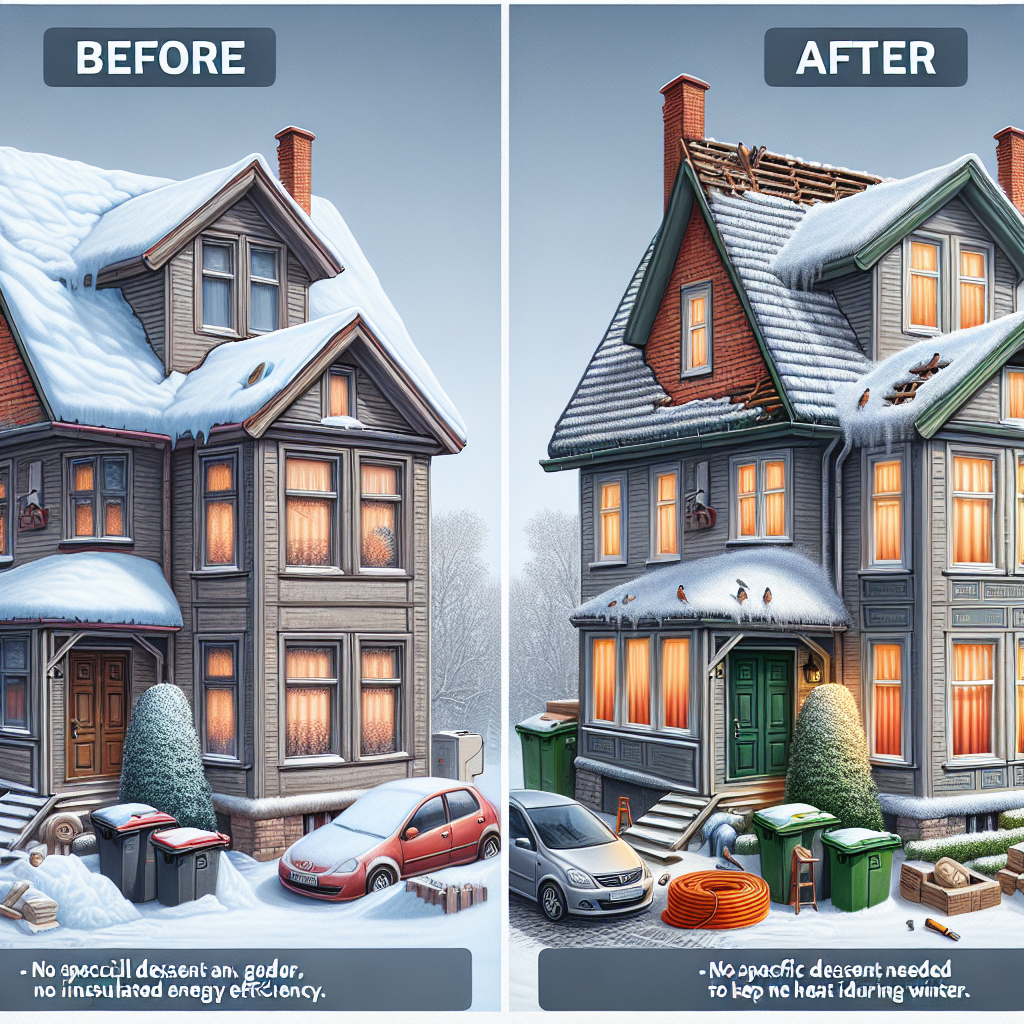
Benefits of Smart Thermostats
Smart thermostats offer a range of features that can help you optimize your home's energy usage:- Automated scheduling: Program your thermostat to automatically adjust temperatures based on your household's routine, ensuring your home is only heated when necessary.
- Remote access: Many smart thermostats can be controlled remotely via a smartphone app, allowing you to make adjustments on the go.
- Adaptive learning: Some models can "learn" your preferences and heating patterns, automatically making adjustments to improve efficiency over time.
- Energy reporting: Track your home's energy consumption and identify opportunities for further savings with detailed usage reports.
Choosing the Right Thermostat
When selecting a new thermostat, consider features like wireless connectivity, touchscreen interfaces, and integration with smart home ecosystems. Popular smart thermostat brands include Nest, Ecobee, and Honeywell. Be sure to choose a model that is compatible with your home's existing HVAC system. If you're not ready to invest in a full-fledged smart thermostat, a basic programmable model can still provide significant energy savings compared to a manual thermostat. Look for options with at least 7-day programming capabilities, allowing you to set different schedules for weekdays and weekends.Key Takeaways
Preparing your home for winter can be a significant undertaking, but the benefits in terms of energy efficiency, comfort, and cost savings make it a worthwhile investment. By focusing on these three key areas - insulation, air sealing, and thermostat upgrades - you can create a warmer, more energy-efficient home this winter:- Assess your home's insulation needs and upgrade to the recommended R-values for your climate zone.
- Identify and seal any air leaks around windows, doors, and other potential problem areas using caulk, weather stripping, and other sealing materials.
- Consider upgrading to a smart or programmable thermostat to better manage your home's heating system and energy usage.