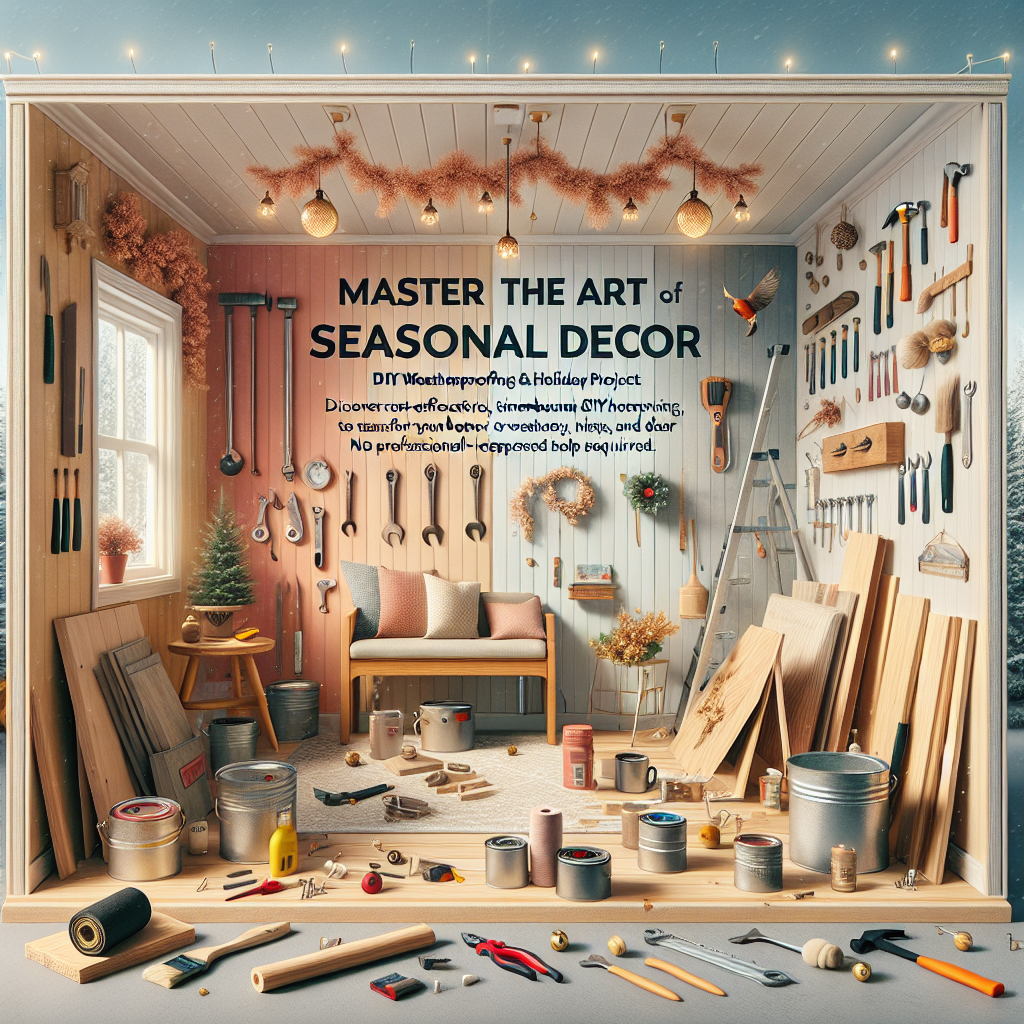
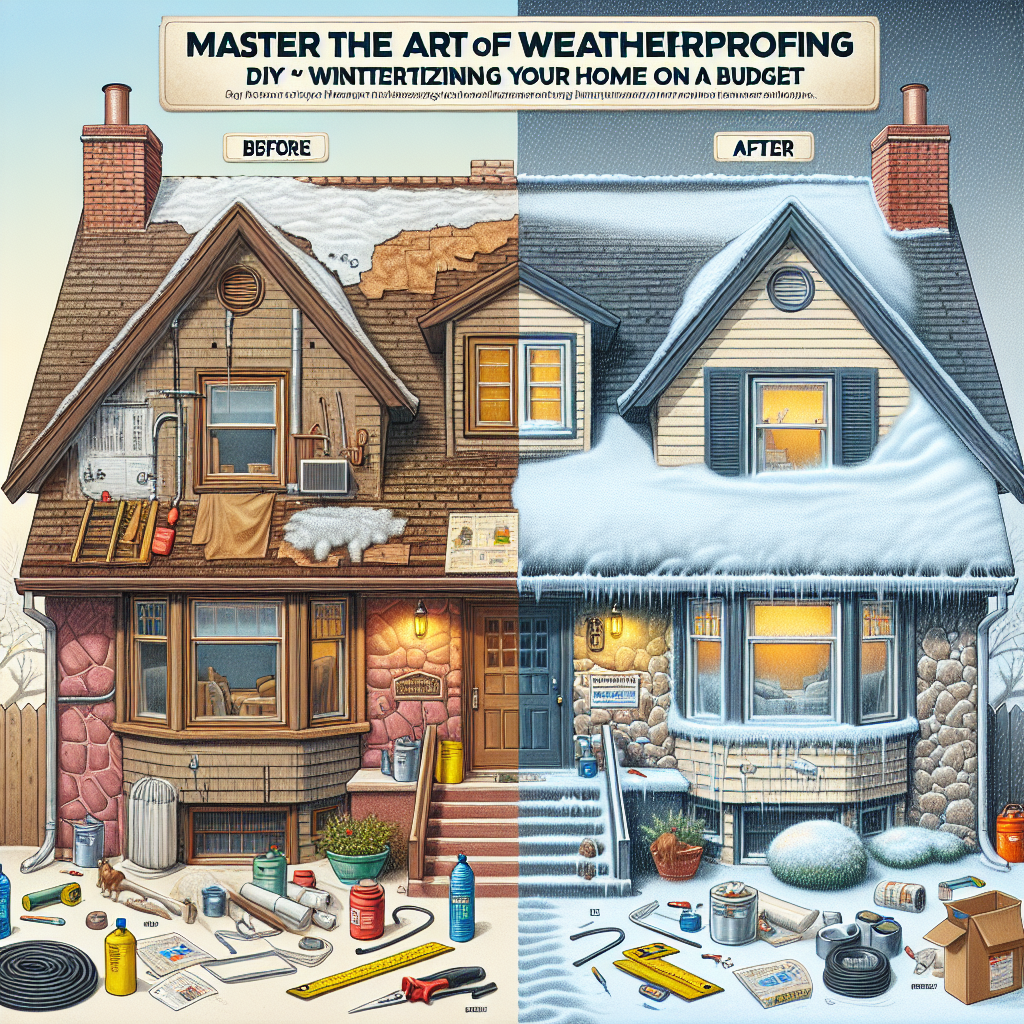
Master the Art of Weatherproofing: DIY Winterizing Your Home on a Budget
As the temperatures begin to drop and the leaves start to change, homeowners across the country know it's time to prepare their homes for the harsh realities of winter. From blustering winds and heavy snowfall to freezing temperatures and ice dams, the coming season can wreak havoc on your property if you're not proactive about winterizing. But with the right DIY techniques and cost-effective solutions, you can safeguard your home and save on energy bills without breaking the bank.
In this comprehensive guide, we'll explore a range of practical, budget-friendly strategies to weatherproof your home and create a cozier indoor environment all season long. From air sealing and insulation to storm window installation and gutter maintenance, you'll learn the essential steps to winterize your property like a pro. Get ready to say goodbye to drafty rooms, high heating costs, and the risk of costly winter damage – this is your ultimate resource for DIY winterization success.
Understanding the Importance of Winterizing Your Home
Preparing your home for winter isn't just about comfort and aesthetics – it's a crucial investment in the long-term health and integrity of your property. Proper winterization can yield a wide range of benefits, including:
- Improved energy efficiency: Sealing air leaks and upgrading insulation can dramatically reduce heat loss, allowing you to maintain a comfortable indoor temperature with less energy expenditure.
- Lower utility bills: By minimizing drafts and improving your home's thermal performance, you'll see a noticeable decrease in heating costs throughout the colder months.
- Damage prevention: Weatherproofing guards against winter weather hazards like frozen pipes, ice dams, and snow accumulation, saving you from potentially costly repairs down the line.
- Enhanced indoor comfort: A well-weatherized home will feel warmer, more evenly heated, and less prone to cold spots or chilly drafts.
In fact, the U.S. Department of Energy estimates that the average household can save up to 30% on their annual energy bills by properly sealing air leaks and upgrading insulation. With such significant potential savings, it's clear that investing time and resources into winterizing your home is a smart, cost-effective decision. Air Sealing for Maximum Efficiency One of the most critical – yet often overlooked – aspects of winterizing is air sealing. Uncontrolled air leaks can account for 25-40% of a home's heating and cooling costs, allowing valuable warm air to escape and cold drafts to penetrate the interior. By identifying and sealing these gaps and cracks, you can dramatically improve your home's thermal performance and energy efficiency. Detecting Air Leaks The first step is to conduct a thorough inspection and identify all potential sources of air infiltration. Common problem areas include:
- Attic hatches and pull-down stairs
- Electrical outlets and light fixtures
- Plumbing and ductwork penetrations
- Window and door frames
- Chimneys and fireplaces
- Attic knee walls and dropped ceilings
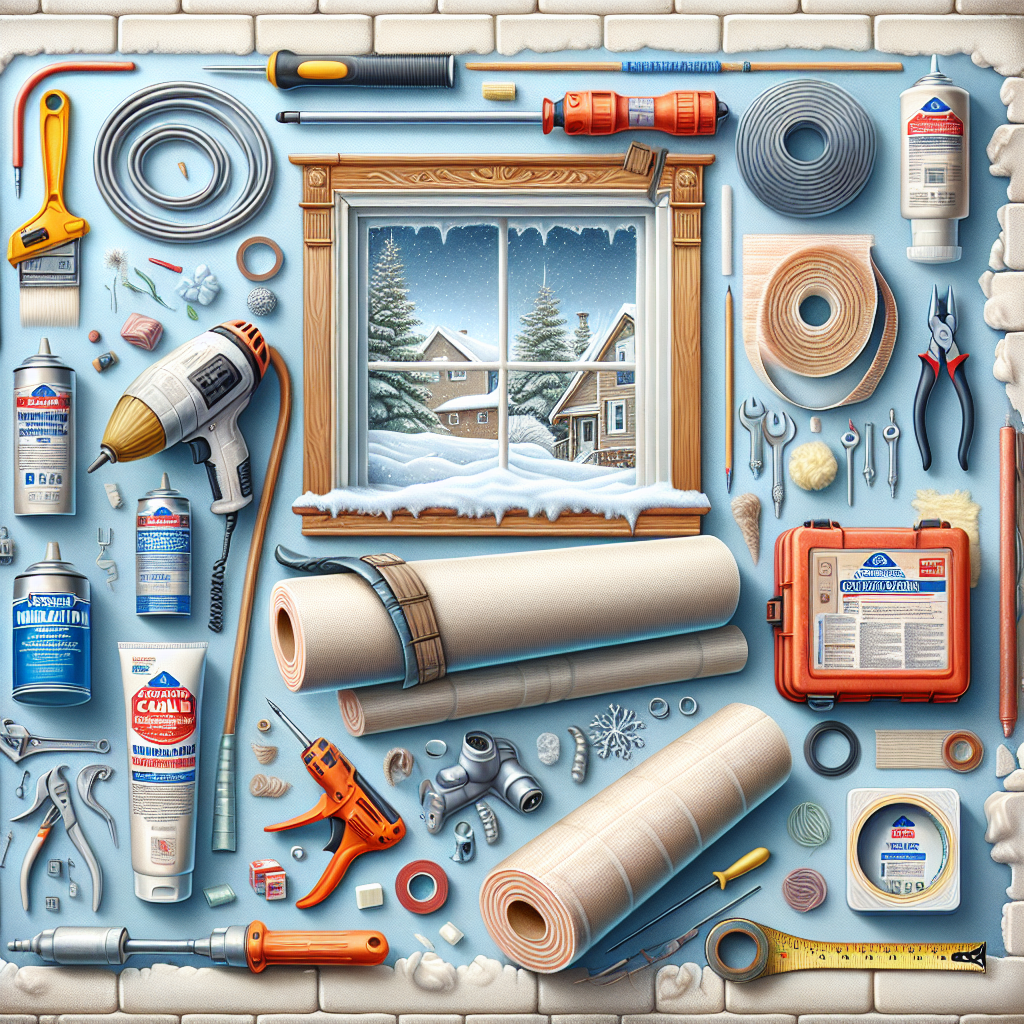
You can use a variety of techniques to detect air leaks, including a professional energy audit, a handheld thermal leak detector, or the simple "hand test" – slowly moving your hand around potential problem areas to feel for drafts. Sealing Air Leaks Once you've identified the air leaks in your home, it's time to start sealing them up. Caulk and weatherstripping are two of the most effective and budget-friendly air sealing solutions:
- Caulk: Apply a high-quality, flexible caulk to seal any cracks, gaps, or openings smaller than 1/4 inch. Look for caulks that are specifically designed for exterior use and can withstand temperature extremes.
- Weatherstripping: Install weatherstripping around doors and windows to create an airtight seal and prevent drafts. Self-adhesive foam or V-seal weatherstripping are easy-to-apply options.
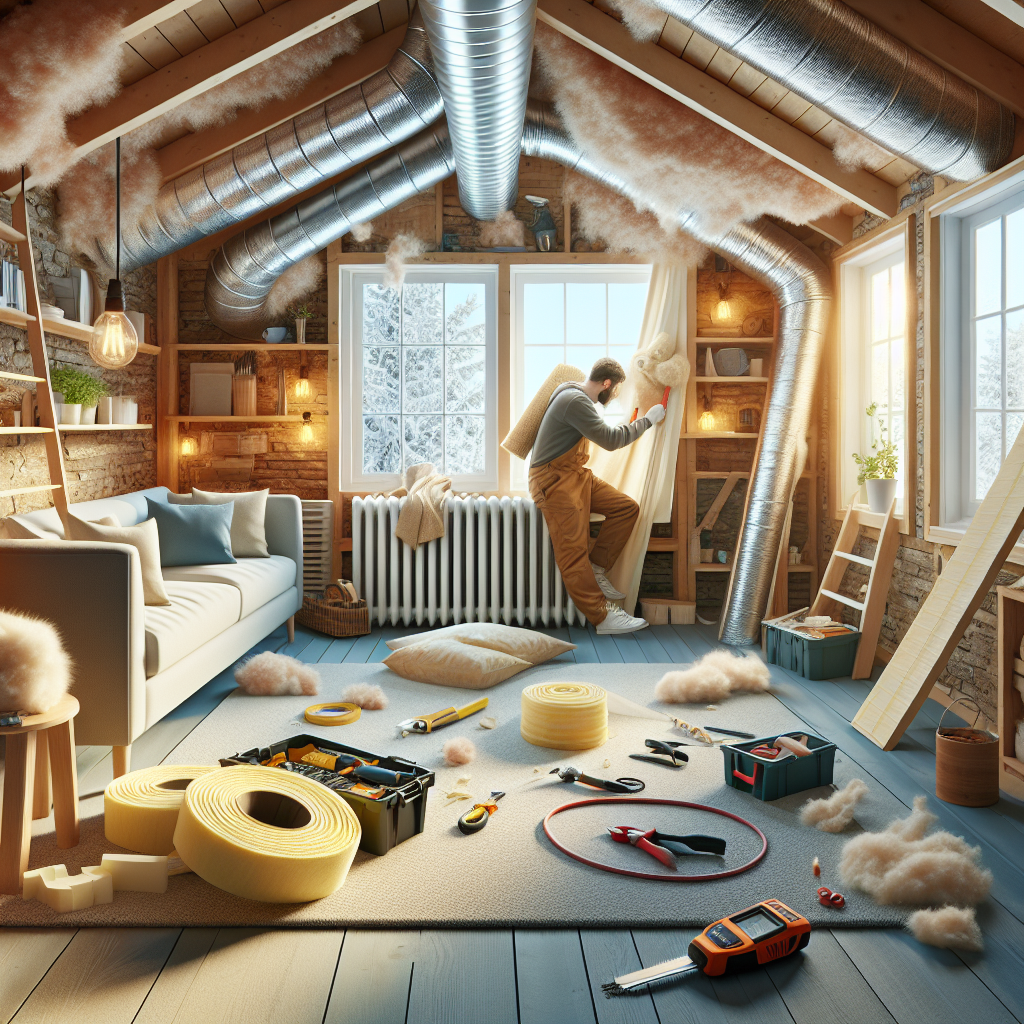
For larger gaps or hard-to-reach areas, you may need to use expanding foam sealant or other specialized products. Be sure to carefully follow the manufacturer's instructions for proper application and curing times. Insulation: The Key to Thermal Comfort In addition to air sealing, upgrading your home's insulation is a surefire way to boost energy efficiency and winterize your property. Proper insulation helps regulate indoor temperatures, prevent heat loss, and create a more consistent, comfortable living environment. Assessing Your Insulation Needs The recommended insulation level for your home will depend on several factors, including your climate, home design, and existing insulation levels. As a general guideline, the U.S. Department of Energy recommends the following R-values (a measure of insulation's thermal resistance) for most climates:
- Attic: R-49 to R-60
- Exterior walls: R-13 to R-21
- Floors over unheated spaces: R-25 to R-30
You can easily assess your home's insulation needs by conducting a DIY audit or hiring a professional energy auditor. They'll be able to provide personalized recommendations based on your specific property and climate conditions.
- Blown-in or loose-fill insulation: This type of insulation can be easily installed in attics, walls, and other hard-to-reach areas, making it a popular choice for DIY projects.
- Batt or roll insulation: Pre-cut fiberglass or mineral wool batts are a simple, affordable option for insulating attics, walls, and floors.
- Spray foam insulation: While more expensive, professional-grade spray foam provides superior air sealing and insulation performance, creating an airtight thermal barrier.
Whichever insulation material you choose, be sure to follow all safety guidelines, wear the proper personal protective equipment, and seal any air leaks before installation. Proper insulation techniques are crucial for maximizing energy efficiency and winterization benefits. Winterizing Windows and Doors Windows and doors are notorious sources of heat loss and drafts, so addressing these vulnerable areas should be a top priority in your winterization efforts. By upgrading or reinforcing these entry points, you can enhance thermal comfort, reduce energy consumption, and protect your home from the elements. Storm Windows and Doors Installing storm windows and doors is one of the most effective ways to improve a home's thermal performance during the winter. These additional layers of glazing or panels create an insulating air space, trapping heat inside and blocking cold air from entering. Storm windows come in a variety of styles, from traditional wooden or aluminum frames to modern, energy-efficient vinyl models. When selecting storm windows, look for options with a high insulating value (U-factor) and low air infiltration rates. For doors, storm panels or permanent storm door installations can provide similar benefits. Window Treatments and Coverings In addition to storm windows, strategic window treatments can also help boost your home's winterization efforts. Heavy curtains, thermal drapes, and insulating window films can all contribute to improved energy efficiency and temperature regulation.
- Curtains and drapes: Look for insulating, tightly-woven fabrics that can effectively block drafts and trap heat. Be sure to install them snugly against the window frame for maximum efficiency.
- Window films: Transparent window films or "cling wrap" can create an additional layer of insulation, reducing heat loss by up to 25% when properly installed.
For best results, combine window treatments with other weatherproofing measures like caulking and weatherstripping to create a comprehensive barrier against winter weather. Protecting Pipes and Preventing Freeze Damage One of the most common and costly wintertime disasters for homeowners is burst pipes. When water freezes, it expands, putting immense pressure on plumbing systems and potentially leading to thousands of dollars in water damage and repairs. Fortunately, there are several easy and budget-friendly ways to protect your home's pipes and prevent this type of winter catastrophe. Insulating Exposed Pipes Any pipes that are located in unheated or uninsulated areas, such as the attic, crawlspace, or exterior walls, should be insulated to prevent freezing. Foam pipe insulation sleeves are an affordable, DIY-friendly solution that you can simply slip over the exposed piping. For added protection, you can also wrap pipes in heat tape or cables, which provide gentle warmth to keep the water flowing. Shutting Off Outdoor Faucets
- Identify and seal air leaks with caulk and weatherstripping to prevent heat loss and drafts.
- Upgrade insulation in the attic, walls, and other key areas to improve your home's thermal performance.
- Install storm windows and doors, as well as strategic window treatments, to further enhance energy efficiency.
- Protect exposed pipes from freezing by insulating them and shutting off outdoor water sources.
- Maintain your gutters and downspouts to prevent ice dams and water damage.
With a little time and effort, you can master the art of winterizing your home and enjoy the peace of mind that comes with a well-protected property. Happy DIY-ing!