
Seal Drafty Windows, Insulate Your Attic, and Implement Other Cost-Saving Measures to Save on Energy Bills and Stay Warm this Winter Without Breaking the Bank
As the temperature outside starts to drop and the winter chill sets in, homeowners everywhere start to brace themselves for skyrocketing energy bills. Drafty windows, inadequate attic insulation, and other efficiency gaps can let precious heat escape your home, forcing your HVAC system to work overtime to maintain a comfortable indoor temperature. The result? A financial burden that weighs heavily on your wallet throughout the colder months. But it doesn't have to be this way. With some strategic DIY home improvements, you can winter-proof your home and maximize energy efficiency without spending a fortune. This comprehensive guide will walk you through practical, affordable solutions to seal air leaks, insulate your attic, and implement other cost-saving measures to keep your home toasty warm all winter long.Identifying and Sealing Air Leaks Around Windows
One of the most common culprits behind drafty, energy-inefficient homes is air leaks around windows. Even small cracks and gaps can let in a surprising amount of cold air, causing your heating system to work overtime to compensate. Fortunately, sealing these leaks is a relatively straightforward DIY project.How to Identify Window Air Leaks
The first step is to locate any drafty windows in your home. Start by doing a visual inspection, looking for any visible cracks or gaps around the window frames. You can also conduct a more thorough assessment using the following techniques:- Perform a Hands-On Check: On a windy day, carefully run your hands around the window frame, feeling for any areas where air is flowing through. Pay close attention to the corners, where leaks are most common.
- Use a Draft Detector: Invest in an inexpensive draft detector or draft meter, which will help you identify the exact locations and severity of air leaks around your windows.
- Try the Candle Test: Carefully move a lit candle around the perimeter of the window frame. Watch for the flame to flicker, which indicates an air leak.
Sealing Window Air Leaks
Once you've identified the problematic areas, it's time to seal those drafty windows. Here are some effective DIY methods:- Apply Weatherstripping: Weatherstripping is an affordable and easy-to-install solution for sealing air leaks around windows. Look for self-adhesive foam or rubber weatherstripping, and carefully apply it to the window frame, making sure to create a continuous seal.
- Caulk Gaps and Cracks: Use a high-quality, flexible silicone or latex-based caulk to seal any small cracks or gaps around the window frame. Be sure to clean the surface thoroughly before applying the caulk for best adhesion.
- Install Window Insulation Film: Plastic window insulation film is an inexpensive and effective way to create an additional barrier against drafts. Simply apply the film to the interior of your windows and use a hair dryer to shrink it for a tight seal.
- Consider Window Replacement: If your windows are old, single-pane, or in poor condition, it may be worth investing in energy-efficient replacement windows. Look for windows with the ENERGY STAR® certification, which can significantly improve your home's thermal performance.
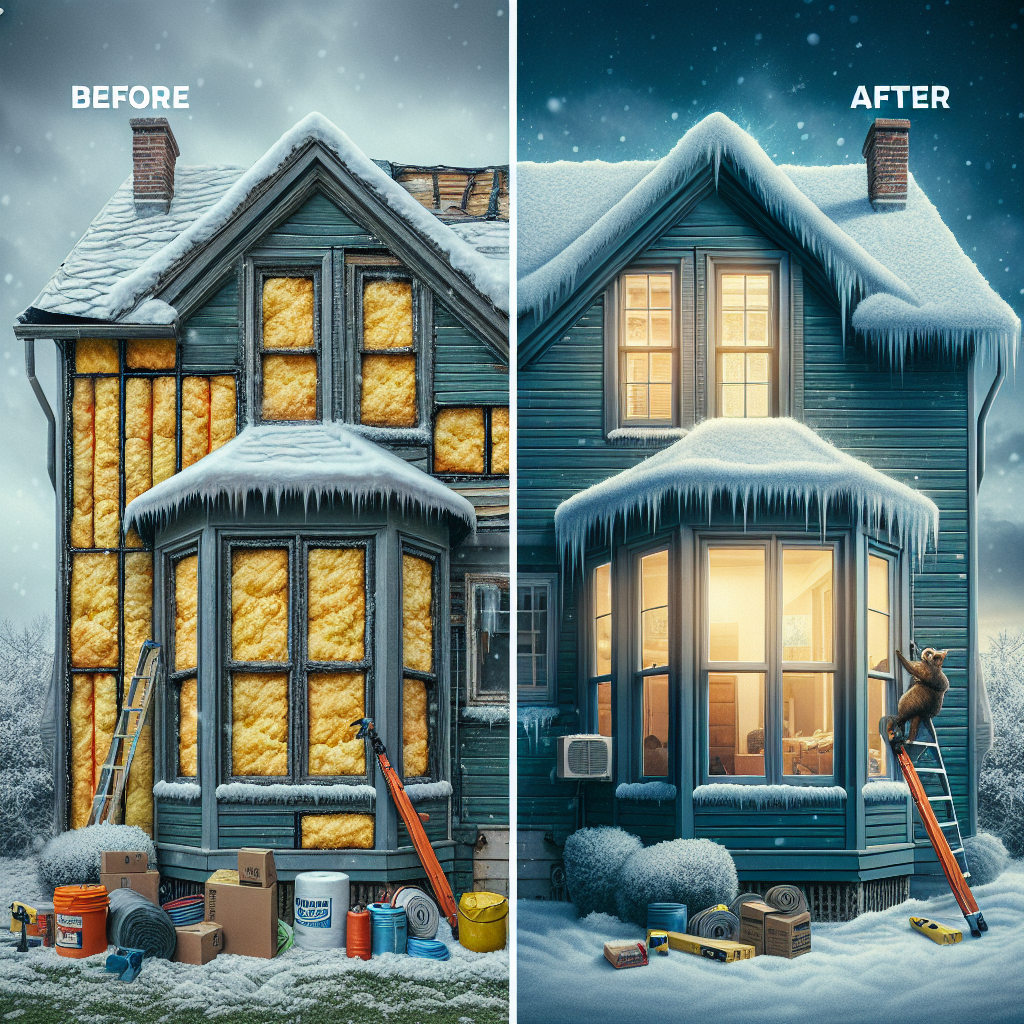
Properly Insulating Your Attic
Your home's attic is another critical area that can significantly impact its energy efficiency. Inadequate attic insulation allows warm air to escape through the roof, forcing your heating system to work harder and driving up your energy bills. Properly insulating your attic is a highly effective DIY project that can deliver significant long-term savings.
Assessing Your Attic Insulation Needs
The first step is to determine the current state of your attic insulation. Measure the depth of the existing insulation and compare it to the recommended R-value for your climate zone. The U.S. Department of Energy recommends the following R-values for attic insulation in most climates:- R-30 to R-60 in cold climates
- R-25 to R-49 in moderate climates
- R-13 to R-30 in warm climates
Insulating Your Attic
There are several types of insulation materials to choose from, each with its own advantages and disadvantages. Here are some of the most common and effective options for DIY attic insulation:- Fiberglass Batt Insulation: Fiberglass batt insulation is one of the most popular and affordable options. It's easy to install between attic joists and can effectively reduce heat loss.
- Blown-In Cellulose Insulation: Cellulose insulation is made from recycled materials and can be blown into hard-to-reach areas, making it a good choice for older homes with irregularly spaced joists.
- Spray Foam Insulation: This expanding foam insulation provides an airtight seal and superior thermal performance, but it's also more expensive and requires specialized equipment for application.
Other Cost-Saving Measures for Winter-Proofing Your Home
In addition to sealing air leaks and insulating your attic, there are several other DIY projects you can tackle to improve your home's energy efficiency and reduce heating costs this winter:Insulate Ductwork and Pipes
Exposed ductwork and plumbing pipes can also contribute to heat loss. Wrap them in insulation to keep warm air from escaping and cold air from entering your home.Upgrade to Programmable Thermostats
Reverse Ceiling Fan Rotation
Believe it or not, the direction your ceiling fans rotate can make a difference in how efficiently your home retains heat. In the winter, switch the fan direction to rotate clockwise at a low speed, which will help push warm air down from the ceiling.Seal Fireplace Dampers
An open fireplace damper can let a substantial amount of heated air escape your home. Make sure to keep the damper closed when the fireplace is not in use.Improve Insulation in Exterior Walls
If your home has inadequate wall insulation, consider adding blown-in or rigid foam insulation to the exterior walls. This can be a more involved project, but it can have a significant impact on your energy efficiency.Key Takeaways
Preparing your home for winter doesn't have to be an expensive, labor-intensive chore. By tackling a few strategic DIY projects, you can dramatically improve your home's energy efficiency and keep your heating costs under control all season long:- Identify and seal air leaks around windows using weatherstripping, caulk, and window insulation film.
- Ensure your attic is properly insulated to the recommended R-value for your climate, using materials like fiberglass batts or blown-in cellulose.
- Insulate ductwork and plumbing pipes, upgrade to a programmable thermostat, reverse ceiling fan direction, and seal fireplace dampers for additional energy savings.
- Consider more extensive wall insulation if your home is particularly drafty.
- With a bit of DIY elbow grease, you can stay warm and cozy all winter without breaking the bank on your energy bills.