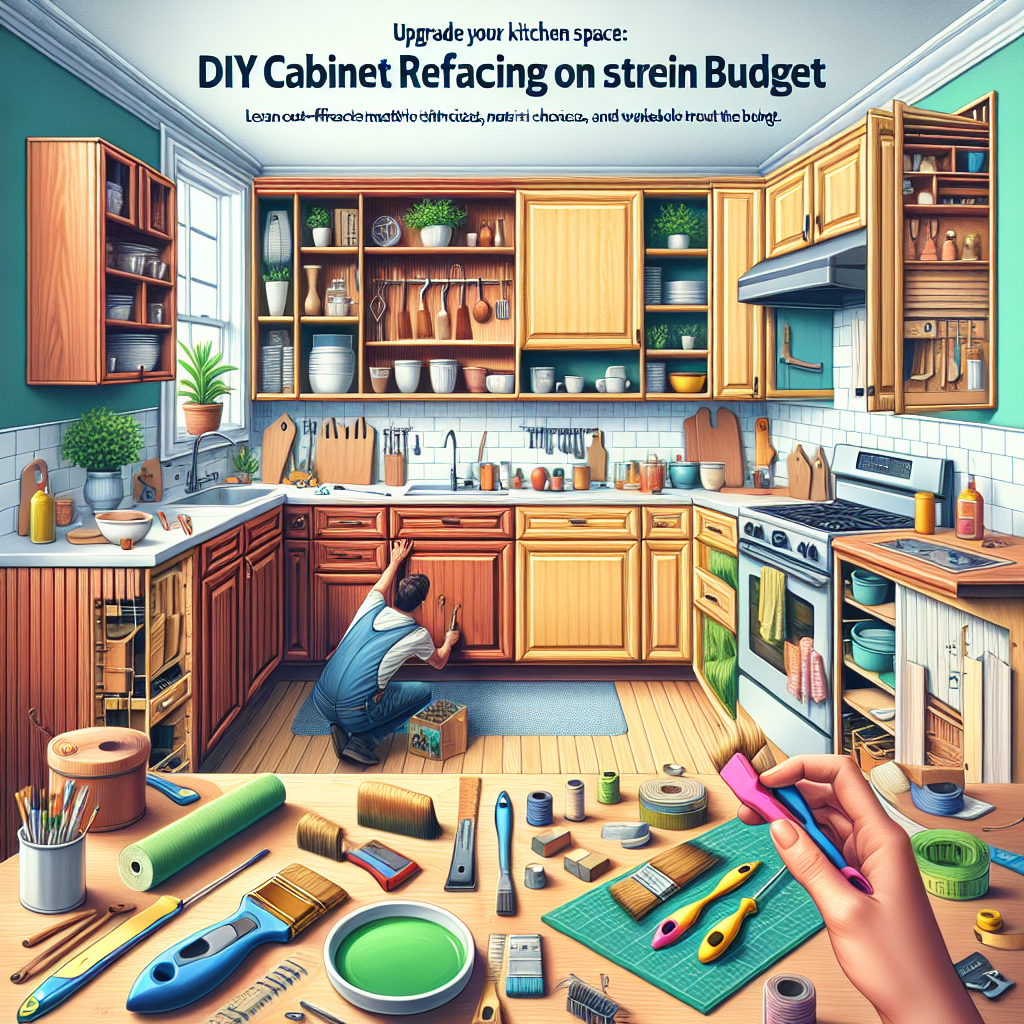
Understanding Cabinet Refacing: The Essentials
Cabinet refacing is a game-changing approach to kitchen makeovers that involves replacing the visible surfaces of your existing cabinets, rather than replacing the entire cabinet boxes. This means you get a fresh, updated look without the time and expense of a full cabinet replacement. The key benefits of cabinet refacing include:- Significant cost savings compared to a complete kitchen remodel
- Minimal disruption to your daily routine during the project
- Ability to personalize the aesthetic by choosing new cabinet doors, drawers, and hardware
- Preservation of your existing cabinet structure, which is often in good condition
- Increased home value through a high-impact, low-cost kitchen transformation
Assessing Your Cabinets: What Can Be Refaced?
Before diving into the refacing process, it's crucial to evaluate the condition of your existing cabinets. Not all cabinets are suitable candidates for refacing, so take the time to inspect them thoroughly. Look for the following signs that your cabinets are good to go:- Structurally sound cabinet boxes with no major damage or warping
- Hinges, shelves, and other internal components in working order
- Doors and drawers that are still functional, even if the surfaces are outdated
Choosing the Right Refacing Materials
One of the most important decisions in the cabinet refacing process is selecting the right materials. The options range from budget-friendly laminates to premium wood veneers, each with its own advantages and considerations.Laminate Refacing
Laminate is a popular choice for DIY cabinet refacing due to its affordability and wide range of color and pattern options. Typical costs for laminate refacing range from $1,000 to $3,000 for a standard-sized kitchen. Look for high-quality laminates that mimic the appearance of wood or other natural materials for a premium look.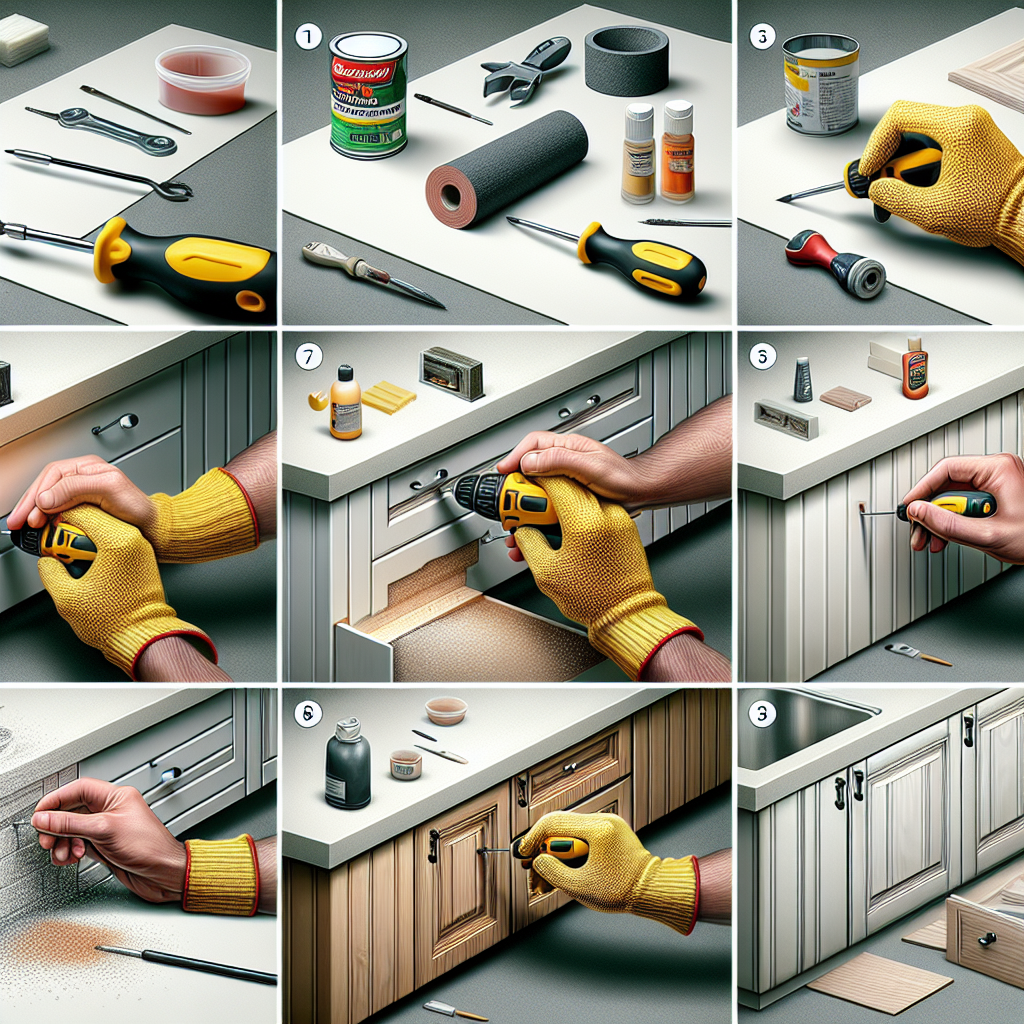
Wood Veneer Refacing
For a more authentic, high-end aesthetic, wood veneer refacing is an excellent option. Veneer panels are made of thin slices of real wood, offering a natural grain and texture. Expect to pay between $2,000 and $5,000 for a wood veneer refacing project, depending on the type of wood and level of customization.Hybrid Approaches
Some homeowners opt for a hybrid approach, using laminate for the cabinet boxes and wood veneer for the doors and drawers. This can provide the best of both worlds – cost savings from the laminate and a luxurious wood look on the visible surfaces. Regardless of the material you choose, be sure to select a reputable brand and work with a trusted supplier to ensure quality and long-lasting performance.Step-by-Step Cabinet Refacing Guide
Ready to transform your kitchen on a shoestring budget? Follow these step-by-step instructions for a successful DIY cabinet refacing project:1. Measure and Plan
Start by carefully measuring your existing cabinet boxes, doors, and drawers. This will help you determine the exact materials and quantities needed for the refacing process. Create a detailed plan, including a materials list and timeline, to ensure a smooth project.2. Remove Cabinet Doors and Drawers
Begin by removing all the cabinet doors and drawers. This will provide you with a clean slate to work with and allow for easier access during the refacing process. Label each item to ensure proper reinstallation later on.3. Prepare the Cabinet Boxes
Clean the existing cabinet boxes thoroughly, removing any dirt, grease, or residue. Sand the surfaces lightly to rough them up and help the new refacing materials adhere properly. Wipe away any dust before applying the new finishes.4. Apply the Refacing Materials
Carefully measure and cut the new refacing materials, whether it's laminate or wood veneer, to fit the cabinet boxes. Use a high-quality adhesive to apply the materials, ensuring a tight, seamless fit. Pay close attention to edges and corners for a professional-looking finish.5. Install New Doors and Drawers
With the cabinet boxes freshly refaced, it's time to install the new doors and drawers. Carefully align the hinges and hardware, making any necessary adjustments for a perfect fit. Test the functionality of each door and drawer to ensure smooth operation.6. Add the Finishing Touches
The final step in the cabinet refacing process is to add the finishing touches. This may include installing new cabinet hardware, such as pulls and knobs, as well as any decorative molding or trim to create a polished, cohesive look.Budget-Friendly Upgrades and Customizations
While the core cabinet refacing process can be relatively straightforward, there are several budget-friendly upgrades and customizations you can incorporate to elevate the overall aesthetic of your kitchen:- Replace cabinet hardware: Swapping out dated or mismatched hardware can instantly modernize your cabinets. Opt for sleek, contemporary pulls and knobs to complement your new refaced surfaces.
- Add decorative molding: Installing crown molding, toe kicks, or other decorative elements can give your cabinets a custom, built-in look without breaking the bank.
- Repaint cabinet boxes: If the existing cabinet boxes are in good condition, a fresh coat of paint can help them blend seamlessly with the new refaced surfaces.
- Incorporate glass-front doors: Strategically placing glass-front cabinets can create the illusion of a more open, airy kitchen while showcasing your favorite dishware or decor.
- Upgrade lighting: Swapping out dated overhead lighting or adding under-cabinet task lighting can enhance the overall ambiance and functionality of your kitchen.
Key Considerations and Challenges
While cabinet refacing is a relatively straightforward DIY project, there are a few key considerations and potential challenges to keep in mind:Structural Integrity
Ensure that your existing cabinet boxes are structurally sound and can support the weight of the new refacing materials. Reinforce or replace any damaged or weakened components before proceeding.Precision Measurements
Accurate measurements are crucial for a seamless, professional-looking finish. Double-check all your dimensions and plan for any unique cabinet sizes or configurations.Adhesive Application
Proper adhesive application is vital for the long-term durability of your refaced cabinets. Follow the manufacturer's instructions carefully and allow sufficient drying time.Hardware Compatibility
If you plan to replace your cabinet hardware, make sure the new pieces are compatible with the existing cabinet box and door/drawer configurations.Disposal of Old Materials
Don't forget to properly dispose of any old cabinet doors, drawers, or other materials removed during the refacing process. Check with your local waste management authority for guidelines on environmentally responsible disposal or recycling.Key Takeaways
Upgrading your kitchen space through DIY cabinet refacing is a budget-friendly solution that can transform the look and feel of your home. By mastering the art of refacing, you can achieve a high-end, custom-like aesthetic without the hefty price tag of a full kitchen renovation. Remember these key takeaways:- Carefully evaluate the condition of your existing cabinets to ensure they are suitable for refacing.
- Choose the right refacing materials, from cost-effective laminates to premium wood veneers, based on your budget and desired aesthetic.
- Follow the step-by-step refacing process, from measuring and planning to the final finishing touches, for a professional-looking result.
- Incorporate budget-friendly upgrades and customizations, such as new hardware and lighting, to elevate the overall look of your kitchen.
- Address any potential challenges, like structural integrity and precise measurements, to ensure a successful and long-lasting refacing project.