Revamp Your Kitchen with a DIY Tile Backsplash for Under $100
Are you tired of staring at the same dull, outdated backsplash in your kitchen? Perhaps you've been dreaming of upgrading to a beautiful, eye-catching tile design but have been hesitant due to the perceived high cost. Well, fear not - with a little elbow grease and our expert guidance, you can transform your kitchen's look for under $100! In this comprehensive guide, we'll walk you through the step-by-step process of installing a stunning tile backsplash yourself, even if you're a complete DIY novice. Not only will this project dramatically improve the aesthetic appeal of your kitchen, but it can also increase your home's resale value and provide long-lasting durability. So, let's dive in and get your kitchen looking fresh and fabulous on a budget!Why a Tile Backsplash is a Game-Changer for Your Kitchen
A tile backsplash is one of the most transformative upgrades you can make to your kitchen. Not only does it elevate the visual appeal of the space, but it also serves several practical purposes:Improved Aesthetics
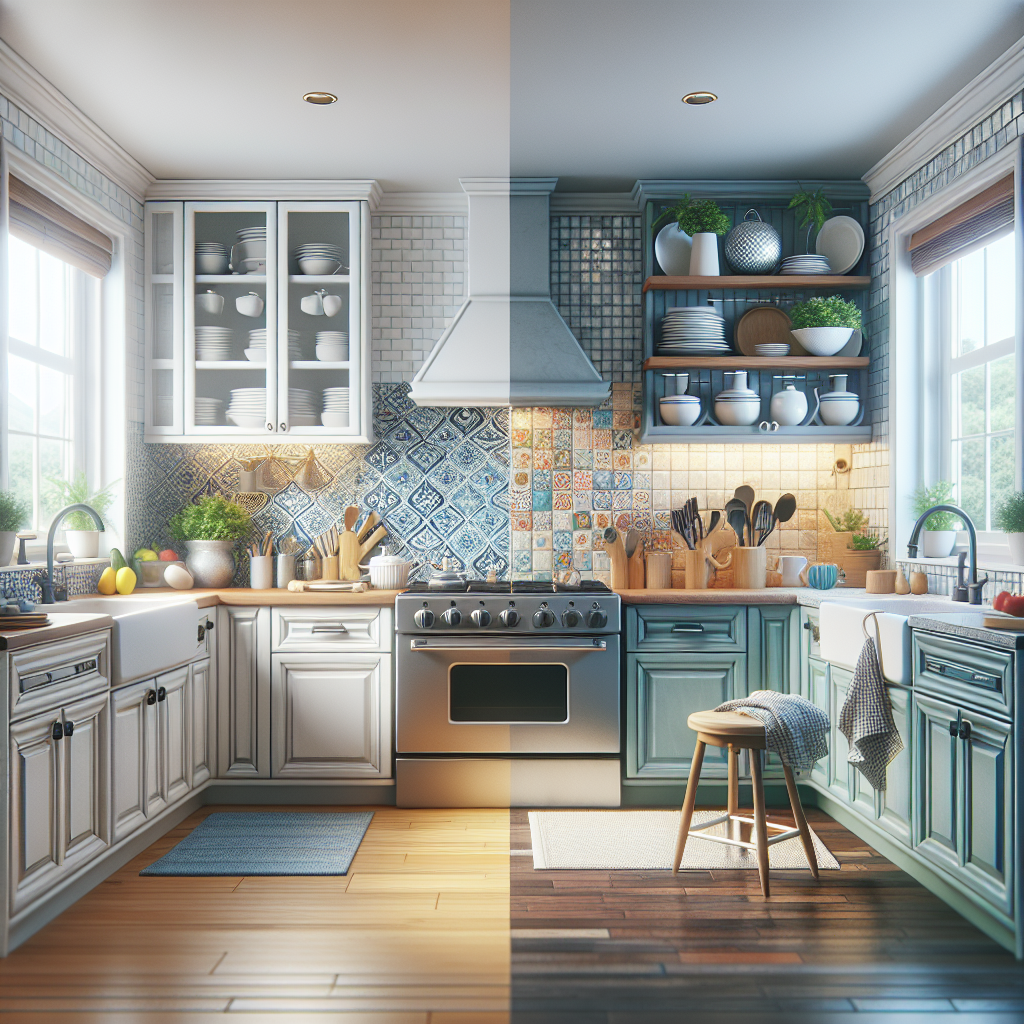
A beautiful tile backsplash can instantly refresh and modernize the look of your kitchen. Whether you opt for classic subway tiles, rustic farmhouse-inspired designs, or eye-catching patterns, the right backsplash can become the focal point that ties the entire room together.Enhanced Durability
Unlike painted walls or wallpaper, a tile backsplash is highly durable and resistant to the common wear and tear of a busy kitchen. Spills, splatters, and grease can be easily wiped away, making your backsplash a low-maintenance and long-lasting investment.Increased Home Value
A well-designed and expertly installed tile backsplash is a sought-after feature that can significantly boost your home's resale value. Potential buyers will see the backsplash as a high-end upgrade that enhances the overall appeal and functionality of your kitchen.Budgeting for Your Tile Backsplash Project
One of the most significant barriers to DIY backsplash projects is the perceived high cost. However, with a little strategic planning, you can create a stunning tile backsplash for your kitchen on a tight budget.Estimating Material Costs
The primary cost drivers for a tile backsplash project are the tiles themselves, the adhesive, and the grout. Depending on the size of your kitchen and the type of tiles you choose, you can expect to spend between $50 to $150 on materials. For example, a basic 12-inch by 12-inch ceramic tile can cost as little as $0.50 per square foot, while a high-end natural stone tile may range from $5 to $15 per square foot. Be sure to measure your kitchen's backsplash area accurately and factor in a 10-15% waste allowance to account for cuts and breakage.Factoring in Tool Costs
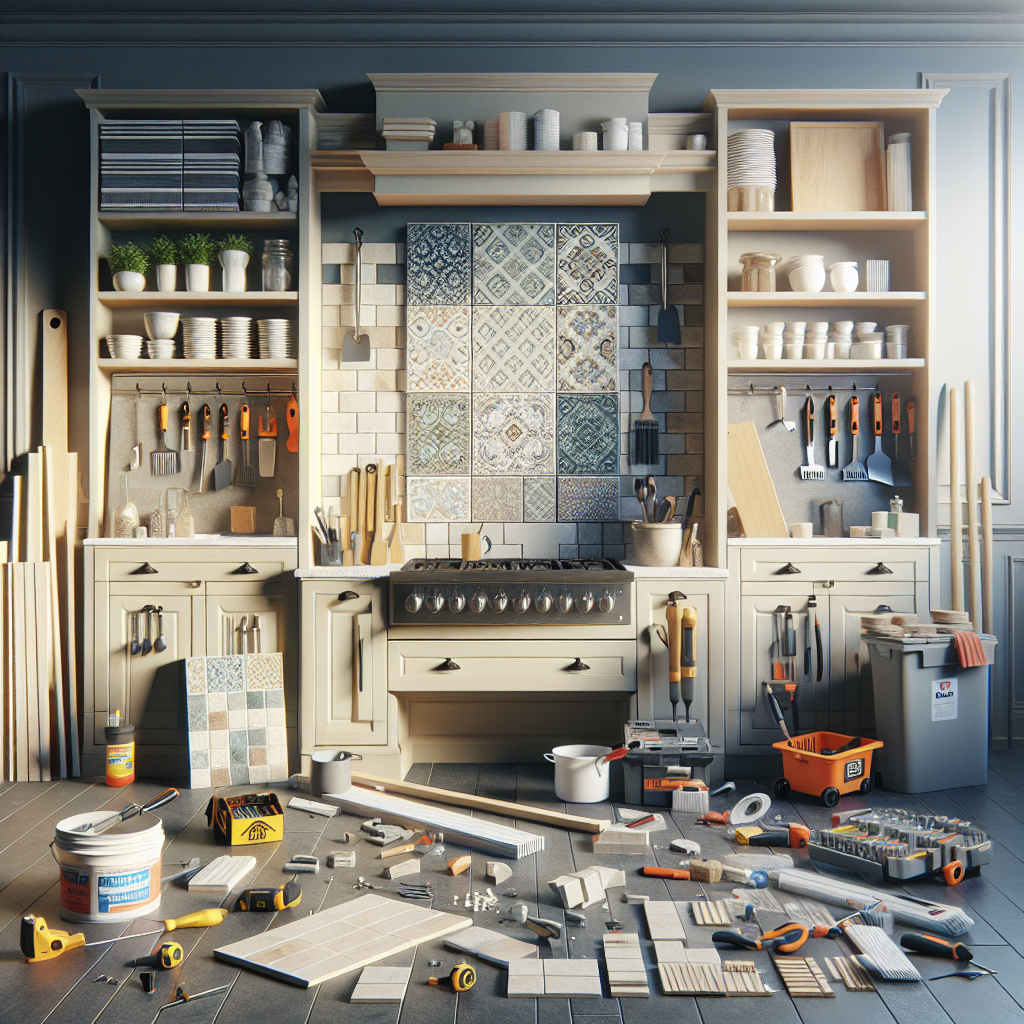
If you don't already own the necessary tools, you'll need to budget an additional $50 to $100 for items like a tile cutter, grout float, and trowel. However, these tools can be reused for future projects, making them a worthwhile investment.Considering Labor Costs
One of the significant advantages of a DIY tile backsplash project is the potential to save on labor costs. By installing the tiles yourself, you can avoid the $500 to $1,000 (or more) that a professional contractor would typically charge. Just be sure to factor in the time commitment and your own skill level when deciding whether to tackle the project on your own.Preparing Your Kitchen for a Tile Backsplash
Cleaning and Degreasing the Wall
Begin by thoroughly cleaning the wall area where the backsplash will be installed. Use a degreasing cleaner to remove any built-up grease, grime, or residue that could interfere with the tile adhesive. Rinse the wall completely and allow it to dry fully before proceeding.Repairing Wall Imperfections
Next, inspect the wall for any cracks, holes, or uneven surfaces. Use a spackling compound to fill in any imperfections and sand the area smooth once dry. This will create a clean, even base for your tile installation.Applying a Primer or Backer Board
Depending on the condition of your existing wall, you may need to apply a primer or install a backer board. Primer helps the adhesive bond better to the surface, while a backer board provides a sturdy, even base for the tiles. Consult with your local hardware store to determine the best option for your specific wall materials.Choosing the Right Tiles for Your Budget
With your wall prepped and ready, it's time to select the perfect tiles for your kitchen backsplash. The options are endless, from classic subway tiles to intricate mosaics, but your budget will be a significant factor in your decision.Affordable Tile Options
For a budget-friendly backsplash, consider ceramic or porcelain tiles. These types of tiles are widely available at home improvement stores and can cost as little as $0.50 per square foot. Look for simple, clean-lined designs that can still make a big impact. Another budget-friendly option is peel-and-stick tiles. These self-adhesive tiles are easy to install and can cost between $1 to $5 per square foot. While they may not be as durable as traditional tile, they can still provide a beautiful and affordable solution.Mid-Range Tile Choices
If you're willing to invest a bit more, consider natural stone tiles like travertine or slate. These materials typically range from $5 to $15 per square foot and can add a touch of elegance and warmth to your kitchen. Glass tiles are another mid-range option that can create a stunning, modern look.Premium Tile Upgrades
For those with a more flexible budget, high-end tile options like marble, granite, or specialty ceramic tiles can elevate your kitchen to new heights. These premium materials can cost upwards of $15 per square foot, but the striking visual impact can be well worth the investment. Regardless of your budget, be sure to factor in the total square footage of your backsplash area, as well as any necessary tools or materials, when calculating your overall tile costs.Step-by-Step Guide to Installing Your Tile Backsplash
Now that you've prepped the wall and selected your tiles, it's time to get to work on the installation process. Follow these step-by-step instructions to ensure a professional-looking result:Laying Out the Tile Pattern
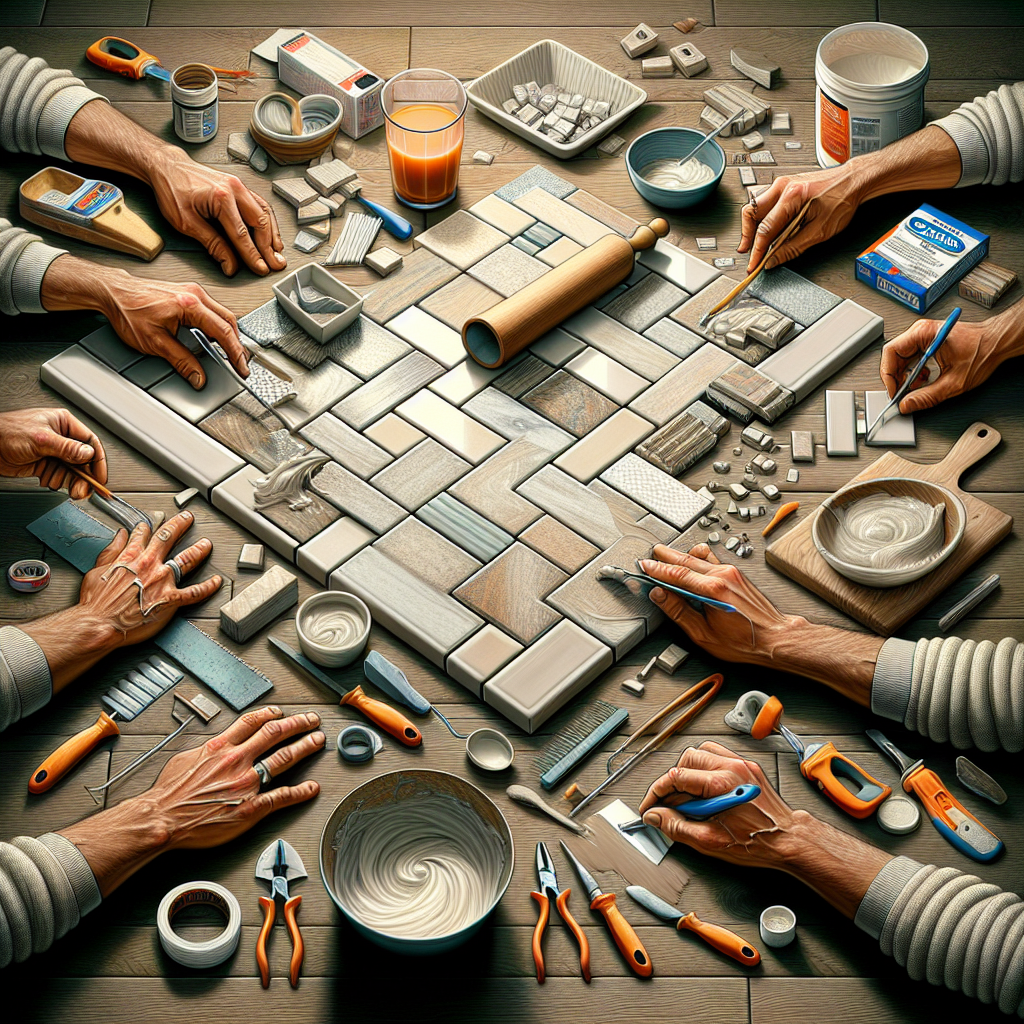
Begin by measuring the backsplash area and mapping out your tile layout. Decide on the pattern you want to achieve, whether it's a simple straight lay, a staggered design, or a more intricate mosaic. Mark the center point of the wall and use a level to draw straight, evenly spaced guidelines to ensure your tiles are properly aligned.Cutting Tiles to Fit
Use a tile cutter or wet saw to make any necessary cuts around outlets, corners, or edges. Measure the spaces carefully and mark the tiles accordingly. When cutting, be sure to wear safety goggles and use a steady, controlled motion to prevent chips or cracks.