Master the Art of Installing a Peel-and-Stick Tile Backsplash and Transform Your Kitchen's Appearance for a Fraction of the Cost
Are you tired of looking at the outdated, drab backsplash in your kitchen? Do you want to breathe new life into your cooking space, but the thought of a costly professional installation has you hesitating? Look no further! In this comprehensive guide, we'll show you how to master the art of installing a peel-and-stick tile backsplash and give your kitchen a stunning makeover on a budget.The Benefits of a DIY Peel-and-Stick Tile Backsplash
Upgrading your kitchen backsplash can have a dramatic impact on the overall aesthetic of your cooking space. However, traditional tile installation can be a time-consuming and expensive endeavor, often costing hundreds or even thousands of dollars. That's where peel-and-stick tile backsplashes come in as a game-changer. These innovative, self-adhesive tiles offer a variety of advantages for the budget-conscious DIYer:- Cost-Effective: Peel-and-stick tiles are significantly more affordable than traditional tile, allowing you to transform your kitchen for a fraction of the cost of professional installation.
- Easy Installation: With no need for messy mortar, grout, or specialized tools, peel-and-stick tiles can be installed by almost anyone, even those with limited DIY experience.
- Flexibility: Peel-and-stick tiles can be easily removed and replaced, making them a great option for renters or homeowners who may want to change up their style in the future.
- Variety of Styles: From classic subway tiles to trendy geometric patterns, peel-and-stick backsplash options offer endless design possibilities to suit any kitchen aesthetic.
Preparing Your Kitchen for a Peel-and-Stick Tile Backsplash
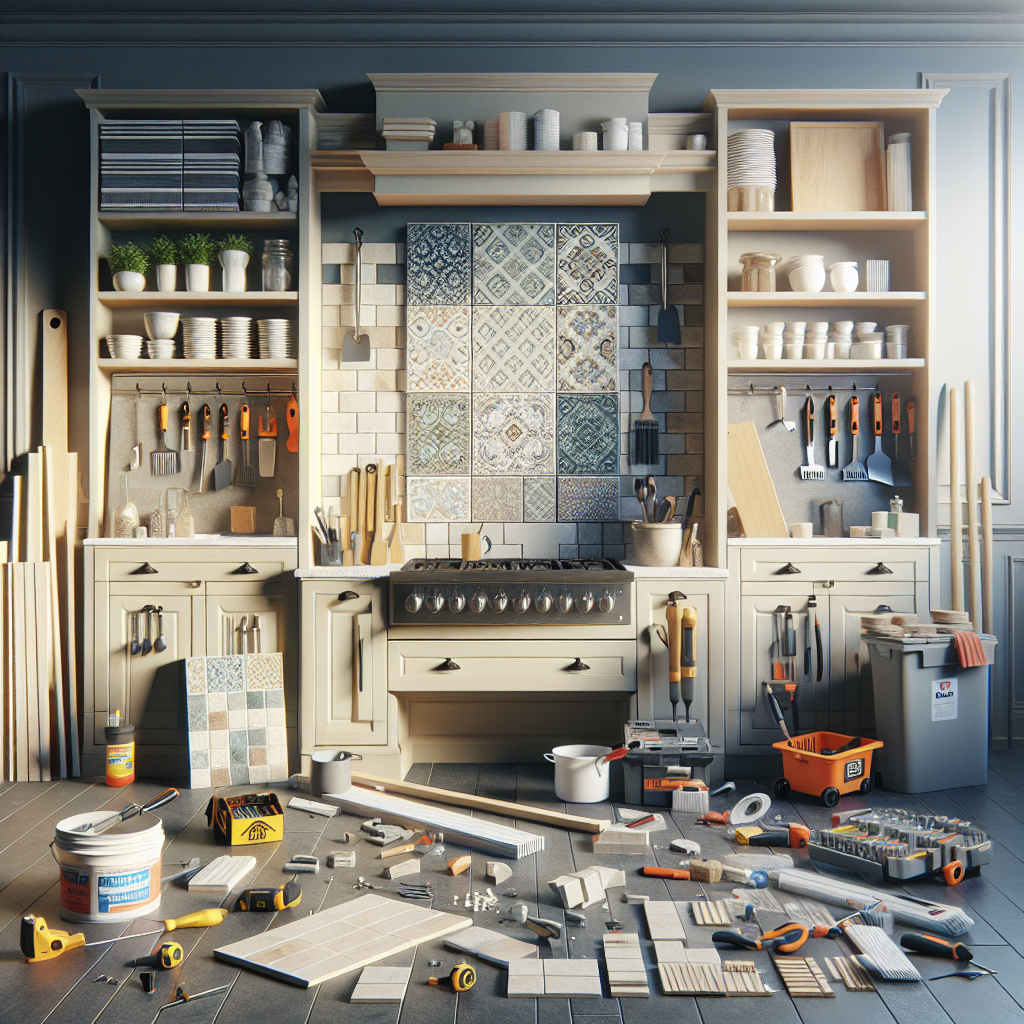
Before you dive into the installation process, it's crucial to properly prepare your kitchen surfaces. This will ensure a smooth, long-lasting application and prevent any unsightly bubbles or peeling down the line.Gather the Necessary Tools and Materials
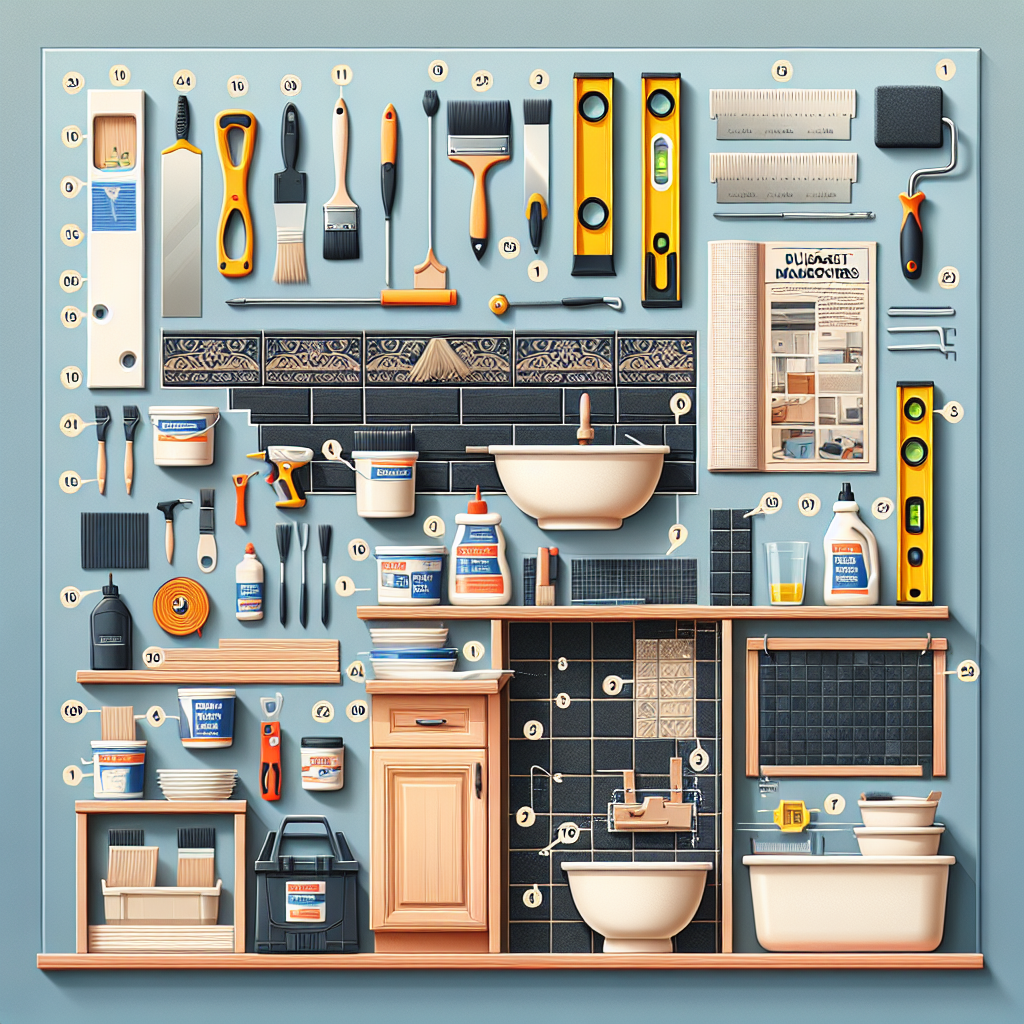
To install your peel-and-stick tile backsplash, you'll need the following:- Peel-and-stick tiles (enough to cover your desired area, plus a few extra tiles for cuts and mistakes)
- Utility knife or tile cutter
- Measuring tape
- Ruler or straight edge
- Pencil
- Scissors
- Cleaning supplies (degreaser, rags, sponge)
Clean and Prepare the Surface
The key to a successful peel-and-stick tile installation is a clean, smooth surface. Start by thoroughly cleaning the area where you'll be applying the tiles. Use a degreaser to remove any cooking oil, grime, or residue that may be present. Once the surface is clean, wipe it down with a damp cloth to remove any remaining debris. If your existing backsplash is uneven or has texture, you may need to sand or skim-coat the area to create a flat, uniform surface. This will help the tiles adhere properly and prevent any unsightly bumps or lumps.Measure and Plan Your Layout
Step-by-Step Guide to Installing Peel-and-Stick Tiles
Now that you've prepared the surface and gathered your materials, it's time to dive into the installation process. Follow these step-by-step instructions for a seamless peel-and-stick tile backsplash:1. Start at the Bottom
Begin by applying the first row of tiles at the bottom of your backsplash, working your way up. This will help you maintain a straight, level pattern and ensure that any uneven edges are hidden at the top.2. Peel and Stick
Carefully peel the backing off the first tile, being mindful not to let the adhesive side touch anything before you're ready to apply it. Align the tile with your pencil marks and press it firmly into place, smoothing out any air bubbles with your hands.3. Continue the Pattern
Once the first tile is securely in place, continue applying the rest of the tiles in your planned pattern. Ensure that each tile is tightly pressed against the previous one to create a seamless, uniform look.4. Cut Tiles to Fit
As you approach the edges of your backsplash or encounter obstacles like outlets, you'll need to cut tiles to fit. Use a utility knife or tile cutter to carefully trim the tiles, making sure to measure and mark the cut lines accurately.5. Finish with Trim (Optional)
To give your backsplash a polished, professional appearance, consider adding decorative trim or edge pieces around the perimeter. These can be found at most home improvement stores and are easily installed using the peel-and-stick method.6. Allow Time to Cure
Troubleshooting Common Peel-and-Stick Tile Issues
Even with careful preparation and attention to detail, you may encounter a few challenges during the installation process. Here are some common issues and how to address them:Bubbles or Wrinkles
If you notice any air bubbles or wrinkles in the tiles, gently lift the affected area and smooth it back down with your hands. You can also use a roller or the flat edge of a putty knife to press out any trapped air.Tiles Not Adhering Properly
Ensure that the surface is thoroughly clean and free of any grease or residue. You can also try lightly misting the back of the tiles with water before applying them, as this can help activate the adhesive.Uneven or Crooked Tiles
If your tiles aren't aligning properly, double-check your initial layout and make sure you're following the pencil marks. Use a straight edge to guide the placement of each tile and make any necessary adjustments.Difficulty Cutting Tiles
For clean, precise cuts, use a utility knife or tile cutter. Score the tile along the desired cut line, then snap it along the score. You can also use scissors to cut tiles, especially for smaller, intricate pieces.Maintenance and Care Tips
Caring for your new peel-and-stick tile backsplash is relatively straightforward. Here are some tips to keep it looking its best:- Wipe up spills and splatters as soon as possible using a damp cloth or sponge.
- Avoid using abrasive cleaners or scrubbing pads, as these can damage the tile surface.
- For a deeper clean, use a mild, non-acidic cleaner and a soft-bristle brush.
- If a tile becomes damaged or peels up, you can easily remove and replace it with a new one.
Key Takeaways
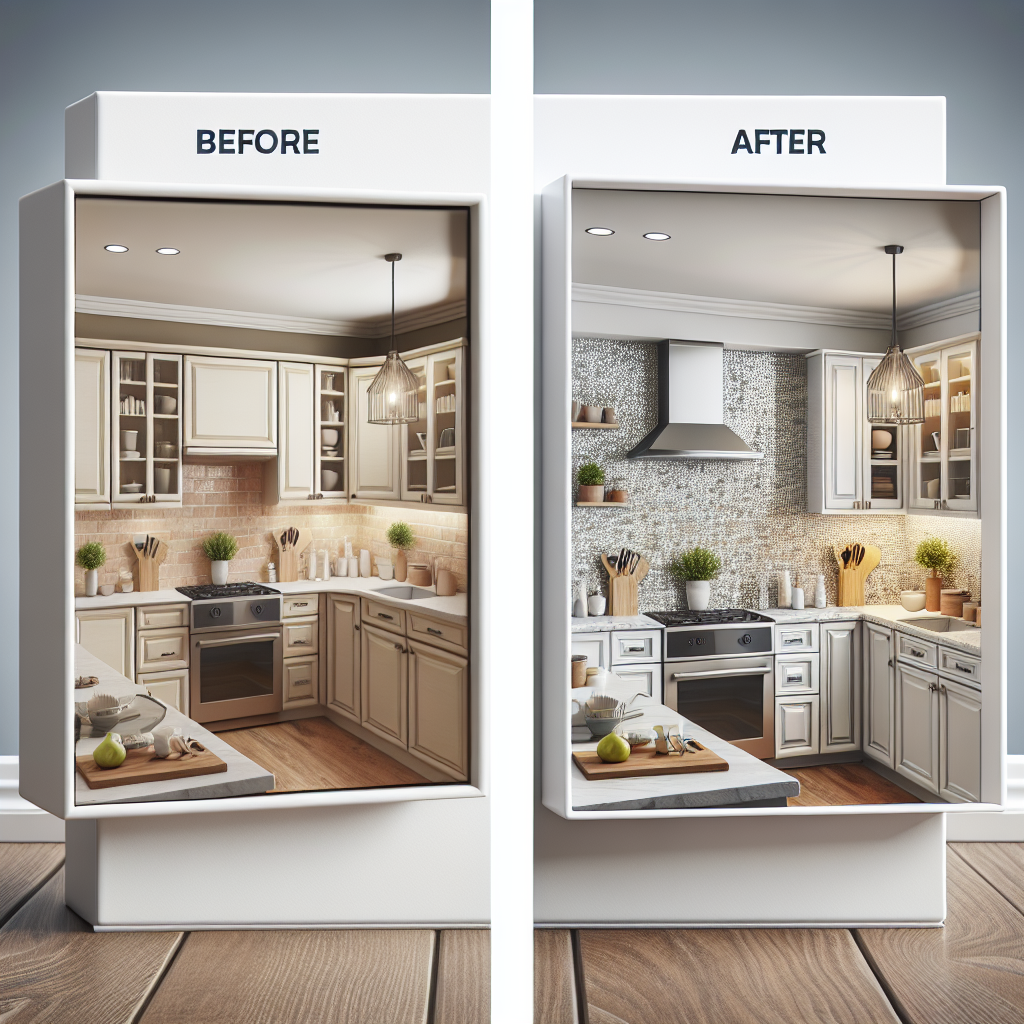
Upgrading your kitchen backsplash with a peel-and-stick tile installation is a budget-friendly DIY project that can have a transformative effect on your cooking space. By following this comprehensive guide, you'll be able to:- Understand the benefits of a peel-and-stick tile backsplash and how it can save you hundreds on professional installation costs.
- Properly prepare your kitchen surfaces for a seamless, long-lasting tile application.
- Master the step-by-step process of installing peel-and-stick tiles, including cutting and fitting tiles around obstacles.
- Troubleshoot common issues and maintain your new backsplash for years to come.