Master the art of affordable home makeovers with this step-by-step guide to installing stylish wall panels. Create a high-end look without the high-end price tag, all in just one weekend.
Are you tired of staring at the same bland walls in your living room, yearning for a change but dreading the hefty price tag that often comes with professional renovations? Fear not, DIY enthusiasts - transforming your space with a stunning, custom-looking wall panelling project is easier (and more budget-friendly) than you might think. In this comprehensive guide, we'll walk you through the step-by-step process of installing affordable, yet sophisticated, wall panels that will instantly elevate the look and feel of your living room. Whether you're a seasoned DIYer or a complete beginner, you'll learn the essential techniques, tools, and materials needed to create a high-end, designer-worthy look without breaking the bank.Why Consider DIY Wall Panelling?
Wall panelling is a versatile and timeless design feature that can transform the aesthetic of any living room. Beyond its visual appeal, there are several practical benefits to adding this type of architectural detail to your home:- Enhanced visual interest: Wall panels add depth, texture, and visual interest to otherwise flat walls, creating a dynamic and visually appealing space.
- Increased perceived value: Panelled walls can instantly elevate the perceived value of your home, making your living room look and feel more luxurious and high-end.
- Customizable design: With a wide range of panel styles, sizes, and finishes available, you can easily tailor the look to suit your personal style and the existing decor of your living room.
- Cost-effective renovation: Compared to more extensive renovations, such as re-plastering or drywall replacement, DIY wall panelling is a relatively affordable way to breathe new life into your living space.
- Improved acoustics: The added texture and depth of wall panels can help to improve the acoustics in your living room, enhancing the sound quality for music, movies, or conversations.
Choosing the Right Wall Panels for Your Living Room
The first step in your DIY wall panelling project is to select the right type of panels for your living room. There are several factors to consider, including your budget, the existing style of your space, and the overall look you're trying to achieve.Budget-Friendly Panel Options
If you're working with a tight budget, there are several cost-effective panel options to consider:- MDF (Medium-Density Fibreboard) Panels: MDF is a popular and affordable choice for DIY wall panelling projects. It's available in a variety of styles, from classic shiplap to modern geometric patterns, and can be painted or stained to suit your desired aesthetic.
- Laminate Panels: Laminate wall panels are a budget-friendly alternative that can mimic the look of more expensive materials, such as wood or stone, at a fraction of the cost.
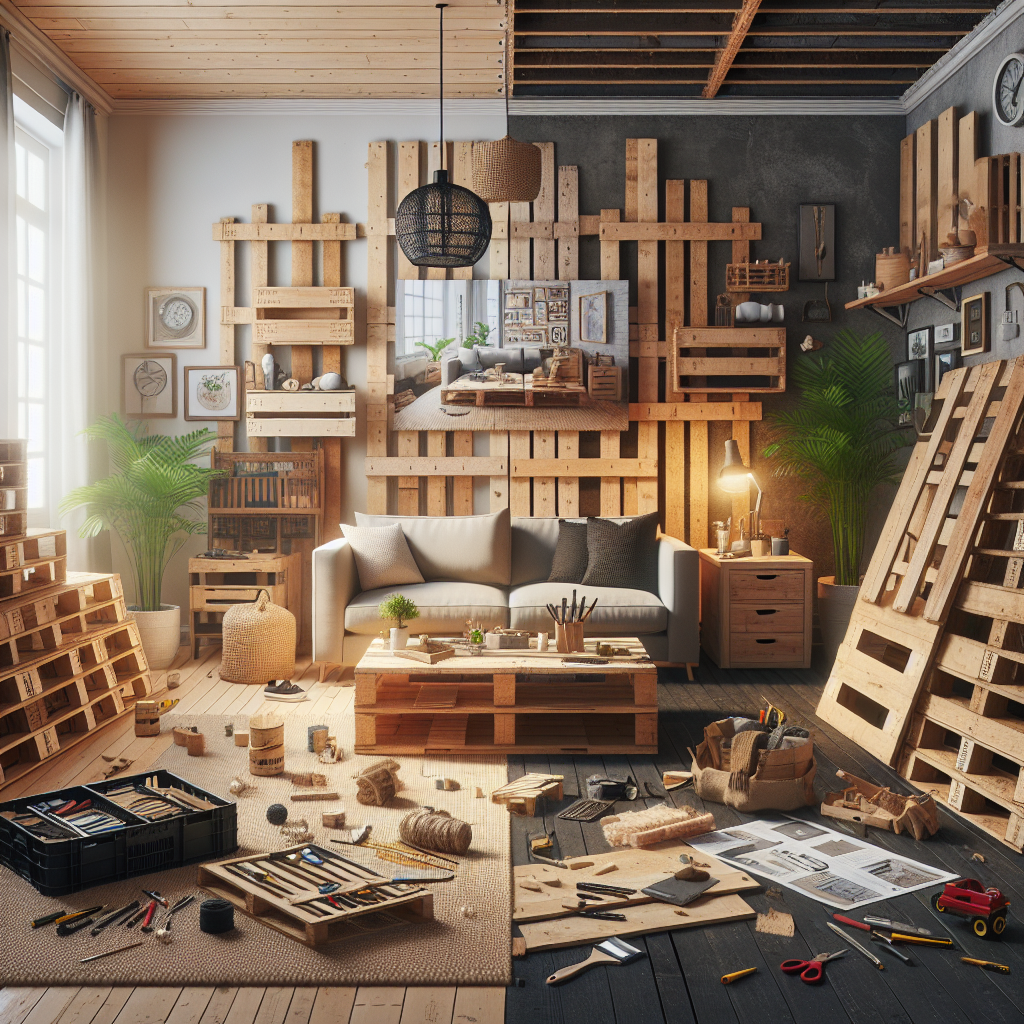
- Plywood Panels: Plywood is a versatile and cost-effective material that can be cut and installed to create a range of panelling designs, from simple shaker-style to intricate grid patterns.
Premium Panel Options
If your budget allows for a slightly higher investment, you may want to consider these premium panel options:- Solid Wood Panels: Authentic wood panels, such as pine, oak, or maple, can add a warm, natural charm to your living room. They tend to be more expensive than MDF or laminate but offer a high-end, custom look.
- Engineered Wood Panels: Engineered wood panels, such as those made from veneered plywood or medium-density fibreboard (MDF), can provide the look and feel of solid wood at a more affordable price point.
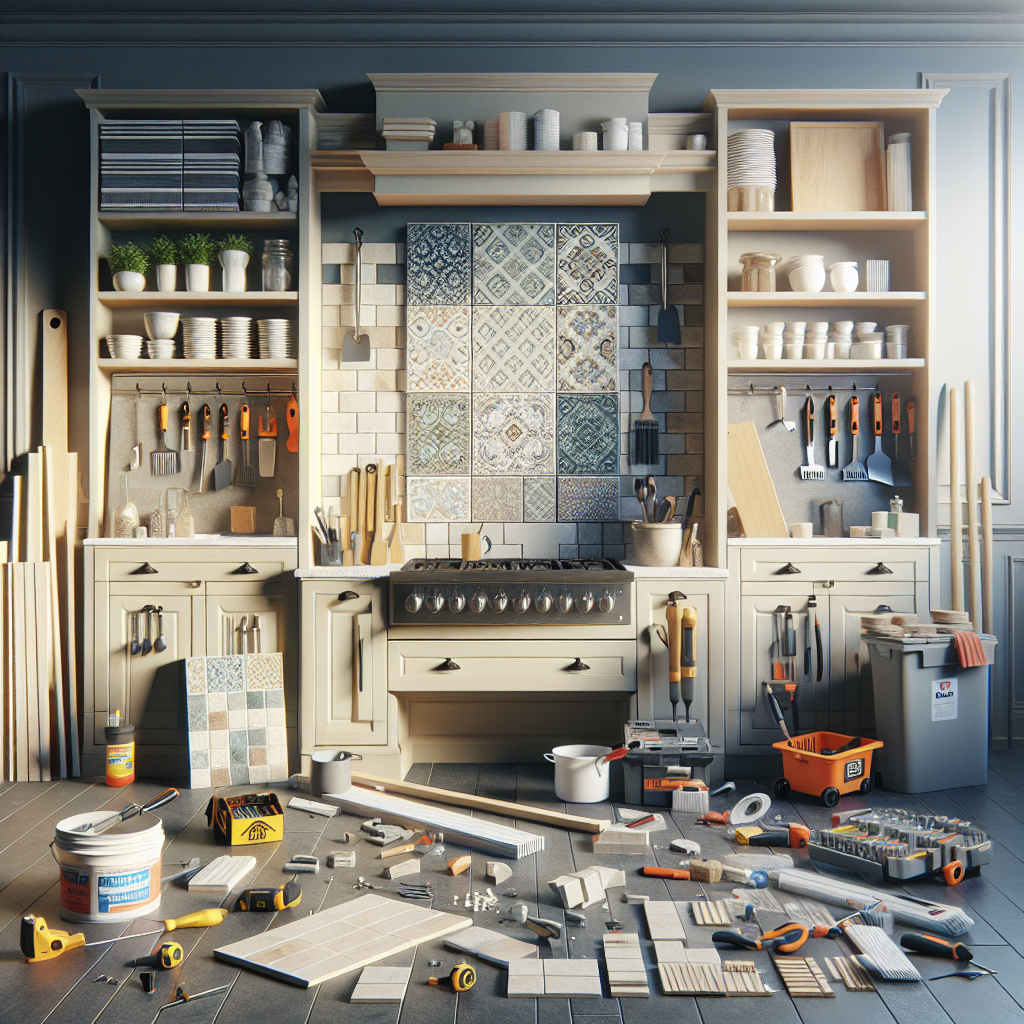
- Decorative Wall Tiles: Ceramic or stone wall tiles can be used to create a unique, eye-catching panelling effect, particularly in modern or contemporary living rooms.
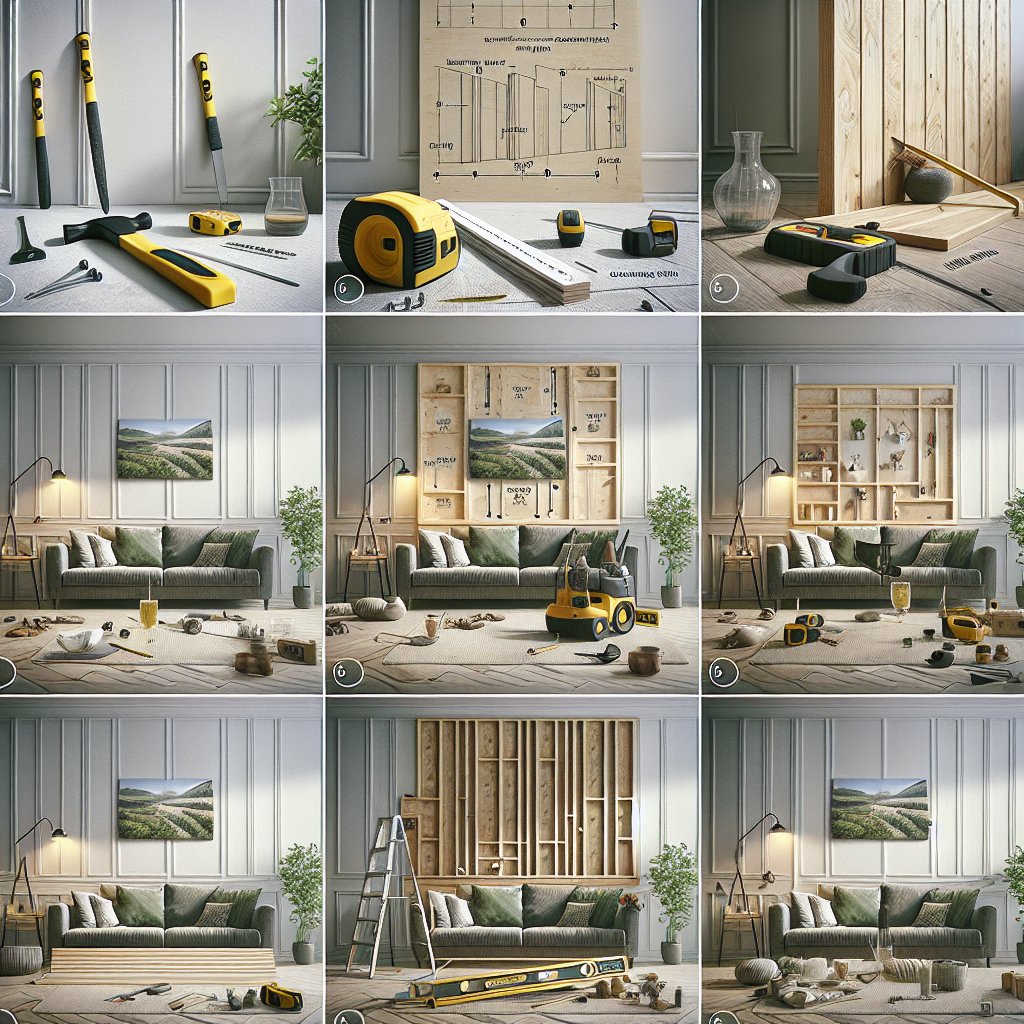
Measuring and Planning Your Wall Panelling Layout
Before you begin the installation process, it's crucial to take accurate measurements of your living room walls and plan the layout of your wall panels. This step will ensure a seamless, professional-looking finish and help you determine the exact materials you'll need.Measuring Your Walls
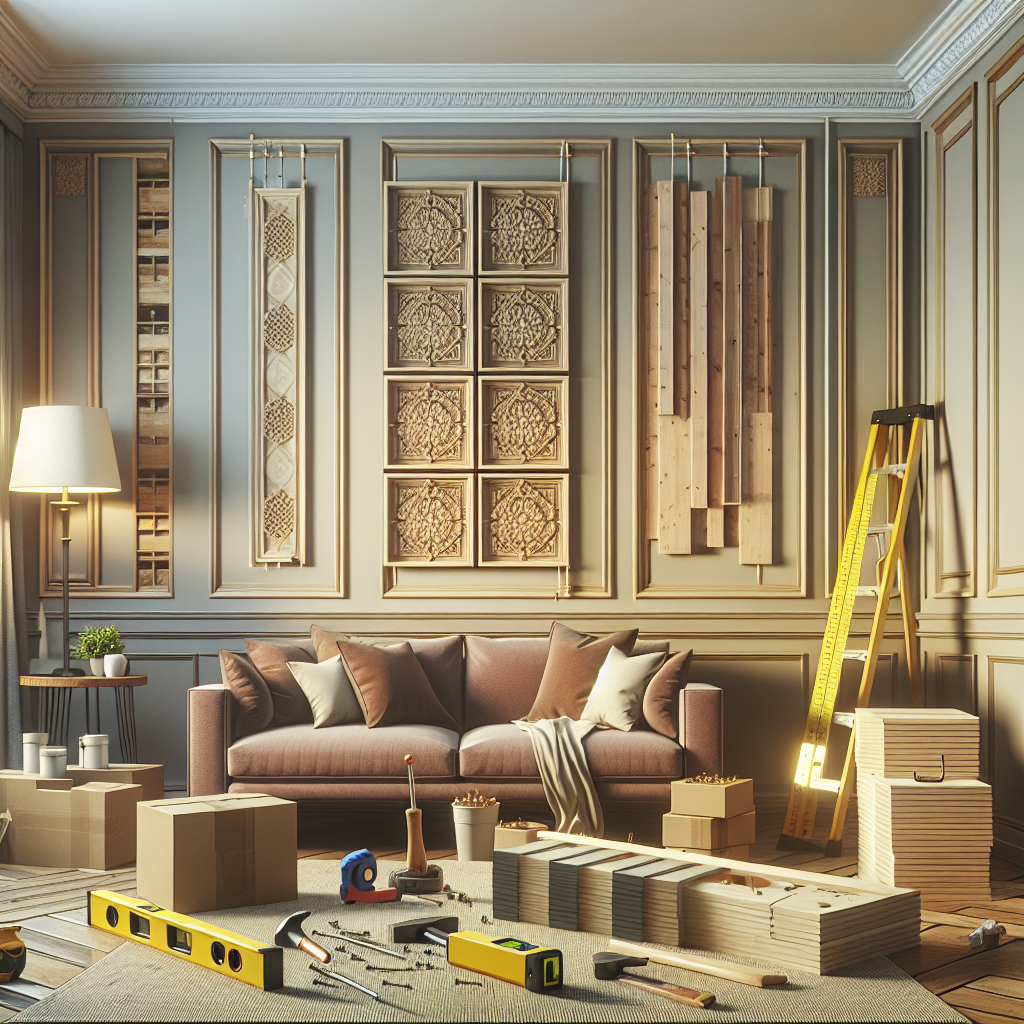
Start by measuring the length and height of each wall in your living room. Be sure to measure from corner to corner, and make note of any obstructions, such as electrical outlets, light switches, or windows, that will need to be worked around.Planning the Panel Layout
Once you have your measurements, sketch out a plan for the panel layout. Consider the size and shape of your living room, as well as the desired look you're trying to achieve. Some popular layout options include:- Horizontal Panels: Horizontal panels can make a room feel more spacious and visually expand the width of your living room.
- Vertical Panels: Vertical panels can create the illusion of higher ceilings and add a sense of grandeur to your living space.
- Alternating Patterns: Mixing horizontal and vertical panels, or incorporating different panel sizes and shapes, can result in a dynamic, custom-designed look.
Preparing Your Walls for Panelling
Before you can begin installing your wall panels, you'll need to properly prepare the surface. This step is crucial to ensure a smooth, professional-looking finish and prevent any issues down the line.Cleaning and Repairing the Walls
Start by thoroughly cleaning the walls, removing any dirt, dust, or debris that could interfere with the adhesion of the panels. Use a damp cloth or a mild cleaning solution to wipe down the walls, and be sure to let them dry completely before proceeding. Next, inspect the walls for any cracks, holes, or uneven surfaces, and make the necessary repairs. Fill in any gaps or cracks with a high-quality spackle or drywall compound, and sand the surface until it's smooth and level.Priming the Walls
Once the walls are clean and repaired, apply a coat of primer to the surface. This step will help ensure the panels adhere properly and prevent any future issues, such as peeling or bubbling. Choose a primer that's compatible with the material of your wall panels, whether it's MDF, laminate, or solid wood.Installing Your Wall Panels
With your walls properly prepared, it's time to start the installation process. Depending on the type of panels you've chosen, the specific steps may vary, but the general process is similar.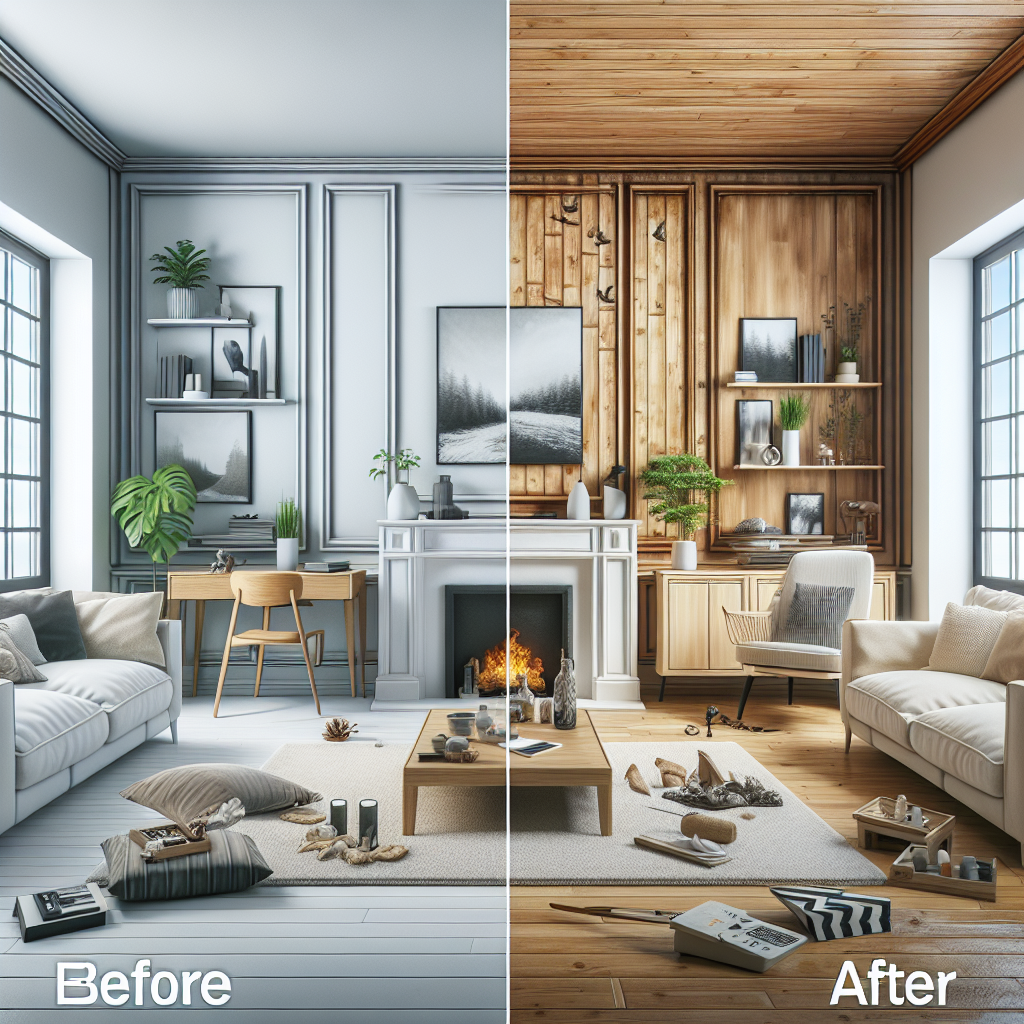
Cutting the Panels to Size
Begin by measuring and cutting your wall panels to the appropriate size. Use a circular saw or a miter saw to ensure clean, straight cuts. If you're working with pre-finished panels, be extra careful to avoid any scratches or damage to the surface.Attaching the Panels to the Wall
The method for attaching the panels will depend on the material. For MDF or laminate panels, you'll typically use a construction adhesive or a panel adhesive, applied directly to the wall. For solid wood or engineered wood panels, you may need to use a combination of adhesive and finishing nails or screws. When installing the panels, start at the bottom of the wall and work your way up, ensuring each panel is level and properly spaced. Use a level and a straight edge to maintain consistent spacing and alignment.Finishing Touches
Once all the panels are in place, you'll need to address any gaps or seams. Use a high-quality wood filler or caulk to fill in any spaces, and then sand the surface until it's smooth and seamless. Finally, apply a finish to your wall panels, whether it's a paint, stain, or clear sealant. This step will not only protect the panels but also help to create a cohesive, polished look.Budget-Friendly Accessories and Finishing Touches
To truly elevate the look of your DIY wall panelling project, consider adding a few budget-friendly accessories and finishing touches:- Decorative Moulding: Adding a simple, inexpensive crown moulding or baseboards can frame the panels and create a professional, high-end appearance.
- Wall Sconces: Strategically placed wall sconces can provide both ambient and task lighting, while also drawing attention to the beautiful wall panels.
- Floating Shelves: Incorporate floating shelves into your panel design to create a functional and visually appealing display for decor, books, or other living room essentials.
- Accent Pieces: Incorporate small, inexpensive decorative elements, such as vases, artwork, or plants, to complement the panelled walls and tie the entire living room together.