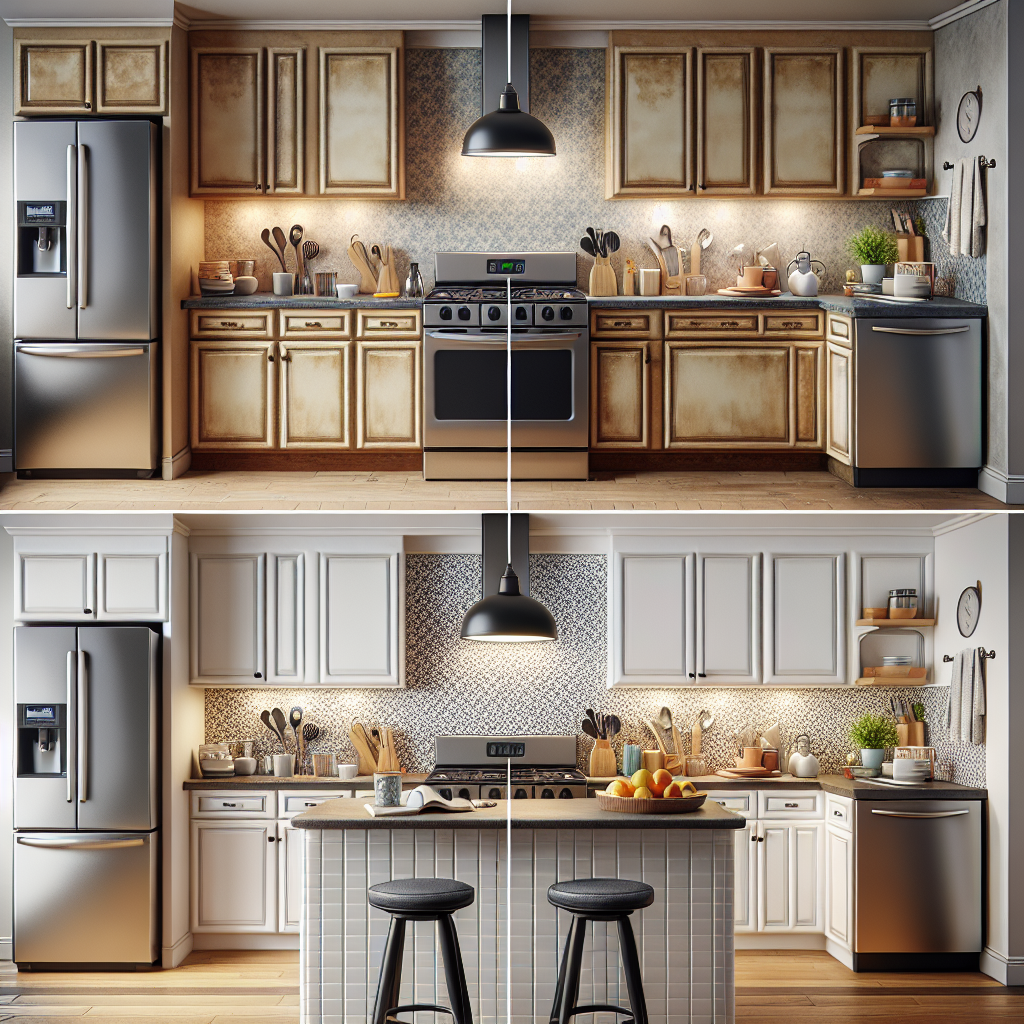
Elevate Your Kitchen with a Marble Countertop Look for Under $50
Are you tired of drab, outdated countertops that make your kitchen feel dull and uninviting? Transforming your countertops doesn't have to mean breaking the bank on a full-scale renovation. In fact, you can achieve a stunning, high-end look using a simple, budget-friendly solution: adhesive contact paper. Yes, you read that right! With the right techniques and a little elbow grease, you can master the art of using contact paper to create the appearance of luxurious marble countertops - for a fraction of the cost. This DIY project is perfect for homeowners and renters alike, allowing you to breathe new life into your kitchen without the hassle and expense of a professional installation. In this comprehensive guide, we'll walk you through the step-by-step process of applying contact paper to your countertops, from prepping the surface to perfecting the final finish. By the end, you'll have the skills and confidence to transform your kitchen on a shoestring budget and impress your friends and family with your design savvy.The Benefits of Upgrading with Contact Paper
Before we dive into the how-to, let's explore why contact paper is such a game-changer for budget-conscious kitchen makeovers:Cost-Effective
Marble countertops can easily cost $3,000 or more to install, putting them out of reach for many homeowners. In contrast, a high-quality roll of adhesive contact paper can be purchased for as little as $20-$50, depending on the size of your countertops. This makes it an incredibly affordable option for those working with a tight budget.Temporary and Reversible
Unlike permanent countertop replacements, contact paper is a temporary solution that can be easily removed without damaging your existing surfaces. This makes it an ideal choice for renters or homeowners who may want to change up their look in the future.Endless Design Options
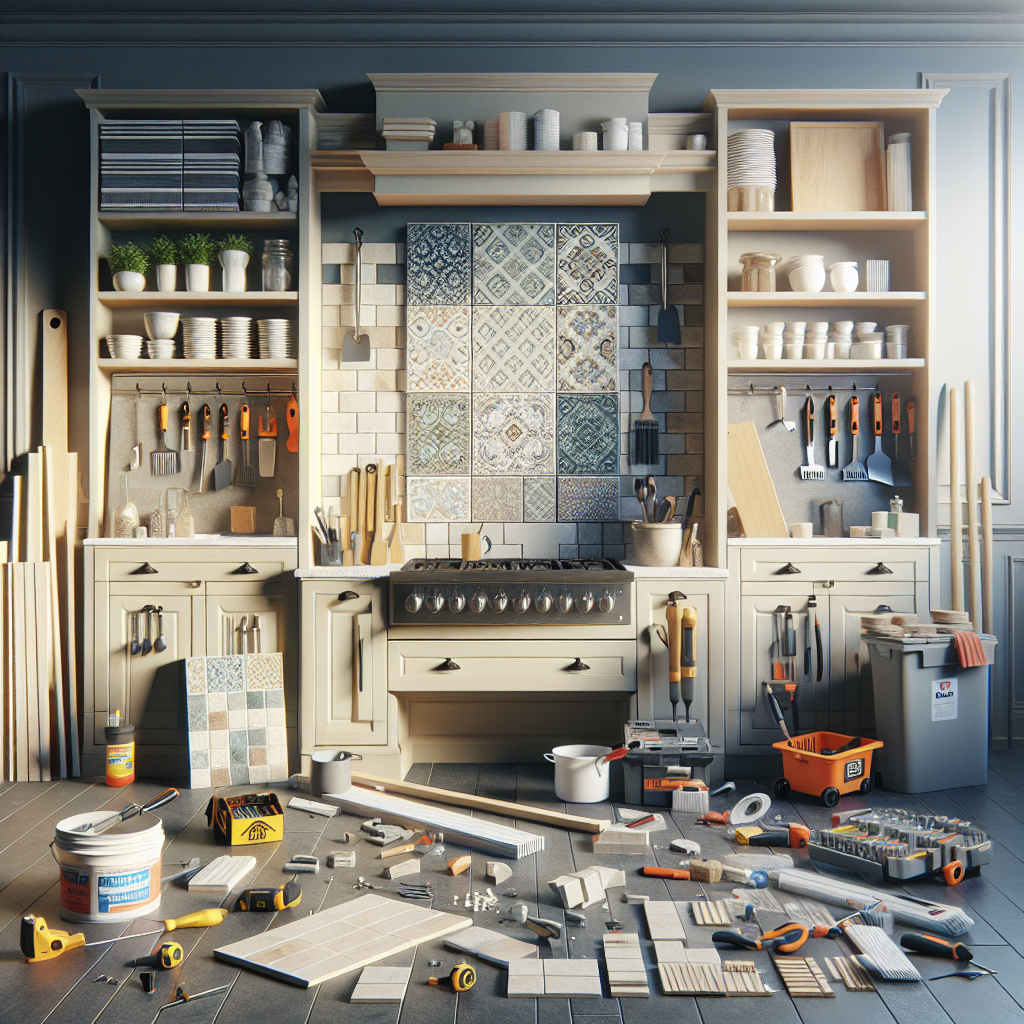
Contact paper comes in a wide variety of patterns and finishes, from classic marble and granite to trendy concrete and wood-look designs. This allows you to customize your kitchen to suit your personal style and preferences.Easy Installation
Applying contact paper to your countertops is a straightforward DIY project that doesn't require any special skills or tools. With a little patience and attention to detail, you can achieve professional-looking results in just a few hours.Preparing Your Countertops for the Transformation
Before you can start applying the contact paper, it's essential to properly prepare your countertops. This step is crucial for ensuring a smooth, long-lasting finish.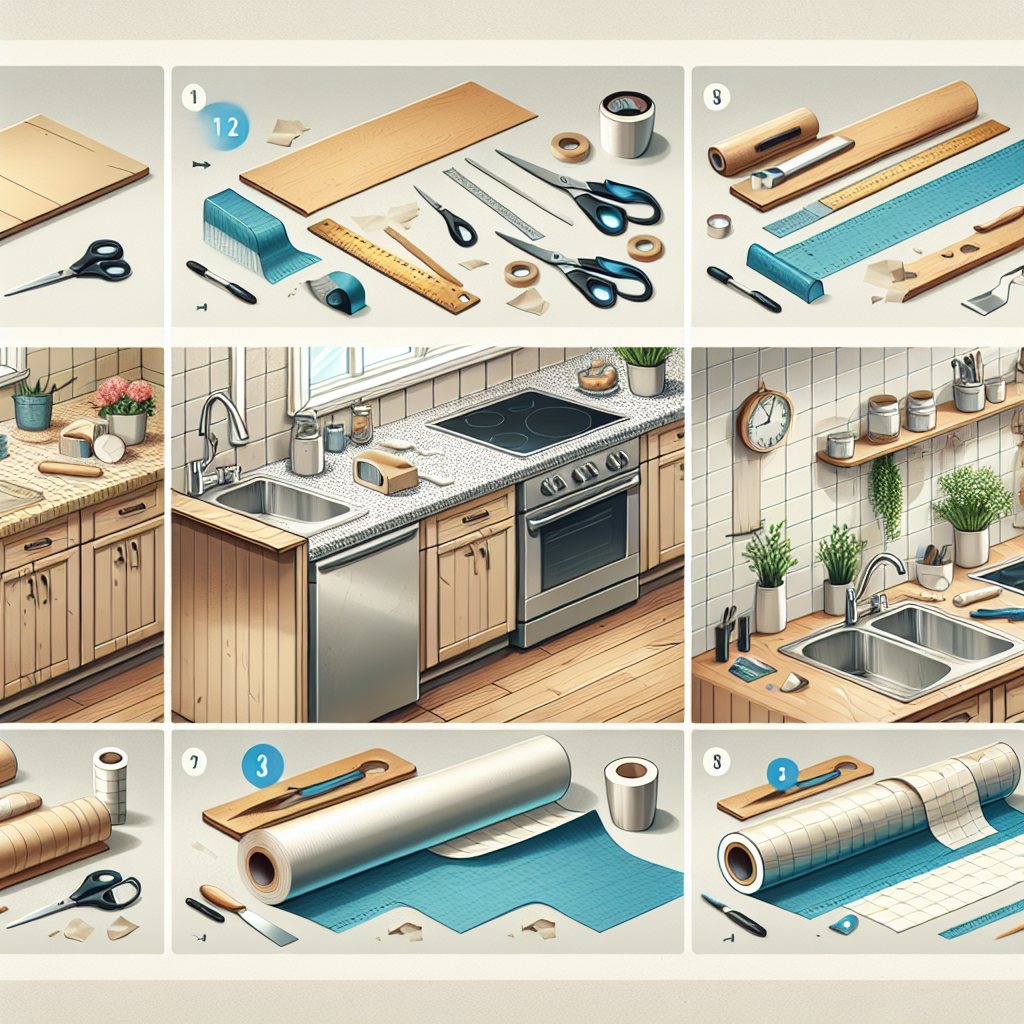
Clean and Degrease the Surface
Begin by thoroughly cleaning your countertops to remove any dirt, grease, or residue. Use a degreasing cleaner and a scrub pad to ensure the surface is completely free of any contaminants that could interfere with the adhesive. Rinse well and allow the countertops to dry completely.Sand and Smooth
Next, use fine-grit sandpaper to lightly buff the surface and remove any imperfections or uneven areas. This will help the contact paper adhere evenly and prevent air bubbles or wrinkles. Wipe away any dust with a clean, damp cloth.Apply a Primer (Optional)
For extra adhesion and durability, you can apply a thin coat of primer to the countertops before installing the contact paper. Look for a specialty primer designed for use on laminate or smooth surfaces. Allow the primer to dry completely according to the manufacturer's instructions.Measure and Cut the Contact Paper
Before applying the contact paper, carefully measure your countertops and cut the material to size, leaving a few extra inches on each side to account for wrapping the edges. It's a good idea to make a template out of paper or cardboard to ensure a perfect fit.Applying the Contact Paper with Precision
Now that your countertops are prepped and ready, it's time to tackle the application process. Take your time and follow these steps carefully for the best results.Start at the Back
Begin by peeling back a few inches of the contact paper's protective backing and carefully aligning the edge with the back of your countertop. Smooth the paper down as you peel away the backing, using a squeegee or your hands to eliminate air bubbles.Work in Sections
Instead of trying to apply the entire sheet at once, work in manageable sections, peeling back the backing and smoothing the paper as you go. This will help you achieve a flawless, wrinkle-free finish.Use a Squeegee
A squeegee is an essential tool for this project, as it allows you to firmly press the contact paper into place and remove any air pockets. Start at the center and work outward, using overlapping strokes to ensure complete adhesion.Wrap the Edges
Once the top of the countertop is covered, carefully wrap the contact paper around the edges, using a utility knife to trim any excess material. Smooth the edges with your hands or a squeegee to create a clean, finished look.Seal the Seams
If your countertops are longer than the width of the contact paper, you'll need to create a seam. Overlap the two pieces by about an inch, then use a sharp utility knife to trim away the excess. Seal the seam with a thin bead of clear silicone caulk to prevent peeling.Finalize the Finish
After the entire surface is covered, use a squeegee to go over the countertops one more time, pressing firmly to ensure maximum adhesion. If you notice any air bubbles or wrinkles, carefully lift the contact paper and reapply, smoothing as you go.