Transform Your Kitchen on a Shoestring: DIY Cabinet Refacing for Under $100
Are you tired of your outdated, drab kitchen cabinets but daunted by the high cost of a full remodel? Fear not - with a little elbow grease and some smart DIY know-how, you can give your kitchen a complete refresh for under $100. Discover an affordable and simple method to breathe new life into your cabinets and add value to your home in just a weekend.
Why Consider Cabinet Refacing?
Kitchen renovations can quickly become a massive investment, with the average full remodel costing over $20,000. However, the good news is that you don't have to break the bank to transform your space. Cabinet refacing is an excellent middle ground that allows you to update the look and feel of your kitchen without the hefty price tag of a total overhaul.
By refacing your existing cabinets instead of replacing them entirely, you can achieve a like-new appearance for a fraction of the cost. In fact, cabinet refacing typically runs 30-50% less than a full replacement, saving you thousands of dollars. And the best part? You can complete the project yourself in just a weekend, without the need for expensive professional labor.
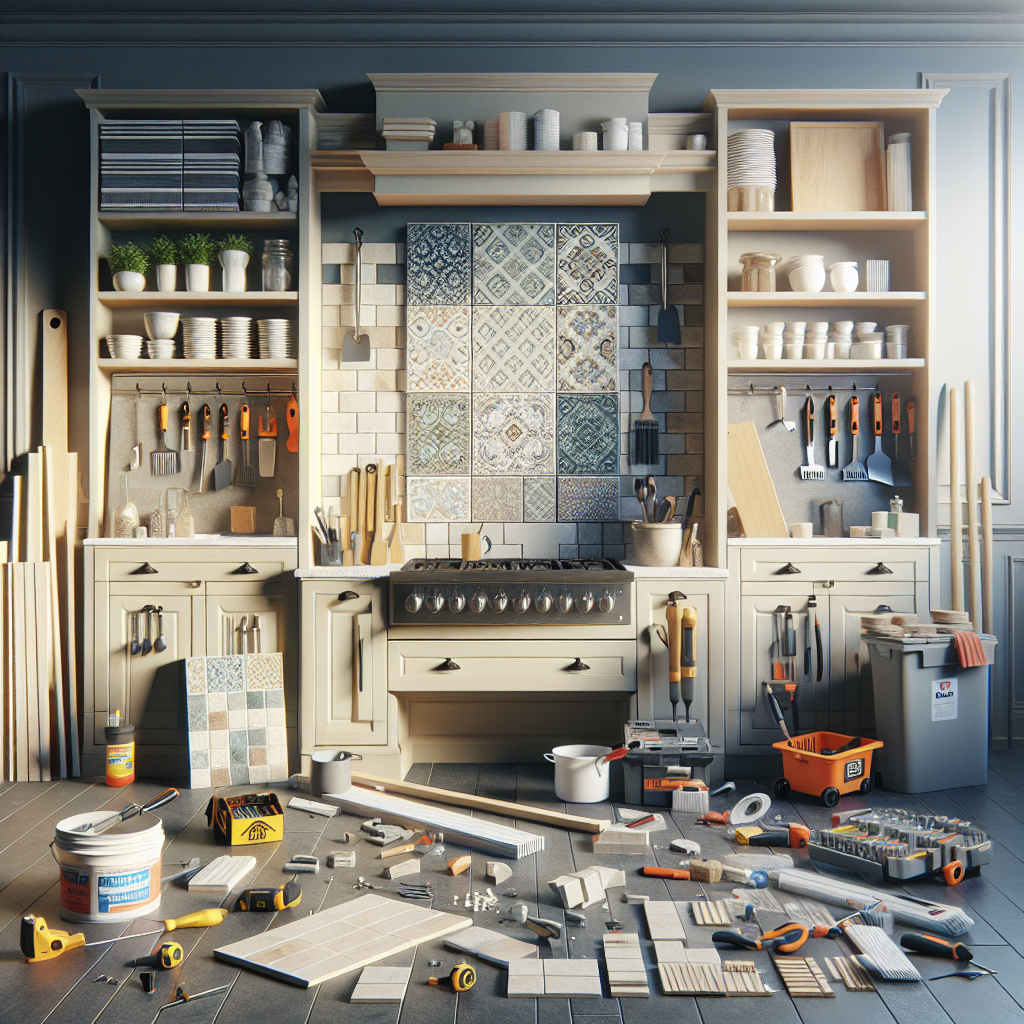
The Cabinet Refacing Process: Step-by-Step
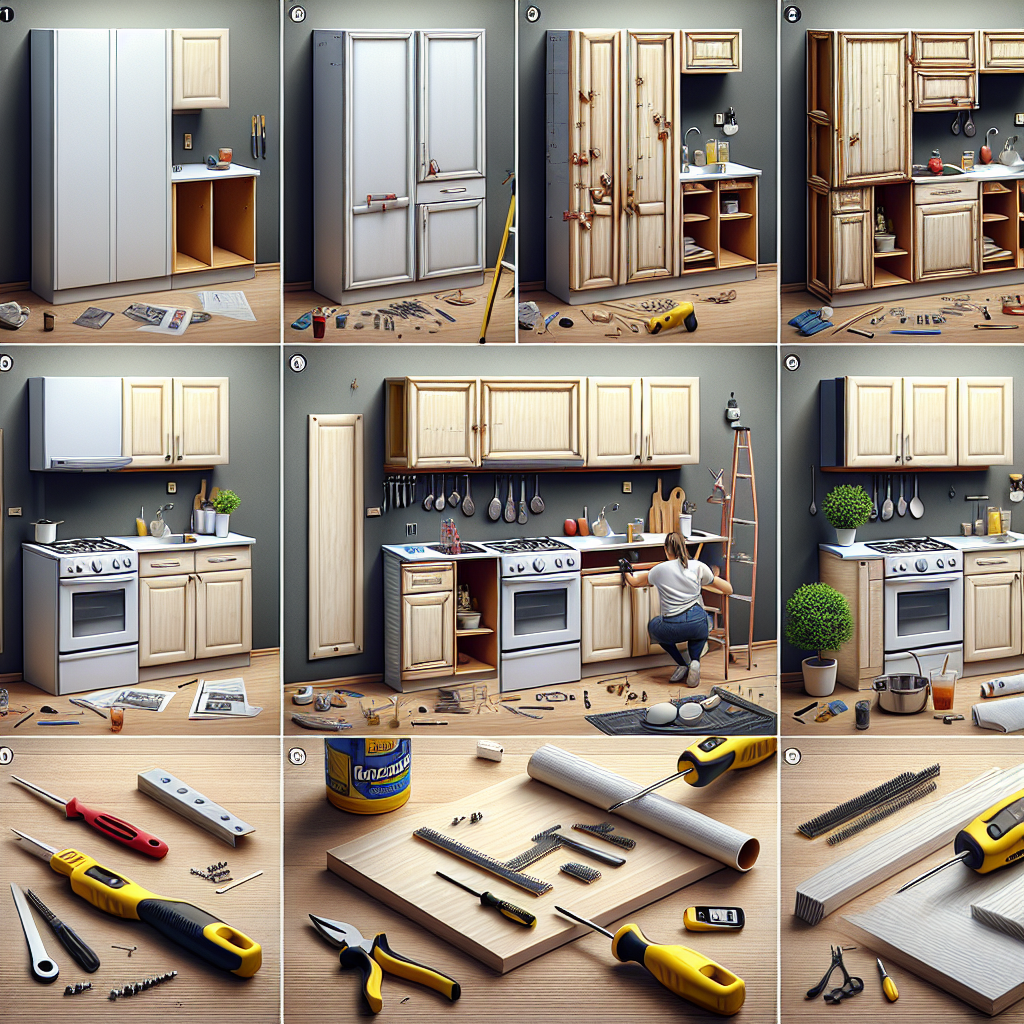
Ready to get started on your budget-friendly kitchen transformation? Follow these easy, step-by-step instructions to reface your cabinets and breathe new life into your cooking space.
Step 1: Assess Your Cabinets
Before you begin, take a close look at the current state of your kitchen cabinets. Ensure the cabinet boxes (the main frames) are in good condition and structurally sound. Cabinet refacing works best when the underlying framework is still sturdy and reliable.
Next, examine the cabinet doors and drawers. Are they showing significant wear and tear, with chipping, scratches, or outdated styles? These are the primary components you'll be replacing or updating during the refacing process.
Step 2: Choose Your New Cabinet Doors and Drawers
Now comes the fun part - selecting your new cabinet doors and drawer fronts. There are countless options available, from sleek and modern to classic and traditional. Some popular choices include:
- Wood Veneer: Offering a natural, elegant look, wood veneer cabinet doors are a classic choice that can be stained or painted to match your desired aesthetic.
- Laminate: Durable and easy to clean, laminate doors come in a wide range of colors and patterns to suit any kitchen style.
- MDF: Medium-density fiberboard (MDF) is an affordable option that can be painted or covered with a veneer for a premium appearance.
Measure your existing cabinet openings carefully to ensure a perfect fit for your new doors and drawers. Many home improvement stores or online retailers offer custom sizing to make the installation process a breeze.
- Shop Secondhand: Check your local thrift stores, garage sales, or online marketplaces for discounted cabinet doors and drawers. You can often find high-quality, gently used components at a fraction of the retail price.
- Opt for Cost-Effective Materials: While wood veneer and premium laminates offer a luxurious look, less expensive options like MDF or basic laminates can still transform your space beautifully.
- Reuse Existing Hardware: Instead of replacing all your cabinet pulls and hinges, see if you can simply spray paint or update the existing hardware to match your new cabinet doors.
- Tackle the Project Yourself: Avoid the hefty labor costs of hiring a professional by taking on the cabinet refacing process yourself. With the right tools and a little patience, you can achieve professional-level results.
Maximizing the Impact of Your Cabinet Refacing Project
To ensure your cabinet refacing project delivers the biggest bang for your buck, consider these additional tips:
 Pair with a Fresh Coat of Paint
While the cabinet refacing process will breathe new life into your kitchen, a fresh coat of paint can take the transformation to the next level. Choose a light, bright color to make the space feel more open and airy, or opt for a bold, on-trend hue to make a striking statement.
Update Your Hardware
Even if you decide to reuse your existing hardware, consider swapping out dated pulls and knobs for a more modern look. Sleek, minimalist hardware can elevate the entire aesthetic of your kitchen.
Enhance with Lighting
Proper lighting is key to showcasing your newly refaced cabinets. Install under-cabinet task lighting to illuminate your work surfaces, or consider adding a statement-making pendant or chandelier above your kitchen island or dining area.
Incorporate Decorative Touches
Finally, don't forget to add some decorative flair to your revamped kitchen. Style open shelving with potted plants, framed artwork, or your favorite cooking utensils. These small touches can make your space feel truly personalized and inviting.
Key Takeaways
Remember, the key to a successful cabinet refacing project on a tight budget is to focus on the essentials. By replacing just the cabinet doors and drawers, you can achieve a complete kitchen transformation for a fraction of the cost of a full remodel. With a little elbow grease and some strategic planning, you can refresh your space and add real value to your home - all for under $100.
Pair with a Fresh Coat of Paint
While the cabinet refacing process will breathe new life into your kitchen, a fresh coat of paint can take the transformation to the next level. Choose a light, bright color to make the space feel more open and airy, or opt for a bold, on-trend hue to make a striking statement.
Update Your Hardware
Even if you decide to reuse your existing hardware, consider swapping out dated pulls and knobs for a more modern look. Sleek, minimalist hardware can elevate the entire aesthetic of your kitchen.
Enhance with Lighting
Proper lighting is key to showcasing your newly refaced cabinets. Install under-cabinet task lighting to illuminate your work surfaces, or consider adding a statement-making pendant or chandelier above your kitchen island or dining area.
Incorporate Decorative Touches
Finally, don't forget to add some decorative flair to your revamped kitchen. Style open shelving with potted plants, framed artwork, or your favorite cooking utensils. These small touches can make your space feel truly personalized and inviting.
Key Takeaways
Remember, the key to a successful cabinet refacing project on a tight budget is to focus on the essentials. By replacing just the cabinet doors and drawers, you can achieve a complete kitchen transformation for a fraction of the cost of a full remodel. With a little elbow grease and some strategic planning, you can refresh your space and add real value to your home - all for under $100.