Revive Your Kitchen Cabinets Without Breaking the Bank
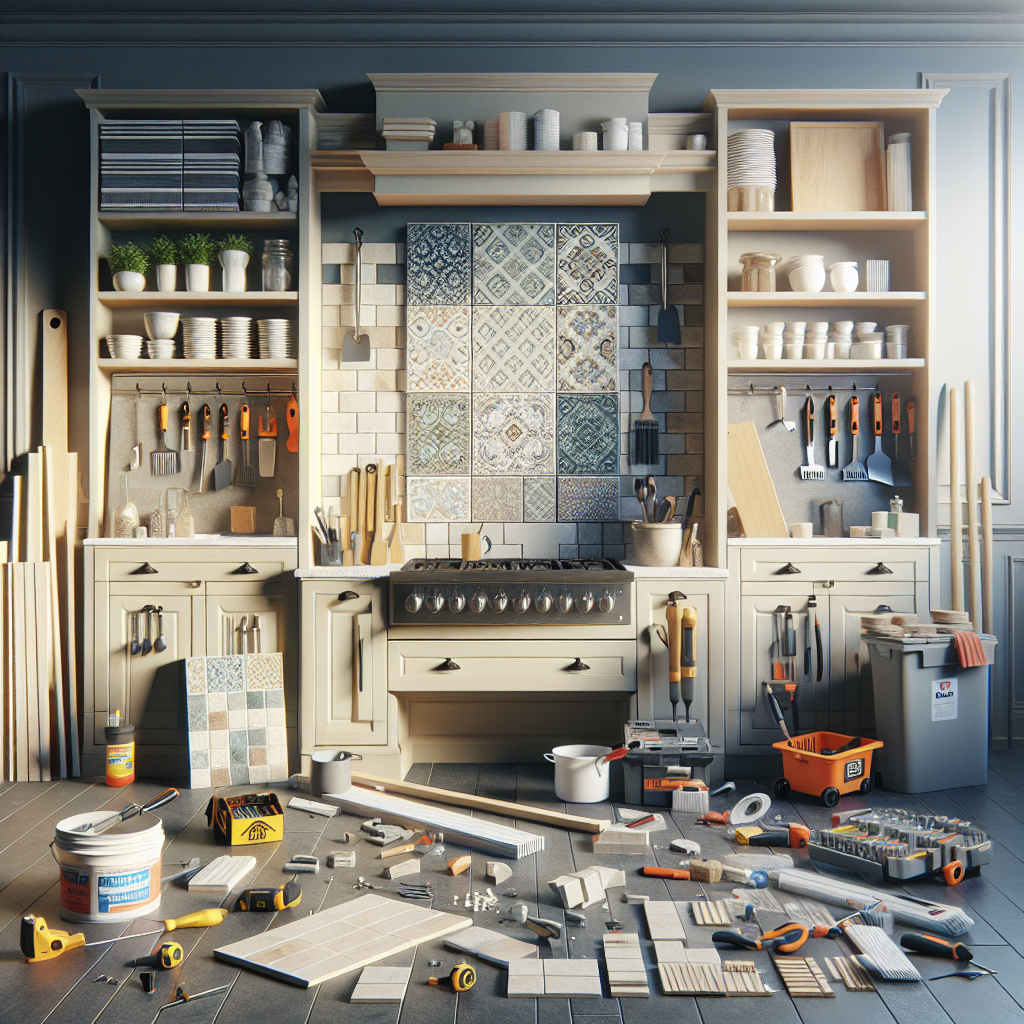
Are you tired of looking at those dull, outdated kitchen cabinets day after day? Dreaming of a fresh, updated look but worried about the cost? Fear not - with a little elbow grease and some smart DIY techniques, you can transform your kitchen cabinets on a shoestring budget. In this comprehensive guide, we'll walk you through a complete cabinet makeover that will have your kitchen looking brand new for under $100. From preparing the surfaces to selecting the perfect paint and hardware, we've got all the tips and tricks you need to pull off a professional-grade cabinet refresh without the professional price tag. Whether you're a seasoned DIYer or a complete beginner, this step-by-step tutorial will empower you to take on your kitchen cabinets with confidence. Let's dive in and get your dream kitchen one step closer to reality!Assess Your Cabinets: What Needs Updating?
The first step in any successful cabinet makeover is to thoroughly inspect your existing units and determine what needs the most attention. Take some time to walk around your kitchen, open and close the doors, and really evaluate the current state of your cabinets. Some key things to look for:- Surface condition: Are the cabinet doors and drawers chipped, scratched, or faded? Do they have a dated finish that's no longer appealing?
- Hardware: Are the hinges, knobs, and pulls outdated, damaged, or mismatched?
- Functionality: Do the doors and drawers open and close smoothly, or do they stick or sag?
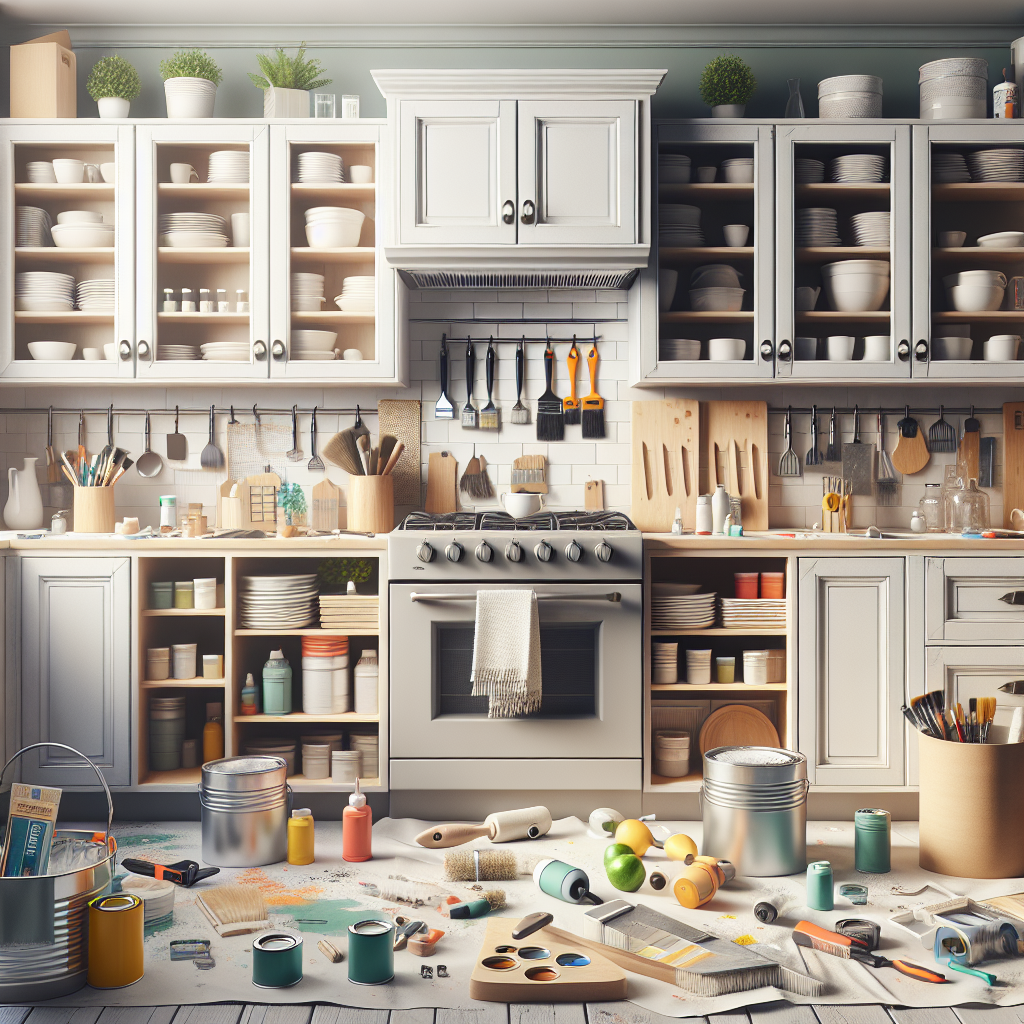
Prepare Your Cabinets for Painting
Once you've assessed the state of your cabinets, it's time to start prepping the surfaces for a fresh new look. Proper preparation is key to ensuring your paint job looks professional and lasts for years to come.Degreasing and Cleaning
Begin by thoroughly cleaning the cabinet doors, drawers, and frames. Use a degreasing agent or all-purpose cleaner to remove any built-up grime, grease, or residue. This will help the paint adhere properly. Wipe everything down with a microfiber cloth and allow to fully dry.Light Sanding
Next, lightly sand the cabinet surfaces using fine-grit sandpaper (220-grit or higher). This will rough up the existing finish and create a smooth, even base for the new paint. Be sure to wipe away any dust with a tack cloth when you're done.Priming
Before painting, you'll want to apply a high-quality primer. This helps the paint bond securely and ensures a long-lasting, durable finish. For best results, opt for an oil-based or shellac-based primer formulated specifically for cabinetry and furniture.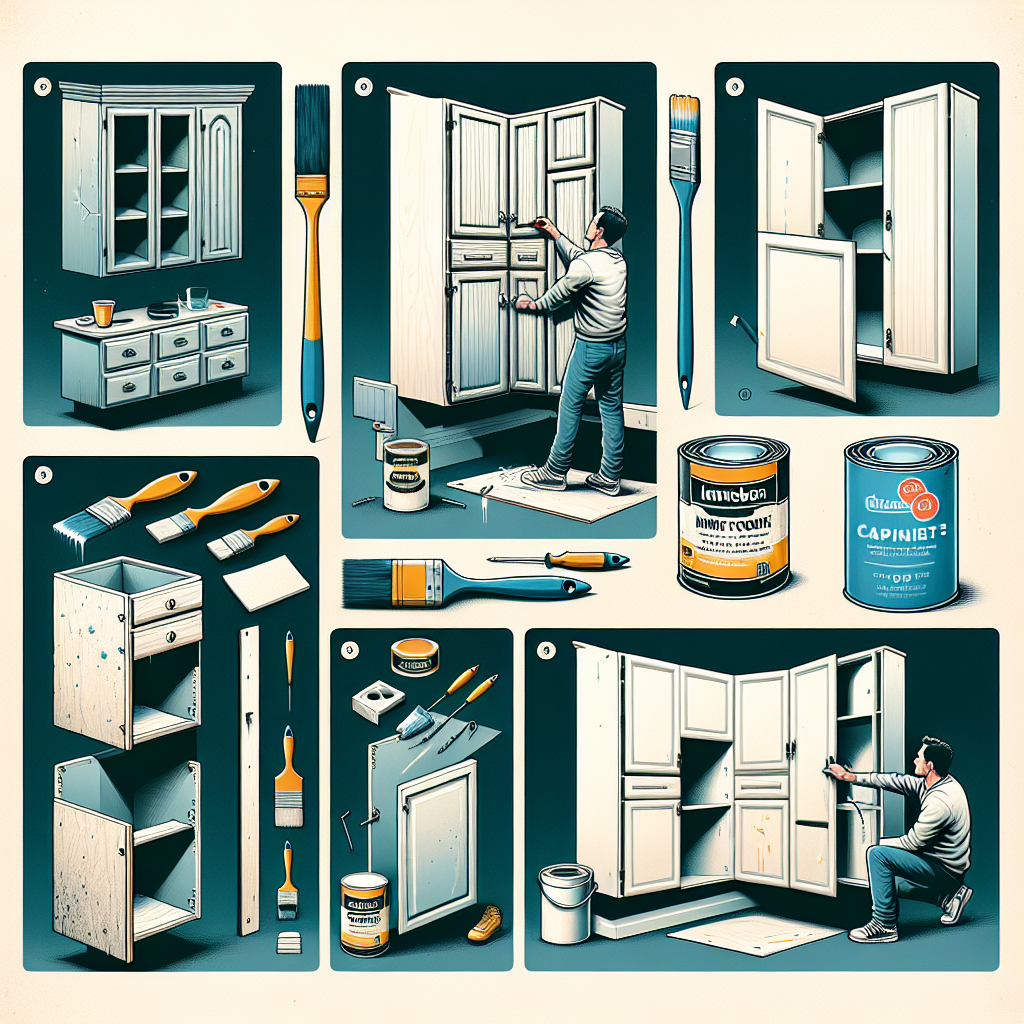
Protecting Surrounding Surfaces
Finally, don't forget to cover and protect any surrounding surfaces, like countertops, appliances, and floors. Use painter's tape, drop cloths, and other protective materials to keep your work area clean and tidy.Selecting the Right Paint and Finishes
With your cabinet surfaces prepped and ready, it's time to choose the perfect paint and finishes to breathe new life into your kitchen. There are a few key factors to consider:Paint Type
When it comes to cabinet painting, you'll want to use a high-quality, durable paint specifically formulated for cabinetry and furniture. Opt for an alkyd or oil-based enamel paint, which provides a smooth, glossy finish that's more resistant to chipping, scratching, and wear over time. Latex paints can work as well, but they may not hold up as well in high-use areas like the kitchen. Avoid basic wall paints, as they won't have the necessary durability.Color and Finish
The color and sheen of your new paint can have a dramatic impact on the overall look and feel of your kitchen. Classic white or neutral tones like gray and beige are always popular choices, as they create a light, airy atmosphere. For the finish, a semi-gloss or high-gloss sheen will provide a beautiful, reflective look that's easy to clean. Satin or eggshell finishes are more subtle but may show wear and tear more quickly.Hardware Upgrades
Don't forget about your cabinet hardware! Replacing dated knobs, pulls, and hinges can instantly elevate the look of your newly painted cabinets. Opt for modern, stylish hardware in finishes like brushed nickel, matte black, or brass to complement your new color scheme.Painting Your Cabinets: A Step-by-Step Guide
Now that you've prepared the surfaces and selected your materials, it's time to put paint to cabinet! Follow these detailed steps for a professional-quality finish:Remove Cabinet Doors and Drawers
Start by removing all the cabinet doors, drawers, and hardware. This will make the painting process much easier and ensure you get clean, even coverage.Clean and Sand Surfaces
Give the cabinet boxes, doors, and drawers one final cleaning and light sanding to remove any remaining imperfections or debris.Apply Primer
Using a high-quality, paint-specific primer, apply a thin, even coat to all surfaces, following the manufacturer's instructions for drying time.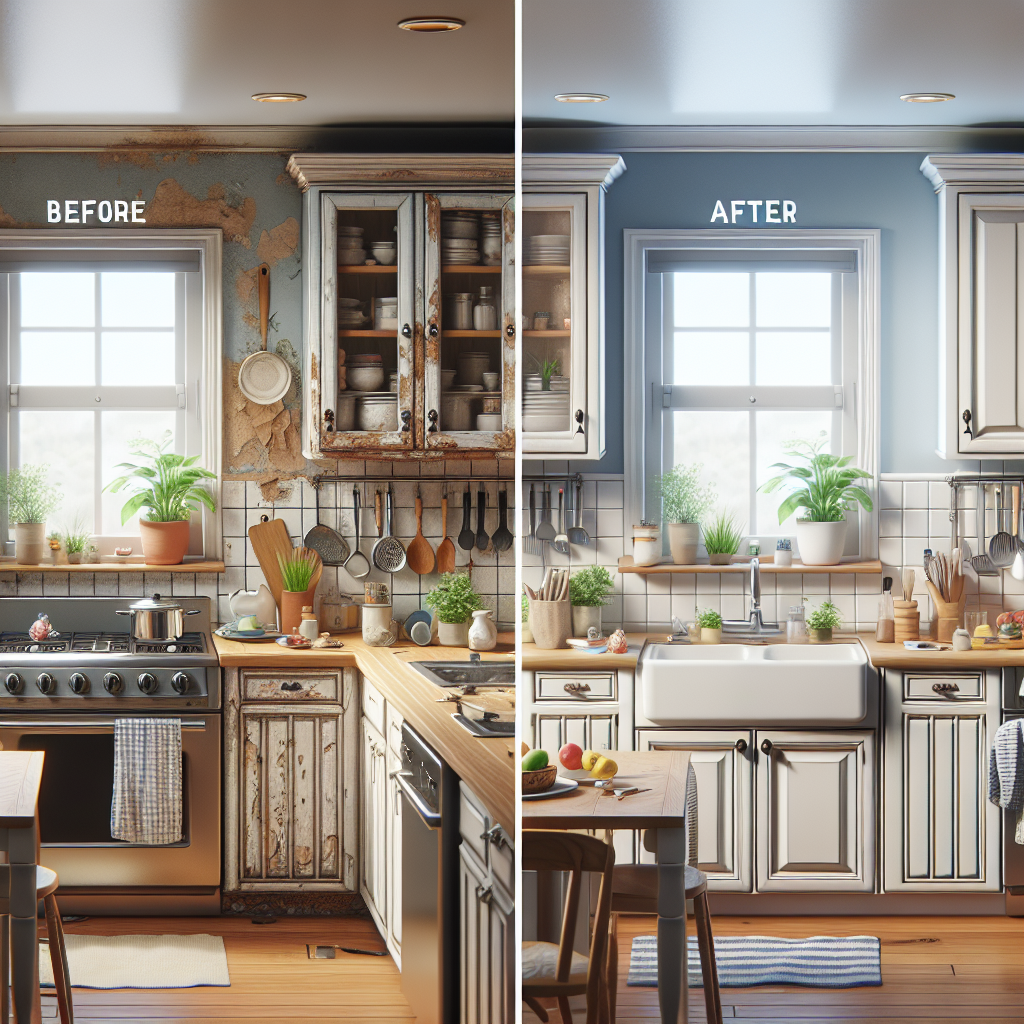
Paint the Cabinet Boxes
Begin by painting the cabinet boxes first, using a small foam roller or high-quality paintbrush. Apply two to three thin, even coats, allowing proper drying time between each.Paint the Doors and Drawers
Once the cabinet boxes are complete, turn your attention to the doors and drawers. Lay them flat on a protected surface and paint the fronts, sides, and backs, again applying two to three thin coats.Replace Hardware
After the paint has fully cured (typically 24-48 hours), it's time to reinstall your cabinet doors and drawers and add the new hardware. Follow the manufacturer's instructions for proper installation.Maintaining Your Refreshed Cabinets
Congratulations - your kitchen cabinets have a whole new lease on life! To keep them looking their best for years to come, be sure to follow these maintenance tips:- Clean regularly: Wipe down the cabinet surfaces with a gentle, all-purpose cleaner and a microfiber cloth. Avoid abrasive scrubbing pads or harsh chemicals.
- Protect the finish: Use coasters, trivets, and placemats to avoid placing hot or wet items directly on the cabinet surfaces, which can damage the paint over time.
- Touch up as needed: If you notice any chips or scratches, use a small artist's brush to carefully apply touch-up paint to the affected areas.
Key Takeaways
Let's recap the key steps to transforming your kitchen cabinets on a budget:- Thoroughly assess your existing cabinets and identify problem areas.
- Properly prepare the surfaces by cleaning, sanding, and priming.
- Select high-quality, durable paint and finishes that will stand up to kitchen use.
- Follow a detailed, step-by-step painting process for professional-looking results.
- Replace outdated hardware to complete the refreshed look.
- Maintain your cabinets with regular cleaning and careful use to preserve the new finish.