Master the art of cabinet painting and upgrade your kitchen's look without breaking the bank. Practical, step-by-step guide for a weekend DIY project.
Tired of those dull, outdated kitchen cabinets but daunted by the high cost of a full cabinet replacement? Fear not! With a little elbow grease and a $100 budget, you can transform the look of your kitchen cabinets and breathe new life into your space. In this comprehensive guide, we'll walk you through the step-by-step process of painting your kitchen cabinets like a pro, along with essential tips and tricks to ensure a flawless finish.Why Paint Your Kitchen Cabinets?
Updating your kitchen cabinets can have a dramatic impact on the overall aesthetic of your space. Whether your cabinets are showing their age, you're simply craving a fresh new look, or you want to tie your kitchen into a larger renovation project, a cabinet painting project is an excellent, budget-friendly solution. Here are a few key benefits of painting your kitchen cabinets:- Cost-effective - Painting your cabinets is significantly less expensive than a full cabinet replacement, making it an accessible option for homeowners on a tight budget.
- Customizable - With a wide range of paint colors and finishes to choose from, you can tailor the look of your cabinets to perfectly complement your kitchen's style and decor.
- Increased home value - A kitchen cabinet makeover can be a smart investment, as it can increase the perceived value of your home and make it more appealing to potential buyers.
- Revitalized appearance - Drab, worn-out cabinets can instantly look fresh, modern, and inviting with a new coat of paint.
Preparing Your Cabinets for Painting
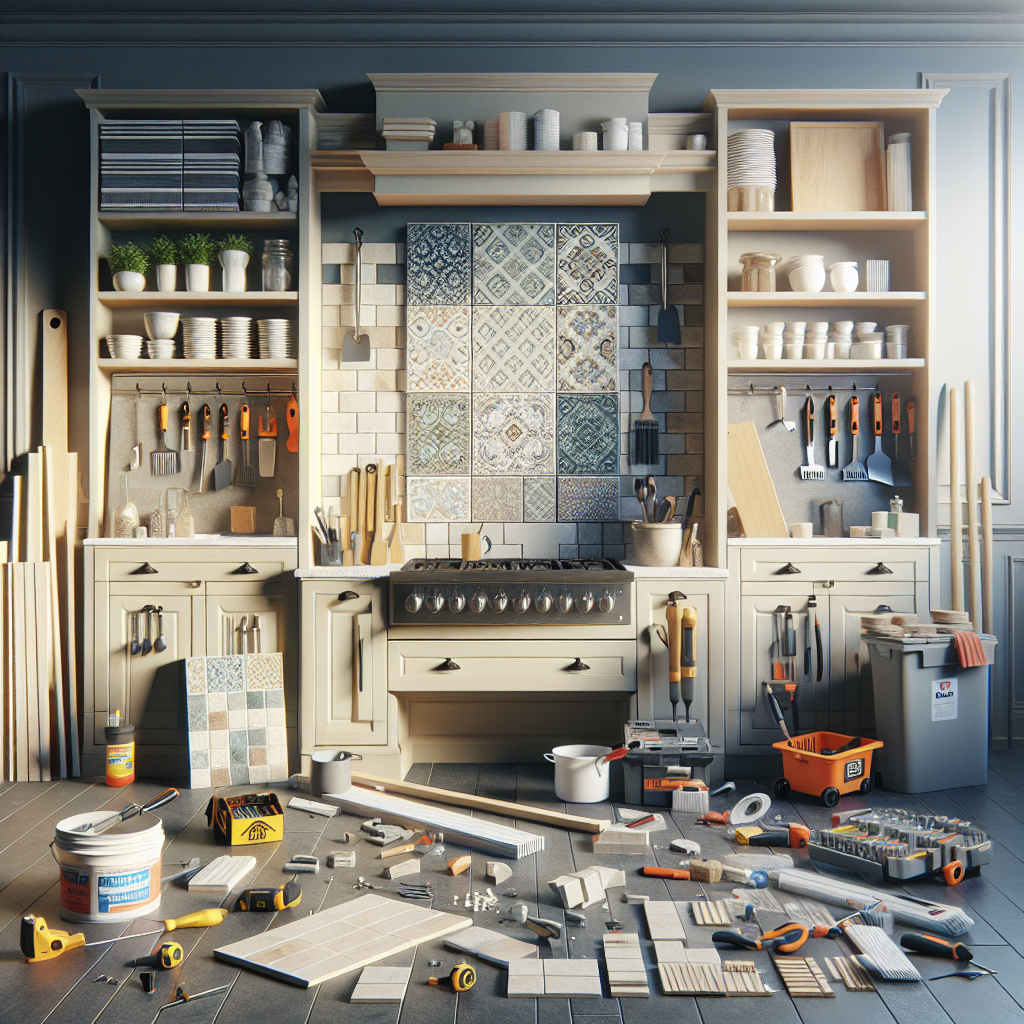
Before you can dive into the painting process, it's crucial to properly prepare your cabinets. This step-by-step approach will ensure a smooth, professional-looking finish:Step 1: Clean and Degrease
Start by thoroughly cleaning your cabinet surfaces to remove any built-up grease, dirt, or grime. Use a degreasing cleaner or a mix of warm water and dish soap, then rinse and dry the cabinets completely.Step 2: Remove Hardware
Take the time to remove all cabinet hardware, including hinges, knobs, and pulls. This will make the painting process much easier and prevent any accidental paint drips or splatters.Step 3: Lightly Sand
Use a fine-grit sandpaper (220-grit or higher) to lightly sand the cabinet surfaces. This will help the paint adhere better and create a smooth finish. Be sure to wipe away any dust after sanding.Step 4: Apply a Primer
Primer is an essential step in the cabinet painting process, as it helps the topcoat of paint bind to the surface and provides better coverage. Look for a high-quality, oil-based or latex primer designed for use on wood or laminate surfaces.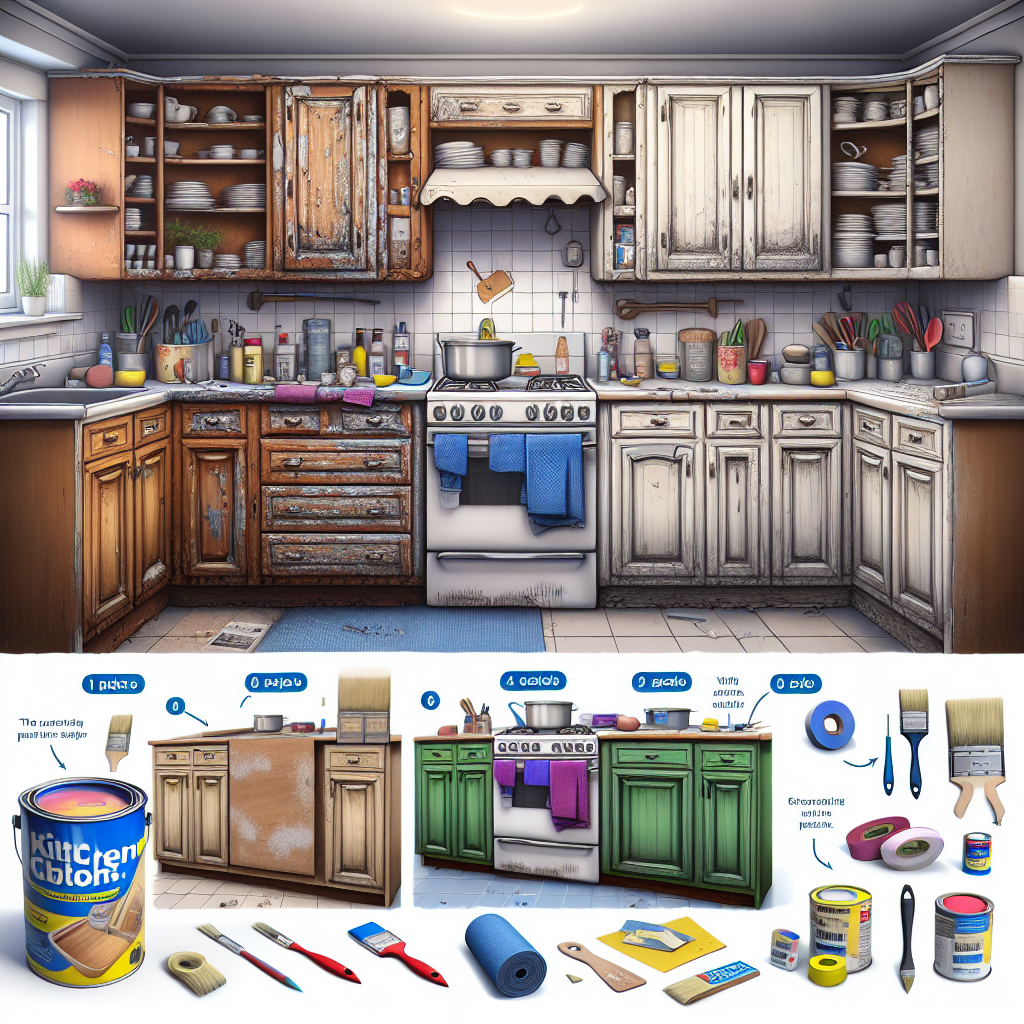
Step 5: Mask and Protect
Use painter's tape to mask off any areas you don't want painted, such as countertops, backsplashes, or hardware holes. Cover the floor with drop cloths to protect against drips and spills.Painting Your Kitchen Cabinets
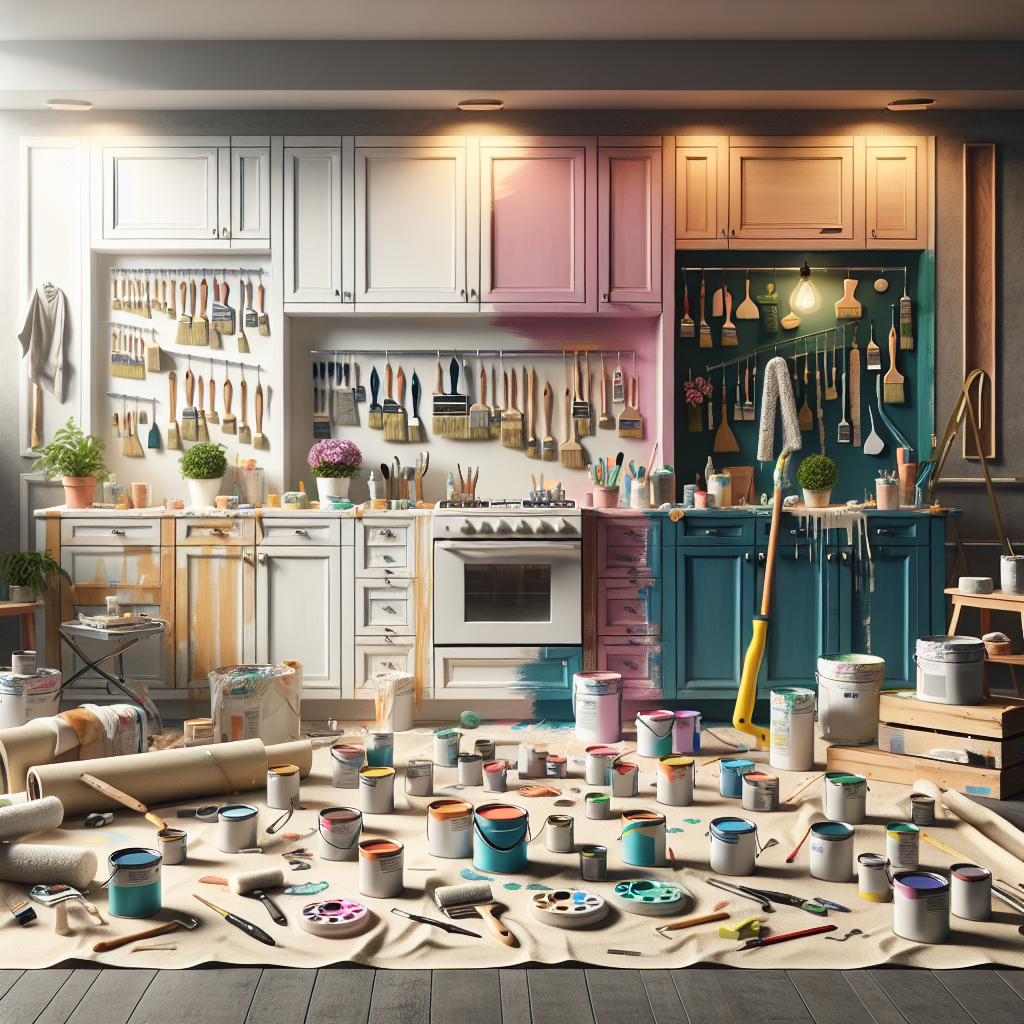
With your cabinets properly prepared, it's time to dive into the painting process. Follow these steps for professional-looking results:Step 1: Choose the Right Paint
When it comes to cabinet paint, quality matters. Look for a high-quality, durable, and long-lasting paint formulated specifically for cabinetry and trim. Latex or oil-based paints are both excellent options, but consider factors like desired finish, drying time, and ease of application.Step 2: Apply the First Coat
Begin by painting the cabinet boxes first, using a high-quality paint brush or small roller. Apply the paint in thin, even coats, working in the direction of the wood grain. Allow the first coat to dry completely before moving on.Step 3: Sand and Clean
Once the first coat is dry, lightly sand the surfaces again using fine-grit sandpaper. This will help create a smooth finish and prepare the surface for the second coat. Wipe away any dust or debris.Step 4: Apply the Second Coat
Apply a second, thin coat of paint, again working in the direction of the wood grain. This second coat will help ensure even coverage and a professional-looking finish.Step 5: Paint the Doors and Drawers
With the cabinet boxes painted, turn your attention to the doors and drawers. Lay them flat on a clean, well-ventilated work surface and paint them using the same techniques as the boxes.Step 6: Reinstall Hardware
After the final coat of paint has fully dried, carefully reinstall all the cabinet hardware, including hinges, knobs, and pulls.Tips for a Flawless Finish
To ensure your cabinet painting project turns out picture-perfect, keep these expert tips in mind: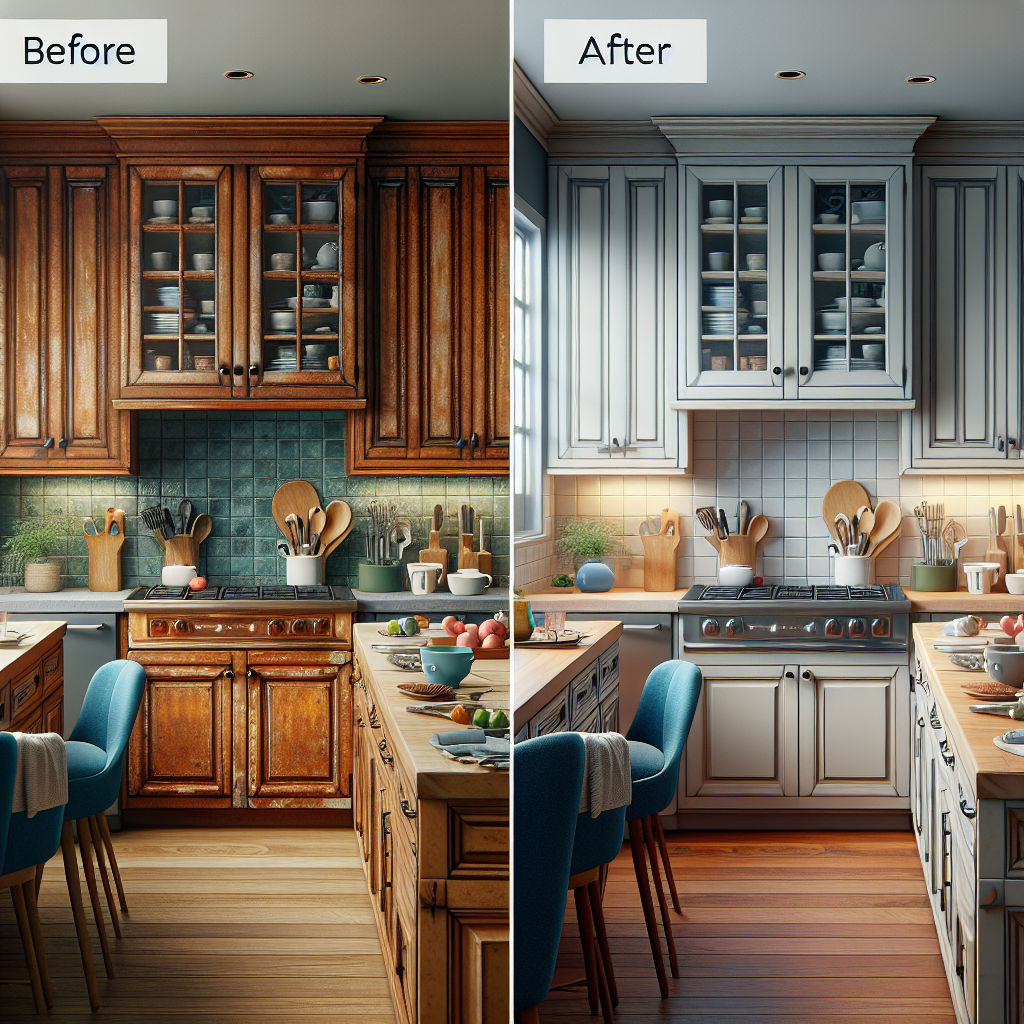
- Use high-quality tools - Invest in good-quality paintbrushes, rollers, and sandpaper for the best results.
- Work in a well-ventilated area - Proper airflow will help the paint dry quickly and evenly.
- Allow ample drying time - Be patient and let each coat of paint dry completely before moving on to the next step.
- Maintain a consistent painting technique - Apply paint in thin, even coats, working in the direction of the wood grain.
- Address any imperfections - Lightly sand and re-paint any areas that need additional attention.
- Consider a cabinet painting kit - For a more streamlined process, look into specialized cabinet painting kits that include all the necessary supplies.
Budget-Friendly Cabinet Painting Supplies
One of the biggest advantages of a cabinet painting project is the relatively low cost. With a budget of around $100, you can easily transform the look of your kitchen cabinets. Here's a sample shopping list to get you started:- High-quality cabinet paint (1-2 quarts) - $30-$60
- Oil-based or latex primer - $15-$25
- Paint brushes and small rollers - $10-$20
- Sandpaper (220-grit and higher) - $5-$10
- Painter's tape and drop cloths - $10-$15
- Degreasing cleaner - $5-$10
Key Takeaways
- Painting your kitchen cabinets is a cost-effective way to transform the look of your space.
- Proper preparation, including cleaning, sanding, and priming, is key to a flawless finish.
- Use high-quality paints and tools designed for cabinetry to ensure a durable, long-lasting result.
- Follow a step-by-step painting process, taking the time to apply multiple thin, even coats.
- With the right techniques and a $100 budget, you can achieve a magazine-worthy cabinet makeover.