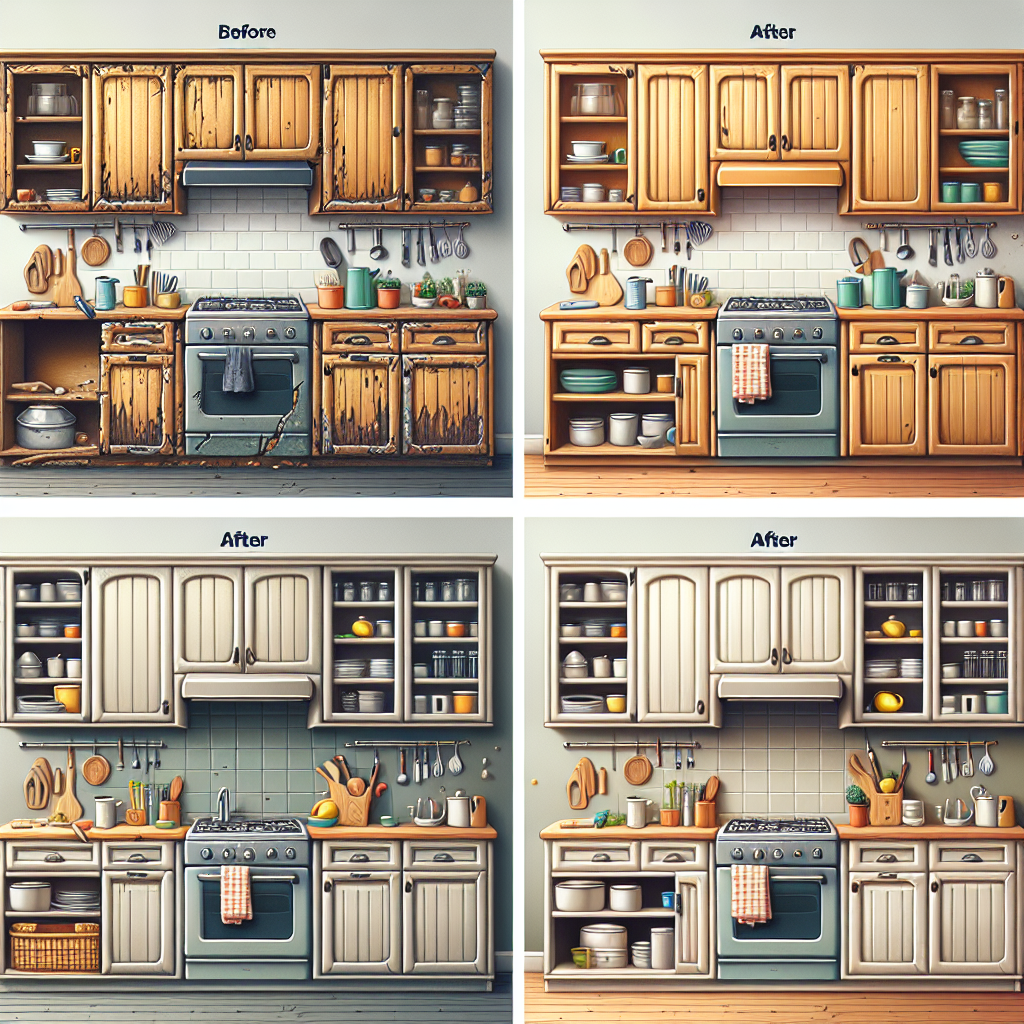
Breathe New Life into Your Kitchen with an Affordable Cabinet Makeover
Are you tired of looking at those dated, worn-out kitchen cabinets every day? Do you dream of a stylish, modern kitchen but cringe at the thought of a full-scale renovation? If so, you're in luck - transforming your kitchen cabinets on a budget is an achievable DIY project that can dramatically update the look and feel of your space. In this comprehensive guide, we'll walk you through every step of the process, from assessing your current cabinets to choosing the perfect paint and hardware. With the right techniques and materials, you can turn those tired old cabinets into beautiful, functional storage solutions without breaking the bank.Evaluating Your Existing Cabinets
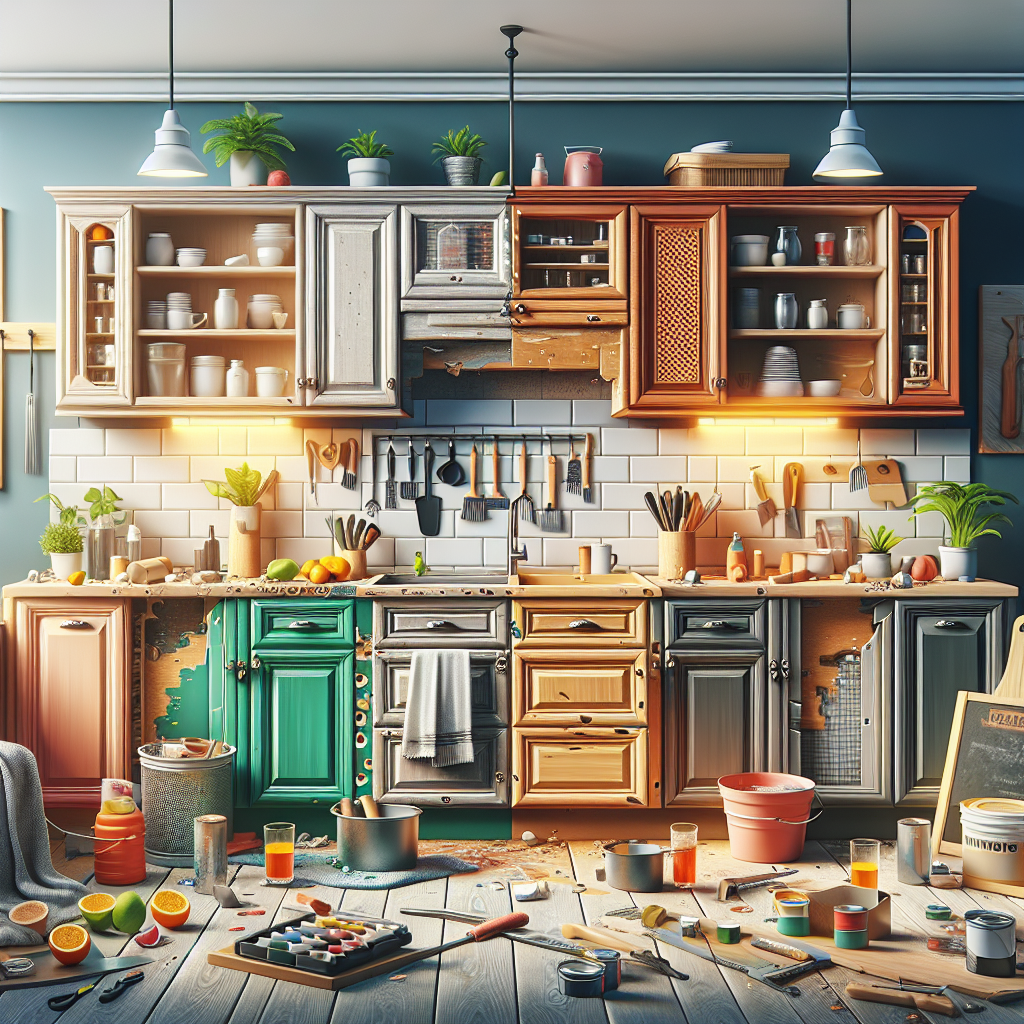
Before you dive into your cabinet makeover, it's essential to take a close look at the condition of your existing units. This will help you determine the best approach and set realistic expectations for your project.Assessing the Cabinet Structure
Start by examining the structural integrity of your cabinets. Are the doors, drawers, and hinges in good working order? Do the cabinets feel sturdy and secure when opened and closed? If there are any significant issues like sagging shelves, loose hinges, or damaged frames, you may need to consider more extensive repairs or even cabinet replacement before proceeding.Evaluating the Cabinet Finish
Next, inspect the current finish on your cabinets. Are they made of wood, laminate, or another material? Is the surface in good condition, or is it chipped, peeling, or discolored? The condition of the existing finish will determine the level of preparation required before you can apply a new paint or stain.Considering Cabinet Layout and Design
Take some time to think about the overall layout and design of your kitchen. Are you satisfied with the current cabinet configuration, or do you envision making any changes, such as adding new units, adjusting the sizes, or reconfiguring the storage space? Keeping these factors in mind will help you plan your cabinet makeover more effectively.Choosing the Right Cabinet Makeover Approach
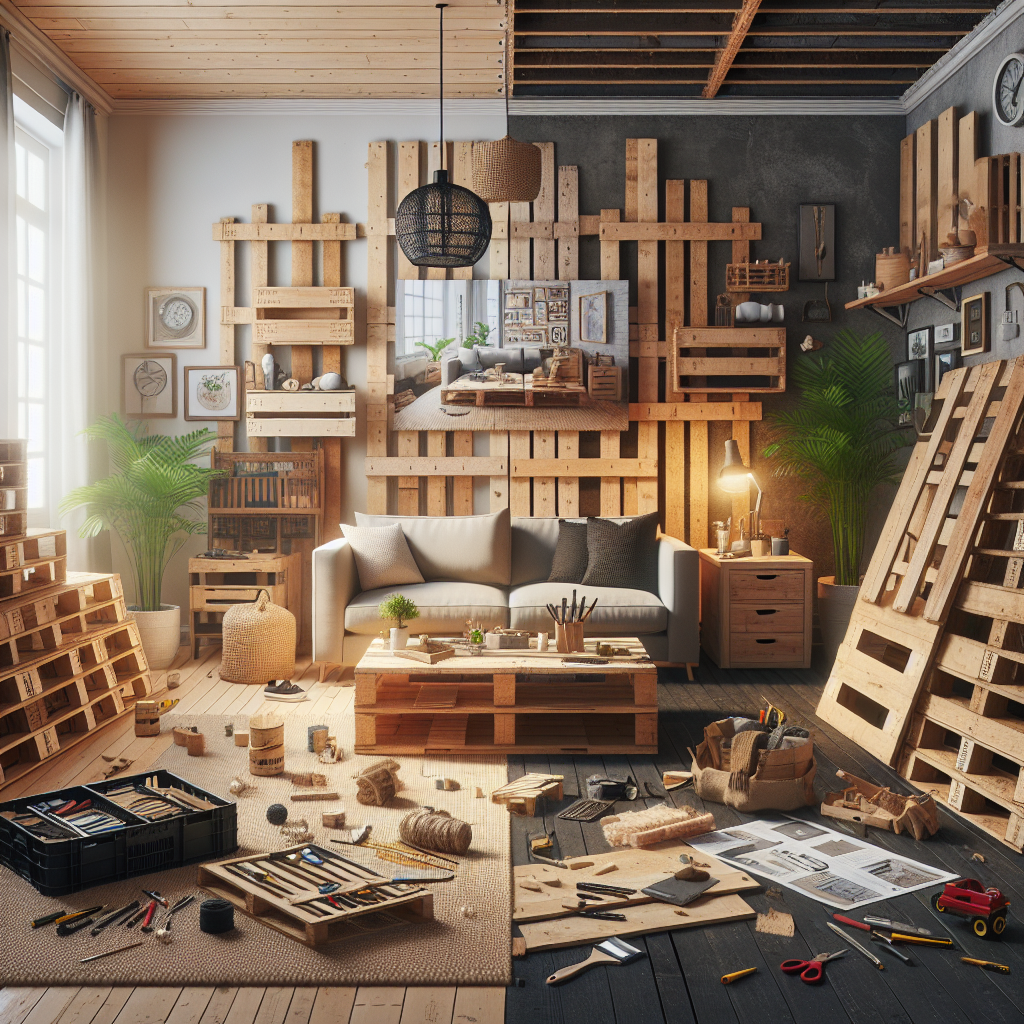
Once you've thoroughly assessed your existing cabinets, it's time to decide on the best approach for your budget and desired outcome. Here are a few options to consider:Cabinet Painting
Painting your cabinets is one of the most affordable and impactful ways to transform their appearance. This option involves thoroughly cleaning, degreasing, and priming the existing cabinet surfaces before applying a high-quality paint. Painting allows you to completely change the color and finish of your cabinets, making it a great choice for outdated or worn-out units.Cabinet Refacing
If your cabinet boxes are in good shape but the doors and drawers are looking dated, cabinet refacing may be the way to go. This process involves replacing just the visible cabinet fronts (doors, drawers, and drawer fronts) with new materials, while leaving the underlying cabinet structure intact. Refacing can provide a fresh, updated look at a lower cost than a full cabinet replacement.
Cabinet Replacement
For cabinets that are beyond repair or no longer suit your needs, complete cabinet replacement may be the best option. This involves removing the existing units and installing brand-new cabinets, providing you with the opportunity to completely redesign the layout and storage configuration of your kitchen. While more expensive than painting or refacing, this approach allows for the greatest level of customization.Preparing Your Cabinets for Transformation
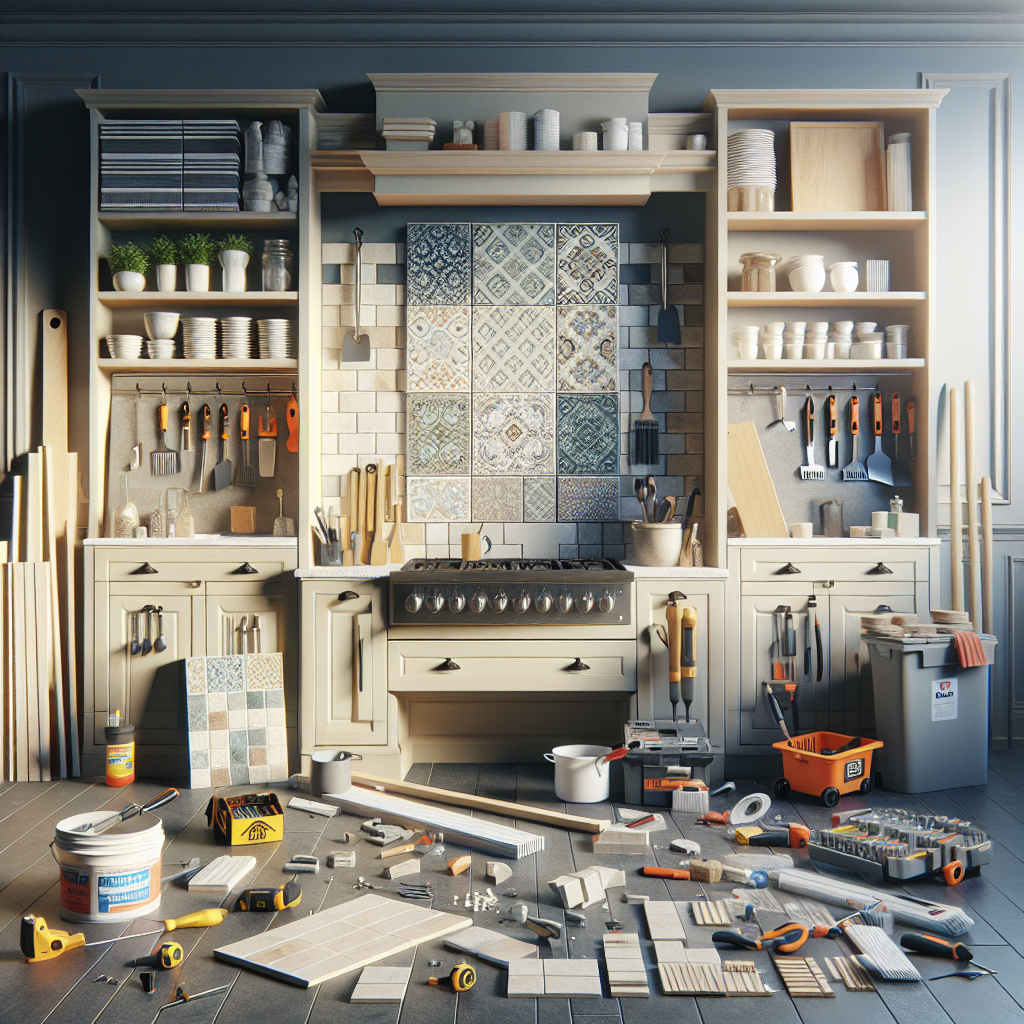
Regardless of the makeover method you choose, proper preparation is key to achieving professional-looking results. Follow these steps to get your cabinets ready for their transformation:Removing Cabinet Doors and Hardware
Start by removing all cabinet doors, drawers, and hardware (hinges, knobs, pulls, etc.). This will make the painting or refacing process much easier and ensure a seamless, high-quality finish.Thoroughly Cleaning and Degreasing
Kitchen cabinets tend to accumulate a lot of grease, dirt, and grime over time. Before you can apply any new finishes, you'll need to clean the surfaces thoroughly. Use a degreasing agent or trisodium phosphate (TSP) substitute to remove all traces of built-up residue.Repairing Cabinet Imperfections
Inspect the cabinet boxes, doors, and drawers for any cracks, dents, or other imperfections. Use wood filler or putty to smooth out these blemishes, then sand the repaired areas until they are flush with the surrounding surfaces.Priming the Cabinets
Priming is a crucial step in the cabinet makeover process, as it helps the new paint or finish adhere properly. Choose a high-quality, stain-blocking primer specifically formulated for use on wood or laminate surfaces.Painting Your Cabinets for a Fresh Look
If you've decided to go the painting route, follow these steps to achieve a flawless, long-lasting finish:Selecting the Right Paint
When it comes to cabinet paint, quality is key. Look for a high-quality, durable paint formulated for use on kitchen cabinets and other high-traffic surfaces. Popular options include oil-based enamels, latex-based paints, and specialty cabinet and furniture paints. Consider the desired sheen (e.g., satin, semi-gloss, or high-gloss) and choose a color that complements your kitchen's overall design.Applying the Paint
For best results, use a high-quality paint sprayer to apply the paint to your cabinet doors and drawers. This will ensure an even, professional-looking finish. If you don't have access to a sprayer, you can also use a foam roller or high-quality paintbrush, taking care to apply thin, even coats and sanding lightly between each application.Protecting the New Finish
Once the paint has fully cured (usually 24-48 hours), apply a clear topcoat or polyurethane to protect the new finish. This will help your cabinets withstand the daily wear and tear of a busy kitchen. Be sure to follow the manufacturer's instructions for proper application and drying times.