Create Cool Outdoor Spaces with These Summer Shade DIYs
As the temperatures rise and the sun beats down, the need for shaded outdoor areas becomes increasingly important. Homeowners and DIY enthusiasts alike are seeking ways to transform their patios, decks, and yards into cool, comfortable havens that allow them to fully enjoy the summer months. In this comprehensive guide, we'll explore a variety of creative and practical summer shade DIY projects that can help you create the ultimate outdoor oasis.The Importance of Summer Shade
Providing adequate shade in your outdoor living spaces offers numerous benefits. Not only does it protect you and your family from the sun's harmful UV rays, but it also helps to lower the ambient temperature, making the area more enjoyable and livable. Studies have shown that shaded areas can be up to 20°F cooler than unshaded spaces, a significant difference that can make the difference between a stifling hot afternoon and a comfortable, relaxing experience. Beyond the practical advantages, strategically placed shade structures can also enhance the aesthetic appeal of your outdoor spaces, adding visual interest and creating a sense of coziness and seclusion. Whether you're looking to create a dedicated dining or lounging area, or simply want to provide a shaded respite from the sun, these DIY summer shade projects can help you achieve your goals.DIY Shade Structures for Your Outdoor Oasis
Pergola with Retractable Canopy
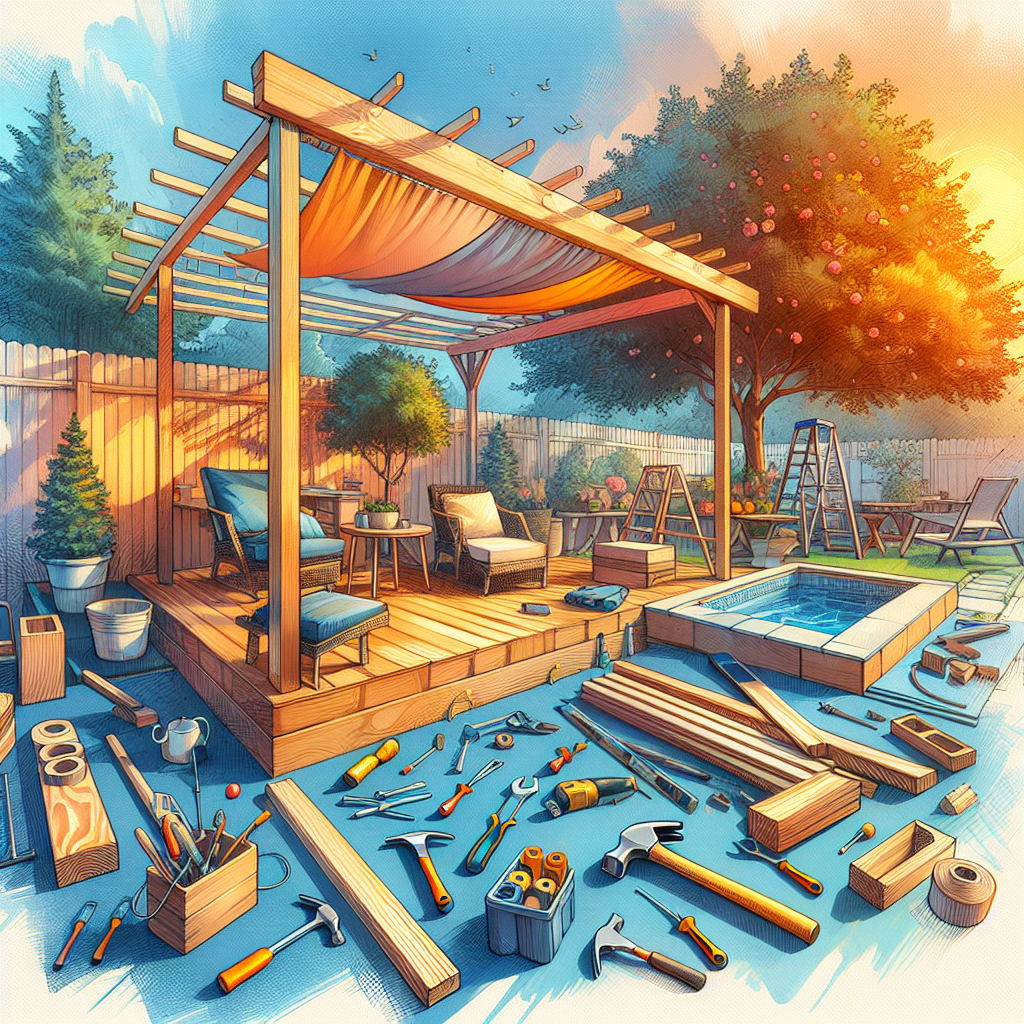
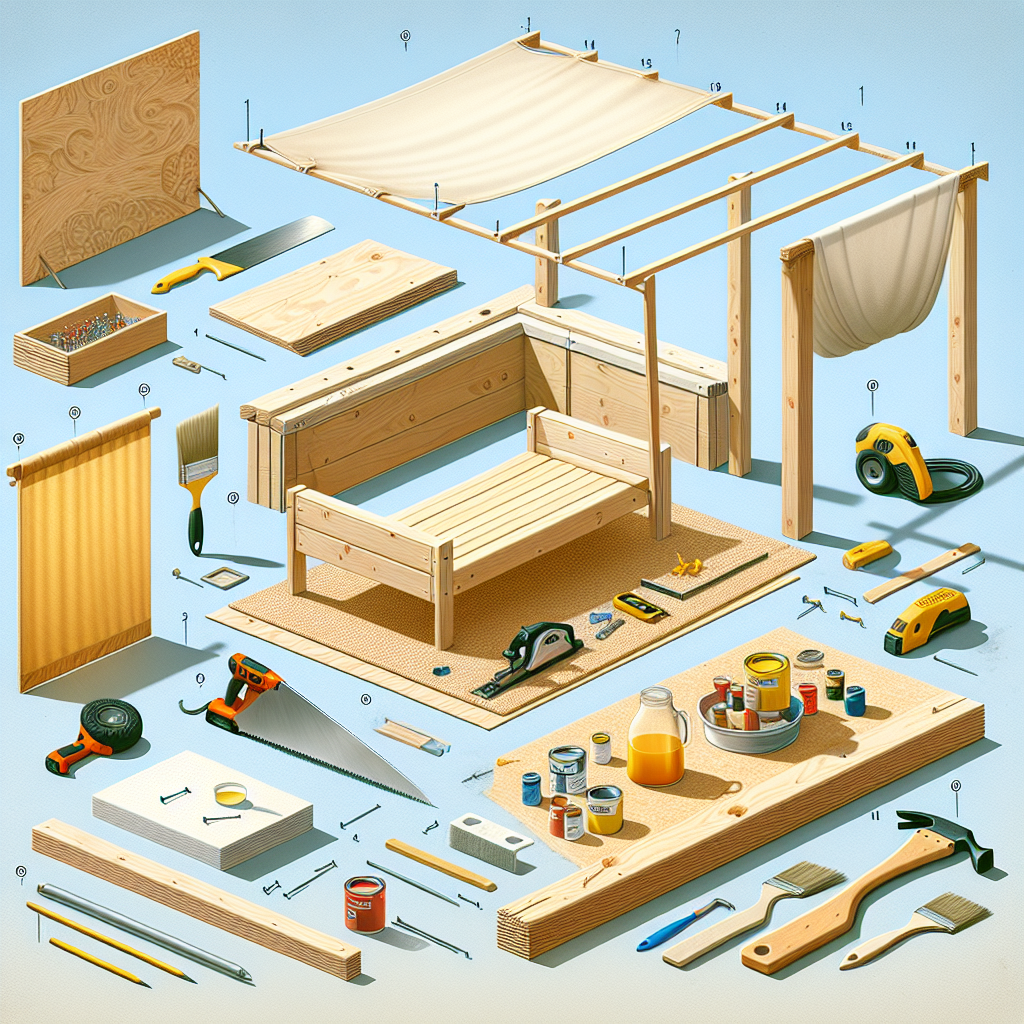
One of the most popular and versatile outdoor shade solutions is a pergola with a retractable canopy. This DIY project combines the sturdy, architectural framework of a pergola with the adjustable coverage of a retractable shade element. Materials Needed:- Pressure-treated lumber for the pergola frame
- Retractable canopy or shade sail fabric
- Hardware for assembly (screws, bolts, connectors)
- Power tools (saw, drill, etc.)
Shade Sail Installation
For a more contemporary and minimalist approach to outdoor shade, consider installing a shade sail. These large, triangular or square-shaped fabric canopies can be easily mounted to existing structures or freestanding posts, creating a striking yet functional shaded area. Materials Needed:- Shade sail fabric (choose a UV-resistant material)
- Mounting hardware (hooks, turnbuckles, stainless steel cable)
- Tools for installation (drill, screwdriver, wrench, etc.)
DIY Awning or Retractable Awning
For a more permanent and versatile shade solution, consider installing a DIY awning or retractable awning. These structures can be mounted to the exterior of your home or attached to a freestanding frame, providing reliable and adjustable shade coverage. Materials Needed:- Awning fabric (choose a weather-resistant, UV-blocking material)
- Mounting hardware (brackets, screws, bolts, etc.)
- Motorized or manual retraction mechanism (for retractable awnings)
- Power tools for installation (drill, saw, etc.)
DIY Shade Solutions for Smaller Spaces
Not every outdoor area has the space or structural capacity to accommodate a large shade structure. In these cases, there are several creative DIY solutions that can provide effective and stylish shade coverage on a smaller scale.Patio Umbrella or Cantilever Umbrella
A classic patio umbrella or a more modern cantilever umbrella can be an excellent choice for shading smaller seating areas, dining spaces, or even individual lounging spots. These portable shade solutions are easy to install and can be easily moved or adjusted as needed. Key Considerations: - Ensure the umbrella base is heavy enough or properly anchored to withstand wind and weather. - Choose a UV-resistant, fade-proof umbrella fabric for long-lasting performance. - Consider a cantilever umbrella design for maximum flexibility and coverage.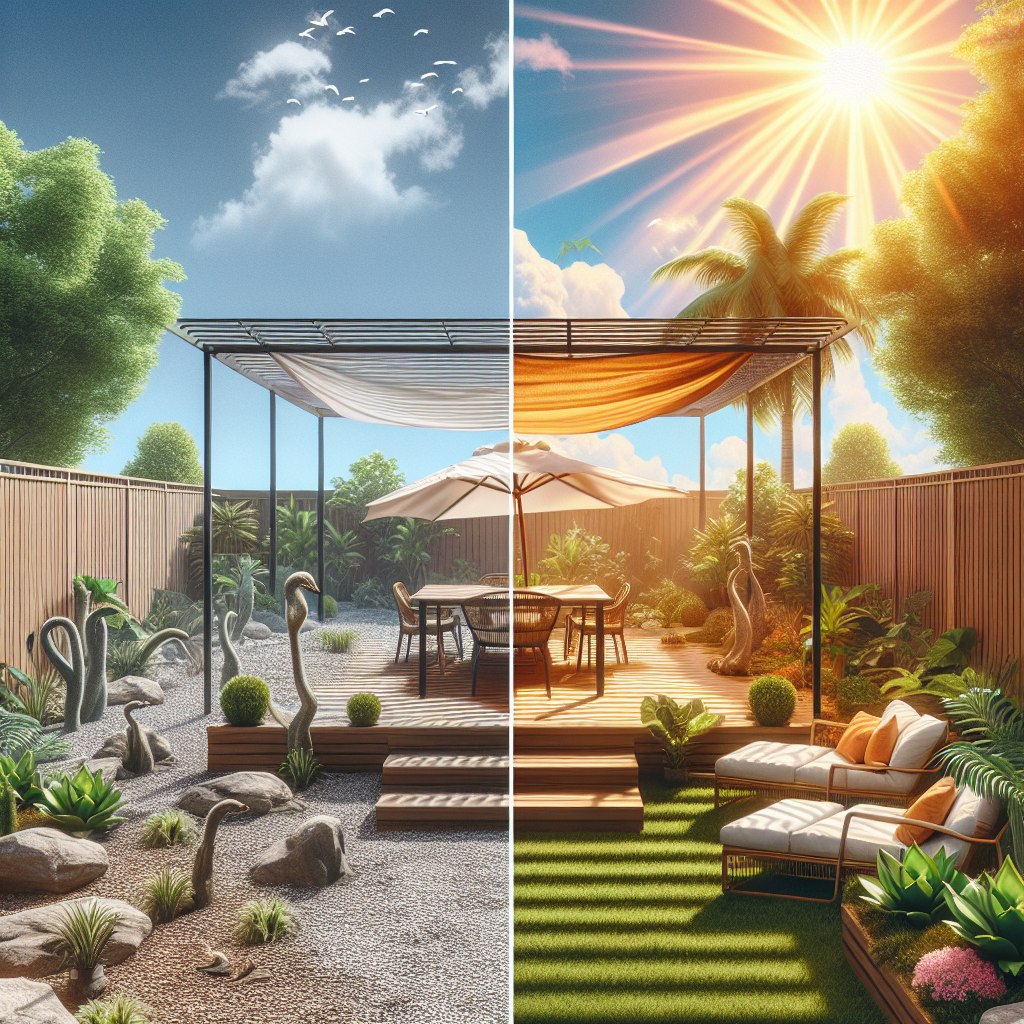
Retractable Awning or Shade Screen
For areas adjacent to your home, a retractable awning or shade screen can provide a convenient and space-saving shade solution. These compact, wall-mounted systems can be extended and retracted as needed, offering on-demand shade coverage. Key Considerations: - Measure the available wall space and clearance to determine the appropriate size. - Choose a motorized or manual retraction mechanism based on your preferences and budget. - Opt for a UV-resistant, weather-proof fabric to ensure longevity.DIY Shade Sails or Canopies
Similar to the larger-scale shade sail project, you can create smaller, more portable versions using basic materials. These DIY shade sails or canopies can be set up over seating areas, play spaces, or even as a temporary solution for outdoor events. Key Considerations: - Utilize lightweight, yet durable fabrics like nylon or polyester. - Ensure proper tensioning and anchoring to prevent sagging or flapping in the wind. - Consider adding grommets or reinforced corners for easier setup and take-down.Enhancing Your Shaded Outdoor Spaces
Once you've implemented your chosen DIY shade solution, there are numerous ways to further enhance the comfort and ambiance of your outdoor oasis. Consider adding these additional elements to create a truly inviting and functional space:Outdoor Lighting
Strategically placed outdoor lighting, such as string lights, path lighting, or even spotlights, can extend the usability of your shaded areas well into the evening hours. This not only extends the enjoyment of your outdoor spaces but also adds a warm, cozy atmosphere.Comfortable Furnishings
Invest in high-quality, weather-resistant outdoor furniture and cushions to create a truly inviting and luxurious seating area. Don't forget to add a few ottomans or side tables for added functionality and style.Cooling Elements
Incorporate cooling elements like misting systems, ceiling fans, or even a portable evaporative cooler to further enhance the comfort of your shaded outdoor space, especially on the hottest summer days.Greenery and Décor
Add visual interest and a touch of nature by incorporating potted plants, hanging baskets, or even a small water feature. Complement these natural elements with decorative accents like outdoor rugs, throw pillows, or lanterns.Key Takeaways
- Providing adequate shade in your outdoor living spaces is essential for comfort, temperature regulation, and sun protection.
- DIY shade projects like pergolas, shade sails, and awnings offer customizable and cost-effective solutions for creating cool, functional outdoor areas.
- Smaller-scale shade solutions like patio umbrellas, retractable awnings, and DIY shade sails can be great options for more compact spaces.
- Enhancing your shaded outdoor spaces with lighting, comfortable furnishings, cooling elements, and decorative touches can elevate the overall ambiance and usability.
- With careful planning, the right materials, and a bit of DIY know-how, you can transform your outdoor areas into the ultimate summer oasis.