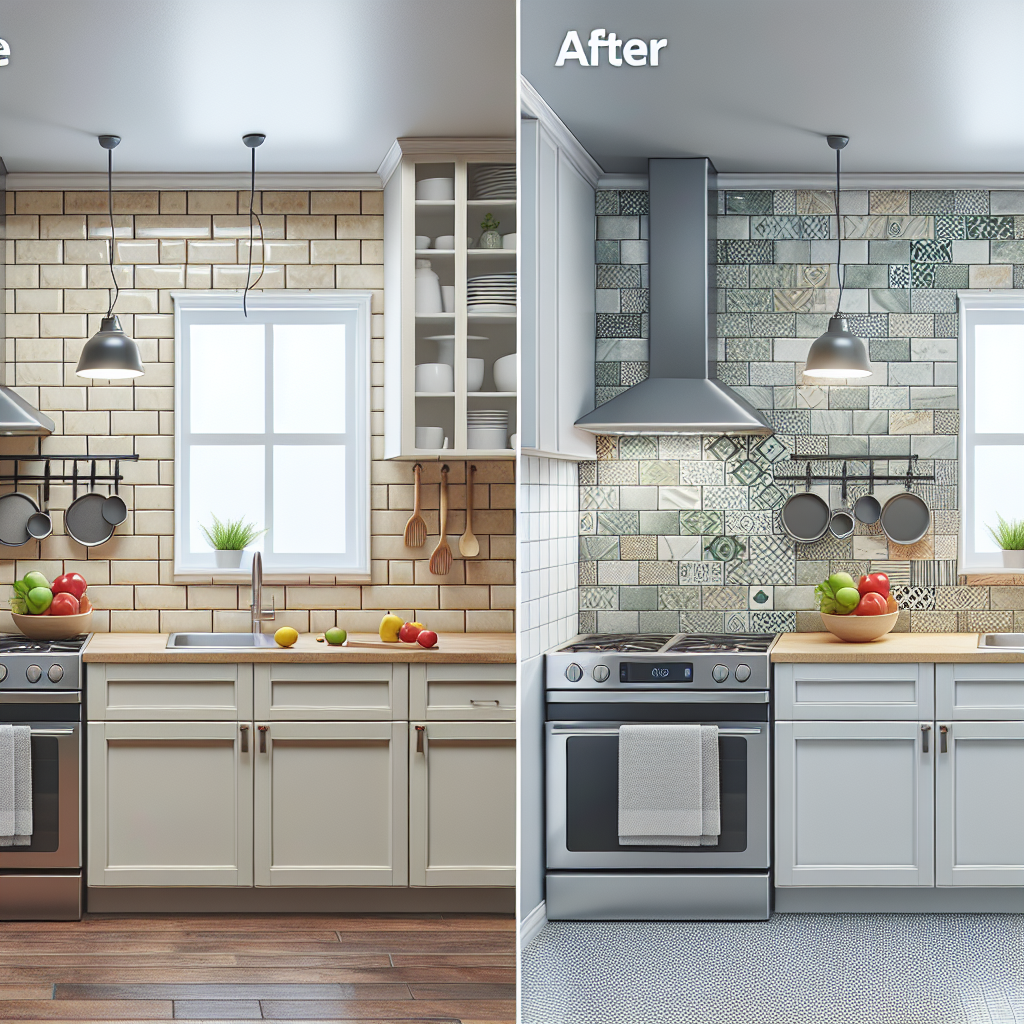
Revamp Your Kitchen Backsplash with Peel-and-Stick Tiles for under $100
Are you tired of looking at the dated, worn-out backsplash in your kitchen? Replacing a backsplash can be a daunting and expensive project, often requiring the expertise of a professional tile installer. However, there's a budget-friendly, DIY-friendly alternative that can breathe new life into your kitchen aesthetics - peel-and-stick tiles. In this comprehensive guide, we'll walk you through the step-by-step process of transforming your tired kitchen backsplash using peel-and-stick tiles, all for under $100. Say goodbye to the hassle and high costs of traditional tile installation, and hello to a professional-looking, custom-tailored backsplash you can achieve yourself.Why Peel-and-Stick Tiles Are the Smart Choice for Budget-Conscious DIYers
Peel-and-stick tiles, also known as self-adhesive or smart tiles, offer a multitude of benefits that make them an attractive option for budget-conscious homeowners and DIY enthusiasts:Cost-Effective
Traditional tile installation can quickly add up, with the cost of materials, labor, and specialized tools. Peel-and-stick tiles, on the other hand, are significantly more affordable, with most options ranging from $5 to $20 per square foot. This means you can completely revamp your kitchen backsplash for a fraction of the price of a professional tile job.Easy Installation
Peel-and-stick tiles eliminate the need for specialized tile-laying skills, grout, and adhesives. The simple peel-and-stick application process makes them an ideal choice for DIYers of all skill levels. No need to worry about cutting tiles, mixing mortar, or spending hours meticulously laying each piece - with peel-and-stick tiles, the process is quick, straightforward, and accessible to everyone.Versatility and Customization
Peel-and-stick tiles come in a wide variety of styles, colors, and patterns, allowing you to create a unique, personalized look for your kitchen. From classic subway tiles to trendy hexagons, marble-look, or even wood-grain finishes, the options are endless. This flexibility enables you to tailor your backsplash to your specific design preferences and existing kitchen decor.Temporary and Removable
One of the most significant advantages of peel-and-stick tiles is their temporary and removable nature. If you ever want to change up your kitchen's aesthetic or move to a new home, you can easily peel off the tiles without damaging the wall surface. This makes peel-and-stick tiles an ideal choice for renters or homeowners who enjoy frequently updating their decor.Preparing Your Kitchen Backsplash for Peel-and-Stick Tiles
Before you can start the exciting process of installing your new peel-and-stick backsplash, it's essential to properly prepare the surface. This will ensure a smooth, long-lasting application and a professional-looking finish.Clean and Degrease the Surface
Begin by thoroughly cleaning the existing backsplash area. Use a degreasing cleaner or a mixture of warm water and dish soap to remove any grease, dirt, or residue that may be present. This will help the peel-and-stick tiles adhere properly to the surface.Patch and Smooth the Surface
Inspect the backsplash area for any cracks, holes, or uneven surfaces. Use a joint compound or spackle to fill and smooth out these imperfections. Once dry, lightly sand the patched areas to ensure a seamless, even surface for the tiles.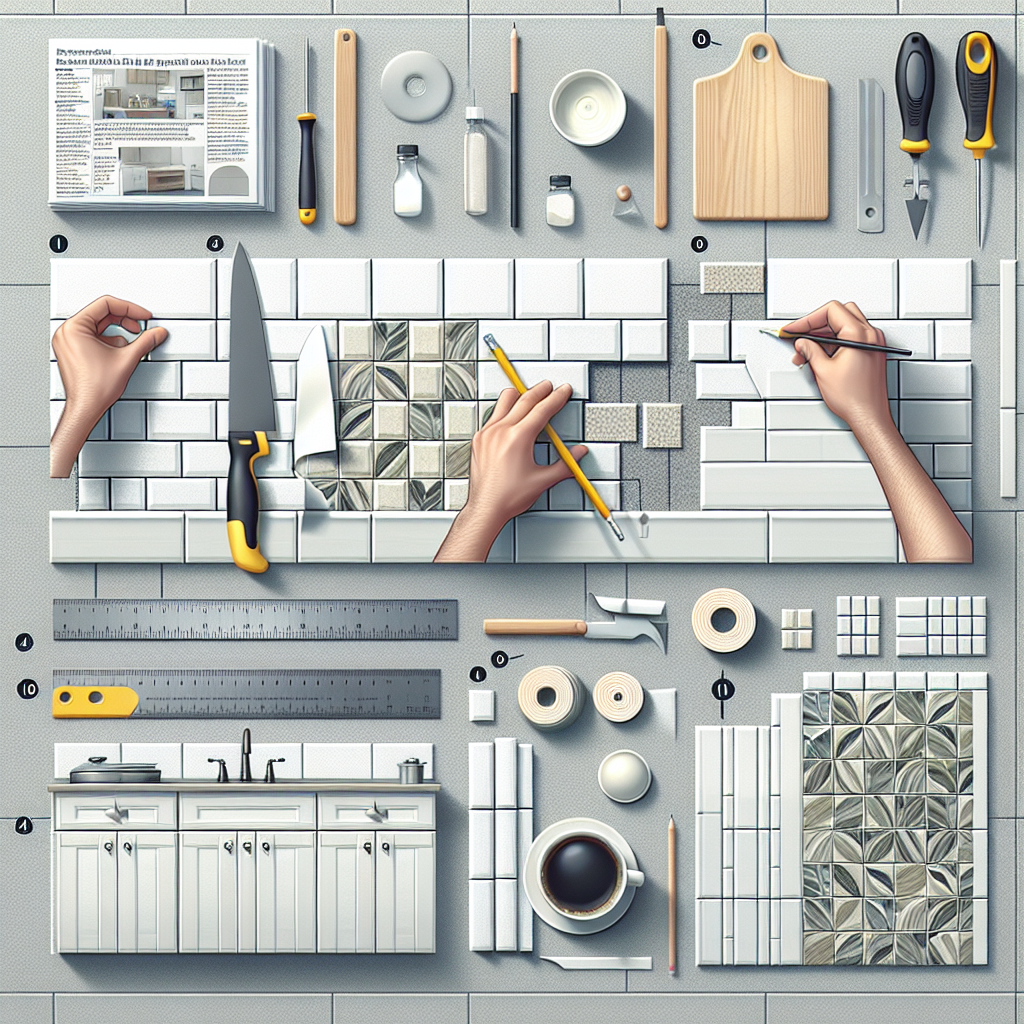
Measure and Plan the Layout
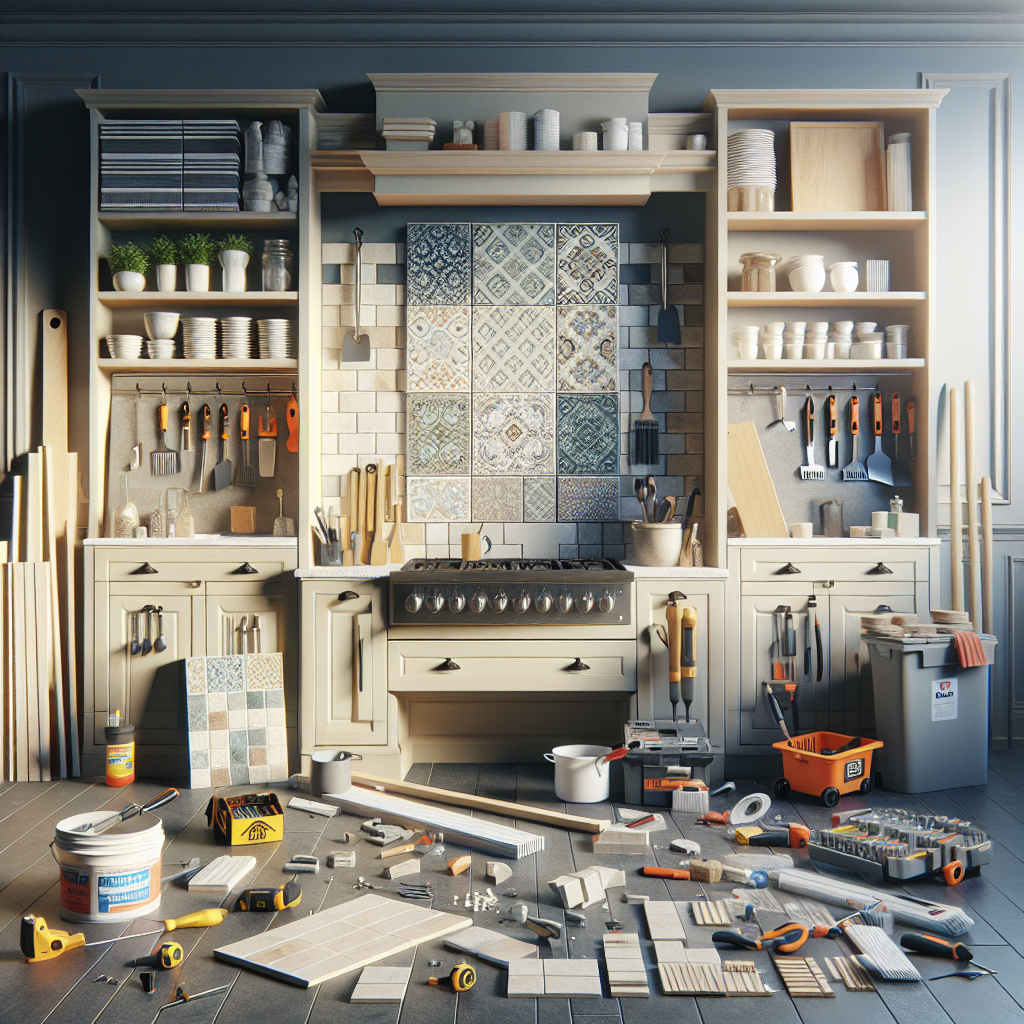
Measure the area you'll be covering with peel-and-stick tiles and plan the layout accordingly. Consider the size and shape of the tiles, as well as the overall design you want to achieve. Decide on a starting point and plan how the tiles will be positioned to ensure a balanced, aesthetically pleasing result.Gather the Necessary Tools and Materials
To successfully install your peel-and-stick backsplash, you'll need the following tools and materials:- Peel-and-stick tiles (enough to cover the desired area)
- Utility knife or scissors
- Straight edge or ruler
- Painter's tape (optional)
- Squeegee or credit card (for smoothing the tiles)
- Degreasing cleaner or soapy water
- Joint compound or spackle (for patching and smoothing)
- Sandpaper (for smoothing patched areas)
Step-by-Step Guide to Installing Peel-and-Stick Tiles
Now that your kitchen backsplash is clean, smooth, and ready for transformation, let's dive into the step-by-step process of installing your new peel-and-stick tiles.Step 1: Measure and Mark the Tiles
Start by measuring the area you'll be covering and determining the best placement for the tiles. If necessary, use painter's tape to mark off the boundaries and ensure a straight, even layout.Step 2: Cut the Tiles (if needed)
Measure and mark the tiles that need to be cut to fit around outlets, edges, or corners. Use a utility knife or scissors to carefully trim the tiles to the desired size and shape.Step 3: Peel and Stick
Slowly peel off the backing from the first tile, being careful not to let the adhesive surface touch the wall just yet. Align the tile with your marked guidelines and gently press it into place, starting from the center and working outwards.Step 4: Smooth and Seal
Use a squeegee or the back of a credit card to firmly press the tile onto the wall, removing any air bubbles or wrinkles. Run your fingers along the edges to ensure a tight seal.Step 5: Repeat the Process
Continue the process of peeling, positioning, and smoothing the tiles, working your way across the backsplash area. Be mindful of the grout lines and align the tiles accordingly for a cohesive, professional-looking finish.Step 6: Trim and Finish
Once you've covered the entire backsplash area, use a utility knife or scissors to trim any excess tiles along the edges or around outlets and corners. Double-check that all tiles are firmly adhered and the overall layout is balanced and visually appealing.