Discover how to transform your kitchen's aesthetic with a budget-friendly tile upgrade. Learn to choose, prep, and install your new backsplash, boosting your home's value without breaking the bank.
Updating your kitchen backsplash is one of the most impactful yet budget-friendly home improvement projects you can tackle. A fresh backsplash can instantly elevate your kitchen's style, enhance the room's functionality, and even increase your home's resale value. But with so many tile options, installation methods, and DIY considerations, the process can feel daunting for first-time DIYers. In this comprehensive guide, we'll walk you through every step of revamping your kitchen backsplash on a tight budget. From selecting the perfect tiles to mastering the installation process, you'll learn expert-approved techniques that deliver professional-quality results without the high price tag. Whether you're looking to refresh your dated backsplash or completely overhaul your kitchen's aesthetic, this step-by-step tutorial will empower you to tackle this transformative project with confidence.Why Upgrade Your Kitchen Backsplash?
A kitchen backsplash serves both functional and aesthetic purposes, making it a smart investment for any home. Here are a few key reasons why upgrading your backsplash is worth the effort:Boosts Aesthetic Appeal
Your backsplash is a prominent visual feature in your kitchen, so updating it can instantly refresh the entire room's look and feel. Swapping out outdated tiles for a modern, stylish design can dramatically enhance your kitchen's overall aesthetic, breathing new life into the space.Enhances Functionality
Beyond aesthetics, a well-designed backsplash also serves practical purposes. Tiles protect your walls from splashes, spills, and stains, making cleanup a breeze. And with the right backsplash material, you can create a durable, moisture-resistant surface that maintains its pristine appearance for years to come.Increases Home Value
Updating your kitchen backsplash is one of the most cost-effective ways to boost your home's resale value. According to a recent report by the National Association of Realtors, a minor kitchen remodel - which often includes a backsplash upgrade - can return an average of 72.2% of the project cost. Even a modest DIY backsplash project can translate to a solid return on investment when you decide to sell.Choosing the Right Backsplash Tiles
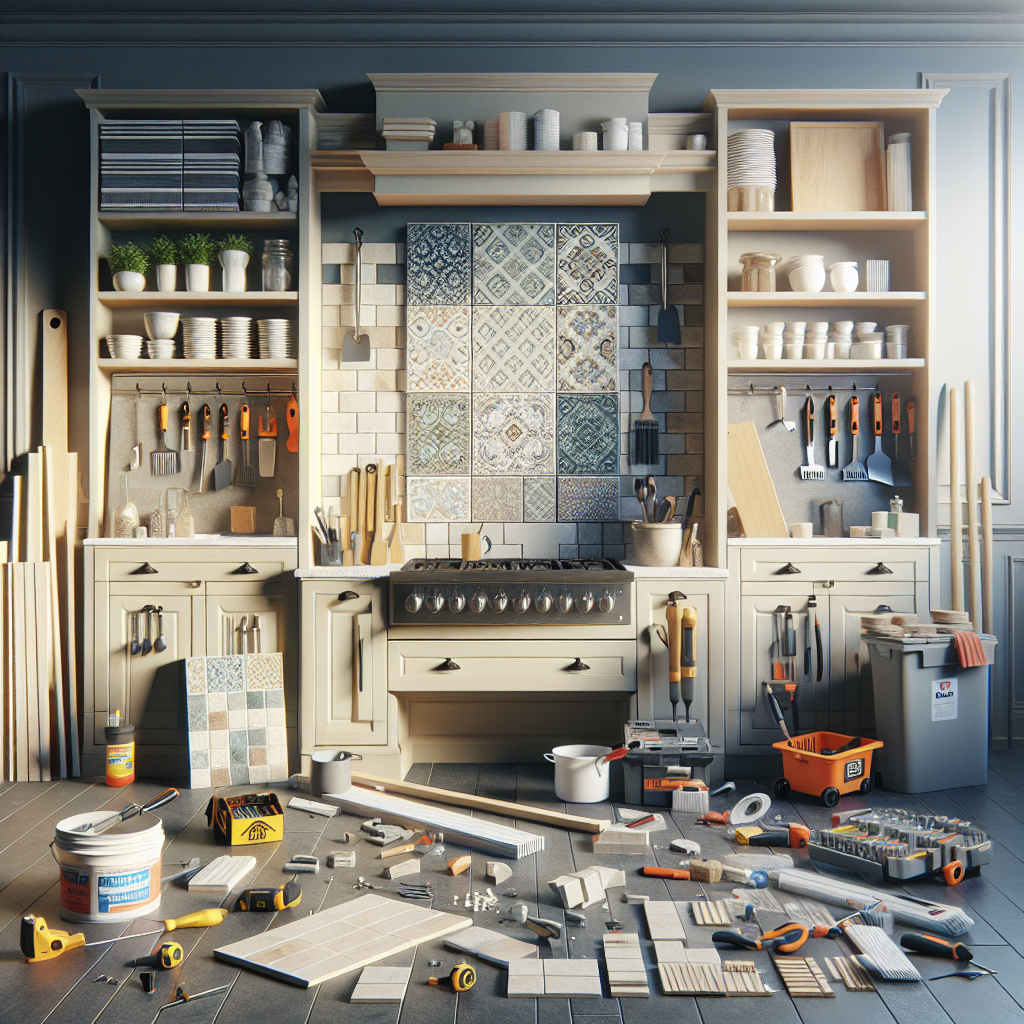
The first step in your DIY backsplash transformation is selecting the perfect tiles. With an endless array of options, from classic subway tiles to trendy mosaics, it's important to consider both style and functionality when making your choice.Tile Materials
Some of the most popular backsplash tile materials include:- Ceramic Tiles: Affordable, durable, and available in a wide range of colors and patterns, ceramic tiles are a classic and versatile choice.
- Porcelain Tiles: Slightly more expensive than ceramic, porcelain tiles are incredibly durable, stain-resistant, and low-maintenance.
- Natural Stone Tiles: Marble, granite, and soapstone tiles offer a high-end, luxurious look but require more specialized care and maintenance.
- Glass Tiles: Reflective and glossy, glass tiles create a stunning, contemporary backsplash that's easy to clean.
- Metal Tiles: Copper, stainless steel, and tin tiles add a unique, industrial-chic vibe to your kitchen.
Tile Sizes and Shapes
Backsplash tiles come in a variety of sizes, from petite 1-inch mosaics to large 12-inch tiles. Consider the size of your kitchen, the layout of your countertops, and your desired aesthetic when choosing the right tile dimensions. Smaller tiles work well for intricate patterns or curved surfaces, while larger tiles can create a clean, streamlined look. In addition to the standard square or rectangular shapes, you can also find unique backsplash tiles in hexagons, diamonds, and other eye-catching geometrics.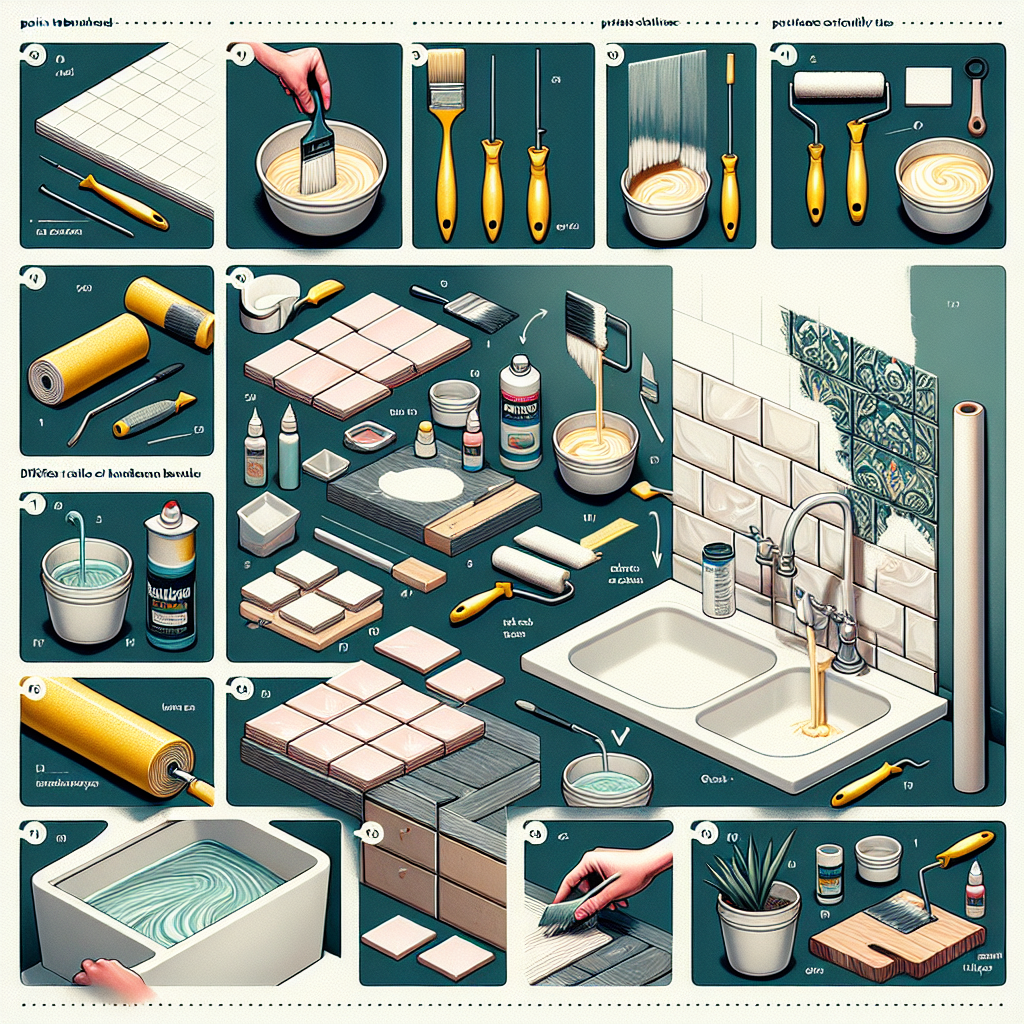
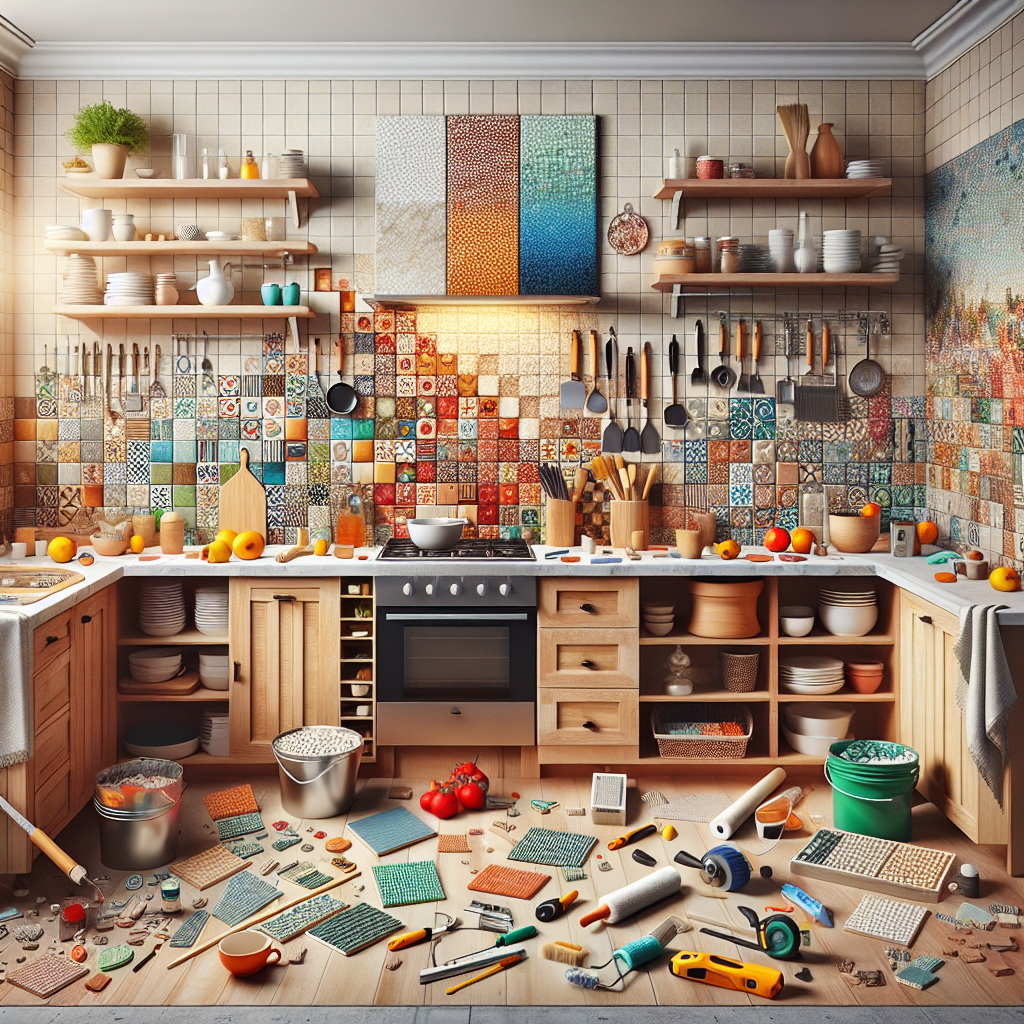
Color and Pattern
Your backsplash tile color and pattern can significantly impact the overall look and feel of your kitchen. Neutral tones like white, gray, and beige create a timeless, versatile backdrop, while bolder hues like blues, greens, and reds add a vibrant, statement-making element. Patterned tiles, such as herringbone, subway, or mosaic designs, can also infuse your kitchen with personality and visual interest. When selecting a pattern, consider how it will complement your existing cabinetry, countertops, and other design elements.Preparing Your Kitchen for a DIY Backsplash
Before you can start tiling, you'll need to properly prepare your kitchen's wall surface. Proper wall prep is crucial for ensuring a smooth, long-lasting backsplash installation.Clearing the Wall
Begin by removing any existing backsplash tiles, trim, or other wall coverings. Use a putty knife or pry bar to carefully peel off the old materials, taking care not to damage the drywall or plaster underneath. Once the wall is clear, use a utility knife to cut away any dried caulk or adhesive residue. Wipe down the surface with a damp cloth to remove any dust or debris.Repairing Wall Damage
Inspect the wall for any cracks, holes, or uneven surfaces. Use a spackling compound and a putty knife to fill in any imperfections, then sand the area until it's smooth and even. If you encounter significant damage, such as crumbling drywall or water stains, it's best to consult a professional before proceeding. Addressing these issues properly is crucial for ensuring a sturdy, long-lasting backsplash installation.Applying a Backsplash Primer
To help the tiles adhere securely, apply a backsplash primer or bonding agent to the wall. This step creates a smooth, consistent surface and enhances the bond between the tiles and the wall. Follow the manufacturer's instructions carefully for the best results.Measuring and Marking the Layout
Before you start tiling, take precise measurements of your backsplash area and sketch out a plan for the tile layout. Determine the total square footage you need to cover, and factor in any outlets, switches, or other obstacles that will need to be worked around. Use a level and a pencil to mark horizontal and vertical guidelines on the wall, ensuring your tiles will be perfectly straight and aligned.Cutting and Installing Your Backsplash Tiles
With your wall prepped and your tile layout planned, you're ready to begin the fun part: cutting and installing your new backsplash.Cutting Tiles to Fit
Measure and mark any tiles that need to be cut to fit around outlets, edges, or other obstacles. Use a tile scorer or wet saw to make clean, precise cuts. For small, intricate cuts, a manual tile nipper or nippers can be a helpful tool.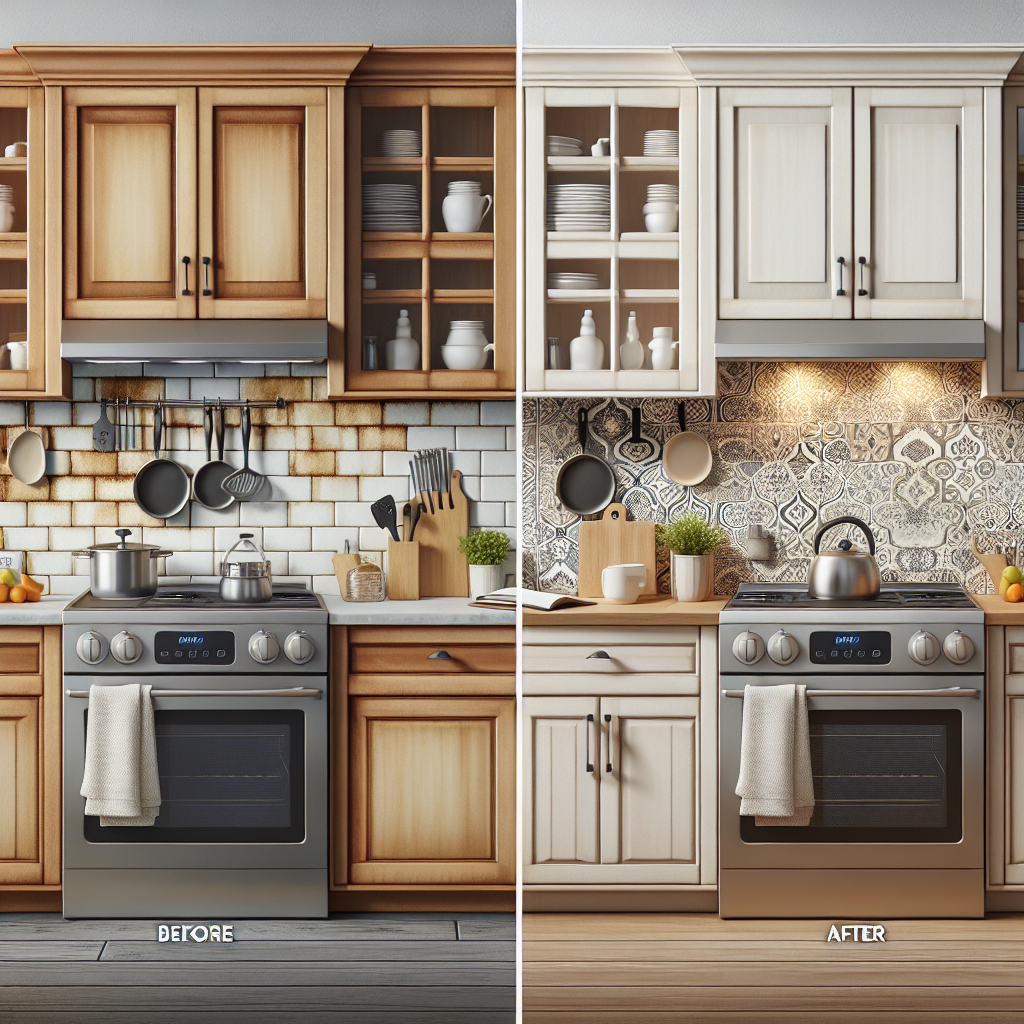
Applying the Tile Adhesive
Spread a thin, even layer of tile adhesive (also known as mortar) onto the backsplash wall using a notched trowel. Work in small, manageable sections to ensure the adhesive doesn't dry out before you can set the tiles.Laying the Tiles
Carefully place the tiles onto the adhesive-coated wall, pressing firmly to secure them in place. Use a level to ensure each tile is straight and evenly spaced. Adjust the tiles as needed before the adhesive sets. For a clean, professional-looking finish, use tile spacers to maintain consistent grout lines between the tiles. These small plastic or metal pieces will help you achieve perfectly even spacing.Grouting the Backsplash
Once the adhesive has fully cured (typically 24-48 hours), you can begin grouting the tiles. Use a grout float to spread the grout mixture evenly into the gaps between the tiles, ensuring full coverage. Wipe away any excess grout with a damp sponge, being careful not to remove the grout from the joints. Allow the grout to dry completely according to the manufacturer's instructions.Sealing and Finishing Touches
To protect your new backsplash and keep it looking its best, apply a clear, waterproof sealant to the tile and grout lines. This step helps prevent stains, discoloration, and moisture damage over time. Finally, install any necessary trim pieces, such as edge or corner guards, to create a polished, finished look. Caulk any gaps between the backsplash and countertops or cabinets to seal the installation.Budget-Friendly Backsplash Upgrade Tips
Revamping your kitchen backsplash doesn't have to break the bank. Here are some expert tips to help you maximize your DIY budget:- Shop Discounted Tile: Check home improvement stores, online retailers, and local tile shops for clearance, discontinued, or slightly imperfect tiles sold at a significant discount.
- Opt for Smaller Tile Sizes: Petite tiles, such as 4-inch squares or 1-inch mosaics, generally cost less per square foot than larger format tiles.
- Consider Tile Sheets: Pre-assembled tile sheets or mats can simplify the installation process and reduce labor time.
- Reuse Existing Materials: If your current backsplash is in good condition, you may be able to simply paint over it or cover it with a new tile pattern.
- Time Your Purchase Strategically: Keep an eye out for seasonal sales and promotions, which can yield significant savings on backsplash materials.
- Leverage DIY Skills: By tackling the project yourself, you can avoid the high labor costs associated with professional installation.
Key Takeaways
Revamping your kitchen backsplash is a budget-friendly way to breathe new life into your cooking space. With the right materials, preparation, and DIY techniques, you can transform your kitchen's aesthetic without breaking the bank. Remember these key points:- Carefully select tiles that balance style, functionality, and your budget.
- Properly prepare the wall surface to ensure a secure, long-lasting installation.
- Master the step-by-step process of cutting, adhering, grouting, and sealing your new backsplash.
- Leverage budget-friendly strategies, such as shopping discounts and doing the work yourself, to keep costs low.