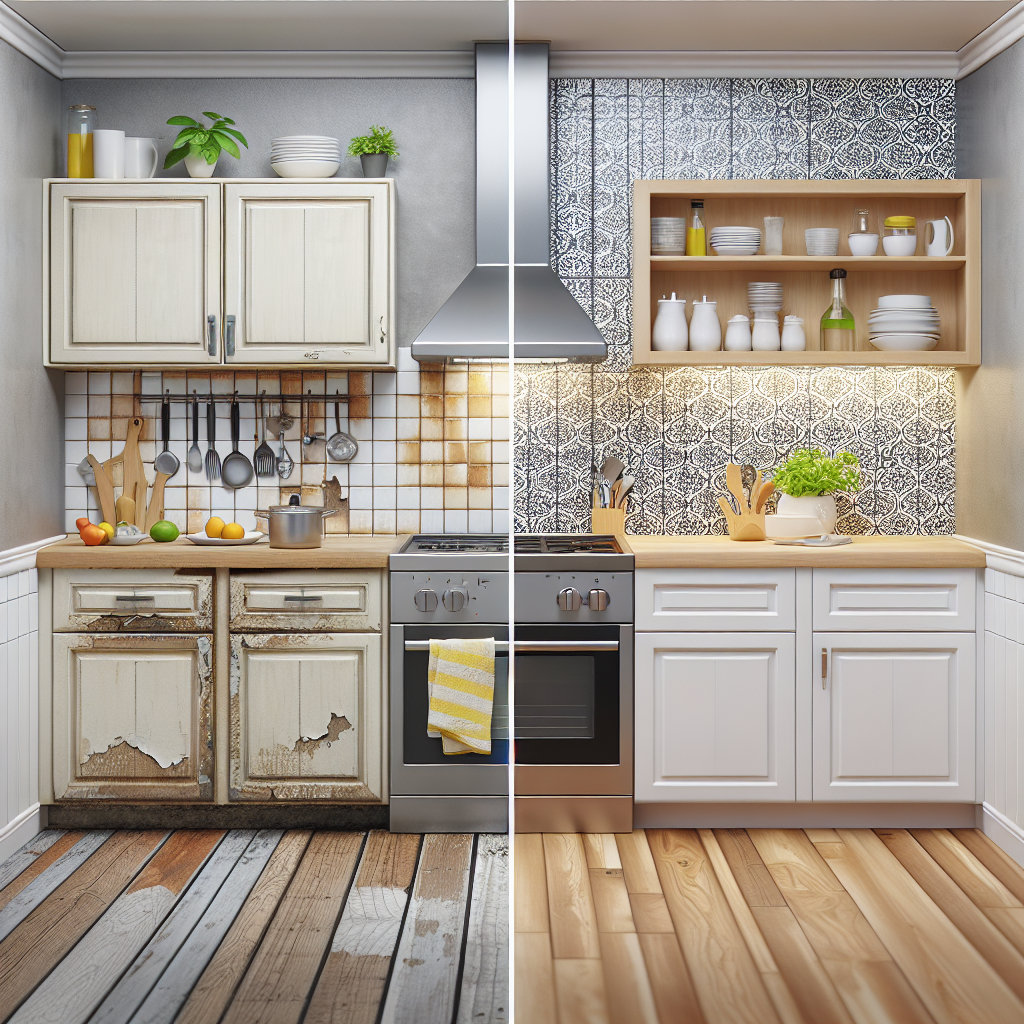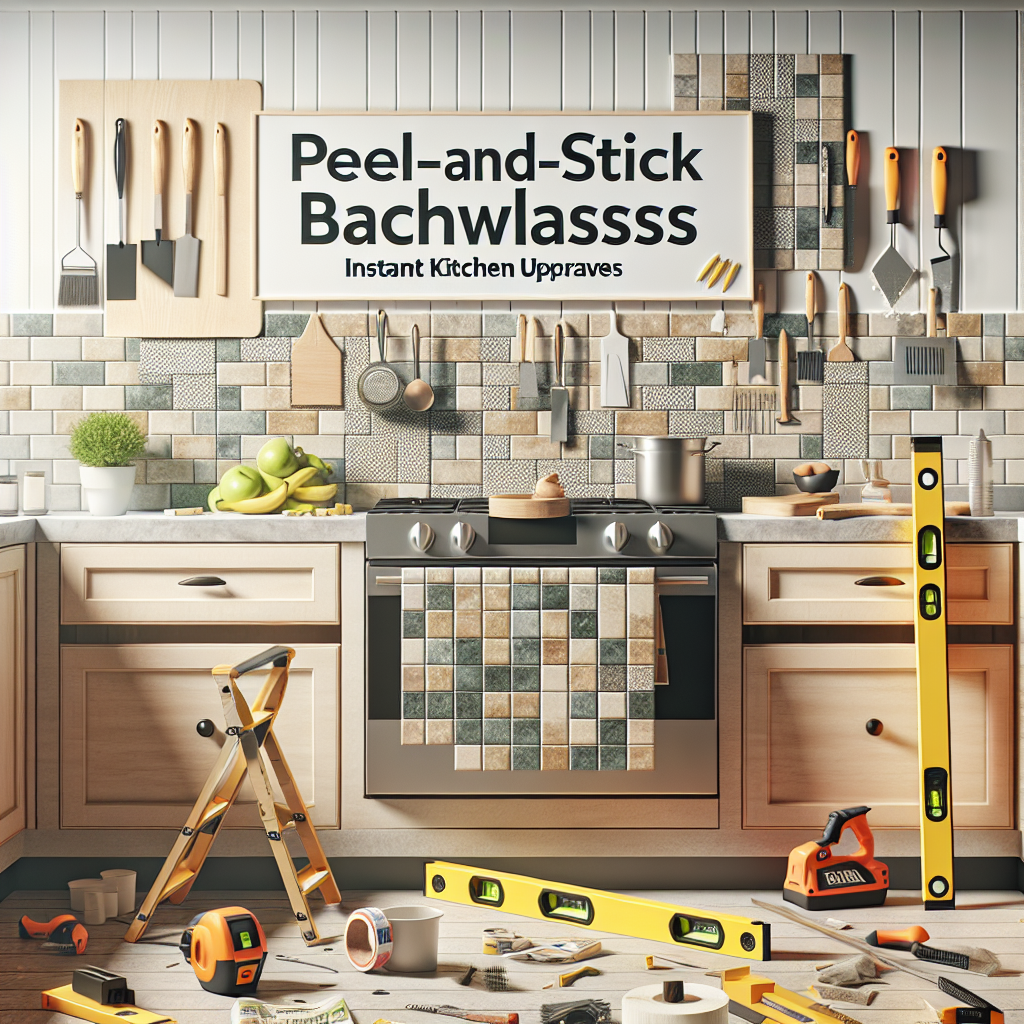
The Appeal of Peel-and-Stick Backsplashes
Backsplashes can instantly transform the look and feel of a kitchen, but traditional tile installations can be time-consuming, messy, and expensive. Enter peel-and-stick backsplashes - a game-changing alternative that offers homeowners and DIYers the opportunity to achieve a high-end kitchen upgrade with minimal effort and cost. These self-adhesive panels provide the visual impact of a tiled backsplash with a fraction of the installation hassle. Peel-and-stick backsplashes have surged in popularity in recent years, and it's easy to see why. They come in a wide variety of styles, from classic subway tiles to trendy geometric patterns, allowing you to easily customize your kitchen's aesthetic. What's more, they can be installed in a matter of hours rather than days, and they don't require any special tools or skills. Whether you're updating a rental property, refreshing your own home, or simply want an easy weekend project, peel-and-stick backsplashes are an incredibly versatile and budget-friendly solution.Assessing Your Kitchen's Needs
Before diving into a peel-and-stick backsplash project, it's important to carefully evaluate your kitchen's current layout and design. Consider the size of the area you want to cover, the existing color scheme, and the overall aesthetic you're hoping to achieve. This will help you narrow down the best backsplash options and ensure a cohesive, visually appealing final result.Measure the Space
Start by measuring the wall space you want to cover, taking into account any obstacles like electrical outlets, windows, or cabinets. Peel-and-stick backsplashes typically come in standard tile sizes, so you'll need to determine how many panels or tiles you'll need to cover the desired area. When measuring, be sure to account for any seams or overlaps between panels, as well as any necessary trimming around edges or obstacles.Evaluate the Existing Decor
Consider the existing colors, finishes, and materials in your kitchen. Peel-and-stick backsplashes come in a wide range of hues, patterns, and textures, so you'll want to choose an option that complements your cabinetry, countertops, and other design elements. If you have a neutral kitchen, you'll have more flexibility to experiment with bolder backsplash designs. Conversely, if your kitchen has strong, vibrant colors, you may want to opt for a more subdued backsplash that won't overwhelm the space.Determine Your Desired Aesthetic
Peel-and-stick backsplashes offer endless possibilities when it comes to style. Do you prefer a classic, subway tile look? A modern, geometric pattern? Or perhaps something more rustic, like a weathered wood-look? Take some time to browse online and in home improvement stores to get a sense of the different options available and how they might complement your kitchen's overall design.Selecting the Right Peel-and-Stick Backsplash
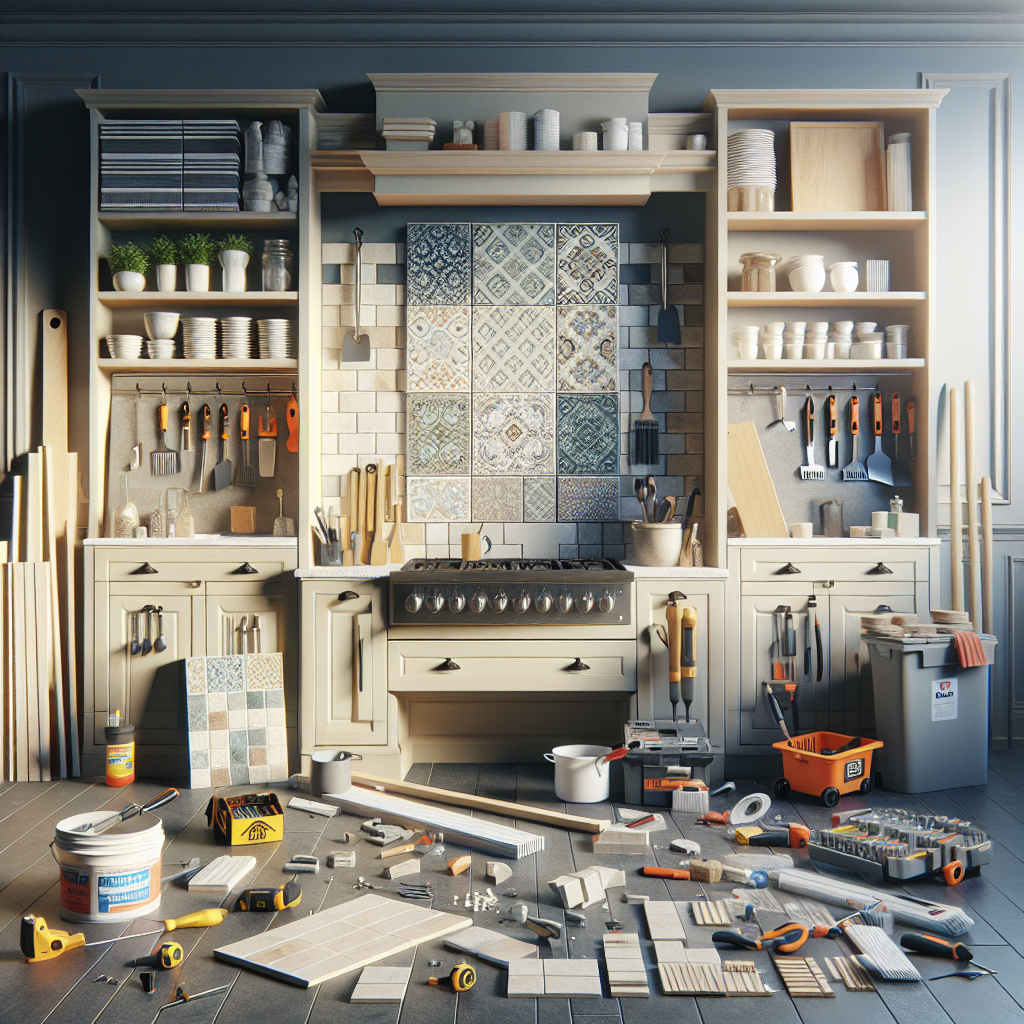
With your kitchen's needs in mind, you can now start researching and evaluating specific peel-and-stick backsplash products. Consider factors like material, adhesive quality, durability, and ease of installation to find the best fit for your project.Common Peel-and-Stick Backsplash Materials
Peel-and-stick backsplashes are available in a variety of materials, each with its own advantages:- Vinyl - Affordable, durable, and water-resistant, vinyl peel-and-stick tiles are a popular choice for busy kitchens. They're easy to clean and maintain, and they come in a wide range of patterns and colors.
- Stainless Steel - For a sleek, contemporary look, stainless steel peel-and-stick panels offer a modern, high-end aesthetic. They're also highly durable and easy to clean.
- Stone or Stone-Look - Peel-and-stick options that mimic the look of natural stone, such as marble or granite, can add a luxurious feel to your kitchen without the high cost of a real stone backsplash.
- Glass - Peel-and-stick glass tiles or panels provide a gleaming, reflective surface that can brighten up a kitchen and create the illusion of more space.
- Acrylic - Lightweight and shatterproof, acrylic peel-and-stick backsplashes are a budget-friendly alternative to glass that still offer a high-end look.
Adhesive Quality and Durability
The quality of the adhesive used in peel-and-stick backsplashes is crucial for long-term performance. Look for products that feature a strong, water-resistant adhesive that can withstand the heat, moisture, and daily wear and tear of a busy kitchen. Some backsplash panels even come with a protective top layer that helps prevent peeling, cracking, or discoloration over time.Ease of Installation
One of the primary appeals of peel-and-stick backsplashes is their DIY-friendly installation process. Look for options that feature a simple peel-and-stick application, with clear instructions and easy-to-follow steps. Some products may also include helpful tools like squeegees or cutting templates to make the installation process even smoother.Preparing the Surface for Installation
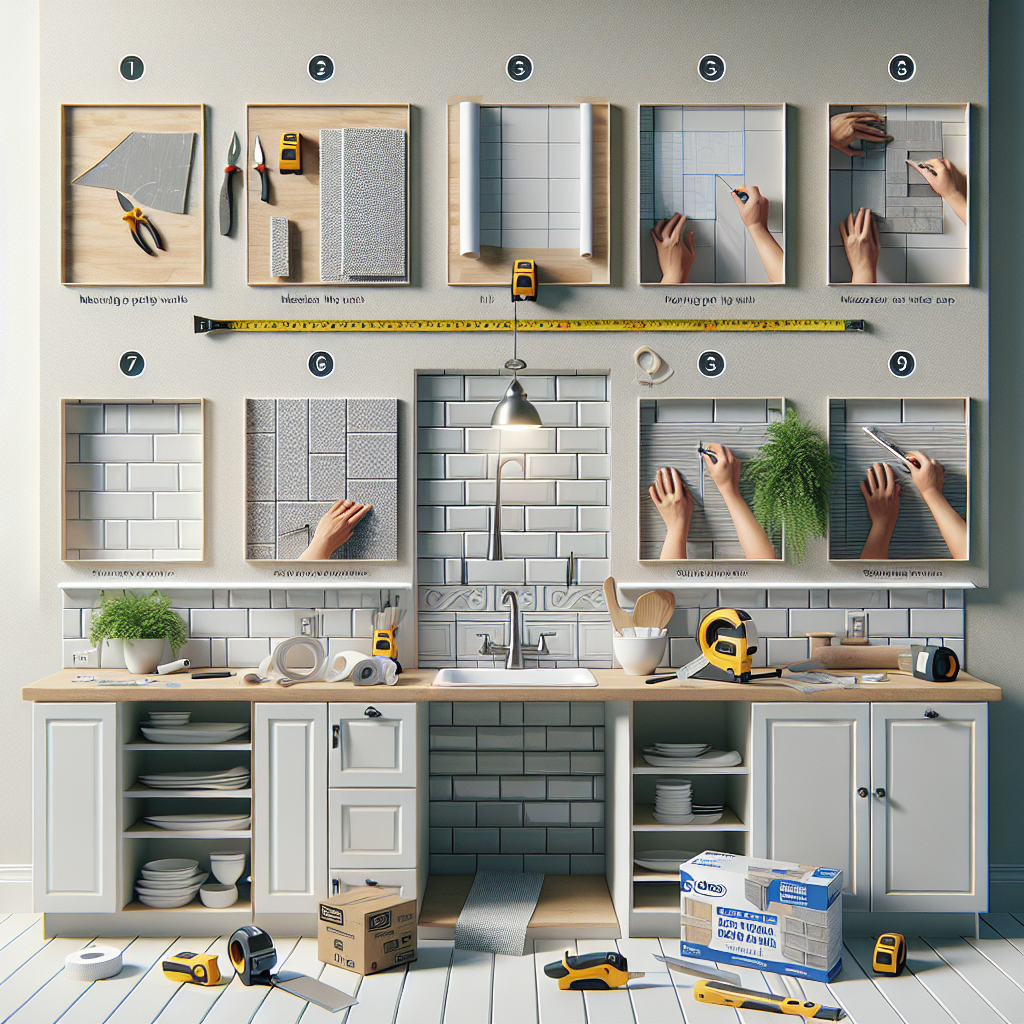
Before you can begin applying your new peel-and-stick backsplash, it's essential to properly prepare the wall surface. This step is crucial for ensuring a long-lasting, professional-looking result.Cleaning and Degreasing the Wall
Start by thoroughly cleaning the wall area where the backsplash will be installed. Use a degreasing cleaner to remove any built-up grime, oil, or residue that could prevent the adhesive from properly bonding. Wipe the surface down with a clean cloth, making sure it's completely dry before proceeding.Repairing Wall Imperfections
Inspect the wall for any cracks, holes, or uneven surfaces, and address them with spackle or drywall compound. Sand the repaired areas until they're smooth and flush with the surrounding wall. This will help ensure a seamless, professional-looking finish for your new backsplash.Priming the Wall (Optional)
While not always necessary, priming the wall can help create an optimal surface for the peel-and-stick backsplash to adhere to. Look for a clear, water-based primer designed for use on drywall or painted surfaces. Apply the primer according to the manufacturer's instructions and allow it to fully dry before starting your backsplash installation.Installing Peel-and-Stick Backsplashes
With your wall surface properly prepared, you're now ready to begin the installation process. Peel-and-stick backsplashes are generally straightforward to install, but it's important to follow the manufacturer's instructions carefully for the best results.Laying Out the Backsplash Panels
Start by laying out the backsplash panels or tiles on the floor in the desired pattern. This will help you visualize the final layout and make any necessary adjustments before applying them to the wall. Pay close attention to the panel orientation, seam placement, and how the design will fit around obstacles like outlets or windows.Cutting and Trimming Panels
Use a sharp utility knife or a tile cutter to trim the backsplash panels as needed to fit around edges, outlets, and other obstacles. Take your time and measure carefully to ensure a precise fit. For clean, professional-looking edges, consider using edge trim or corner pieces designed specifically for peel-and-stick backsplashes.