Master the Art of Winterizing Your Home: DIY Weatherproofing on a Budget
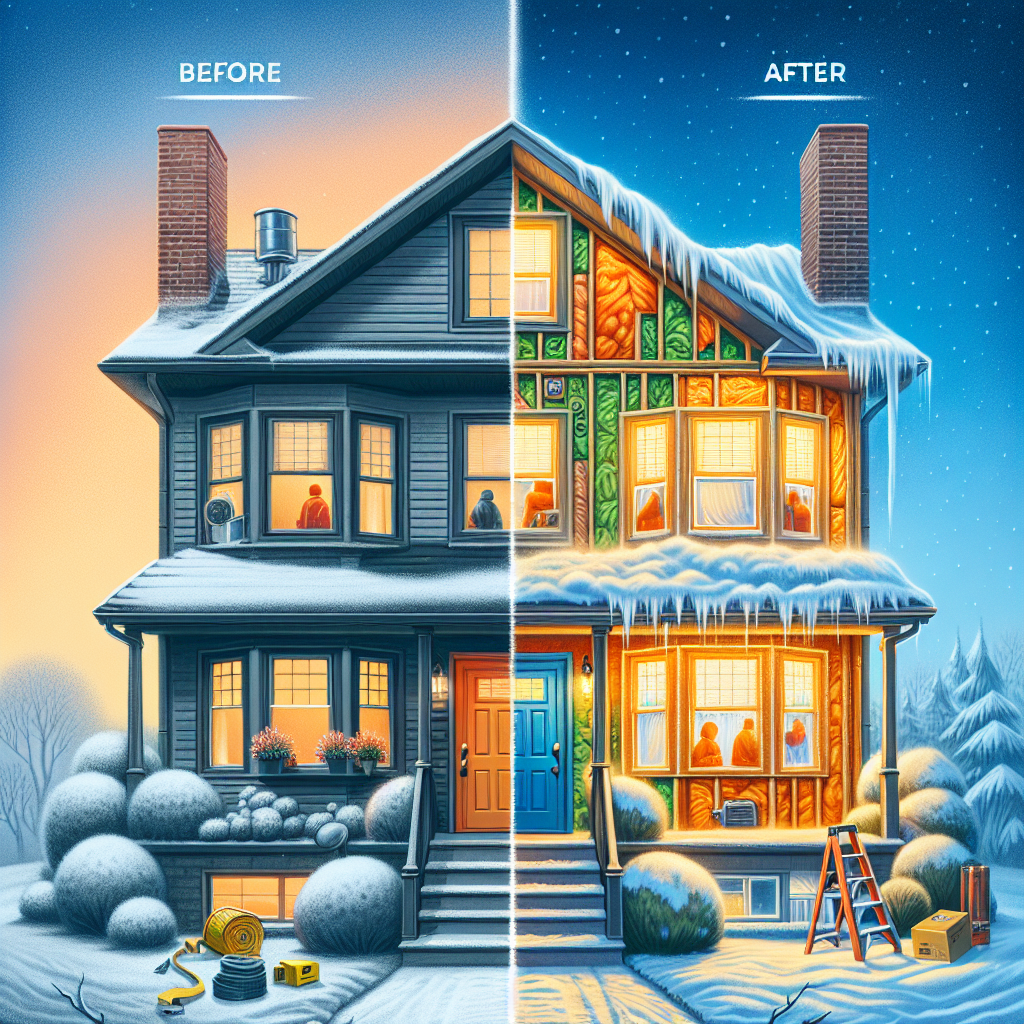
As the temperatures drop and the first flurries of winter begin to fall, it's time for homeowners to shift their focus to one crucial task - winterizing their homes. Proper weatherproofing and insulation can make the difference between a cozy, energy-efficient abode and one that's drafty, expensive to heat, and prone to pipe freezes. The good news? You don't need to break the bank to safeguard your home against the elements. With some strategic DIY know-how, you can master the art of winterizing on a budget and enjoy the benefits all season long.Assess Your Home's Weak Points
The first step in any successful winterization project is to conduct a thorough evaluation of your home. Walk through each room, paying close attention to areas that feel drafty or where you notice cold air seeping in. Common problem spots include windows, doors, attics, basements, and crawl spaces. Take note of any visible cracks, gaps, or holes, and make a checklist of the problem areas you need to address.Identify Air Leaks
Air leaks are one of the primary culprits behind energy inefficiency and uncomfortable temperatures in the home. These gaps allow warm air to escape and cold air to seep in, forcing your heating system to work overtime. To locate air leaks, you can conduct a simple DIY home energy audit:- On a windy day, carefully run your hands around windows, doors, electrical outlets, plumbing fixtures, and other potential problem areas, feeling for any drafts.
- Use a handheld infrared thermometer to scan walls, ceilings, and floors. Cooler spots indicate air leaks.
- For a more comprehensive assessment, consider hiring a professional energy auditor who can perform a blower door test to pinpoint exact leak locations and quantify their impact.
Insulate, Insulate, Insulate
Proper insulation is the backbone of any effective home weatherproofing strategy. It helps regulate indoor temperatures, prevent heat loss, and block unwanted drafts - all of which contribute to improved comfort and reduced energy consumption.Assess Your Existing Insulation
Begin by evaluating the insulation in your home's various areas, including the attic, walls, and crawl spaces. Look for signs of damage, compression, or inadequate coverage. The R-value, which measures an insulation material's resistance to heat flow, is a key metric to consider. Recommended R-values vary by climate and building location, but a general guideline is R-30 to R-60 for attics and R-13 to R-23 for walls.Upgrade Insulation Where Needed
If your home is lacking in insulation or has outdated materials, it's time to make some upgrades. Popular DIY-friendly insulation options include:- Fiberglass batts: Easy to install in attics, walls, and crawl spaces. Look for high R-value batts rated for your climate.
- Spray foam: Offers superior air sealing and insulating properties. Requires professional installation for best results.
- Cellulose: Made from recycled materials, cellulose can be blown into existing wall cavities for a dense, effective insulation layer.
- Rigid foam boards: Great for insulating exterior walls, attics, and foundations. Provide high R-values in a relatively thin profile.
Seal Drafty Windows and Doors
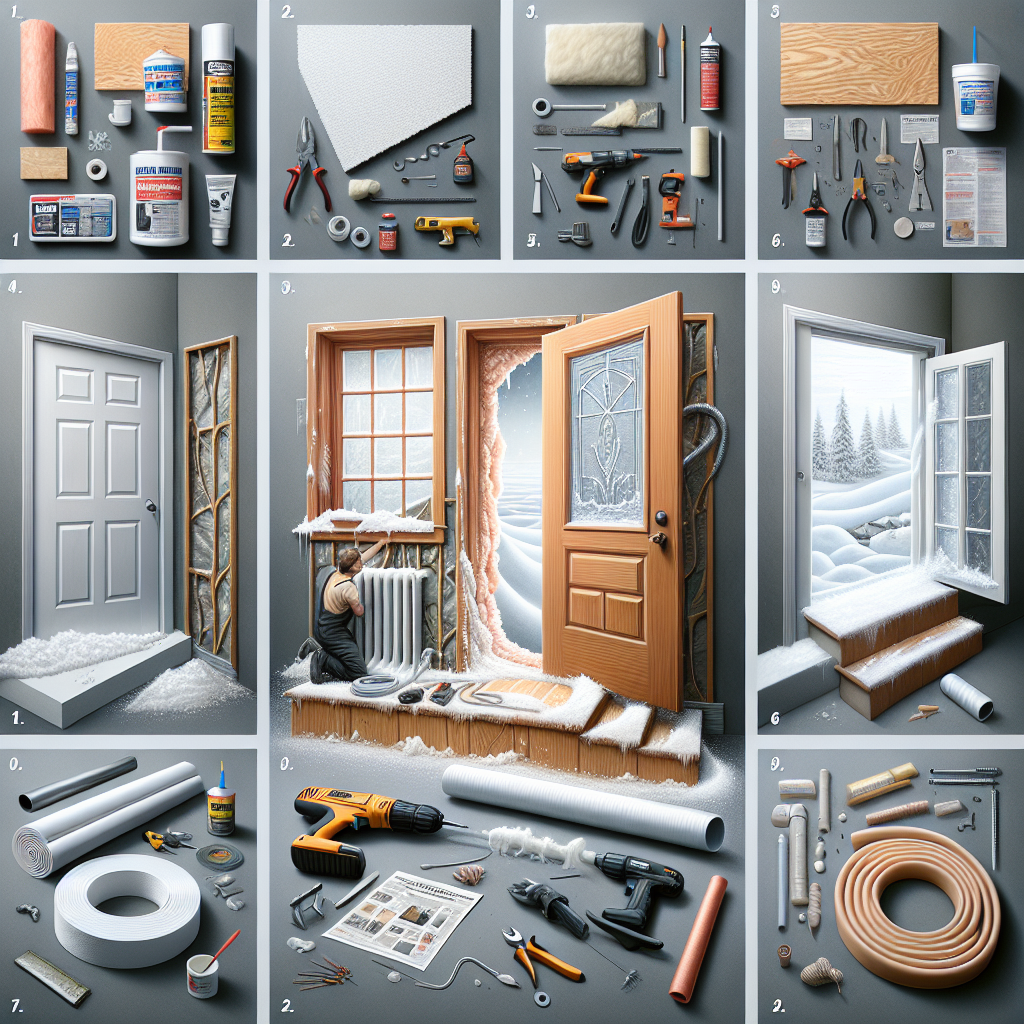
Windows and doors are notorious culprits when it comes to air leaks and heat loss. Fortunately, there are several budget-friendly ways to seal these vulnerable areas and boost your home's energy efficiency.Weatherstrip Doors and Windows
Weatherstripping is an affordable, easy-to-install solution for plugging gaps around doors and windows. Look for self-adhesive foam, felt, or rubber weatherstripping that can be cut to size and applied directly to the frames. For an extra layer of protection, consider installing door sweeps and window insulation film as well.Upgrade to Energy-Efficient Windows
If your windows are single-pane or outdated, upgrading to energy-efficient models can make a significant difference. Look for windows with the ENERGY STAR® certification, which indicates they meet strict guidelines for thermal performance and air tightness. While the upfront cost may be higher, the long-term energy savings can more than offset the investment.Insulate Window Frames
Even if your windows are in good condition, the frames themselves can be a source of heat loss. Apply caulk or spray foam insulation around the perimeter of the window frames to seal any gaps and improve overall thermal performance.Protect Pipes from Freezing
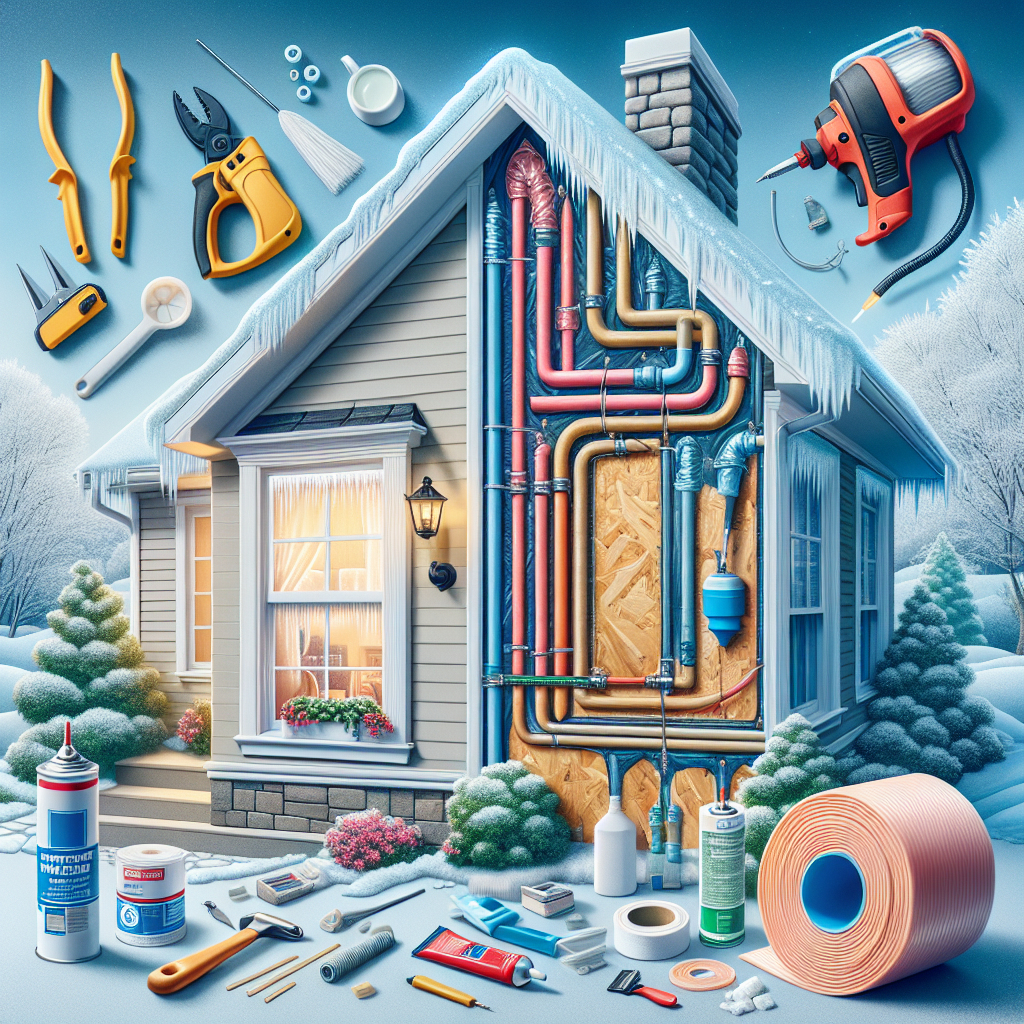
Burst pipes are a nightmare scenario for any homeowner, leading to costly water damage and cleanup. Fortunately, there are several proactive steps you can take to prevent pipe freezes and the headaches that come with them.Insulate Exposed Pipes
Focus on insulating any pipes that run through unheated spaces, such as the attic, basement, or crawl space. Foam pipe insulation sleeves are an affordable, easy-to-install solution that can make a big difference in protecting your plumbing.Seal Cracks and Holes
Carefully inspect the areas where pipes enter your home, such as through exterior walls or the foundation. Seal any cracks or holes with caulk or expanding foam to prevent cold air from reaching the pipes.Let Faucets Drip