Protect Your Home Year-Round with these Cost-Effective Techniques – No Professional Required. Learn to Seal Windows, Insulate Pipes, and Create Seasonal Decor that Withstands the Elements.
As a homeowner, you know that weatherproofing is essential for maintaining the integrity and energy efficiency of your property. From blustery winter winds to scorching summer heat, the elements can wreak havoc on your home if left unchecked. But fear not – with the right DIY know-how, you can safeguard your living space and save money in the process. In this comprehensive guide, we'll explore a range of cost-effective weatherproofing techniques that you can tackle yourself, no matter your skill level. Whether you're looking to seal drafty windows, insulate exposed pipes, or create seasonal decor that stands up to Mother Nature, we've got you covered. Get ready to master the art of weatherproofing and enjoy a more comfortable, energy-efficient home all year round.Tackle Troublesome Windows and Doors
Windows and doors are the primary entry points for outdoor elements, making them a crucial focus for weatherproofing. Fortunately, there are several DIY solutions you can implement to seal these vulnerable areas and prevent air leaks.Caulk and Seal Gaps
One of the most effective and affordable ways to weatherproof windows and doors is to caulk and seal any gaps or cracks. Over time, these openings can expand due to normal wear and tear, allowing cold air, heat, and moisture to infiltrate your home. To caulk properly, start by thoroughly cleaning the surface to remove any dirt, dust, or old caulk. Apply a high-quality, flexible silicone or latex caulk, following the manufacturer's instructions for application. Be sure to smooth the caulk with a wet finger or caulk-smoothing tool to achieve a clean, professional-looking finish.Install Weatherstripping
Weatherstripping is another essential tool in your weatherproofing arsenal. This flexible material creates a tight seal around the perimeter of windows and doors, blocking air leaks and preventing drafts. There are various types of weatherstripping, including foam, vinyl, and metal varieties, each with its own advantages. Measure the dimensions of your windows and doors to determine the appropriate weatherstripping lengths. Clean the surfaces thoroughly before applying the material, and be sure to follow the manufacturer's instructions for proper installation. For best results, replace weatherstripping every few years as it can degrade over time.Upgrade to Energy-Efficient Windows
If your windows are outdated or in poor condition, consider upgrading to energy-efficient models. Modern windows feature advanced glazing and insulation technologies that can significantly improve your home's thermal performance, reducing energy costs and enhancing comfort. While this option may require a more significant investment upfront, the long-term savings on utility bills can make it a worthwhile investment. Look for windows with high R-values (a measure of insulation) and features like low-emissivity (low-E) coatings, argon gas fills, and multiple panes of glass.Insulate Exposed Pipes and Protect Outdoor Faucets
Keeping your home's pipes and outdoor faucets protected from the elements is crucial for preventing costly damage during extreme weather conditions.Insulate Exposed Pipes
Exposed pipes, particularly those in unheated areas like basements, attics, or crawl spaces, are vulnerable to freezing temperatures. Wrapping these pipes with insulation can help maintain the desired water temperature and prevent bursts or leaks. There are several types of pipe insulation to choose from, including foam sleeves, fiberglass wraps, and specialty insulating tapes. Measure the diameter of your pipes and select the appropriate insulation size. Be sure to cover the full length of exposed pipes, including any elbows or fittings, and secure the insulation with tape or clamps.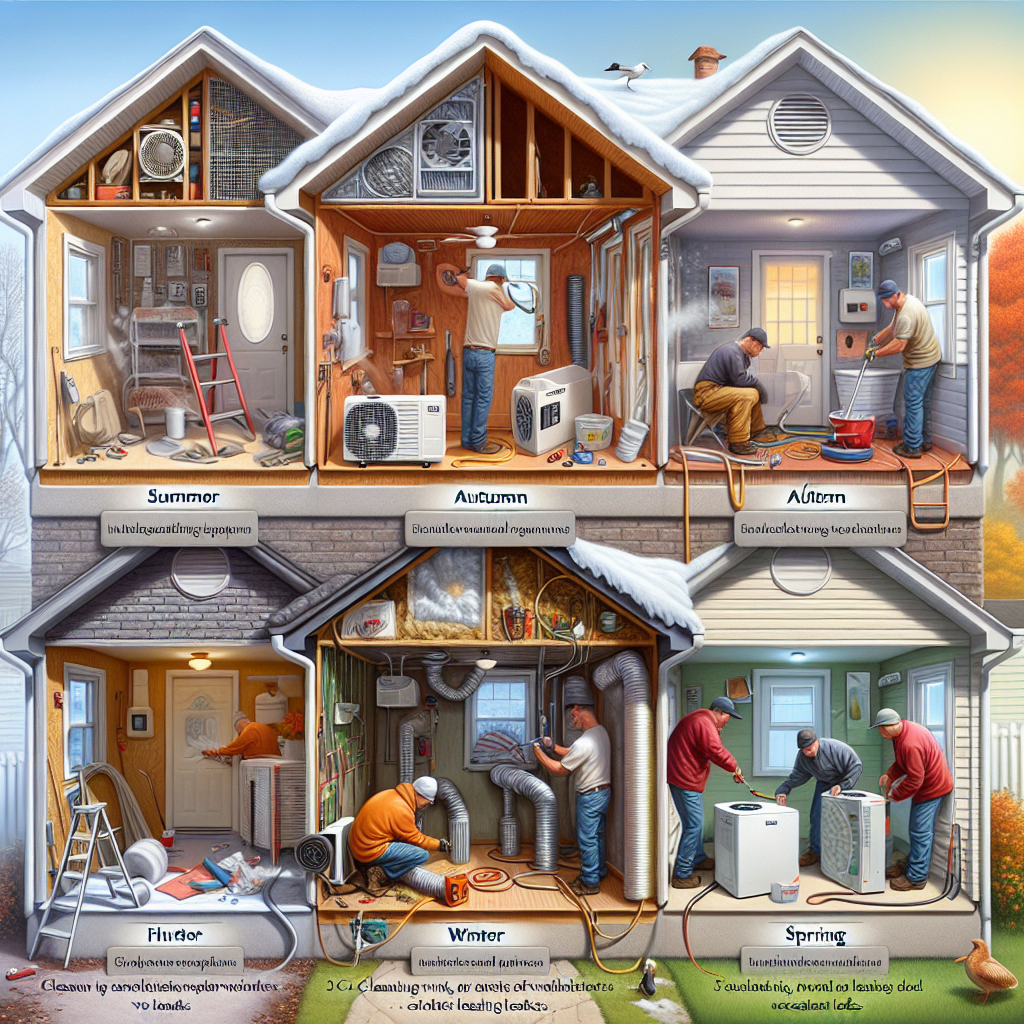
Protect Outdoor Faucets
Outdoor faucets, also known as hose bibs, are another vulnerable area that requires special attention. These fixtures are susceptible to freezing and can burst if the water inside them expands during a cold snap. To safeguard your outdoor faucets, start by shutting off the indoor shut-off valve (if available) and draining any residual water. Next, install an insulated faucet cover or "freeze-proof" jacket over the exposed fixture. These inexpensive and easy-to-use products create a barrier against the cold, helping to prevent freezing. For an extra layer of protection, you can also wrap the outdoor faucet in insulation and secure it with duct tape or weatherproof tape. This added insulation can provide an extra buffer against the elements.Insulate the Attic and Seal Air Leaks
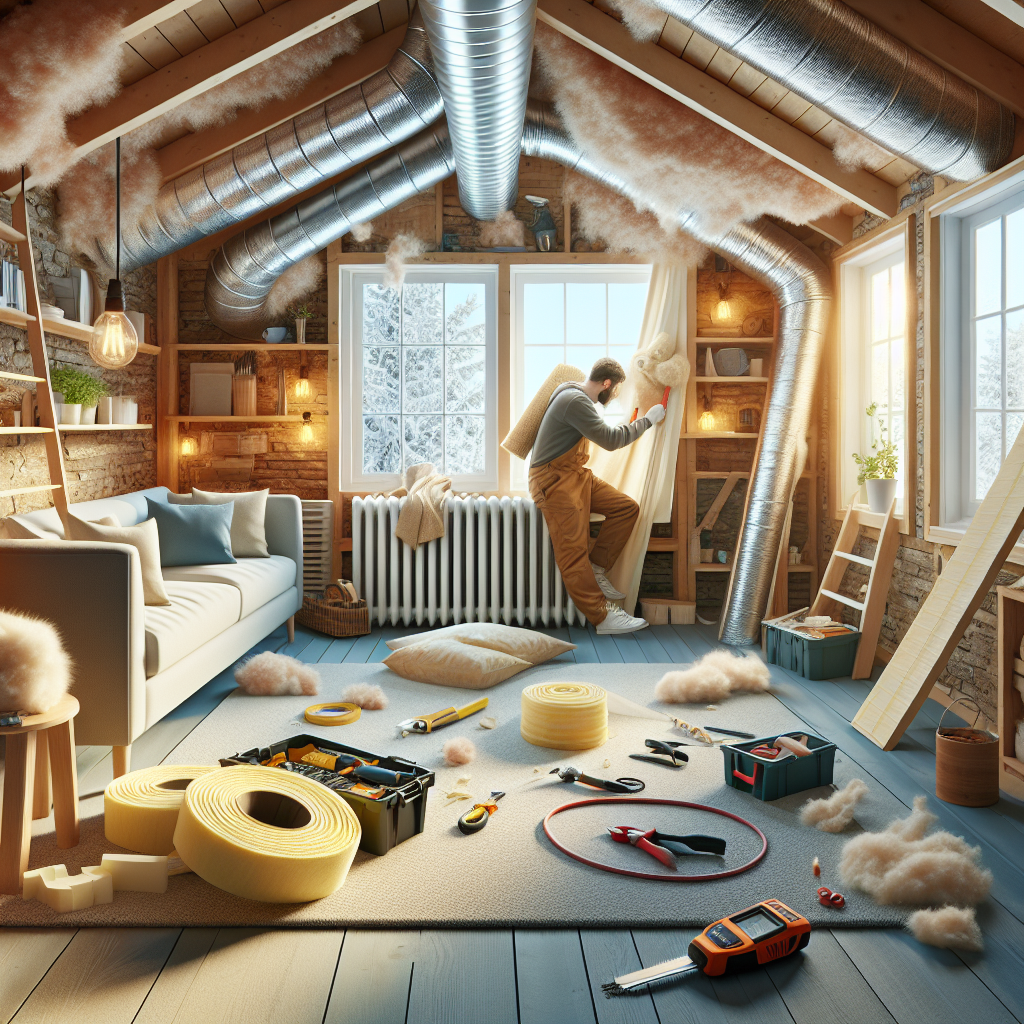
Proper attic insulation and air sealing are crucial for maintaining a comfortable, energy-efficient home year-round. These DIY projects can have a significant impact on your utility bills and help you avoid costly HVAC repairs.Assess Your Attic Insulation
The attic is one of the most important areas to focus on when it comes to weatherproofing. Inadequate or improperly installed insulation can lead to heat loss in the winter and heat gain in the summer, placing a significant strain on your HVAC system. Start by evaluating the current state of your attic insulation. The recommended R-value (a measure of insulation's thermal resistance) for most climate zones is R-49 to R-60. If your insulation is lacking, consider adding additional layers or upgrading to a higher-performing material, such as blown-in cellulose or fiberglass. Be sure to also insulate the attic hatch or access door, as this can be a common source of air leaks. Weatherstrip the perimeter of the hatch and add insulation to the top for a tight seal.Seal Air Leaks
In addition to insulation, identifying and sealing air leaks in your attic can have a major impact on your home's energy efficiency. Common culprits include gaps around recessed lighting fixtures, ductwork penetrations, and areas where walls meet the attic floor. Use a combination of caulk, spray foam, and weatherstripping to seal these problem areas. Be sure to also insulate any exposed ductwork in the attic to prevent heat loss or gain. For larger gaps, consider using a rigid foam sealant or fire-rated caulk for a more durable solution. By addressing both insulation and air sealing in your attic, you can significantly improve your home's thermal performance and reduce energy costs.Create Weatherproof Seasonal Decor
Embracing the changing seasons with outdoor decor can be a fun and rewarding hobby, but it's important to ensure your creations can withstand the elements. With a few strategic DIY techniques, you can design seasonal displays that last, no matter the weather conditions.Choose Weather-Resistant Materials
When crafting outdoor decorations, opt for materials that are inherently weatherproof, such as wood, metal, or UV-resistant plastics. Avoid delicate fabrics, papers, or decorations that can easily become damaged by rain, snow, or intense sunlight.