Protect Your Home from the Elements: A Seasonal Approach to Weatherproofing
As a homeowner, few things are more frustrating than dealing with the consequences of harsh weather conditions. From ice dams in the winter to leaky roofs in the summer, weather-related damage can lead to costly repairs, energy inefficiency, and even safety hazards. But what if you could proactively protect your home and save money in the long run? In this comprehensive guide, we'll explore a range of practical, cost-effective weatherproofing techniques tailored to each season. Whether you're a seasoned DIYer or a beginner homeowner, you'll learn how to safeguard your property and increase its energy efficiency through simple, step-by-step instructions. Get ready to master the art of weatherproofing and enjoy a more comfortable, well-protected home all year round.Winter Weatherproofing: Sealing the Cracks and Keeping the Cold Out
As the temperatures drop and the first snowflakes start to fall, it's time to turn your attention to winterizing your home. One of the most critical tasks is sealing any cracks, gaps, or drafts that could allow cold air to infiltrate your living spaces.Identify and Seal Drafty Areas
Start by conducting a thorough walkthrough of your home, both inside and out, to locate potential problem areas. Use a draft detector or hold a lit incense stick near windows, doors, and other suspected entry points to identify where air is leaking. Once you've pinpointed the problem areas, it's time to seal them up. Materials Needed:- Caulk (silicone or latex-based)
- Weatherstripping (foam, V-strip, or tape)
- Expandable foam sealant
- Putty knife or caulking gun
- Clean the surfaces around the cracks or gaps with a damp cloth to remove any dirt or debris.
- Apply a continuous bead of caulk along the edges, pressing it firmly into the crack or gap to create a tight seal.
- For larger openings, use expandable foam sealant to fill the void, then trim any excess once dry.
- Install weatherstripping around windows and doors, pressing it firmly into place to create an airtight barrier.
Insulate Attic and Crawl Spaces
Another crucial step in winterizing your home is ensuring adequate insulation in your attic and crawl spaces. Proper insulation not only keeps the cold air out but also helps retain heat, reducing your energy bills and improving overall comfort. Materials Needed:- Fiberglass or cellulose insulation
- Protective gear (gloves, goggles, and mask)
- Insulation blower (for cellulose insulation)
- Measure the depth of your existing insulation and determine the recommended R-value for your climate zone.
- If your insulation is lacking, add more to reach the recommended level, making sure to cover the entire attic or crawl space evenly.
- For attics, consider installing baffles around the eaves to maintain proper airflow and prevent ice dams.
- In crawl spaces, insulate the walls and foundation, taking care to seal any vents or openings to prevent cold air infiltration.
Protect Pipes from Freezing
Burst pipes can cause extensive water damage and costly repairs, so it's essential to take steps to prevent them from freezing during the winter months. Materials Needed:- Pipe insulation or heat tape
- Duct tape or zip ties
- Electrical outlet for heat tape (if applicable)
- Identify any exposed pipes, particularly in unheated areas like the attic, crawl space, or exterior walls.
- Wrap the pipes with insulation, securing it in place with duct tape or zip ties.
- For pipes that are prone to freezing, consider installing heat tape, which uses electricity to maintain a warm temperature and prevent freezing.
- Insulate the exterior faucets and shut off the interior shut-off valves to prevent freezing.
Spring Weatherproofing: Tackling Roof and Gutter Maintenance
As the snow melts and the first signs of spring begin to emerge, it's time to turn your attention to your home's roof and gutters. These critical components play a vital role in protecting your property from the elements, so it's essential to ensure they're in good working order.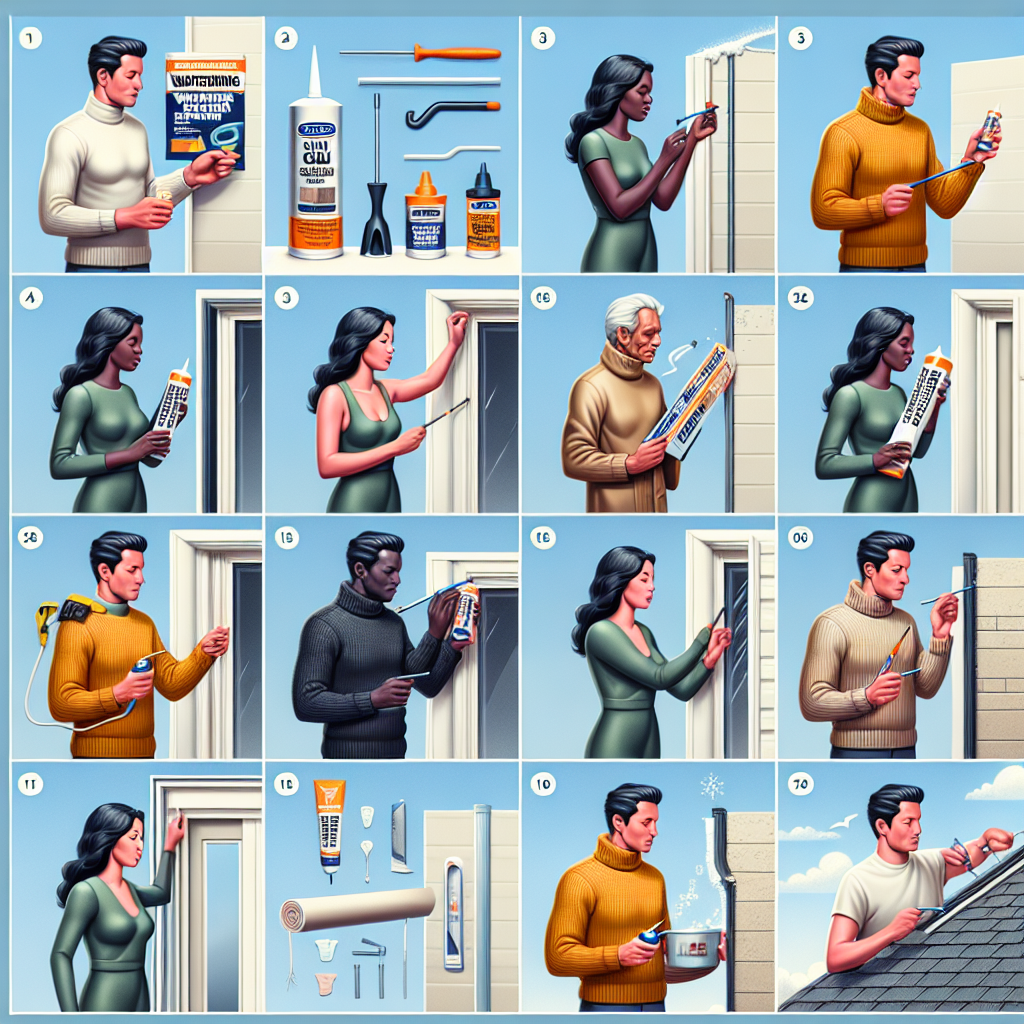
Inspect and Repair the Roof
Carefully inspect your roof for any signs of damage, such as missing or cracked shingles, loose flashing, or accumulated debris. Addressing these issues proactively can prevent costly leaks and water damage down the line. Materials Needed:- Ladder
- Roof rake or broom
- Roofing sealant or caulk
- Replacement shingles (if needed)
- Roofing nails or staples
- Use a ladder to safely access the roof and conduct a thorough inspection, paying close attention to the edges, valleys, and any areas that appear damaged or worn.
- Remove any debris, such as leaves, twigs, or dirt, using a roof rake or broom.
- Seal any cracks or gaps in the roofing material with a high-quality sealant or caulk.
- If you discover any missing or damaged shingles, carefully replace them, securing the new shingles with roofing nails or staples.
Clean and Maintain Gutters
Clogged or damaged gutters can lead to water pooling around your home's foundation, which can cause serious structural issues over time. Spring is the perfect time to give your gutters a thorough cleaning and inspection. Materials Needed:- Ladder
- Gutter scoop or trowel
- Gutter brush or plumber's snake
- Gutter sealant or gutter guards (optional)
- Use a ladder to safely access your gutters and remove any accumulated debris, such as leaves, twigs, or dirt, using a gutter scoop or trowel.
- Flush the gutters with a garden hose to ensure they're clear and free-flowing.
- Inspect the gutters for any cracks, holes, or loose connections, and repair them with a high-quality gutter sealant.
- Consider installing gutter guards to prevent future buildup and minimize the need for frequent cleaning.
Summer Weatherproofing: Keeping the Heat and Humidity at Bay
As the temperatures rise and the sun beats down, it's essential to take steps to protect your home from the summer heat and humidity. Proper weatherproofing can not only keep your living spaces cool and comfortable but also reduce your energy bills.Inspect and Seal Windows and Doors
Just as you did in the winter, it's important to identify and seal any cracks or gaps around your windows and doors that could allow hot, humid air to infiltrate your home. Materials Needed:- Caulk (silicone or latex-based)
- Weatherstripping (foam, V-strip, or tape)
- Putty knife or caulking gun
- Carefully inspect the perimeter of your windows and doors, both inside and out, to locate any potential problem areas.
- Clean the surfaces around the cracks or gaps with a damp cloth to remove any dirt or debris.
- Apply a continuous bead of caulk along the edges, pressing it firmly into the crack or gap to create a tight seal.
- Install weatherstripping around the windows and doors, pressing it firmly into place to create an airtight barrier.
Upgrade or Maintain Cooling Systems
Ensuring your home's cooling systems are functioning efficiently is crucial for keeping the summer heat at bay. This may involve upgrading to a more energy-efficient unit or performing regular maintenance on your existing system. Materials Needed:- Air conditioner filters
- Coil cleaner
- Refrigerant (if needed)
- Replace the air conditioner filters regularly, following the manufacturer's recommendations.
- Clean the outdoor condenser unit by removing any debris or vegetation that may be obstructing airflow.
- Consider upgrading to a more energy-efficient air conditioning unit, which can significantly reduce your cooling costs.
- If your system is more than 10 years old, it may be time to consider a replacement to take advantage of the latest energy-saving technologies.
Increase Attic Ventilation
Proper attic ventilation is crucial for preventing heat buildup and reducing the strain on your cooling systems. By improving airflow, you can improve your home's energy efficiency and keep your living spaces more comfortable. Materials Needed:- Attic fan or roof vents
- Protective gear (gloves, goggles, and mask)
- Tools for installation (screwdriver, drill, etc.)

- Assess your attic's current ventilation system and determine if additional measures are needed, such as installing an attic fan or additional roof vents.
- Follow the manufacturer's instructions for properly installing the new ventilation equipment, ensuring a secure and airtight seal.
- Consider the size of your attic space and choose a ventilation system with the appropriate airflow capacity to effectively regulate the temperature.
Fall Weatherproofing: Preparing for the Changing Seasons
As summer transitions into fall, it's time to shift your weatherproofing focus to preparing your home for the upcoming cooler months. This includes tasks like cleaning and maintaining your home's exterior, ensuring proper drainage, and transitioning your HVAC system.Clean and Maintain the Exterior
Giving your home's exterior a thorough cleaning and inspection can help identify any issues that need to be addressed before the harsh winter weather arrives. Materials Needed:- Pressure washer or garden hose with attachments
- Cleaning solution or detergent
- Scrub brush or broom
- Ladder
- Use a pressure washer or garden hose with a high-pressure nozzle to clean the siding, windows, and other exterior surfaces, removing any accumulated dirt, mildew, or debris.
- Inspect the exterior for any cracks, gaps, or areas of deterioration, and make necessary repairs using a suitable sealant or caulk.
- Clean the gutters and downspouts to ensure proper drainage, as clogged gutters can lead to water damage and foundation issues.
- Trim any overhanging tree branches or shrubs that could potentially cause damage during the winter months.
Prepare Outdoor Spaces and Equipment
As the weather turns colder, it's important to properly store or winterize any outdoor equipment, furniture, or structures to prevent weather-related damage. Materials Needed:- Tarps or weatherproof covers
- Outdoor furniture cushion storage bags
- Garden hose insulation or shut-off valves
- Lawn mower winterization kit (if applicable)
- Cover or store any outdoor furniture, grills, or other equipment to protect them from the elements.
- Insulate or shut off any outdoor water faucets or hose bibs to prevent freezing.
- Properly winterize any outdoor power equipment, such as lawn mowers or leaf blowers, following the manufacturer's instructions.
- Drain and store any sprinkler systems or irrigation equipment to prevent damage from freezing temperatures.
Transition Your HVAC System
As the seasons change, it's important to ensure your HVAC system is ready to provide efficient heating during the colder months ahead. Materials Needed:- HVAC system filters
- Programmable thermostat (optional)
- HVAC system maintenance supplies (as recommended by the manufacturer)
- Replace the air filters in your HVAC system to ensure optimal airflow and efficiency.
- Schedule a professional HVAC system tune-up to have the unit serviced and any necessary maintenance performed.
- Consider upgrading to a programmable thermostat, which can help you save on heating costs by automatically adjusting the temperature based on your schedule and preferences.
- Make any necessary adjustments to your HVAC system's settings, such as switching from cooling to heating mode, to prepare for the changing weather conditions.
Key Takeaways
- Weatherproofing your home is a crucial aspect of home maintenance that can save you money, improve energy efficiency, and protect your property from weather-related damage.
- Seasonal weatherproofing tasks include sealing drafts, insulating attics and crawl spaces, maintaining roofs and gutters, upgrading cooling systems, and preparing outdoor spaces for the changing weather.
- By addressing these weatherproofing tasks proactively, you can create a more comfortable, energy-efficient home and avoid costly repairs down the line.
- Remember to prioritize safety, follow manufacturer instructions, and consider hiring professional help for tasks that require specialized knowledge or equipment.