
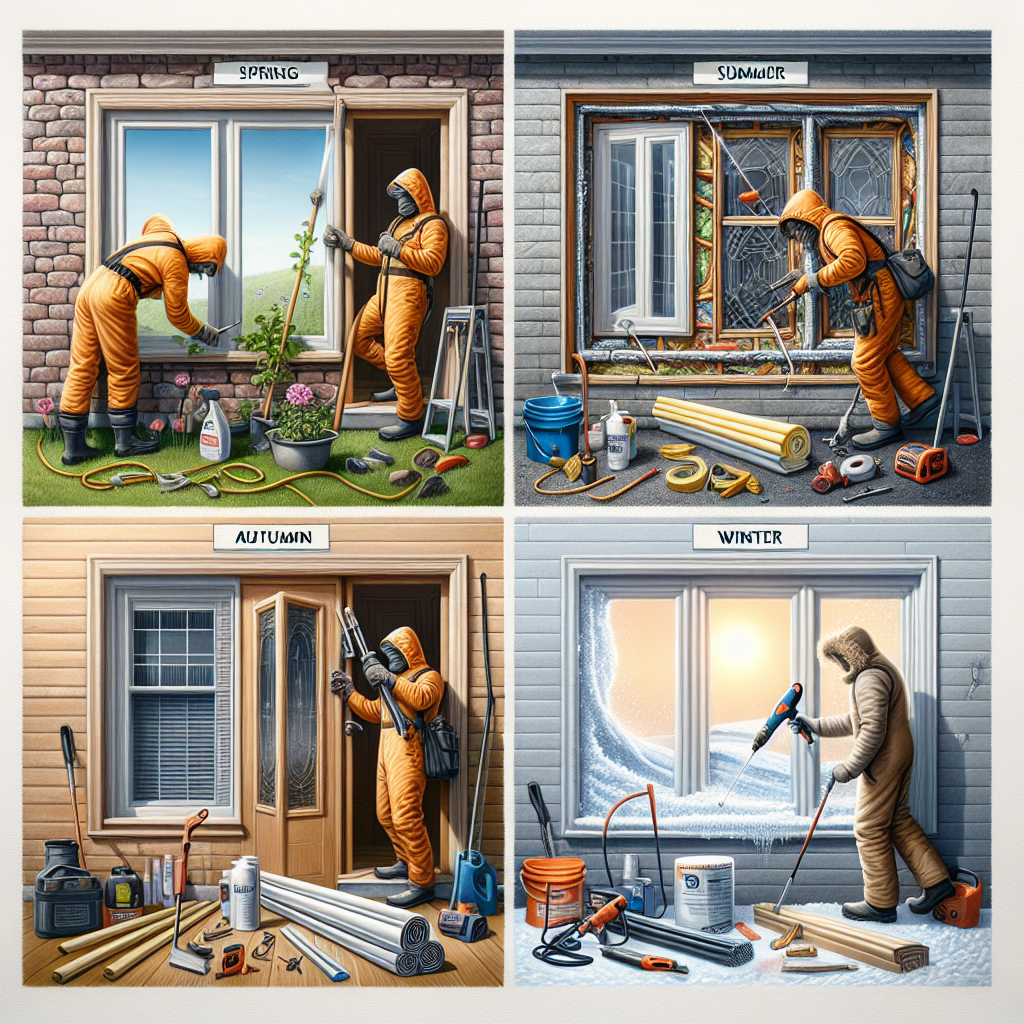
Master the Art of DIY Weatherproofing: Your Essential Guide for Each Season
As a homeowner, protecting your property from the elements is a crucial yet often overlooked task. From scorching summers to frigid winters, your home faces a constant barrage of weather-related challenges that can significantly impact your comfort, utility bills, and maintenance costs. But fear not – with the right DIY weatherproofing techniques, you can safeguard your home and save hundreds, if not thousands, of dollars each year. In this comprehensive guide, we'll dive deep into cost-effective, beginner-friendly strategies to weatherproof your home for every season. Discover how to properly weatherstrip doors, insulate attic spaces, and create festive, weather-proof holiday decorations – all while maximizing energy efficiency and minimizing your environmental impact.Autumn: Seal Drafts and Prepare for Winter
As the temperature starts to drop and the leaves begin to fall, it's time to focus on sealing up any drafts and gaps around your home. Drafty windows and doors can account for up to 30% of your heating and cooling costs, so addressing these problem areas should be a top priority.Weatherstripping Doors and Windows
One of the most effective and budget-friendly ways to seal drafts is by weatherstripping your doors and windows. This simple DIY project can be completed in just a few hours and can save you hundreds on your utility bills each year. Materials Needed:- Weatherstripping tape or self-adhesive foam strips
- Caulk gun and weatherproof caulk
- Utility knife or scissors
- Clean rags or paper towels
Insulating the Attic
Another crucial step in preparing your home for winter is ensuring proper attic insulation. Heat naturally rises, and an underinsulated attic can allow warm air to escape, leading to higher energy bills and an uncomfortable living environment. Materials Needed:- Fiberglass batt insulation or blown-in cellulose insulation
- Measuring tape
- Utility knife or scissors
- Protective gear (gloves, goggles, and a mask)
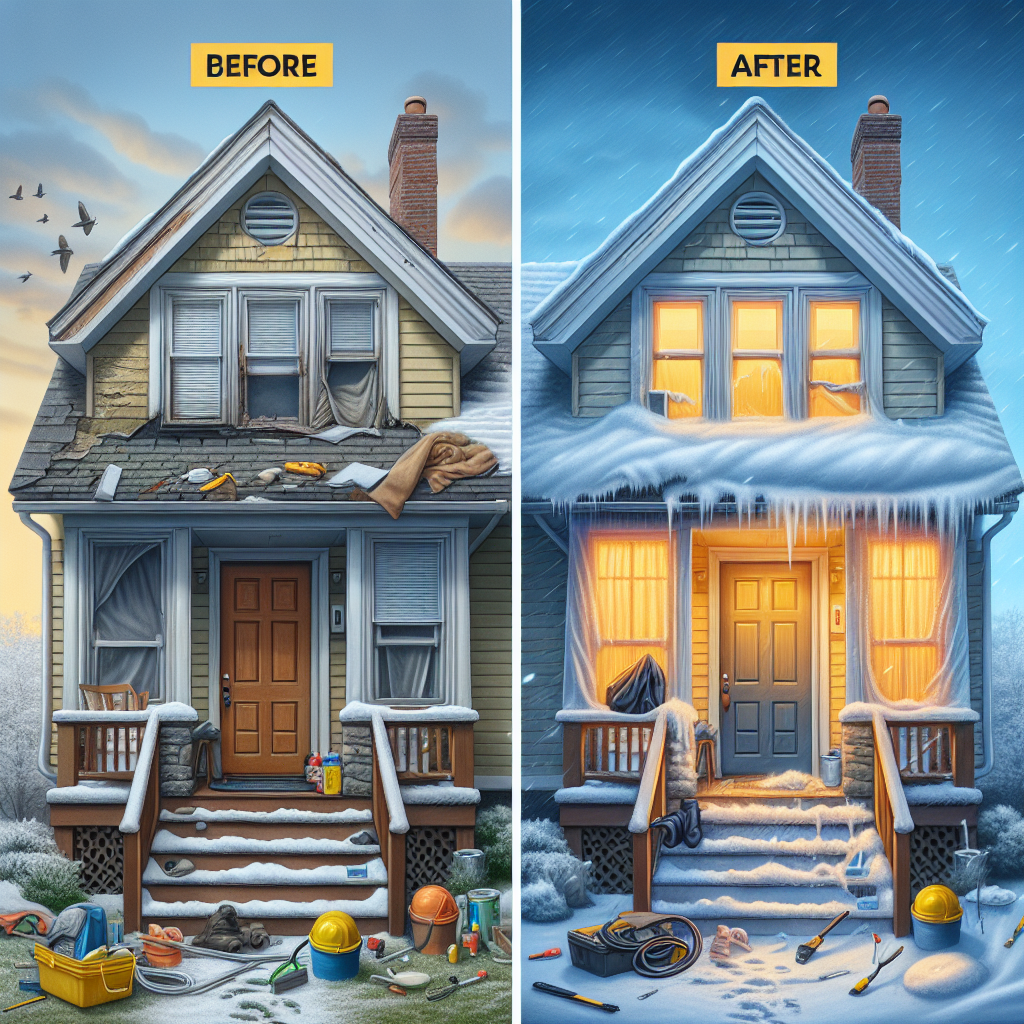
Winter: Embrace the Chill with Weatherproof Decor
As the snow starts to fall and the temperatures drop, it's time to shift your focus to creating a cozy, weatherproof outdoor living space. From festive wreaths to sturdy holiday decorations, there are countless ways to embrace the winter season while protecting your home and investments.DIY Weatherproof Wreaths
Crafting your own weatherproof wreaths is a fun, creative way to add a touch of seasonal charm to your home's exterior. These durable decorations can withstand the harshest winter conditions, ensuring your home stays looking its best all season long. Materials Needed:- Grapevine or metal wreath form
- Weatherproof materials (dried flowers, pinecones, ribbons, etc.)
- Hot glue gun and glue sticks
- Pruning shears or wire cutters
Weatherproof Holiday Decorations
Decorating your home's exterior for the holidays is a cherished tradition, but many traditional decorations simply can't withstand the rigors of winter weather. By incorporating weatherproof materials and techniques, you can create stunning holiday displays that will last all season long. Materials Needed:- Weatherproof lights and extension cords
- Plastic or metal ornaments and figurines
- Weatherproof garlands and ribbons
- Silicone caulk or adhesive
- Zip ties or outdoor-safe fasteners
Spring: Revitalize Your Home's Exterior
As the warm weather returns and the days grow longer, it's the perfect time to assess your home's exterior and address any weatherproofing needs. From cleaning gutters to sealing cracks, these springtime tasks will help prepare your home for the upcoming summer months.Gutter Maintenance and Cleaning
Properly maintained gutters are essential for protecting your home from water damage and moisture-related issues. As winter weather takes its toll, it's important to thoroughly clean and inspect your gutters each spring. Materials Needed:- Ladder
- Gutter scoop or trowel
- Bucket or tarp
- Garden hose with spray nozzle
- Gloves and eye protection
Sealing Exterior Cracks and Gaps
As your home's exterior endures the elements, it's common for small cracks and gaps to form around windows, doors, and other entry points. Addressing these problem areas can help improve your home's energy efficiency and prevent the infiltration of moisture, pests, and other unwanted intruders. Materials Needed:- Caulk gun
- Weatherproof caulk (silicone or polyurethane)
- Utility knife or putty knife
- Clean rags or paper towels
Summer: Beat the Heat with Strategic Weatherproofing
As the summer sun beats down on your home, it's crucial to implement weatherproofing strategies that can help keep your living space cool, comfortable, and energy-efficient. From strategic shading to reflective roof coatings, these techniques can significantly reduce your cooling costs and minimize your environmental impact.Installing Exterior Shading
Strategically placed exterior shading, such as awnings, shutters, or retractable sun screens, can block up to 65% of the sun's heat from entering your home, dramatically reducing your cooling needs. Materials Needed:- Awnings, shutters, or retractable sun screens
- Mounting hardware (screws, brackets, etc.)
- Power tools (drill, saw, etc.)
- Measuring tape
- Level
Reflective Roof Coatings
Another effective way to keep your home cool during the summer months is by applying a reflective roof coating. These specialized paints and sealants can help deflect the sun's rays, reducing the amount of heat that's absorbed by your home's roof and attic. Materials Needed:- Reflective roof coating (acrylic or elastomeric)
- Paint rollers and trays
- Ladder or scaffolding
- Protective gear (goggles, gloves, and a mask)
Key Takeaways
By mastering the art of DIY weatherproofing, you can dramatically improve your home's comfort, energy efficiency, and long-term durability. Remember these key takeaways:- Seal drafts around doors and windows with weatherstripping and caulk to reduce heating and cooling costs by up to 20%.
- Properly insulate your attic to save an additional 20% on your utility bills and create a more comfortable living environment.
- Craft weatherproof wreaths and holiday decorations to add festive charm while protecting your home from the elements.
- Maintain your gutters, seal exterior cracks and gaps, and install exterior shading to improve your home's energy efficiency and prevent water damage.
- Apply reflective roof coatings to reduce cooling costs by 10-15% and keep your home's interior cool and comfortable during the summer months.