Secure Your Home Against the Elements with These Cost-Effective Weatherproofing Techniques
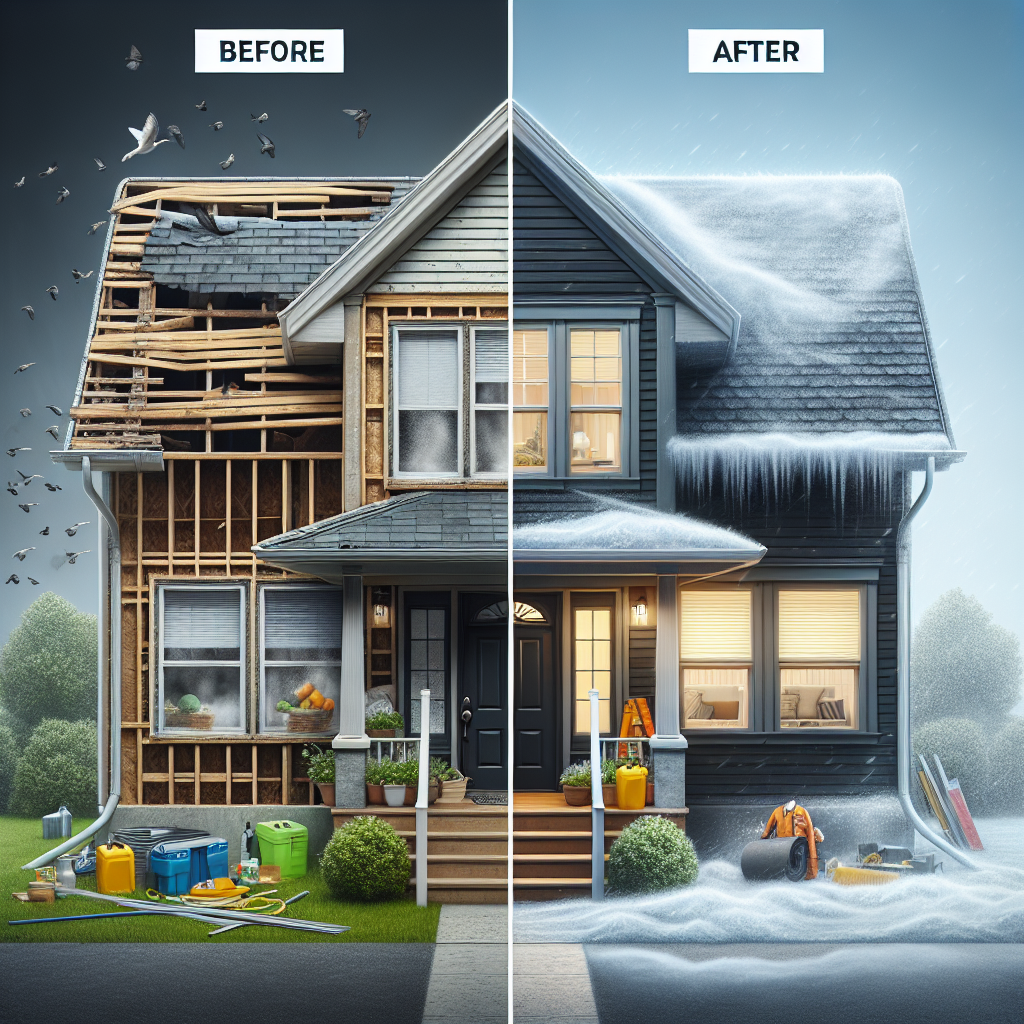
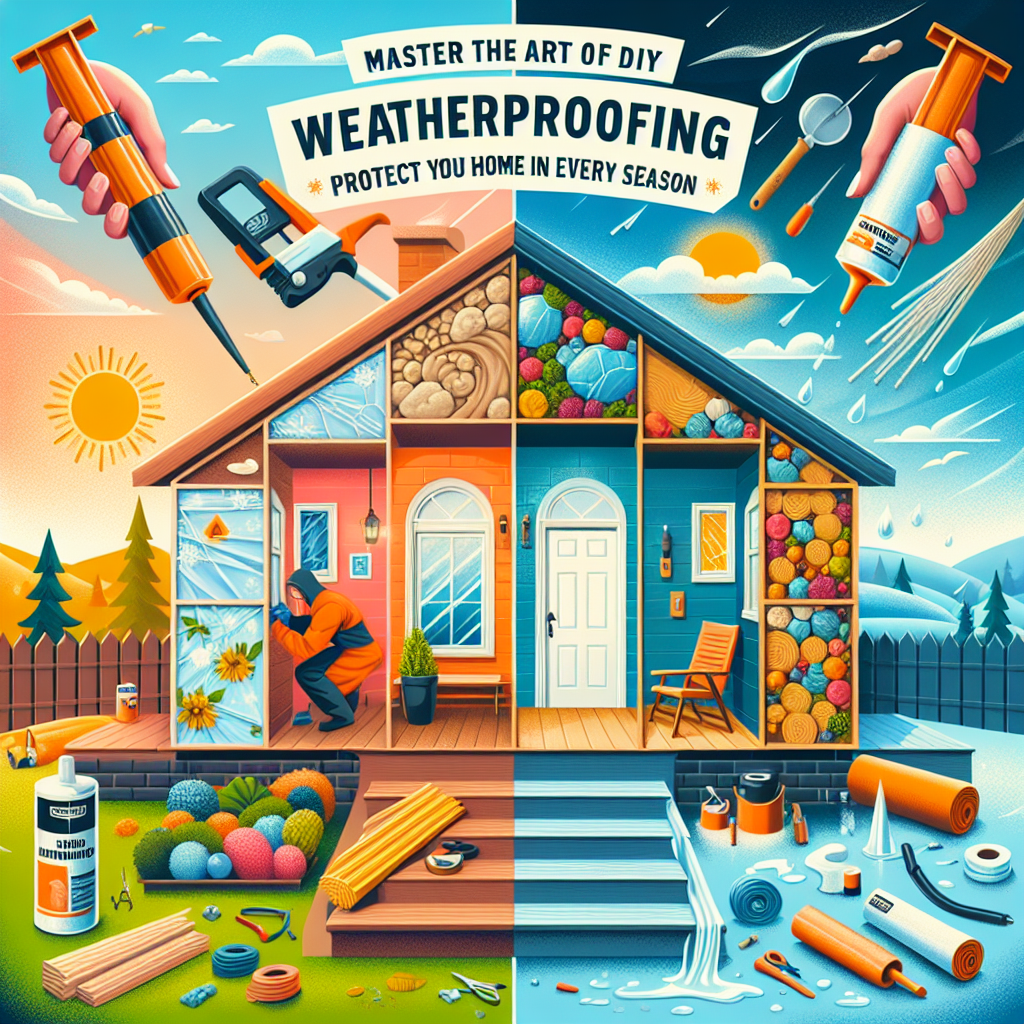
As a homeowner, protecting your property from the unpredictable and often harsh elements is a top priority. Whether you're battling the blistering summer heat, bone-chilling winter winds, or relentless spring showers, maintaining a weatherproof home is essential for comfort, energy efficiency, and long-term structural integrity. Fortunately, you don't need to be a professional contractor to fortify your home against Mother Nature's wrath. With the right knowledge and a few strategic DIY projects, you can seal drafts, insulate vulnerable areas, and create a barrier against the elements - all while saving money on your energy bills. In this comprehensive guide, we'll explore a range of practical, cost-effective weatherproofing techniques that you can tackle yourself. From sealing windows and insulating pipes to crafting custom draft stoppers, you'll learn how to master the art of DIY weatherproofing and ensure your home stays comfortable and damage-free year-round.Identify and Seal Air Leaks Around Windows
One of the most common culprits of energy loss and drafty conditions in homes is air leaks around windows. Over time, the sealants and weatherstripping can deteriorate, allowing cold air to seep in during winter and cool air to escape in the summer. Addressing these air leaks should be your first line of defense in weatherproofing your home.Step-by-Step Guide to Sealing Window Leaks
1. Conduct a thorough inspection of all your home's windows, both inside and out. Look for cracks, gaps, or worn-out weatherstripping that could be allowing air to pass through. 2. Use a high-quality silicone or acrylic latex caulk to seal any cracks or gaps you find around the window frames. Be sure to clean the surfaces thoroughly before applying the caulk for maximum adhesion. 3. Replace any old, damaged weatherstripping with new, flexible weatherstripping designed for windows. Measure the length of each window and cut the new weatherstripping to size, pressing it firmly into place. 4. Consider adding window film or shrink wrap to create an additional barrier against drafts. These clear, plastic coverings are inexpensive, easy to install, and can significantly improve insulation. 5. For windows that are particularly drafty, you may want to invest in window insulation kits. These kits typically include a clear, plastic film that you can attach to the window frame using double-sided tape or a specialized frame. Completing these simple window sealing tasks can have a substantial impact on your home's energy efficiency and overall comfort level. According to the U.S. Department of Energy, properly sealing air leaks can save homeowners up to 30% on their annual energy bills.Insulate Exposed Pipes to Prevent Freezing and Bursting
Another critical weatherproofing task is insulating any exposed plumbing pipes, both inside and outside your home. During the winter months, these vulnerable pipes are at risk of freezing, which can lead to costly burst pipes and water damage.Proper Pipe Insulation Techniques
1. Identify all exposed pipes, including those in unheated areas like the attic, crawl space, or garage. 2. Measure the diameter of each pipe and purchase the appropriate size of pre-slit pipe insulation. These foam or fiberglass sleeves are designed to snap or wrap around the pipes. 3. Thoroughly clean the pipe surfaces to ensure the insulation adheres properly. 4. Carefully cut the insulation to the desired length, making sure to leave a few extra inches on each end to create a tight seal. 5. Secure the insulation in place using duct tape, wire, or specialized fasteners, ensuring there are no gaps or exposed areas.
Craft Custom Draft Stoppers to Seal Door and Window Gaps
Despite your best efforts to seal windows and insulate pipes, your home may still be susceptible to unwanted drafts. One of the most effective DIY solutions for addressing these pesky air leaks is to create custom draft stoppers for doors and windows.DIY Draft Stopper Instructions
1. Measure the width of the door or window you want to seal and add a few inches to each end to ensure a snug fit. 2. Choose your preferred filling material, such as rice, sand, or polyfill stuffing. Avoid using materials that can shift or settle over time, as this will compromise the seal. 3. Cut a length of fabric, such as cotton or canvas, that is approximately 6 inches wider than your measurement. Fold the fabric in half lengthwise and sew a seam along the long edge, creating a tube-like shape. 4. Flip the fabric tube inside out so the seam is hidden, then fill it with your chosen material, packing it in tightly. 5. Sew the open ends of the fabric tube closed, ensuring a secure seal. 6. Place the completed draft stopper snugly against the bottom of the door or window, adjusting as needed to eliminate any gaps. These customizable draft stoppers can be an incredibly effective and low-cost solution for sealing out unwanted air infiltration. By creating a physical barrier, they help maintain consistent temperatures within your home and reduce energy consumption.Insulate Attic Spaces for Maximum Thermal Efficiency
One of the most critical areas of your home for effective weatherproofing is the attic. Proper attic insulation not only keeps your living spaces comfortable but also plays a crucial role in preventing heat loss during the winter and heat gain during the summer.Attic Insulation Best Practices
1. Determine the current R-value (thermal resistance) of your attic insulation. Homes in colder climates should have an R-value of at least R-49, while those in warmer regions may only require R-30 to R-38. 2. If your existing insulation falls short of the recommended R-value, plan to add additional layers of insulation, such as fiberglass batts or blown-in cellulose. 3. Ensure proper ventilation in the attic by installing ridge vents, gable vents, or soffit vents. This will help regulate temperature and prevent moisture buildup. 4. Seal any gaps or openings in the attic floor, such as around light fixtures, electrical boxes, or ductwork, using caulk or spray foam. This will prevent heated or cooled air from escaping the living space. 5. Consider installing radiant barrier insulation, which reflects heat away from the living space, further enhancing the attic's thermal efficiency. Upgrading your attic insulation is one of the most cost-effective weatherproofing investments you can make. According to the U.S. Department of Energy, properly insulating an attic can save homeowners up to 10-50% on their annual heating and cooling costs, depending on the climate.