Discover Cost-Effective Techniques to Create Stunning, Weather-Resistant Outdoor Decorations
The holiday season is a time to transform your home into a festive winter wonderland, but outdoor decorations can quickly become a hassle - especially when they don't withstand the elements. Harsh winds, heavy snowfall, and freezing temperatures can wreak havoc on delicate store-bought decorations, leaving you with a sad and bedraggled display by New Year's. But what if you could create stunning outdoor decorations that not only survive but thrive through even the most brutal winter conditions? With a bit of creativity and our step-by-step guide, you can DIY your own weatherproof holiday decor that will dazzle your neighbors and last for years to come - no professional skills required. In this comprehensive article, we'll cover a range of easy-to-make, budget-friendly outdoor decoration ideas that can brave the elements. From rustic wooden cutouts to shimmering all-weather garlands, you'll discover the techniques and materials needed to transform your home into a festive masterpiece, season after season.Why Invest in Weatherproof Outdoor Decor?
Outdoor holiday decorations are a beloved tradition that can truly elevate the spirit of the season. They signal to the world that your home is a place of joy, wonder, and celebration. But far too often, these delightful displays succumb to the harsh realities of winter weather. The problem with traditional outdoor decorations: - Prone to damage from wind, rain, snow, and freezing temperatures - Often require significant time and effort to set up each year - Can be expensive to replace after a single season's use - May not withstand storage and reuse from year to year The benefits of weatherproof DIY decorations: - Built to last through even the toughest winter conditions - Save money by avoiding annual replacement costs - Invest time once to create decor that will endure for years - Customize designs to perfectly match your home's aesthetic - Enjoy the satisfaction of creating something unique with your own hands When you DIY your own weatherproof outdoor holiday decorations, you're not just saving money - you're investing in a tradition that will bring joy to your family and wow your neighbors, year after year. Plus, the process of making these decorations can be just as fun and fulfilling as displaying them.Weatherproof Outdoor Decoration Ideas
Ready to get started on your DIY outdoor holiday decor project? Here are some of our favorite weatherproof decoration ideas to inspire your creativity:Rustic Wooden Cutouts
Wooden outdoor decorations are inherently more durable than delicate store-bought options, and they can be designed to complement a variety of home styles. From classic Christmas trees and snowflakes to more unique silhouettes like reindeer or sleighs, wooden cutouts make a striking visual statement.
Shimmering All-Weather Garlands
Garlands are a classic holiday decoration, but traditional greenery can quickly become bedraggled in harsh winter weather. An all-weather garland made from durable, weatherproof materials can bring that same festive spirit to your outdoor spaces without the maintenance hassle. What you'll need: - Weatherproof wire or twine (e.g., galvanized steel, stainless steel, or UV-resistant polypropylene) - Artificial evergreen foliage, flowers, or other decorative elements - Exterior-grade ornaments, beads, or other embellishments - Hot glue gun - Wire cutters How to make it: 1. Measure the area where you plan to hang the garland and cut the wire or twine to the desired length, allowing a few extra inches on each end for hanging. 2. Attach the artificial evergreen foliage, flowers, or other decorative elements to the wire or twine using hot glue, working in sections and overlapping the pieces to create a full, lush garland. 3. Intersperse exterior-grade ornaments, beads, or other embellishments throughout the garland, securing them with hot glue. 4. Once complete, use the excess wire or twine on each end to hang the garland in your desired location. Tip: For extra durability, consider wrapping the garland in weatherproof ribbon or using zip ties to secure the elements in place.Illuminated Outdoor Lanterns
Ambient lighting can transform your outdoor holiday display, and weatherproof lanterns are an ideal solution. These sturdy decorations can withstand the elements while providing a warm, inviting glow to welcome guests. What you'll need: - Exterior-grade lantern or lantern-style container (e.g., metal, glass, or weather-resistant plastic) - LED string lights or outdoor-rated candles - Exterior-grade adhesive or sealant - Hanging hardware (e.g., hooks, chains, rope) How to make it: 1. Prepare the lantern or container by cleaning the surface and applying a layer of exterior-grade adhesive or sealant to reinforce any seams or openings. 2. Carefully insert the LED string lights or outdoor-rated candles, ensuring they are securely in place. 3. Attach hanging hardware to the top of the lantern so you can easily display it. 4. Place the lantern in your desired outdoor location and enjoy the warm, inviting glow! Tip: For added protection, consider using a weather-resistant lantern with a hinged door or lid that can be closed when not in use.Personalized Wooden Signs
Wooden signs are a fantastic way to add a personal touch to your outdoor holiday display. Whether you opt for a simple message or a more elaborate design, these weatherproof decorations can be customized to suit your style and complement your home's aesthetic.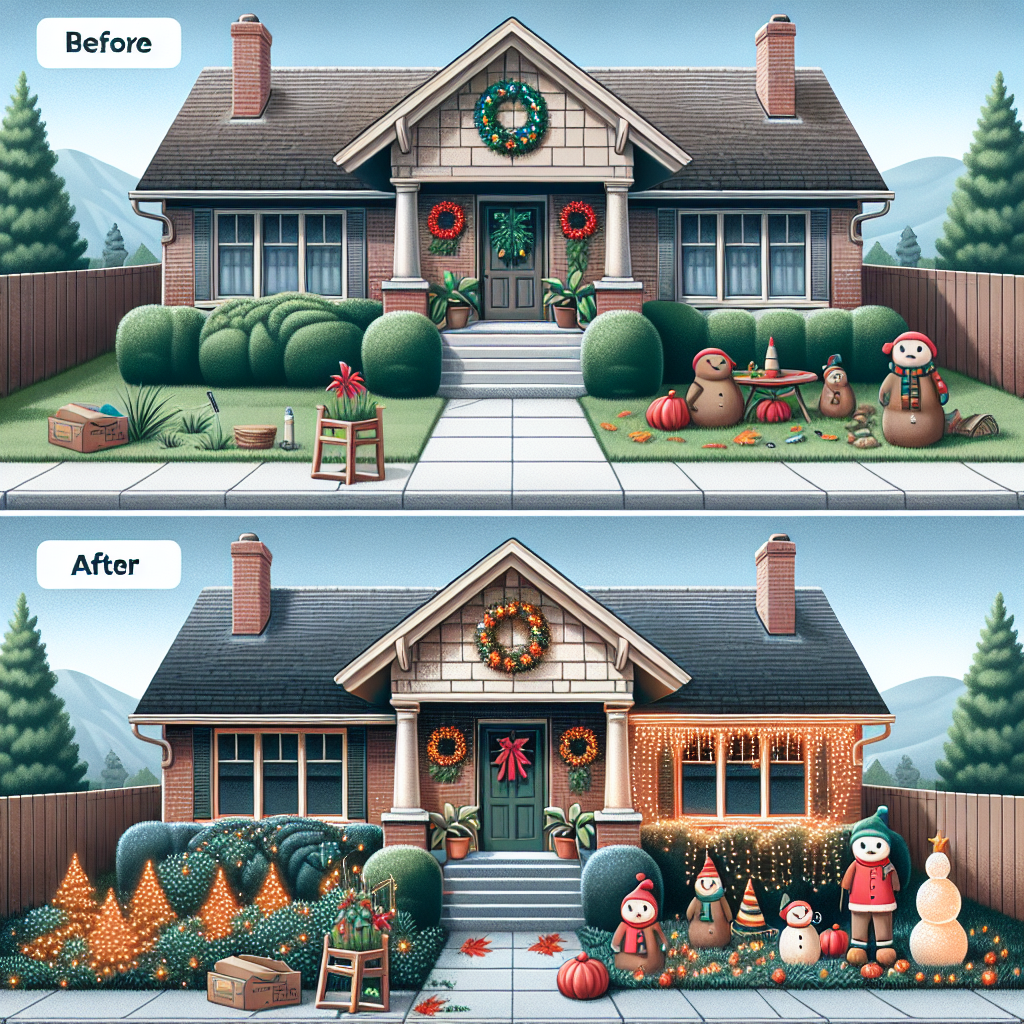
Illuminated Outdoor Sculptures
Take your outdoor holiday display to the next level with large-scale, weatherproof sculptures. These striking decorations can serve as the centerpiece of your winter wonderland, drawing the eye and adding a touch of whimsy. What you'll need: - Exterior-grade plywood or weatherproof wood (e.g., cedar, redwood, or pressure-treated pine) - Jigsaw or circular saw - Exterior-grade paint or wood stain - Exterior-grade polyurethane or sealant - Outdoor-rated LED string lights or spotlights - Sturdy support structure (e.g., metal rods, wooden posts) - Anchoring hardware (e.g., concrete, sandbags, stakes) How to make it: 1. Sketch your desired sculpture design and use a jigsaw or circular saw to carefully cut the necessary wooden pieces. 2. Assemble the sculpture, securing the components with exterior-grade adhesive or fasteners. 3. Apply 2-3 coats of exterior-grade paint or wood stain, allowing each coat to fully dry. 4. Seal the sculpture with 2-3 coats of exterior-grade polyurethane or sealant. 5. Strategically place outdoor-rated LED string lights or spotlights to illuminate your creation. 6. Construct a sturdy support structure and anchor the sculpture securely in place. Tip: For a whimsical touch, consider incorporating moving parts or interactive elements into your outdoor sculpture design.Key Takeaways
- Weatherproof outdoor decorations are a smart investment that can withstand harsh winter conditions and last for years.
- DIY projects allow you to customize your holiday display to perfectly match your home's style and aesthetic.
- Common weatherproof materials include exterior-grade wood, metal, glass, and weather-resistant plastics.
- Incorporate durable elements like exterior-grade paints, sealants, and hardware to ensure your decorations can brave the elements.
- Creativity and a bit of elbow grease are all you need to transform your home into a festive, winter wonderland that will delight your neighbors season after season.