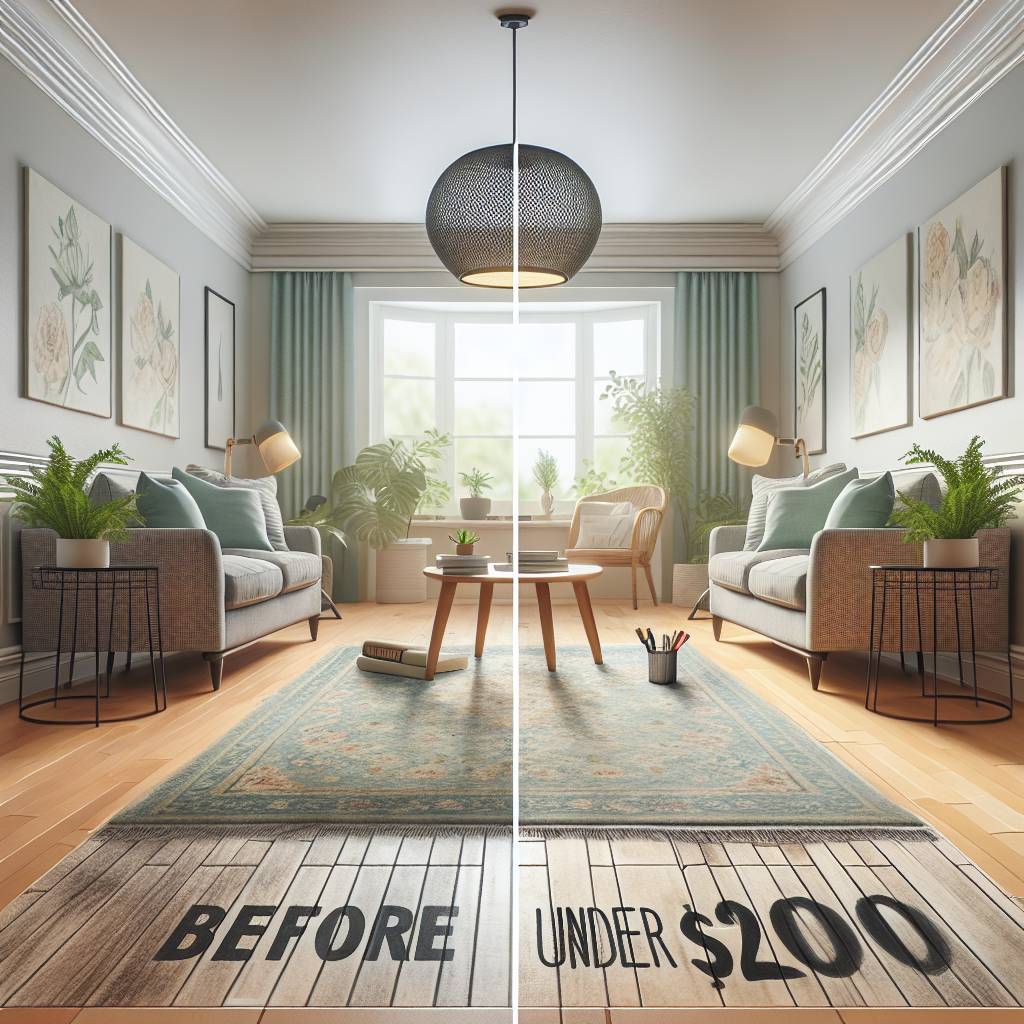
Floor Makeovers Under $200: Laminate, Vinyl, and Paint Solutions
When it comes to home improvement projects, refreshing your floors can make a massive impact on the overall look and feel of a space. However, the cost of new flooring can quickly add up, putting it out of reach for many homeowners working with a tight budget. Fortunately, there are several budget-friendly options that can transform your floors without breaking the bank. In this comprehensive guide, we'll explore three of the most practical and cost-effective floor makeover solutions: laminate, vinyl, and paint. Whether you're looking to cover up dated tiles, worn hardwood, or unsightly concrete, we've got you covered with step-by-step instructions, material recommendations, and expert tips to help you achieve professional-looking results for under $200.Laminate Flooring Makeover
Laminate flooring is a popular choice for budget-conscious homeowners due to its affordability, durability, and ease of installation. With a wide range of styles and patterns to choose from, you can easily find an option that complements your existing decor.Step-by-Step Laminate Installation
1. Prepare the subfloor: Ensure the surface is clean, level, and free of any debris or uneven areas. Patch any cracks or holes with a floor leveling compound. 2. Measure and plan the layout: Carefully measure the room and create a plan for the laminate planks, accounting for any odd angles or obstacles. 3. Acclimate the laminate: Allow the laminate planks to sit in the room for at least 48 hours before installation to allow them to adjust to the temperature and humidity. 4. Install the underlayment: Lay down a thin foam or cork underlayment to provide a stable, cushioned base for the laminate. 5. Start the first row: Begin installing the laminate planks, making sure to stagger the seams and leave a 1/4-inch expansion gap along the walls. 6. Continue the installation: Work your way across the room, locking the planks together using the tongue-and-groove system. Use a tapping block and mallet to ensure a tight fit. 7. Trim the final rows: Measure and cut the final rows to fit snugly against the walls, using a jamb saw or oscillating multi-tool. 8. Install trim and transition pieces: Finish the installation by adding baseboards, quarter-round, or other trim to cover the expansion gaps and create a polished look. For a high-quality laminate option under $200, consider brands like Lifeproof or TrafficMaster, which offer a wide range of styles and performance features.Budget-Friendly Laminate Alternatives
If you're looking for an even more affordable laminate option, consider using peel-and-stick laminate tiles. These self-adhesive tiles are easy to install and can be a great choice for small spaces or rental properties. Brands like Smartcore and Lifeproof offer peel-and-stick laminate tiles for around $1 per square foot. Another budget-friendly laminate alternative is using pre-finished hardwood flooring planks. While not technically laminate, these solid wood planks can be installed in a similar way and often cost less than traditional laminate. Just be sure to factor in the additional cost of underlayment and trim.Vinyl Flooring Makeover

Peel-and-Stick Vinyl Tile Installation
1. Prepare the subfloor: Clean the surface thoroughly and ensure it's level and free of any cracks or uneven areas. 2. Measure and plan the layout: Determine the room dimensions and create a plan for the vinyl tile placement, accounting for any obstacles or edges. 3. Cut the tiles to fit: Use a utility knife or tile cutter to precisely cut the vinyl tiles to fit along the walls and around any obstacles. 4. Peel and stick: Carefully remove the backing from the vinyl tiles and firmly press them into place, starting from the center of the room and working outward. 5. Smooth and seal: Use a roller or a floor scraper to ensure the tiles are securely adhered and to remove any air bubbles. 6. Finish with trim: Install baseboards, quarter-round, or other trim to create a polished look and conceal the expansion gaps. For a budget-friendly peel-and-stick vinyl tile option, consider the Lifeproof or TrafficMaster brands, which offer a variety of patterns and textures for around $1 per square foot.Luxury Vinyl Plank (LVP) Installation
If you're looking for a more high-end vinyl flooring option, consider luxury vinyl plank (LVP) flooring. LVP offers the look and feel of hardwood or tile, with added benefits of water resistance and durability. The installation process for LVP is similar to laminate, with a few key differences: 1. Prepare the subfloor: Ensure the surface is clean, level, and free of any debris or uneven areas. 2. Acclimate the LVP: Allow the LVP planks to sit in the room for at least 48 hours before installation to adjust to the temperature and humidity. 3. Install the underlayment: Lay down a thin foam or cork underlayment to provide a stable, cushioned base for the LVP. 4. Start the first row: Begin installing the LVP planks, making sure to stagger the seams and leave a 1/4-inch expansion gap along the walls. 5. Continue the installation: Work your way across the room, locking the planks together using the tongue-and-groove system. Use a tapping block and mallet to ensure a tight fit. 6. Trim the final rows: Measure and cut the final rows to fit snugly against the walls, using a jamb saw or oscillating multi-tool.