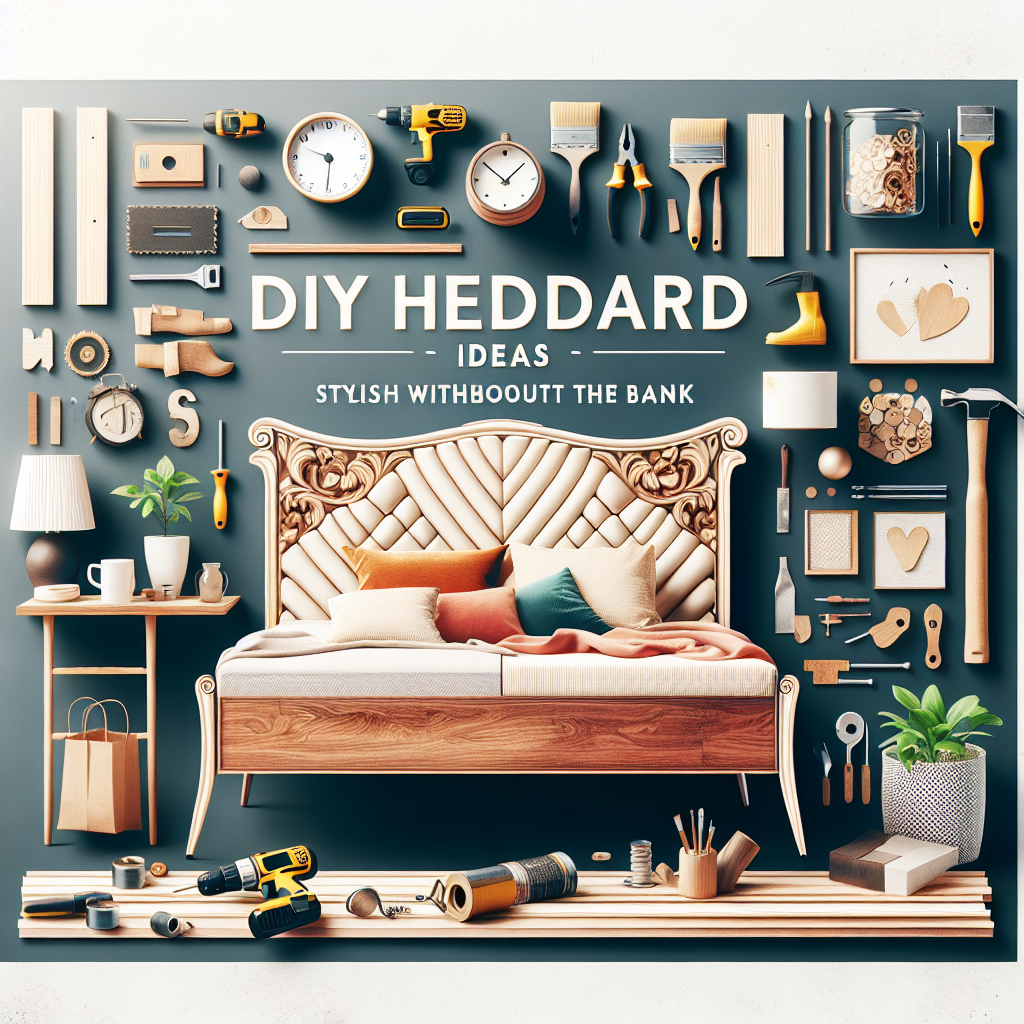
Stylish Beds Without Breaking the Bank: DIY Headboard Ideas
Transforming your bedroom doesn't have to cost a fortune. With some creativity and a little elbow grease, you can craft a stunning DIY headboard that adds both style and function to your sleep space - all while keeping your budget in check. Whether you're working with a limited budget or simply prefer a more hands-on approach, these DIY headboard ideas will help you achieve a designer look without the designer price tag.Reinventing the Basics: Affordable DIY Headboard Designs
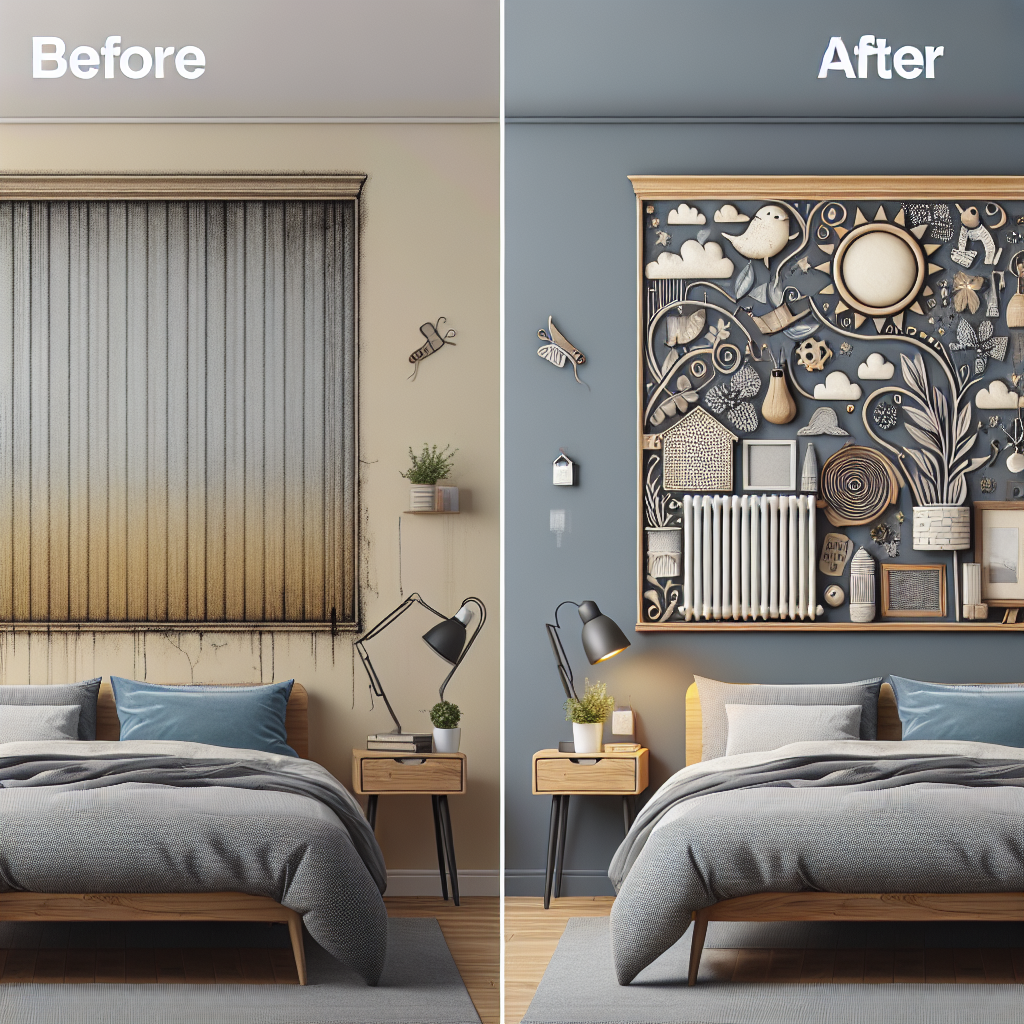
One of the easiest and most budget-friendly ways to create a custom headboard is to work with basic materials you likely have around the house. Plywood, MDF, or even old doors and shutters can be transformed into stunning headboard designs with just a few simple tools and a bit of elbow grease.Plywood or MDF Headboard
For a clean, minimalist look, consider crafting a headboard from a sheet of plywood or MDF. Start by measuring the width of your bed and cutting the plywood or MDF to size. You can then paint or stain it in your desired finish, or even cover it with fabric for a more upholstered look. Secure the headboard to the wall using heavy-duty brackets or wall anchors for a sturdy and long-lasting installation.Repurposed Door Headboard
Breathe new life into an old door by turning it into a unique headboard. Measure your bed and find a door that fits the width, then sand, paint, or stain it to complement your bedroom decor. Attach the door to the wall using heavy-duty hardware, or consider adding simple legs to create a freestanding headboard.Shutter Headboard
Vintage or salvaged shutters can make for a charming and budget-friendly headboard. Arrange a collection of shutters in a grid or staggered pattern, then secure them to the wall. You can leave the shutters in their natural state or give them a fresh coat of paint to match your style.Upholstered Headboard DIYs
For a more luxurious look, consider creating an upholstered headboard. This option allows you to customize the size, shape, and fabric to perfectly fit your bedroom's aesthetic. While upholstered headboards may require a slightly higher investment, the end result can be a stunning focal point that elevates the entire space.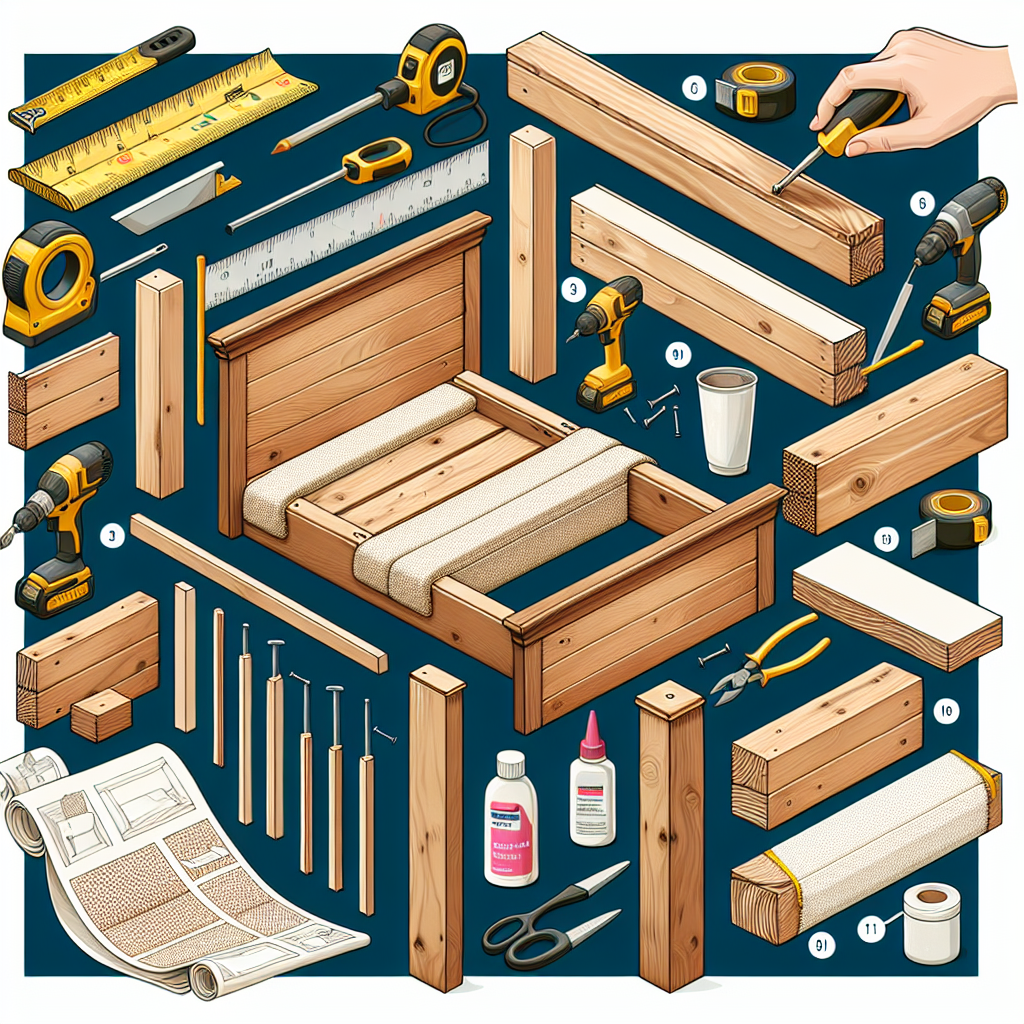
Tufted Headboard
A classic tufted headboard adds an elegant touch to any bedroom. Start by building a basic wooden or MDF frame, then use high-density foam and your desired upholstery fabric to create the tufted design. Sew or glue the fabric in place, and finish with button tufts for a professional look.Wingback Headboard
Achieve a designer-inspired look with a DIY wingback headboard. Begin by constructing a wooden or MDF frame, then upholster the headboard and wings in your chosen fabric. For added visual interest, consider incorporating nail head trim around the edges.Padded Headboard
A simple padded headboard is a budget-friendly option that can still make a big impact. Attach a layer of high-density foam to a wooden or MDF frame, then wrap it in your preferred upholstery fabric. Secure the fabric in place with a staple gun or upholstery tacks.Unique and Creative DIY Headboard Ideas
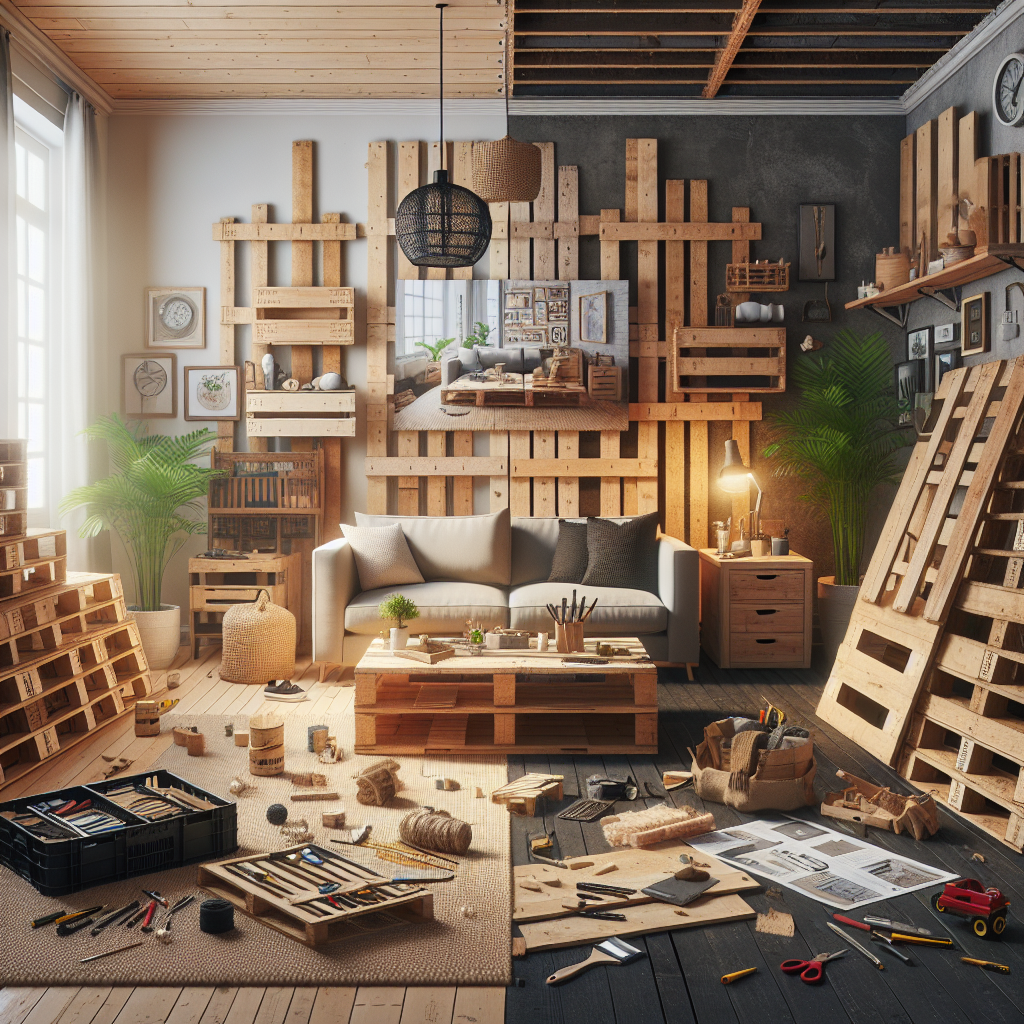
If you're feeling especially adventurous, there are countless unexpected materials you can use to create a one-of-a-kind DIY headboard. From reclaimed wood to unexpected textiles, the options are limited only by your imagination.Reclaimed Wood Headboard
Embrace the natural charm of reclaimed wood by crafting a rustic-chic headboard. Gather a collection of weathered wood planks, pallets, or barn siding, then arrange them in a visually appealing pattern before securing them to the wall. You can leave the wood in its natural state or give it a distressed finish.Fabric-Wrapped Headboard
For a soft and inviting look, consider wrapping a basic wooden or MDF frame in your favorite fabric. Use a staple gun to secure the fabric in place, then add decorative touches like tassels, trim, or buttons for a personalized touch.Pallet Headboard
Upcycle old pallets into a rustic, industrial-inspired headboard. Start by disassembling the pallets and removing any nails or screws. Arrange the pallet slats in your desired configuration, then secure them to the wall using heavy-duty brackets or wall anchors.