Embrace the Winter Wonderland with a Cozy Snow Shelter
As the winter chill sets in and the snow begins to blanket the landscape, it's the perfect time to get the whole family involved in a fun, hands-on project - building a snow shelter! Not only is this a great way to enjoy the outdoors and make the most of the snowy season, but it also teaches valuable survival skills and fosters a sense of adventure and teamwork. Whether you're looking to create a cozy hideaway for the kids to play in or a more substantial structure to use as an emergency shelter, building a snow shelter is a rewarding and educational experience for all ages. In this comprehensive guide, we'll walk you through the step-by-step process of constructing different types of snow shelters, share expert tips and safety considerations, and explore the myriad benefits of this winter wonderland project.Understanding the Basics of Snow Shelters
Snow shelters, also known as snow caves or quinzees, are temporary structures built using compacted snow. These shelters provide insulation, protection from the elements, and a warm, dry space for rest and relaxation. By trapping body heat and blocking the wind, a well-constructed snow shelter can be surprisingly cozy, even in the midst of a winter storm.Types of Snow Shelters
There are several different types of snow shelters, each with its own unique advantages and considerations:Snow Caves
Snow caves are hollowed-out structures dug directly into a deep snowpack. They offer excellent insulation and can be designed to accommodate multiple people. However, they require more time and effort to construct.Quinzees
Quinzees are snow shelters built by piling up and compacting loose snow, then hollowing out the interior. They're relatively quick and easy to build, making them a popular choice for families and outdoor enthusiasts.Snow Trenches
Snow trenches are shallow, elongated shelters dug into the snow, often with a roof or tarp cover. They provide a more basic level of protection and are suitable for short-term use or emergency situations.Gathering the Necessary Supplies
Before you can start building your snow shelter, you'll need to gather the right tools and materials. Here's a list of the essential items you'll want to have on hand:- Snow shovel - A sturdy, durable shovel is crucial for digging and shaping the snow.
- Snow saw - A snow saw, or even a serrated kitchen knife, can be used to cut and shape snow blocks for more advanced shelters.
- Insulation materials - Bring along items like sleeping pads, blankets, or even straw or pine boughs to provide additional insulation inside the shelter.
- Waterproof tarp or canvas - This can be used to create a roof or entrance cover for your snow shelter.
- Headlamps or flashlights - Lighting is essential for visibility when building and accessing your snow shelter.
- Warm clothing and layers - Dress appropriately for the cold weather, with moisture-wicking base layers, insulating mid-layers, and weatherproof outer layers.
- Food and water - Pack plenty of high-energy snacks and hot drinks to fuel your building efforts and stay hydrated.
Choosing the Right Location
Selecting the perfect spot to build your snow shelter is crucial for ensuring its stability and safety. When scouting a location, look for the following characteristics: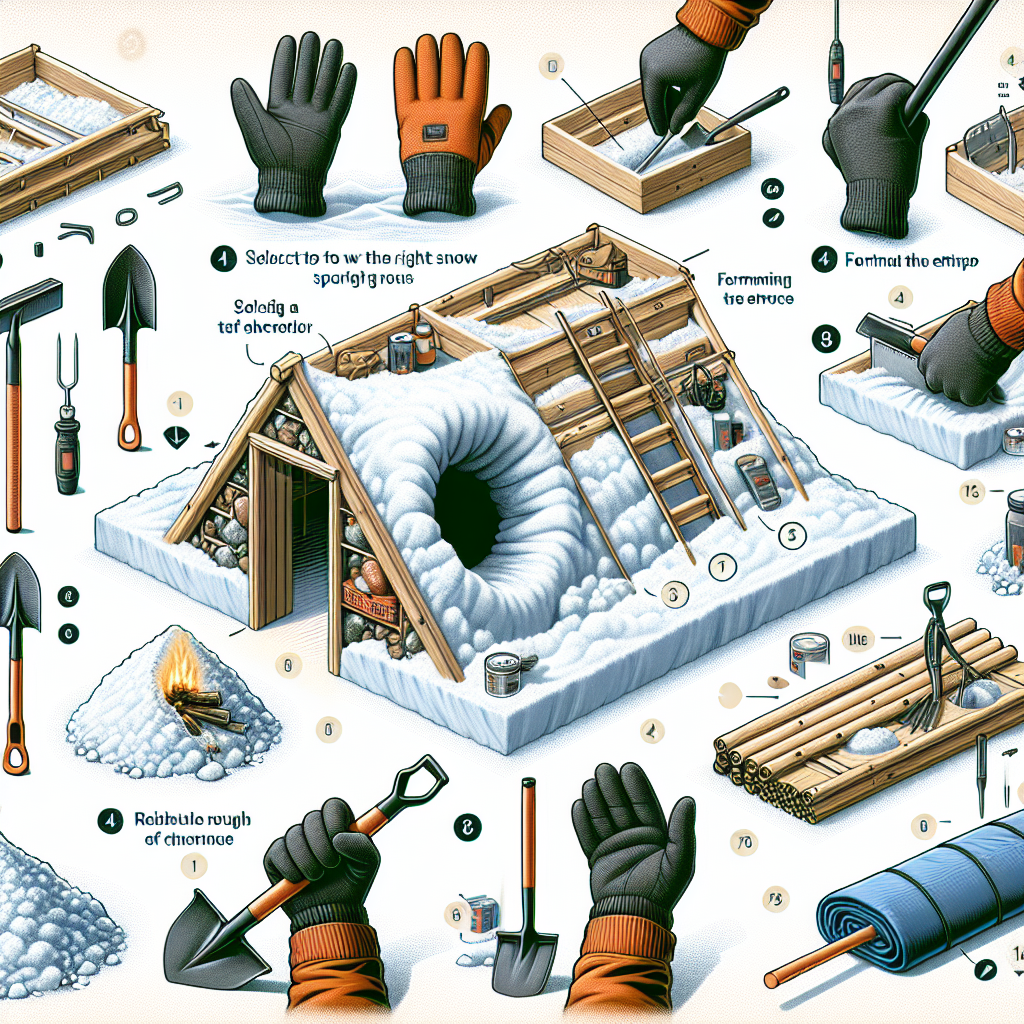
- Deep, compacted snow - Aim for a snowpack that's at least 2-3 feet deep, as this will provide enough material to work with and ensure structural integrity.
- Sheltered from the wind - Choose a site that's protected from strong winds, such as the leeward side of a hill or dense tree cover.
- Flat, level ground - An even surface will make the construction process easier and help prevent uneven settling or collapse.
- Proximity to resources - Position your shelter near a water source, firewood, or other supplies you may need during your stay.
- Distance from hazards - Avoid areas with overhanging branches, steep slopes, or other potential dangers.
Building a Snow Cave
Snow caves are one of the most durable and weatherproof types of snow shelters. Here's how to construct your own:Step 1: Choosing the site
Select a location with a deep, compact snowpack, ideally at least 4-5 feet deep. Avoid areas with a thin or icy crust on the surface, as this can compromise the shelter's stability.Step 2: Digging the entrance
Start by digging a shallow, sloping entrance that leads into the snow bank. This will serve as the doorway to your shelter.Step 3: Hollowing out the interior
Using your shovel, carefully carve out the inside of the snow bank, creating a dome-shaped cavity. Aim for a ceiling height of at least 3 feet and leave enough space for your desired occupancy.Step 4: Shaping and reinforcing
Smooth out the walls and ceiling of the snow cave, compacting the snow to ensure structural integrity. You can also use a snow saw to cut and shape snow blocks, which can be used to reinforce the entrance or build a bench or platform inside.Step 5: Adding insulation
Line the walls, floor, and ceiling of the snow cave with insulation materials like sleeping pads, blankets, or pine boughs. This will help retain body heat and keep the interior comfortable.Step 6: Finishing touches
Consider adding a small ventilation hole near the ceiling to prevent carbon monoxide buildup, and create a wind-blocking entrance flap using a tarp or canvas.Building a Quinzee
Quinzees are a more beginner-friendly option that can be built by the whole family. Here's how to construct one:Step 1: Piling up the snow
Start by shoveling and piling up a large mound of loose, powdery snow. Aim for a height of at least 4-5 feet and a base diameter of 8-10 feet.Step 2: Compacting the mound
Once the mound is built, take turns stomping on the snow to compact it down. This will help the structure hold its shape as you begin to hollow it out.Step 3: Digging out the interior
After 30-60 minutes of compacting, use your shovel to carefully hollow out the center of the mound, creating a dome-shaped space. Leave at least 6-12 inches of thickness in the walls to maintain stability.Step 4: Shaping and reinforcing
Smooth out the interior walls and ceiling, using a snow saw to cut and shape the snow if needed. You can also add reinforcing snow blocks around the entrance or to create a bench or storage area.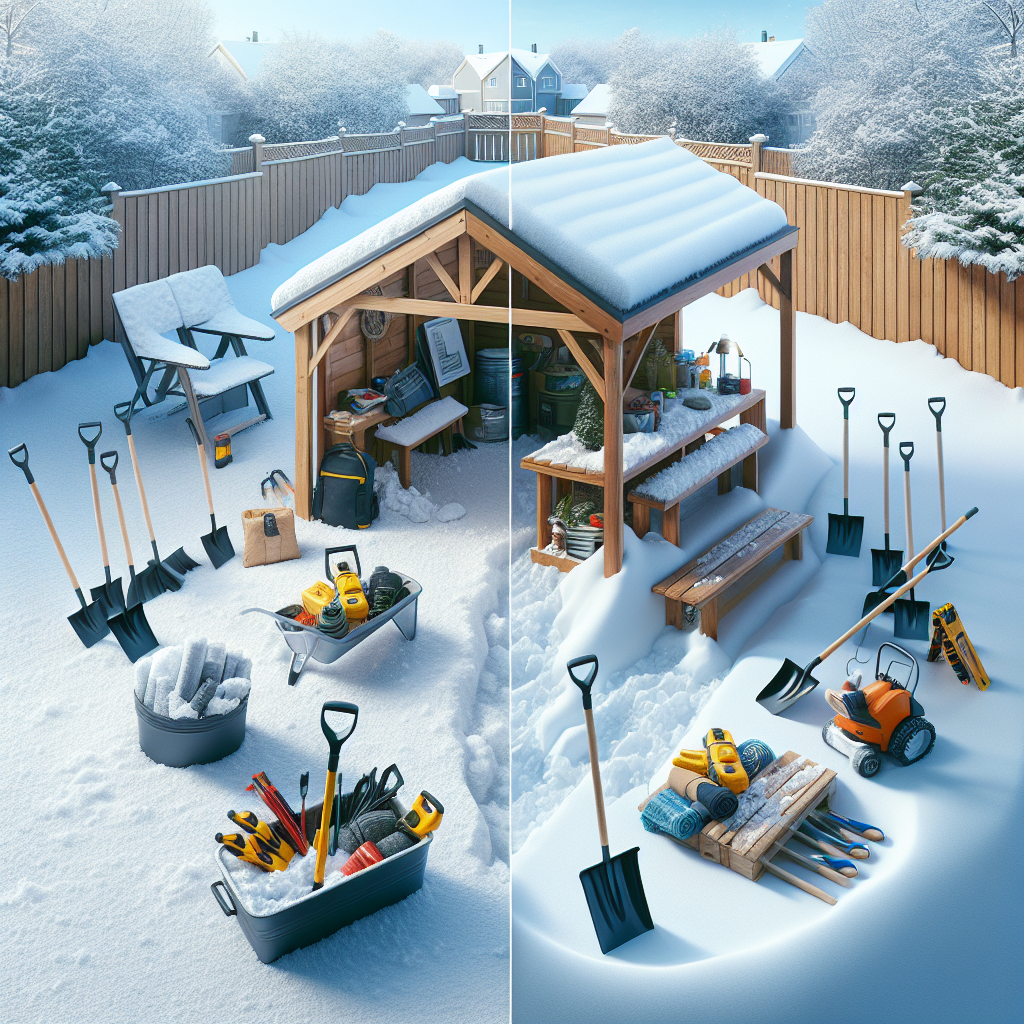
Step 5: Insulating and finishing
Line the walls, floor, and ceiling with insulation materials, and create a wind-blocking entrance flap to complete your quinzee.Building a Snow Trench
Snow trenches are the simplest type of snow shelter and can be a great option for short-term use or emergency situations. Here's how to build one:Step 1: Choosing the location
Select a spot with at least 2 feet of compacted snow and relatively flat, level ground.Step 2: Digging the trench
Use your shovel to dig a shallow, rectangular trench in the snow, approximately 6-8 feet long and 3-4 feet wide. The depth should be just enough to accommodate your seated or lying position.Step 3: Creating the roof
Cover the trench with a tarp, canvas, or even branches and pine boughs to create a roof. Secure the edges with snow blocks or by piling more snow on top.Step 4: Insulating the interior
Line the floor of the trench with insulation materials like sleeping pads or pine boughs to provide a comfortable, warm surface.Step 5: Finishing touches
Consider adding a small ventilation hole at one end of the trench to prevent carbon monoxide buildup, and create an entrance flap to block the wind.Safety Considerations
While building a snow shelter can be a fun and rewarding experience, it's essential to prioritize safety throughout the process. Here are some key considerations:- Ventilation - Ensure your shelter has proper ventilation to prevent carbon monoxide poisoning, either through a dedicated vent or by leaving the entrance partially open.
- Avalanche risk - Avoid areas with steep slopes or other signs of avalanche danger, and monitor the weather conditions closely.
- Insulation and warmth - Dress appropriately in layers and bring sufficient insulation materials to stay warm and dry inside the shelter.
- Hydration and nutrition - Pack plenty of high-energy snacks and warm drinks to maintain your energy and avoid dehydration.
- Emergency preparedness - Bring a first-aid kit, signaling devices, and other essential survival gear in case of an unexpected situation.
- Supervision and teamwork - Ensure that children are always supervised, and encourage teamwork and cooperation throughout the building process.