Elevate Your Walls, Elevate Your Space: The Power of Wallpaper on a Budget
Wallpapering can seem like a daunting task, but with the right techniques and a bit of insider know-how, you can transform your living room into a stunning, magazine-worthy space without breaking the bank. Whether you're a seasoned DIYer or a complete beginner, this comprehensive guide will equip you with the skills and confidence to master the art of wallpapering and create a dramatic impact in your home.Choosing the Right Wallpaper: Balancing Style and Practicality
The first step in your wallpapering journey is selecting the perfect pattern and material. While the design aesthetic is crucial, it's equally important to consider the practical aspects of your project.Evaluating Room Conditions
Before you even start browsing wallpaper options, take a close look at the environment you're working with. Consider factors like natural light exposure, humidity levels, and potential high-traffic areas. These elements will help you determine the best type of wallpaper to withstand the unique challenges of your living room.Identifying Your Style
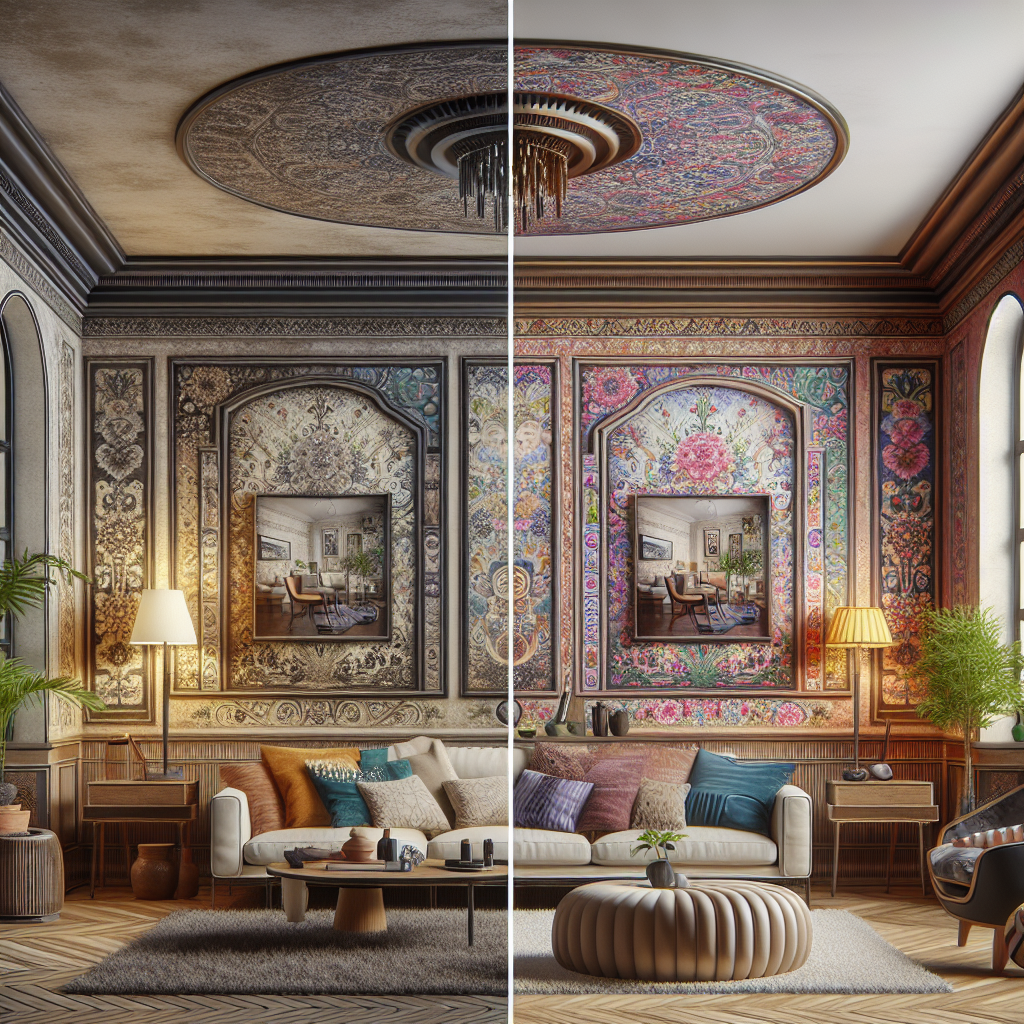
Next, it's time to define your desired aesthetic. Do you envision a bold, statement-making pattern that will instantly captivate, or a more subtle, textured design that will create a cozy, inviting atmosphere? Browse through interior design magazines, Pinterest, and online inspiration galleries to get a sense of what resonates with you.Calculating Wallpaper Needs
Once you've settled on a style, it's time to measure your living room walls and calculate the exact amount of wallpaper required. Be sure to account for any obstacles, such as electrical outlets or windows, and add an extra 10-15% to your total for potential pattern matching and waste. This step is crucial for avoiding costly mistakes and ensuring a seamless application.Prepping Your Walls for a Flawless Finish
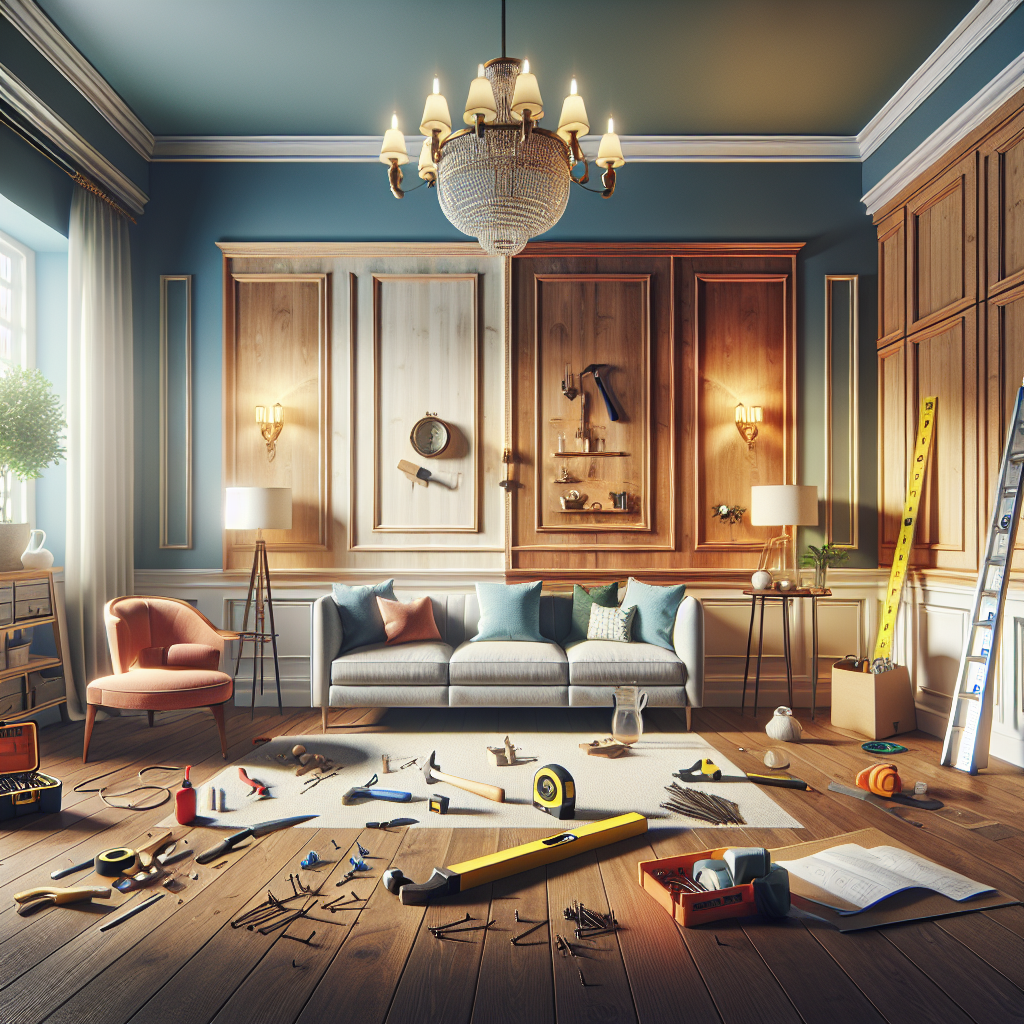
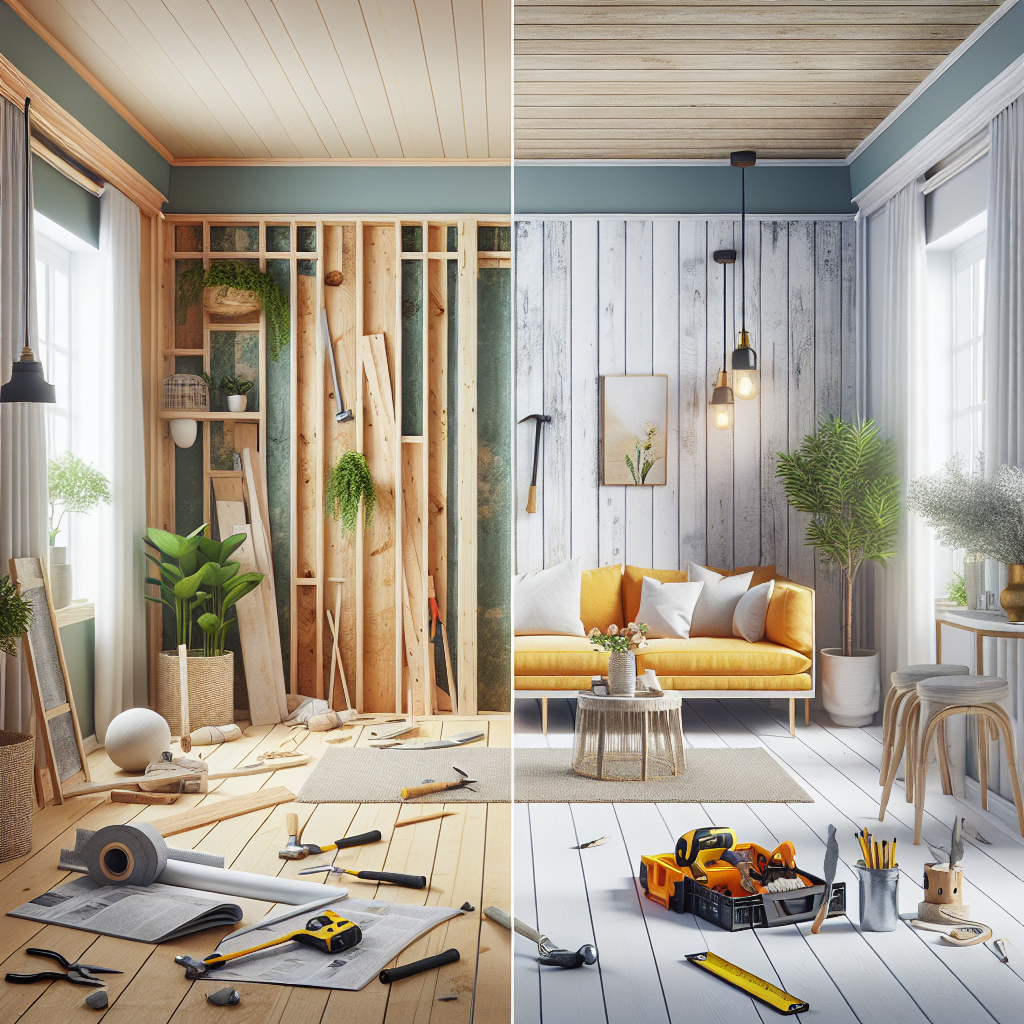
Proper wall preparation is the foundation for a professional-looking wallpaper installation. Dedicating time to this step will pay off with a smooth, bubble-free finish that will stand the test of time.Cleaning and Repairing Surfaces
Start by thoroughly cleaning your walls, removing any dirt, grease, or existing wallpaper residue. Fill in any cracks or holes with a high-quality spackling compound, and sand the surface until it's perfectly smooth. This will ensure the wallpaper adheres evenly and prevents unsightly bumps or unevenness.
Priming for Maximum Adhesion
Applying a thin layer of primer to your walls is a game-changer for wallpaper installation. Not only does it create a uniform surface, but it also enhances the adhesive properties of the wallpaper, reducing the risk of peeling or bubbling over time. Look for a specifically formulated wallpaper primer that will work seamlessly with your chosen material.Mastering the Art of Wallpaper Application
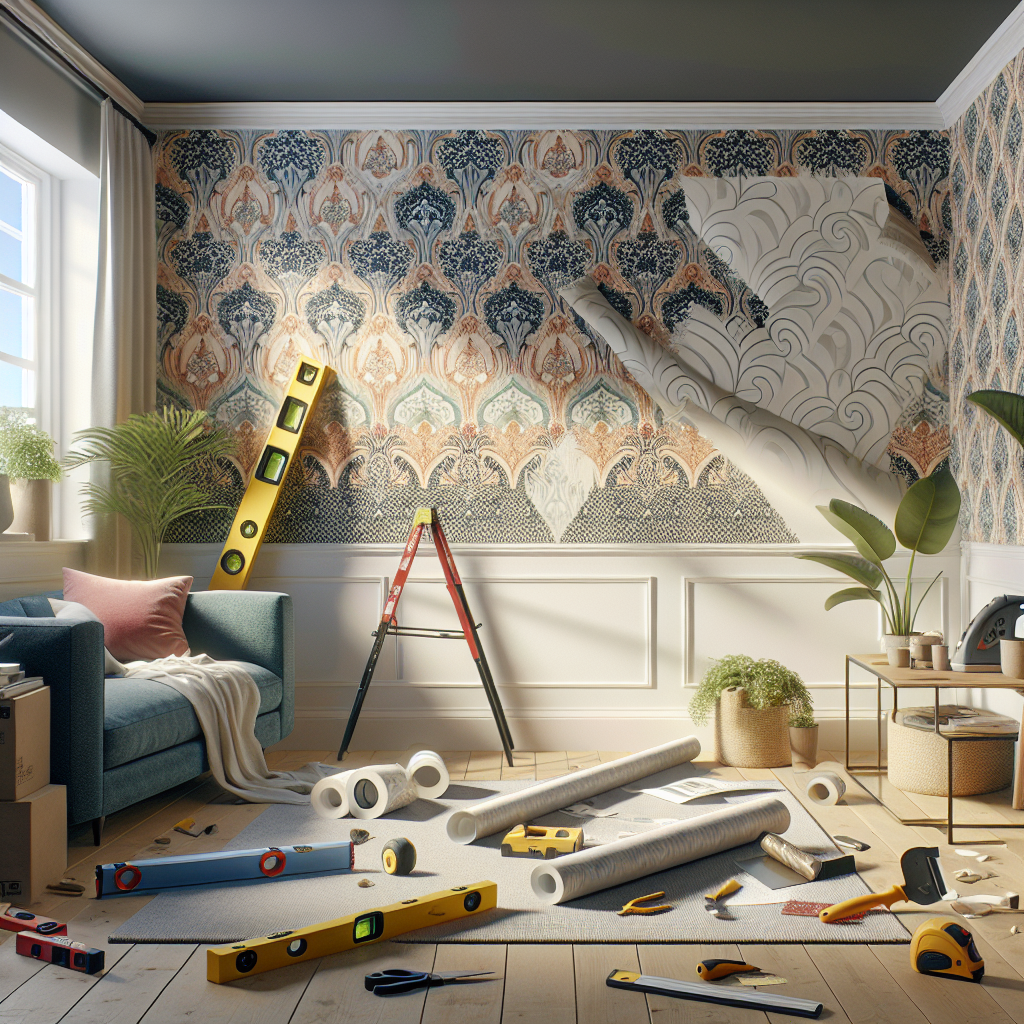
With your walls prepped and ready, it's time to dive into the rewarding process of wallpaper application. By following these step-by-step instructions, you'll be able to transform your living room with a professional-grade finish.Cutting and Hanging the First Strip
Begin by carefully measuring and cutting your first wallpaper strip, ensuring it's slightly longer than the wall to allow for trimming. Apply a generous, even layer of wallpaper paste to the back of the strip, then carefully position it on the wall, starting from the top and smoothing it down as you go.Aligning and Matching Patterns
One of the most crucial aspects of wallpapering is achieving a seamless pattern alignment. Take your time to carefully match the design at the seams, using a straightedge or level to ensure perfect vertical and horizontal alignment. This attention to detail will elevate the overall look of your finished project.Trimming and Finishing Edges
Once the first strip is in place, use a sharp utility knife or wallpaper trimmer to neatly cut away any excess material at the top, bottom, and sides of the wall. Be sure to apply firm pressure to the edges to create a crisp, clean finish.Tackling Corners and Obstacles
Navigating corners, outlets, and other obstacles can be tricky, but with the right techniques, you can achieve a seamless, professional-looking result. Carefully measure and cut the wallpaper to fit snugly around these areas, using a utility knife or scissors to create clean, precise edges.Budget-Friendly Wallpapering Hacks
Transforming your living room with wallpaper doesn't have to come with a hefty price tag. Here are some insider tips and tricks to help you achieve a high-end look on a budget.Exploring Affordable Wallpaper Options
While designer wallpapers can be stunning, they often come with a premium price tag. Look for budget-friendly alternatives at home improvement stores, online retailers, or even consider peel-and-stick options that are easy to apply and remove. You can also explore DIY wallpaper printing services for a truly custom, cost-effective solution.