Upgrade Your Living Space with Cost-Effective and Stylish Wall Paneling
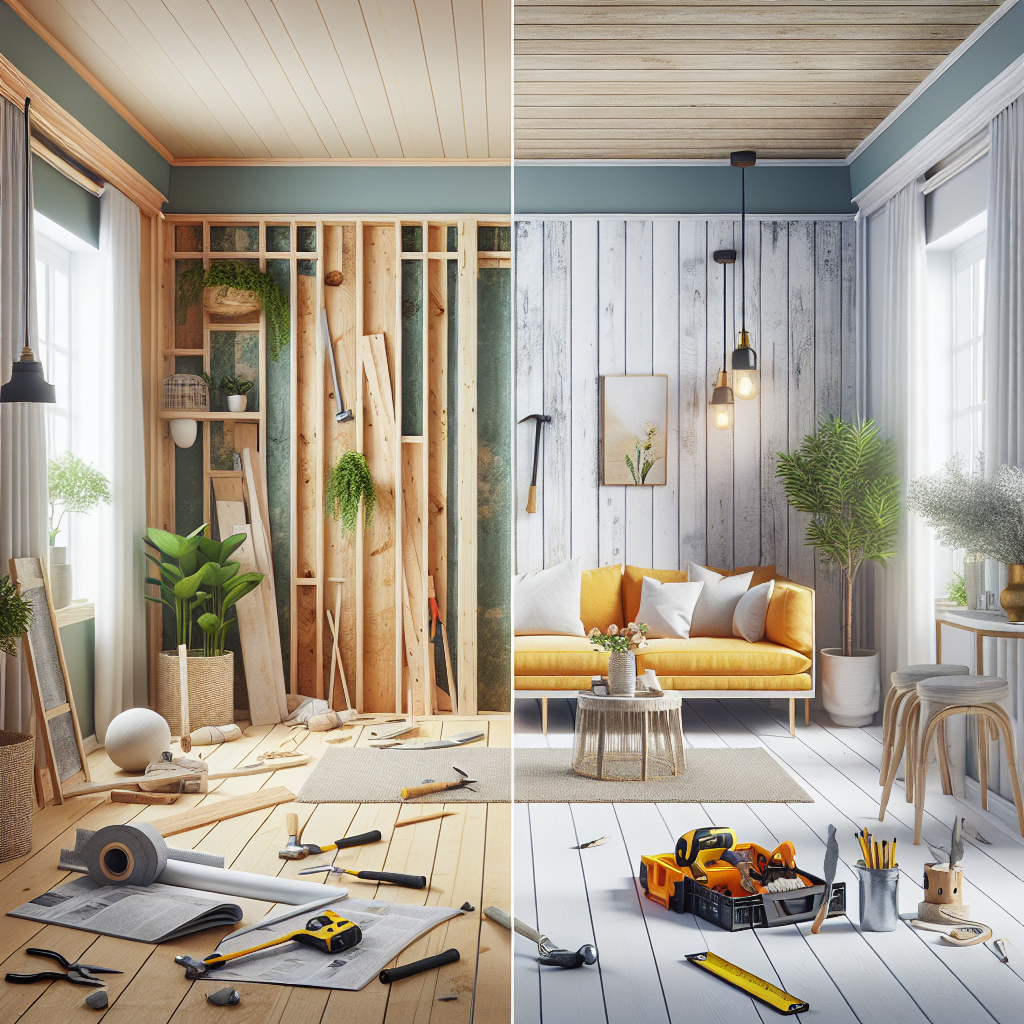
Are you looking to breathe new life into your living room without breaking the bank? Wall paneling might be the perfect solution. Not only does it add a touch of elegance and character to your space, but it can also be a cost-effective DIY project that saves you time and money compared to traditional renovation methods. In this comprehensive guide, we'll walk you through the process of transforming your living room with DIY wall paneling. From selecting the right materials to mastering the installation techniques, we've got you covered. By the end of this article, you'll have the confidence and expertise to tackle this project and create a stunning new look for your home.The Benefits of DIY Wall Paneling
Wall paneling offers a host of advantages that make it an attractive option for homeowners and DIY enthusiasts alike. Here are some of the key benefits:Cost-Effective
Compared to hiring a professional contractor or undertaking a full-scale renovation, DIY wall paneling is a budget-friendly way to update your living room. The materials and tools required are relatively inexpensive, and with the right guidance, you can complete the project yourself, saving on labor costs.Customizable
Wall paneling comes in a wide variety of styles, textures, and finishes, allowing you to tailor the look to your personal preferences and the existing decor of your living room. Whether you prefer a classic wood-paneled look or a modern, minimalist design, the options are endless.Versatile
Wall paneling can be installed on any type of wall surface, including drywall, plaster, or even concrete. This makes it a flexible solution that can be applied in a variety of living room layouts and configurations.Durable and Long-Lasting
High-quality wall paneling is designed to withstand the test of time, providing a long-lasting solution for your living room. With proper installation and maintenance, your new wall panels can continue to enhance the space for years to come.Selecting the Right Wall Paneling Materials
The first step in your DIY wall paneling project is to choose the right materials. This decision will be based on factors such as your budget, the aesthetic you're aiming for, and the specific needs of your living room.Wood Paneling
Traditional wood paneling, such as solid wood boards or engineered wood panels, is a popular choice for its classic look and warm, natural feel. Wood paneling can range from budget-friendly options like pine or MDF to higher-end choices like oak or maple.Laminate Paneling
Laminate wall panels offer a cost-effective alternative to real wood, with a variety of realistic wood-grain or contemporary designs to choose from. They are easy to install and maintain, making them a popular choice for DIY projects.Faux Brick or Stone Panels
For a unique and modern look, consider faux brick or stone wall panels. These lightweight, easy-to-install options can create the illusion of a textured, masonry-style wall without the heavy lifting.Beadboard Paneling
Beadboard paneling, with its classic vertical grooves, can add a charming, country-inspired feel to your living room. It's a versatile choice that works well in traditional and farmhouse-style homes.Shiplap Paneling
Shiplap is a popular choice for its clean, minimalist aesthetic. The horizontal tongue-and-groove boards create a seamless, cohesive look that can complement a variety of interior design styles. When selecting your wall paneling, consider factors such as the room's size, lighting, and existing decor to ensure a harmonious final result. It's also a good idea to order a sample or two to see how the materials and finishes look in your living room before making a final decision.Preparing Your Living Room Walls
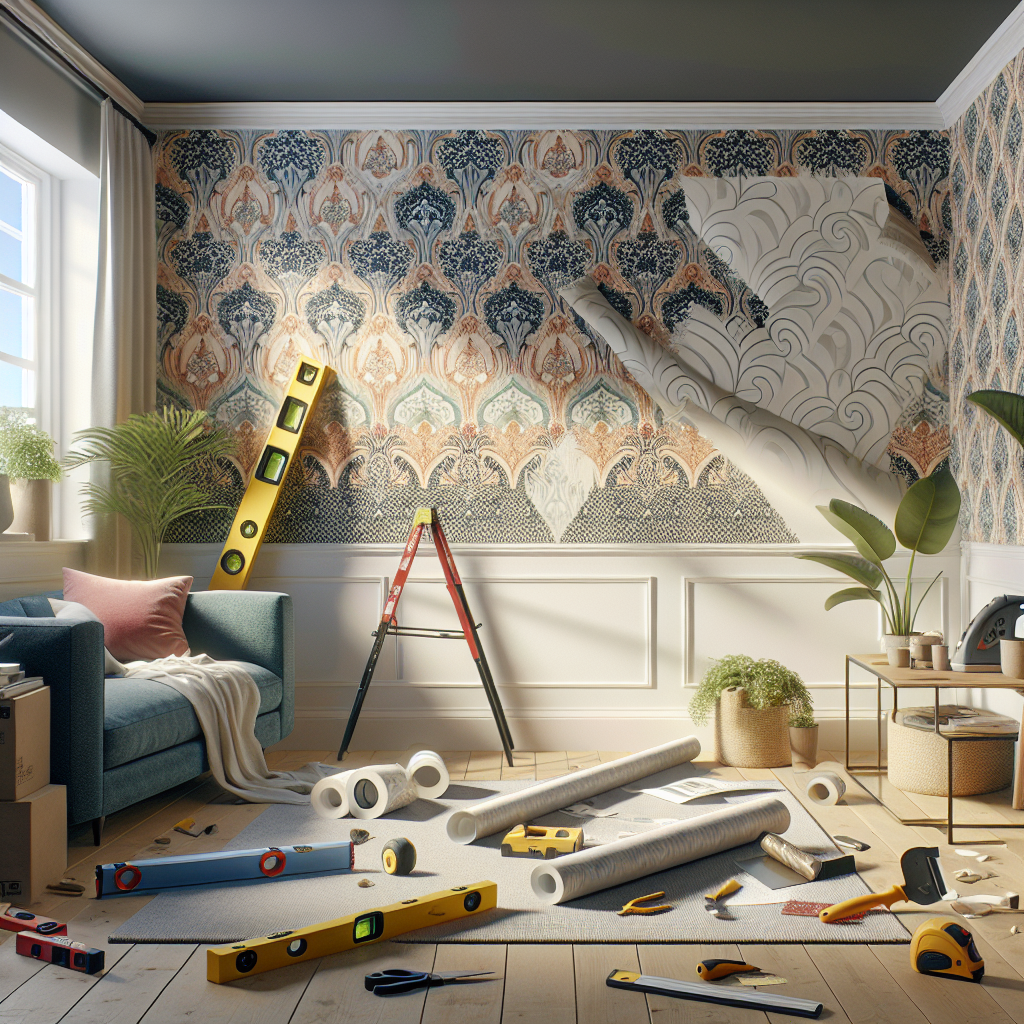
Before you can begin the installation process, it's crucial to properly prepare your living room walls. This will ensure a smooth and successful project.Inspect and Repair the Walls
Start by closely inspecting your walls for any cracks, holes, or uneven surfaces. Address these issues by patching and sanding the affected areas to create a clean, even surface for the wall paneling.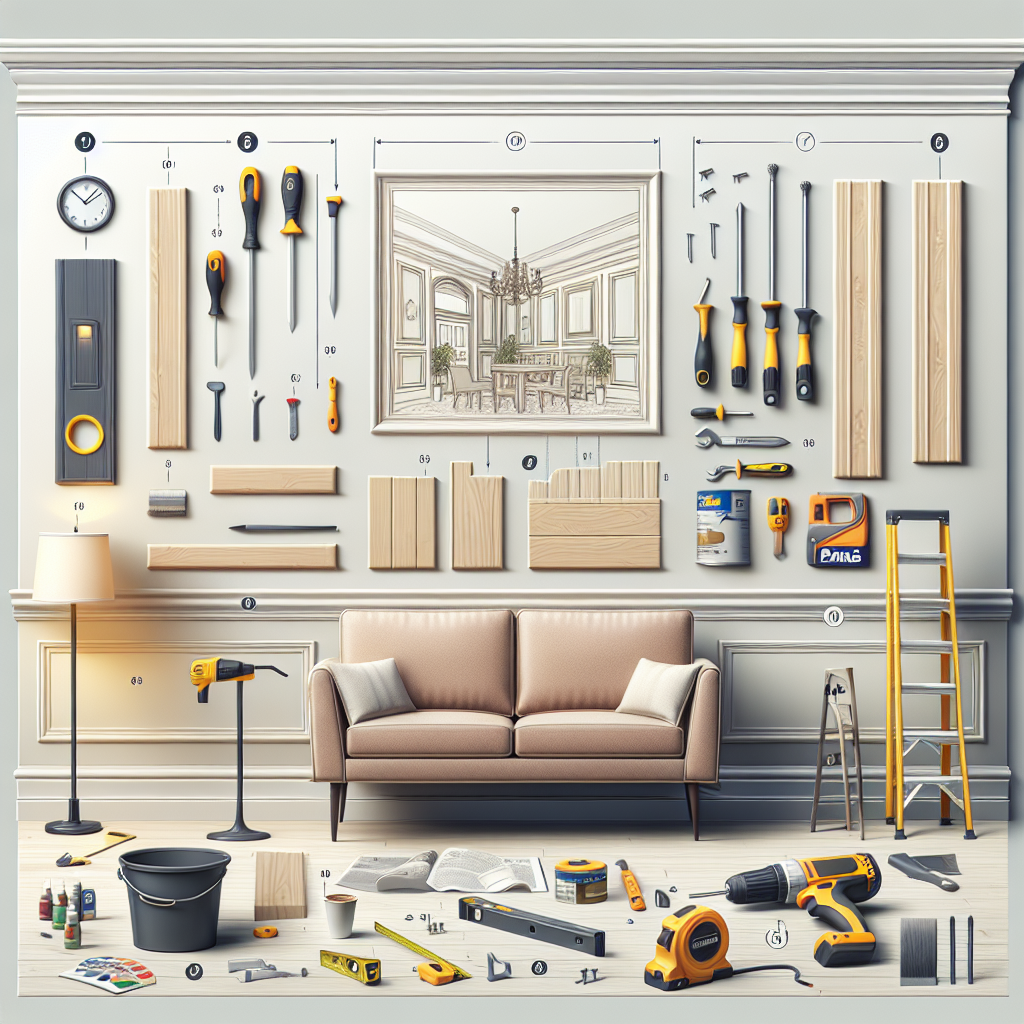
Clean the Walls
Thoroughly clean the walls, removing any dust, dirt, or debris. This will help the paneling adhere properly and prevent any unsightly bumps or inconsistencies.Mark the Stud Locations
Use a stud finder to locate the wall studs, then mark their positions with a pencil. This will ensure that your wall paneling is securely attached to the structural framework of your living room.Consider Insulation
If your living room walls are not properly insulated, now is the perfect time to address this. Adding insulation can improve the energy efficiency of your home and create a more comfortable living environment.Protect Surrounding Areas
Cover the floor and any furniture or fixtures in the room with drop cloths or plastic sheeting to protect them from dust and debris during the installation process. By taking the time to properly prepare your living room walls, you'll set the stage for a successful and hassle-free DIY wall paneling project.Step-by-Step Guide to Installing Wall Paneling
Now that your walls are ready, let's dive into the step-by-step process of installing the wall paneling. This guide will cover the general installation method, but always refer to the manufacturer's instructions for specific product requirements.Measure and Cut the Panels
Measure the width and height of your living room walls, and use these measurements to cut the wall panels to size. Be sure to account for any electrical outlets, light switches, or other obstructions.Apply Adhesive
Apply a generous amount of construction adhesive to the back of the wall panel, ensuring even coverage. This will help secure the panel to the wall.Position and Attach the Panels
Start in one corner of the room and carefully position the first panel against the wall, aligning it with the studs you marked earlier. Use a level to ensure the panel is straight, then firmly press it into place. For subsequent panels, apply adhesive and secure them tightly against the previous panel, creating a seamless, interlocking pattern. Use a rubber mallet or block to gently tap the panels into place, taking care not to damage the surface.Cutting and Fitting Panels
When you reach areas with electrical outlets, light switches, or corners, you'll need to carefully measure and cut the panels to fit. Use a jigsaw or circular saw to make precise cuts, and ensure a snug, flush fit against the wall.Secure with Finishing Nails
For added stability and a professional finish, secure the wall panels with finishing nails, placing them every 12-16 inches along the edges and into the wall studs.Fill and Finish
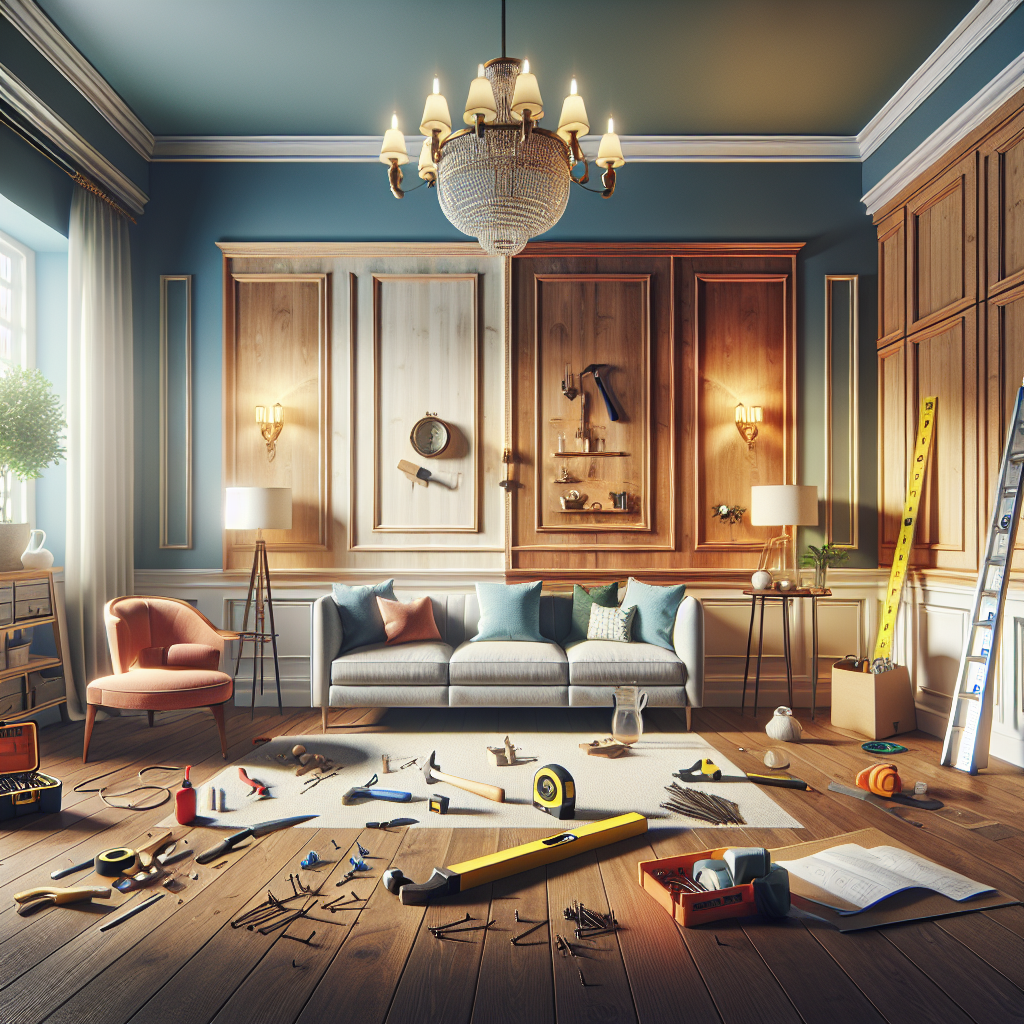
Once all the panels are in place, use wood filler to fill any gaps or seams. Sand the surface smooth, then apply a primer and paint or stain the panels to your desired finish.Install Trim and Molding
Complete the look by adding decorative trim or molding around the edges of the wall panels. This will create a polished, finished appearance and help conceal any minor gaps or imperfections. Remember to work slowly, measure carefully, and take safety precautions throughout the installation process. With patience and attention to detail, you'll be able to transform your living room with stunning DIY wall paneling.Cost Considerations and Budget-Friendly Tips
One of the primary advantages of DIY wall paneling is its cost-effectiveness. However, there are still some factors to consider when budgeting for your project.Material Costs
The cost of the wall panels themselves will vary depending on the type of material you choose, the size of your living room, and the brand or quality level. On average, you can expect to pay between $2 and $10 per square foot for the paneling.Tool and Equipment Costs
In addition to the wall panels, you'll need to factor in the cost of any tools or equipment you may need to purchase or rent, such as a saw, level, adhesive, and finishing nails.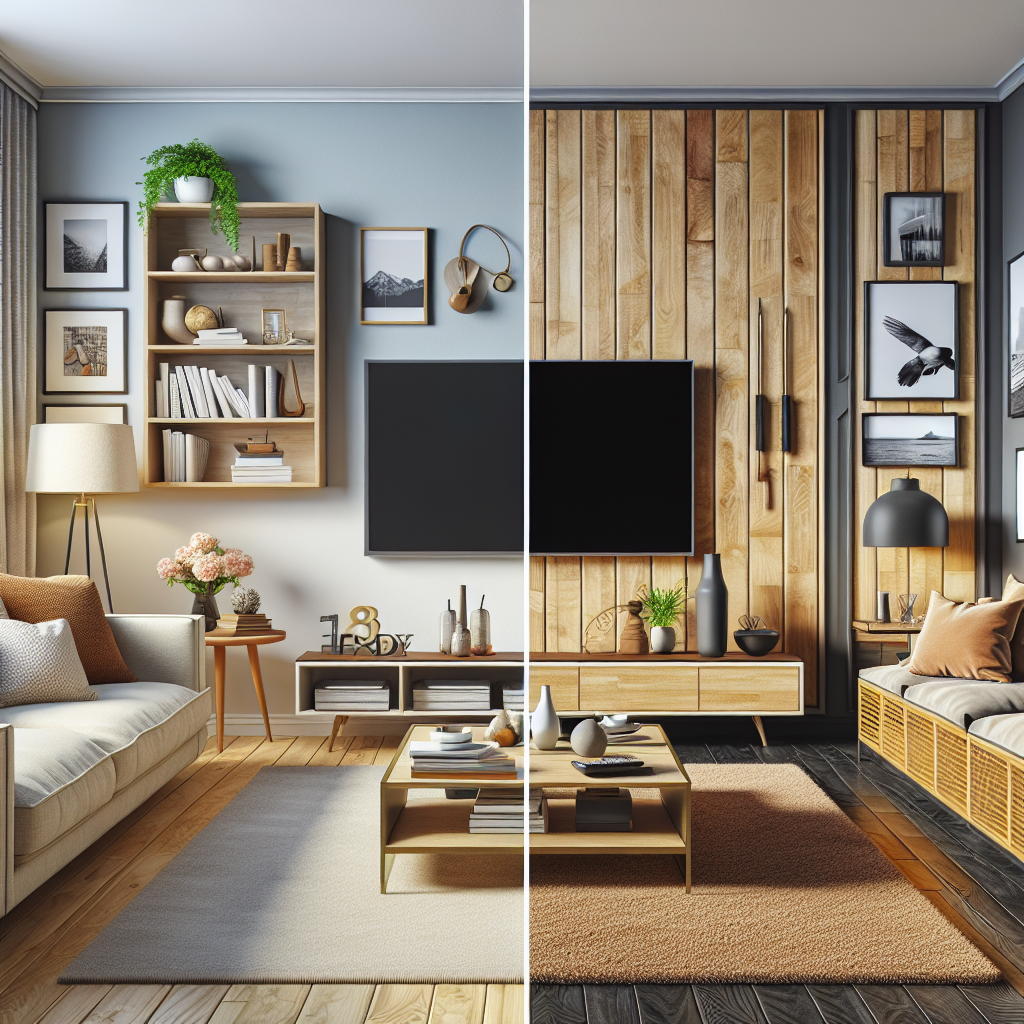
Labor Costs
One of the biggest advantages of DIY wall paneling is the ability to save on labor costs. By completing the installation yourself, you can avoid the hefty fees charged by professional contractors.Budget-Friendly Tips
To keep your costs down, consider these budget-friendly tips:- Opt for more affordable materials like laminate or MDF panels
- Look for sales, discounts, or bulk pricing on wall paneling
- Rent or borrow any specialized tools you may need instead of purchasing them
- Enlist the help of friends or family members to speed up the installation process
- Explore do-it-yourself finishing techniques like painting or staining the panels yourself
Safety Considerations and Best Practices
As with any home improvement project, safety should be a top priority when installing wall paneling. Here are some important considerations to keep in mind:Wear Protective Gear
Always wear safety glasses, gloves, and a dust mask or respirator when cutting or handling the wall panels to protect yourself from debris and dust.Proper Tool Usage
Familiarize yourself with the proper use and safety protocols for any power tools, such as saws or nail guns, that you'll be using during the installation process.Electrical Safety
Take precautions when working around any electrical outlets or wiring in your living room. Shut off power to the affected areas and use caution when cutting or drilling near these components.Fall Prevention
If you'll be working on a ladder or scaffolding, ensure that the equipment is stable and secure before climbing up. Consider having a spotter or assistant to help stabilize the structure.Ventilation and Cleanup
Maintain good ventilation in the living room by opening windows or using fans. Thoroughly clean up any dust or debris generated during the installation to prevent respiratory issues or slipping hazards. By prioritizing safety throughout the project, you can ensure a successful and hassle-free DIY wall paneling installation in your living room.Key Takeaways
Here are the key takeaways from this comprehensive guide on revamping your living room with DIY wall paneling:- Wall paneling is a cost-effective, customizable, and durable solution for upgrading your living room's appearance
- Choose the right materials based on your budget, aesthetic preferences, and the specific needs of your living space
- Properly prepare your walls by inspecting, repairing, and cleaning them before installation
- Follow a step-by-step process for measuring, cutting, applying adhesive, and securing the wall panels
- Consider budget-friendly tips to keep costs down, such as opting for more affordable materials or finishing the panels yourself
- Prioritize safety throughout the project by wearing protective gear, using tools properly, and maintaining good ventilation