Master the Art of DIY Wallpapering: Transform Any Room in a Weekend
Step-by-Step Guide to Selecting, Preparing, and Applying Wallpaper for a Budget-Friendly Interior Makeover. No Professional Experience Required!
Wallpapering can be an intimidating DIY project for many homeowners, but with the right techniques and a little bit of patience, it's a skill anyone can master. Whether you're looking to refresh a single accent wall or completely transform the look of an entire room, DIY wallpapering offers a budget-friendly way to elevate your interior design without the need for professional help. In this comprehensive guide, we'll walk you through every step of the wallpapering process - from selecting the perfect pattern and preparing your walls to cutting, hanging, and trimming the paper for a flawless finish. By the end, you'll have the confidence and know-how to tackle any wallpapering project in your home, no matter your previous experience level.Understanding Wallpaper Basics
Before we dive into the step-by-step instructions, let's start with a quick primer on wallpaper. There are several key factors to consider when choosing the right wallpaper for your space:Wallpaper Types
The most common wallpaper types include:- Vinyl: Durable, moisture-resistant, and easy to clean, making it a popular choice for high-traffic areas like kitchens and bathrooms.
- Paper-Backed Vinyl: Offers the benefits of vinyl with a paper backing that's easier to hang and remove.
- Grasscloth: A natural, textured wallcovering that adds depth and visual interest to a room.
- Peel-and-Stick: Repositionable wallpaper that's ideal for renters or those looking for a temporary solution.
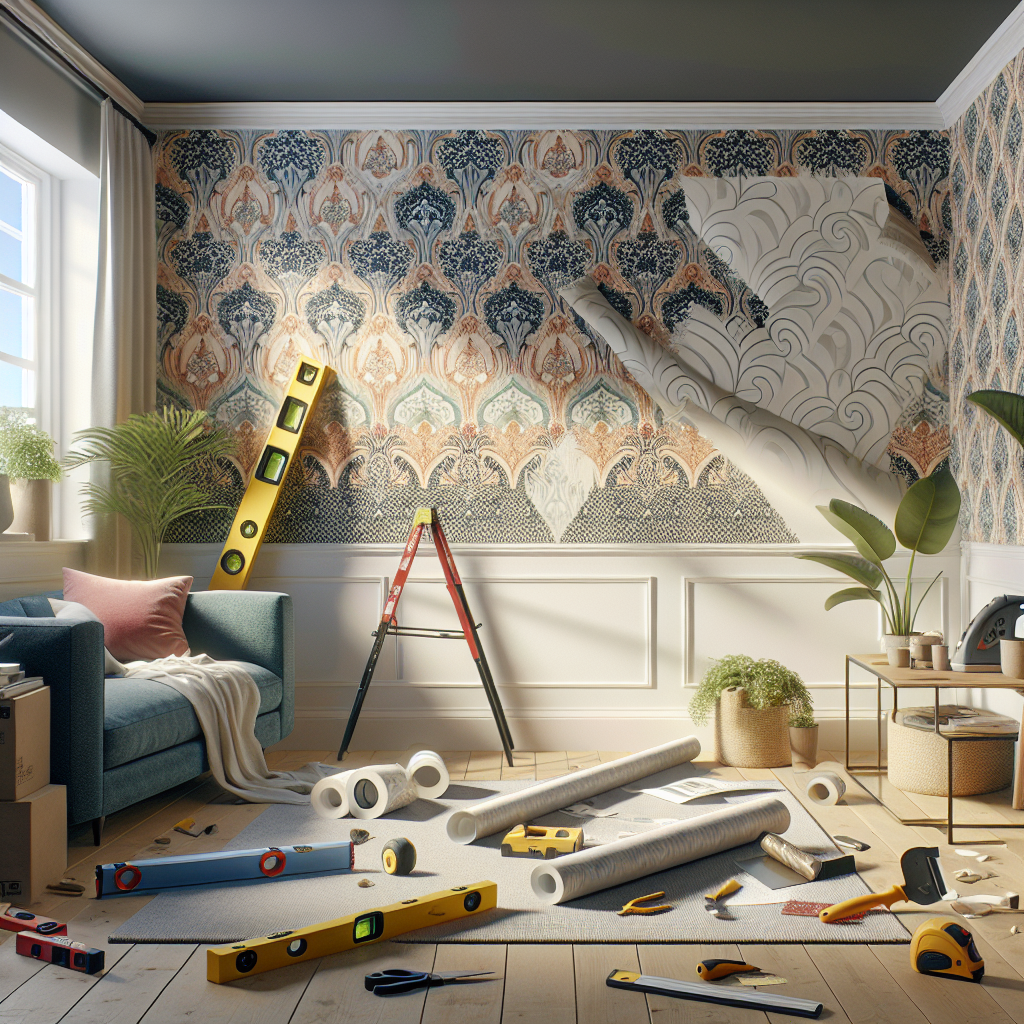
Wallpaper Patterns and Designs
Wallpaper comes in a wide variety of patterns, colors, and styles to suit any aesthetic. Some popular options include:- Solid Colors: Offer a clean, sophisticated look and can help make a small space feel larger.
- Stripes: Add visual interest and can make a room feel taller or wider, depending on the orientation.
- Florals: Bring a touch of nature and femininity to any space.
- Geometric Prints: Lend a modern, contemporary vibe.
Wallpaper Measurements and Coverage
When purchasing wallpaper, you'll need to know the dimensions of the walls you're covering to determine the necessary amount. Wallpaper is typically sold in double rolls, which cover approximately 56 square feet. To calculate your needed coverage, measure the width and height of each wall, then add 10-20% to account for pattern matching and waste.Preparing Your Walls for Wallpapering
Proper wall preparation is key to ensuring your wallpaper adheres smoothly and lasts for years to come. Here's what you need to do:Clean and Repair the Walls
Start by thoroughly cleaning your walls to remove any dirt, grease, or existing wallpaper. Use a mild detergent and water, then let the walls dry completely. Next, inspect the walls for any cracks, holes, or uneven surfaces and make the necessary repairs using joint compound or spackle. Sand the repaired areas until they're smooth and flush with the surrounding wall.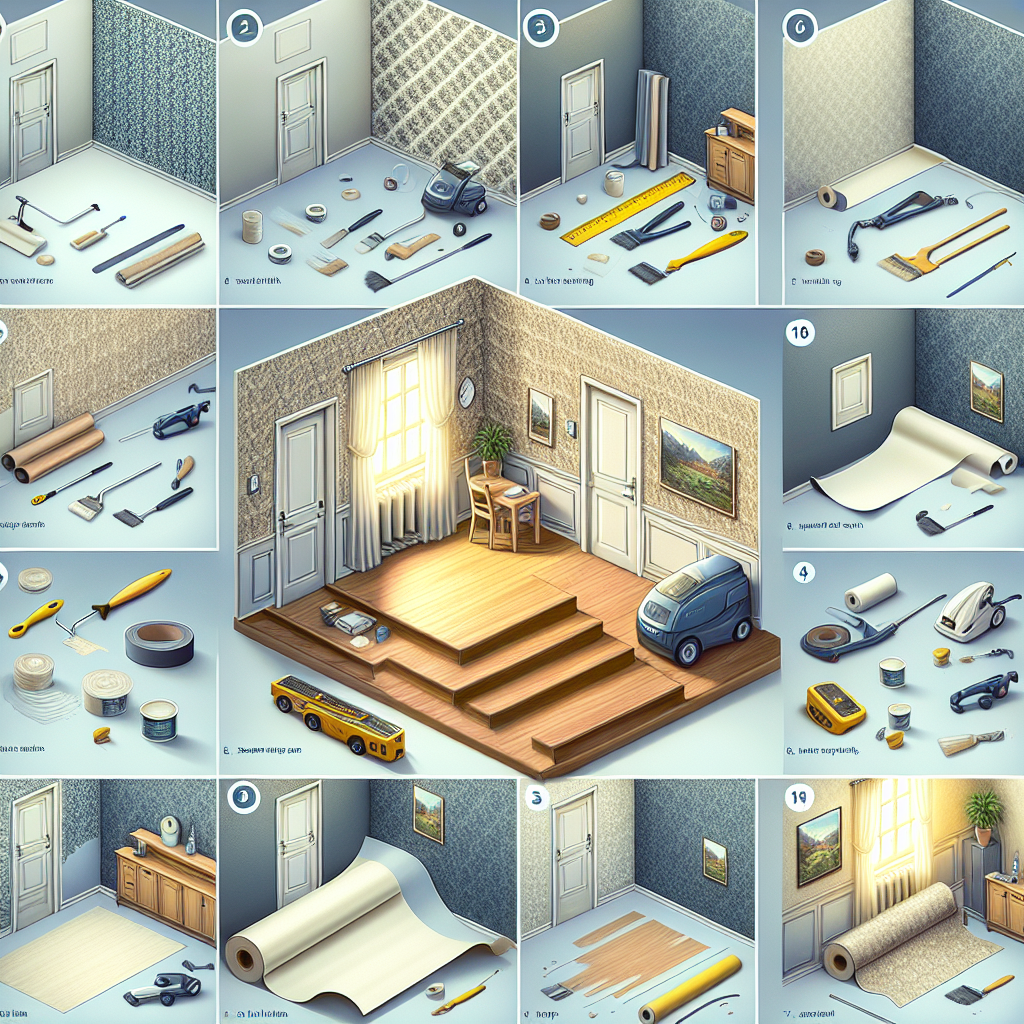
Prime the Walls
Applying a high-quality wallpaper primer is a crucial step that helps the adhesive bond properly and prevents the wallpaper from peeling over time. Look for a water-based primer specifically formulated for use under wallpaper. Apply the primer using a paint roller, making sure to cover the entire wall surface.Measure and Mark the Walls
Before you start hanging the wallpaper, measure the wall dimensions and mark a plumb line at the starting point. This will ensure your first strip is perfectly straight, which will make the rest of the installation much easier.Cutting and Hanging the Wallpaper
Now that your walls are prepped and ready, it's time to start the wallpapering process. Follow these steps for flawless results:Cut the Wallpaper Panels
Unroll the wallpaper and measure the height of your wall, adding 4-6 inches to the total for trimming. Use a sharp utility knife and straight edge to cut the panels, making sure to match the pattern if applicable.Apply the Adhesive
For standard wallpaper, use a wallpaper paste or adhesive recommended by the manufacturer. Apply the adhesive directly to the wall using a paint roller, covering an area slightly larger than the first panel. Allow the adhesive to become tacky before hanging the paper.Hang the First Panel
Starting at the top of your plumb line, carefully position the first panel and smooth it onto the wall, working from the center outward to remove any air bubbles or wrinkles. Use a wallpaper smoothing brush or plastic scraper to ensure a seamless finish.Hang Subsequent Panels
For the remaining panels, apply adhesive to the wall, then carefully match the pattern and overlap the seams as you hang each new strip. Use a seam roller to flatten the edges and ensure a tight, invisible bond.Trim the Edges
Once all the panels are hung, use a sharp utility knife and straight edge to trim the excess wallpaper at the ceiling, baseboards, and around any outlets or fixtures. Wipe away any adhesive residue with a damp cloth.Tips for a Professional-Looking Finish
Here are some additional tips to help you achieve a flawless, long-lasting wallpaper installation:
Work in Small Sections
It's easier to manage the wallpaper and avoid mistakes if you work in manageable sections rather than trying to hang an entire wall at once.Minimize Seams
Plan your panel layout to minimize the number of seams, which can be tricky to match perfectly. Opt for wider panels when possible.Use a Seam Roller
A seam roller helps flatten and smooth the overlapping edges of each panel for a seamless finish.Invest in Quality Tools
Having the right tools, like a sharp utility knife, straight edge, and wallpaper smoothing brush, can make a big difference in the final result.Take Your Time
Wallpapering requires patience and attention to detail. Don't rush the process, and be prepared to make adjustments as you go.Key Takeaways
By following these step-by-step instructions, you can transform any room in your home with a budget-friendly DIY wallpapering project. Remember to:- Carefully select the right wallpaper type, pattern, and coverage for your space
- Properly prepare your walls by cleaning, repairing, and priming the surfaces
- Cut and hang the wallpaper panels with precision, using the right tools and techniques
- Focus on a professional-looking finish by minimizing seams and working in small, manageable sections