Master the Art of DIY Wallpapering: A Complete Step-by-Step Guide
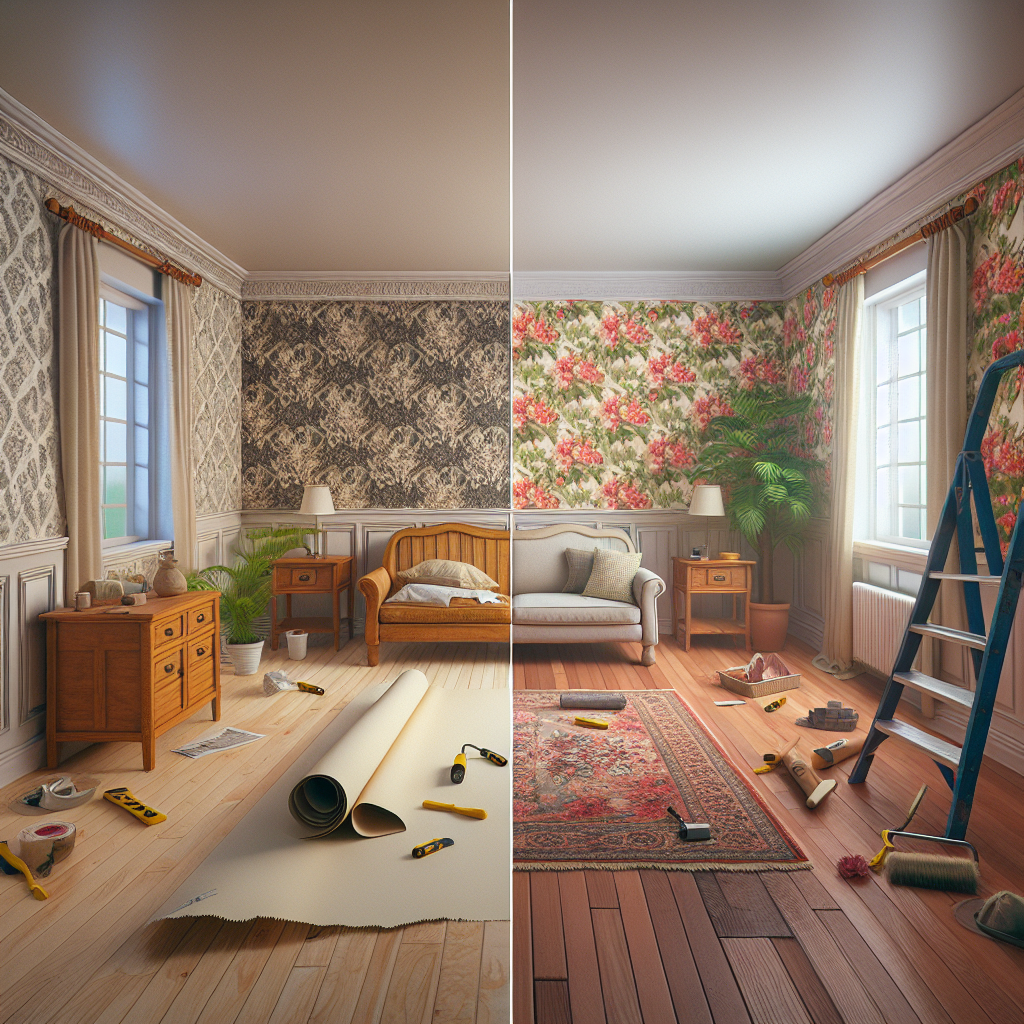
Transforming your living space through wallpapering is a time-honored tradition that has experienced a resurgence in popularity in recent years. Whether you're seeking to breathe new life into a dull room, create a focal point with a bold pattern, or simply add a touch of personality to your home, mastering the art of DIY wallpapering is a skill that can save you thousands in professional installation costs. In this comprehensive guide, we'll walk you through every step of the process, from choosing the right materials to perfecting the application technique, empowering you to tackle this popular home improvement project with confidence.
Understanding Wallpaper Types and Choosing the Right Option
The first step in any successful wallpapering project is selecting the appropriate wallpaper for your needs. The market offers a vast array of options, each with its own unique characteristics and suitability for different applications. Let's explore the most common wallpaper types and their key features:
Vinyl Wallpaper
Vinyl wallpaper is a popular choice for its durability, moisture resistance, and easy-to-clean surface. It is an excellent option for high-traffic areas, such as bathrooms and kitchens, where it can withstand frequent cleaning and exposure to humidity. Vinyl wallpaper is also relatively straightforward to install, making it a great option for DIY enthusiasts.
Paper-Backed Vinyl Wallpaper
Paper-backed vinyl wallpaper combines the benefits of vinyl with the traditional paper backing, offering a more textured and natural appearance. This hybrid option is a versatile choice, suitable for a wide range of rooms, and is generally easier to work with compared to pure vinyl.
Grasscloth Wallpaper
Grasscloth wallpaper is a natural, woven material that adds a unique, organic texture to any space. It is a popular choice for creating a warm, inviting ambiance and can be used to stunning effect in living rooms, bedrooms, and dining areas. However, grasscloth can be more challenging to install and may require professional assistance.
Peel-and-Stick Wallpaper
 Peel-and-stick wallpaper, also known as self-adhesive or removable wallpaper, is a recent innovation that has revolutionized the DIY wallpapering landscape. These pre-pasted panels are easy to apply and can be removed without damaging the wall, making them an excellent choice for renters or those seeking a temporary solution.
When selecting the right wallpaper for your project, consider factors such as the room's purpose, the desired aesthetic, and the level of durability required. Consult with experts or refer to online resources to ensure you choose a wallpaper that will meet your needs and complement your existing decor.
Preparing the Walls for Wallpaper Application
Proper wall preparation is crucial for achieving a professional-looking, long-lasting wallpaper installation. Follow these steps to get your walls ready:
Peel-and-stick wallpaper, also known as self-adhesive or removable wallpaper, is a recent innovation that has revolutionized the DIY wallpapering landscape. These pre-pasted panels are easy to apply and can be removed without damaging the wall, making them an excellent choice for renters or those seeking a temporary solution.
When selecting the right wallpaper for your project, consider factors such as the room's purpose, the desired aesthetic, and the level of durability required. Consult with experts or refer to online resources to ensure you choose a wallpaper that will meet your needs and complement your existing decor.
Preparing the Walls for Wallpaper Application
Proper wall preparation is crucial for achieving a professional-looking, long-lasting wallpaper installation. Follow these steps to get your walls ready:
- Clean the Walls: Begin by thoroughly cleaning the walls, removing any dirt, grease, or residue that could interfere with the wallpaper's adhesion. Use a mild detergent and water, and be sure to rinse the surface completely.
- Repair Any Imperfections: Inspect the walls for any cracks, holes, or unevenness, and use a patching compound to fill and smooth these areas. Allow the compound to dry fully before proceeding.
- Prime the Walls: Applying a primer to the walls can significantly improve the wallpaper's adhesion and prevent issues like bubbling or peeling. Use a primer specifically designed for wallpaper application.
- Measure and Mark the Walls: Carefully measure the wall dimensions and plan the wallpaper layout, making note of any obstacles like electrical outlets or windows. Use a level to mark vertical guideline
s to ensure your wallpaper panels are straight.
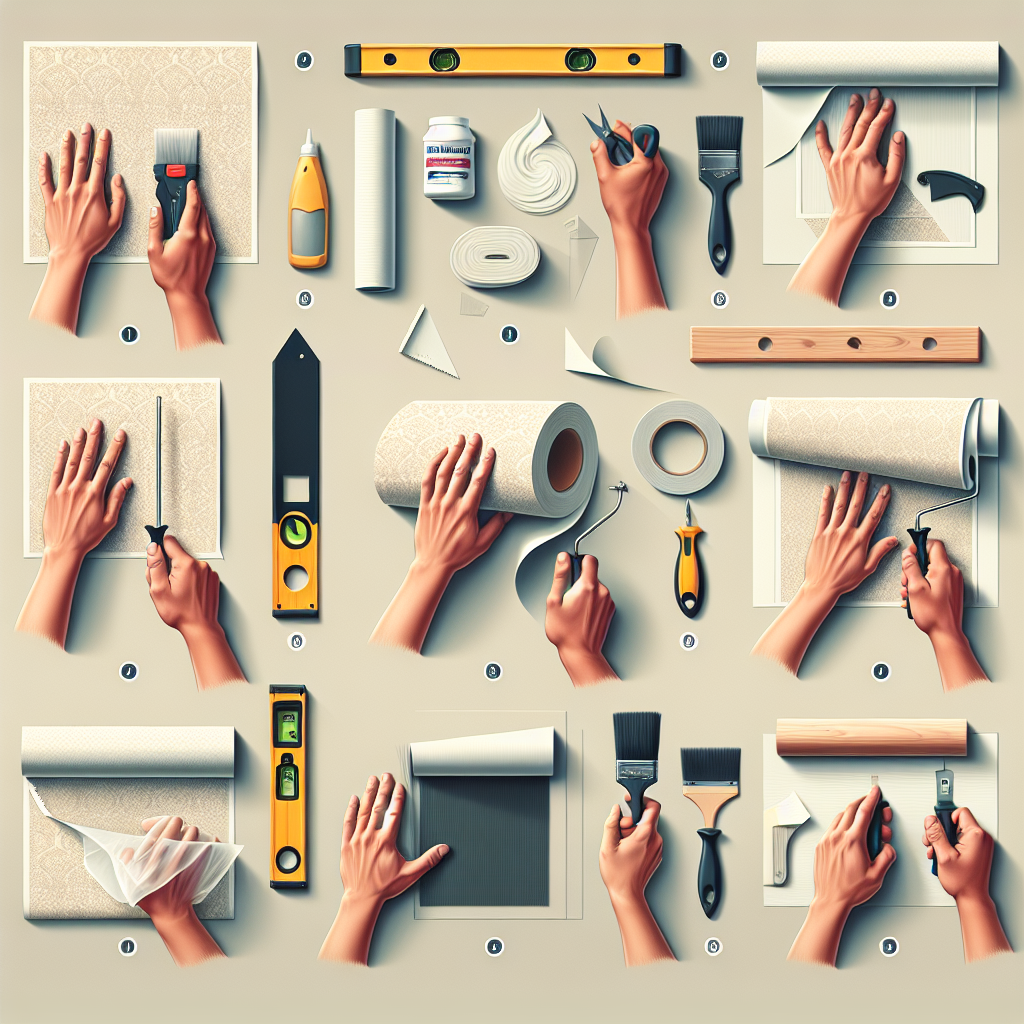
Taking the time to properly prepare your walls will set the stage for a successful and long-lasting wallpapering project. Cutting and Hanging the Wallpaper With your walls prepped and ready, it's time to begin the wallpapering process. Follow these step-by-step instructions for cutting and hanging your wallpaper: Cutting the Wallpaper Panels
- Measure and Mark: Measure the height of your wall and add 4-6 inches to the measurement to account for trimming at the top and bottom. Mark this length on the wallpaper roll.
- Cut the Panels: Using a sharp utility knife and a straight edge, carefully cut the wallpaper to the marked length. Be sure to cut the panels slightly wider than the wall to allow for overlapping and trimming.
- Number the Panels: Number each wallpaper panel in the order they will be hung to ensure a seamless pattern match.
Hanging the Wallpaper
- Apply the Adhesive: For traditional wallpaper, use a wallpaper paste or adhesive and apply it to the back of the panel, following the manufacturer's instructions. For peel-and-stick wallpaper, simply peel off the backing and position the panel on the wall.
- Position and Smooth: Carefully position the first panel on the wall, aligning it with your vertical guideline. Use a wallpaper smoothing tool or a clean, dry cloth to remove any air bubbles or wrinkles.
- Overlap and Trim: For subsequent panels, slightly overlap the edges and use a sharp utility knife to trim the excess along the ceiling, baseboards, and around any obstacles.
- Maintain Alignment: Ensure each panel is properly aligned with the previous one, matching patterns and edges as you work your way across the wall.
Patience and attention to detail are key when hanging wallpaper. Take your time, work methodically, and refer to the manufacturer's instructions for any specific techniques or recommendations. Perfecting the Finish: Trimming and Sealing The final steps in the wallpapering process involve trimming the edges and sealing the seams to achieve a professional-looking, polished result. Trimming the Edges
- Wallpaper adhesive or paste ($10-$20 per gallon)
- Primer ($15-$30 per gallon)
- Wallpaper smoothing tools ($10-$30)
- Utility knife and blades ($5-$15)
- Straight edge or level ($10-$20)
To keep costs down, consider the following budget-friendly tips:
- Shop Sales and Discounts: Keep an eye out for seasonal sales, clearance items, or bulk discounts from home improvement stores or online retailers.
- Opt for Lower-Cost Wallpaper Alternatives: Peel-and-stick wallpaper or paper-backed vinyl can be more affordable than high-end grasscloth or designer options.
- Reuse Existing Tools: Look around your home for items you may already have, such as a utility knife, smoothing tool, or straight edge, to reduce your initial investment.
- Carefully Measure and Plan: Accurate measurements and thoughtful planning can help you minimize waste and maximize the use of your wallpaper materials.
By being strategic with your material selections and leveraging cost-saving techniques, you can transform your living space through DIY wallpapering while staying within your budget. Key Takeaways In this comprehensive guide, we've explored the art of DIY wallpapering, equipping you with the knowledge and confidence to tackle this popular home improvement project. Here are the key takeaways:
- Understand the different wallpaper types and choose the option that best suits your needs and desired aesthetic.
- Properly prepare your walls by cleaning, repairing imperfections, and priming to ensure a successful wallpaper application.
- Follow step-by-step instructions for cutting and hanging the wallpaper panels, paying close attention to alignment and pattern matching.
- Perfect the finish by trimming the edges and sealing the seams for a polished, professional-looking result.
- Explore cost-saving strategies to transform your living space through DIY wallpapering while staying within your budget.
With the right preparation, techniques, and a little bit of patience, you can master the art of DIY wallpapering and create a beautiful, personalized living space that reflects your unique style. Happy decorating!