Understanding Gallery Wall Layouts
The key to a successful gallery wall lies in the layout. Your chosen arrangement will set the tone for the entire display, so it's essential to approach this step with careful planning and consideration.Symmetrical Layouts
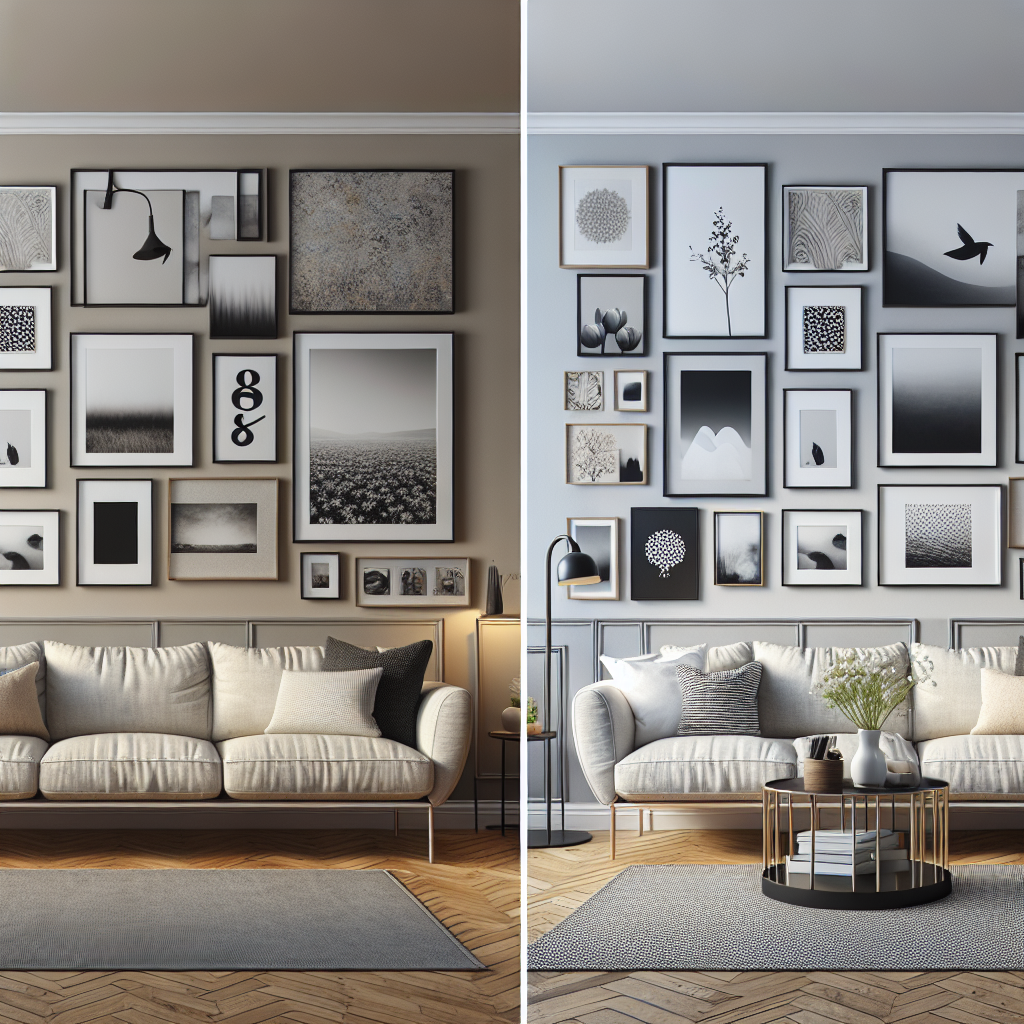
One of the most classic and visually pleasing gallery wall styles is the symmetrical layout. This approach features a grid-like arrangement of frames, typically in even rows and columns, creating a sense of balance and order. Symmetrical layouts work particularly well in formal living rooms, dining rooms, or entryways, as they exude a sophisticated and harmonious aesthetic. To achieve a symmetrical gallery wall, measure the available wall space and determine the number of frames that will fit comfortably. Arrange the frames in evenly spaced rows and columns, ensuring that the spacing between each frame is consistent. This layout works best with frames of the same size and shape, though you can mix in complementary sizes for visual interest.Asymmetrical Layouts
For a more dynamic and artistic look, consider an asymmetrical gallery wall layout. This approach features a more organic, free-flowing arrangement of frames, often with varying sizes and shapes. Asymmetrical layouts are ideal for casual, eclectic spaces, such as home offices, hallways, or stairwells, as they create a sense of visual intrigue and uniqueness. When designing an asymmetrical gallery wall, start by laying out the frames on the floor to experiment with different arrangements. Play with a mix of frame sizes, orientations (portrait vs. landscape), and spacing to achieve a visually balanced, yet informal, look. Avoid aligning the frames in strict rows or columns, and instead, aim for a more organic, overlapping pattern.Clustered Layouts
Another popular gallery wall style is the clustered layout, which features a grouping of frames arranged in a deliberate, yet seemingly casual, manner. This approach works well in cozy, intimate spaces, such as bedrooms or reading nooks, as it creates a warm and inviting atmosphere. To create a clustered gallery wall, begin by selecting a focal point or anchor frame, which will serve as the centerpiece of your display. Arrange the remaining frames around this focal point, varying the sizes, shapes, and orientations to add visual interest. Experiment with overlapping the frames slightly and varying the spacing between them to achieve a cohesive, yet eclectic, look.Choosing the Right Frames
Once you've decided on the layout for your gallery wall, the next step is selecting the perfect frames. The frames you choose will not only showcase your artwork or photographs but also contribute to the overall aesthetic of your display.Frame Materials
When it comes to frame materials, there are several options to consider, each with its own unique qualities and price points: - Wood frames: Offer a classic, timeless look and a range of finishes, from rustic to sleek. Wood frames are a versatile choice that works well in a variety of interior styles. - Metal frames: Provide a modern, minimalist aesthetic and come in a variety of finishes, such as gold, silver, or black. Metal frames are a great option for contemporary or industrial-inspired spaces. - Plastic or acrylic frames: These lightweight and affordable frames are ideal for budget-conscious DIYers. They come in a wide range of colors and designs, making them a fun and flexible choice. - Recycled or vintage frames: Repurposing old frames is an eco-friendly and unique way to create a one-of-a-kind gallery wall. Scour thrift stores, garage sales, or online marketplaces for unique finds. When selecting frame materials, consider how they will complement the overall style of your room and the artwork or photographs you plan to display.Frame Sizes and Shapes
The size and shape of your frames can also greatly impact the final look of your gallery wall. As a general rule, aim for a mix of frame sizes to add visual interest and depth to your display. Standard frame sizes, such as 8x10, 11x14, or 16x20, are a safe bet and can be easily found at most home goods stores. However, don't be afraid to mix in larger or smaller frames to create a more dynamic layout.
Coordinating Frames
For a cohesive and polished look, it's generally recommended to choose frames that coordinate in terms of color, finish, or style. This doesn't mean that all the frames have to be identical – in fact, a mix of complementary frames can add visual interest. However, sticking to a consistent color palette or material will help tie the entire display together. If you're unsure where to start, consider selecting a primary frame color or finish, then incorporating a few accent frames in a contrasting but complementary hue. This will create a harmonious, yet visually stimulating, gallery wall.Measuring and Spacing
Proper measurement and spacing are crucial for achieving a visually balanced and professional-looking gallery wall. Attention to these details will ensure that your frames are evenly spaced, level, and centered on the wall.Measuring Wall Space
Begin by measuring the available wall space where you plan to create your gallery wall. Measure the width and height of the area, and jot down these dimensions. This will help you determine the overall size and scale of your gallery wall, as well as the number and size of frames that will fit comfortably.Spacing Between Frames
The spacing between your frames is an essential element in creating a cohesive and visually appealing gallery wall. As a general rule, aim for 2-4 inches of space between each frame, depending on the size of your frames and the overall look you're going for. For a symmetrical layout, maintain consistent spacing between the frames, both horizontally and vertically. In an asymmetrical layout, the spacing can be more varied, but try to keep it visually balanced and avoid overcrowding.Centering and Leveling
Once you've determined the spacing, be sure to center and level your frames on the wall. Use a laser level or a regular level to ensure that the tops of your frames are perfectly aligned. This attention to detail will make your gallery wall look polished and professional. When centering your frames, consider the overall composition of your gallery wall. Try to position the frames in a way that creates a visually balanced and harmonious display, with the focal points or largest frames at eye level.Hanging Techniques
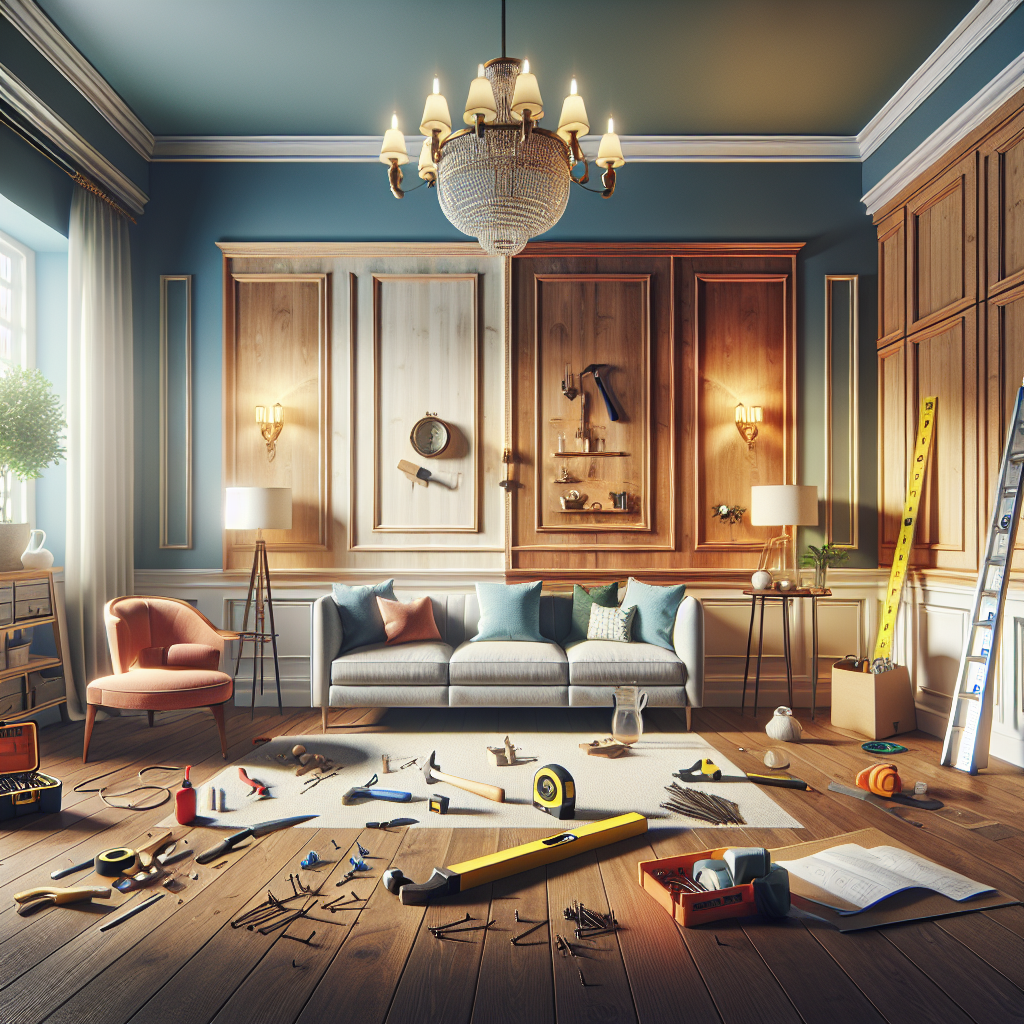
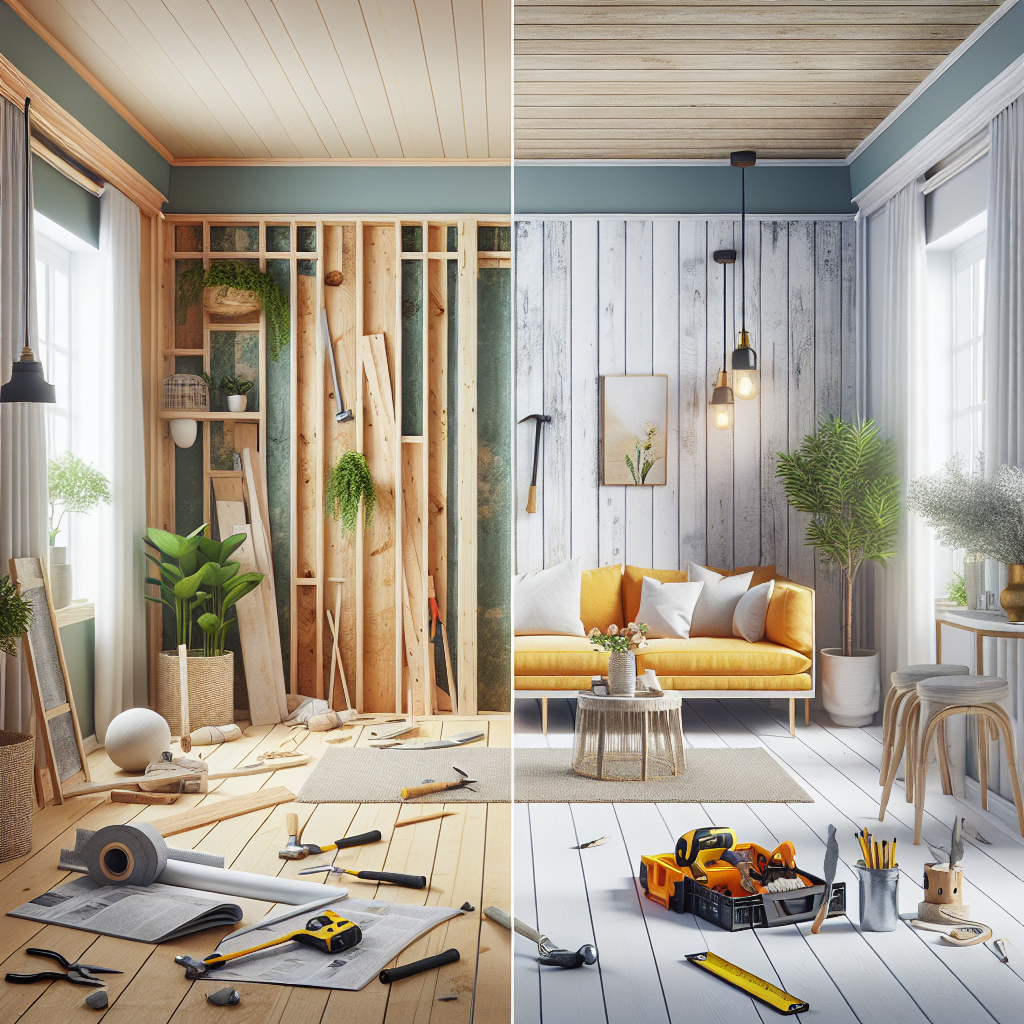
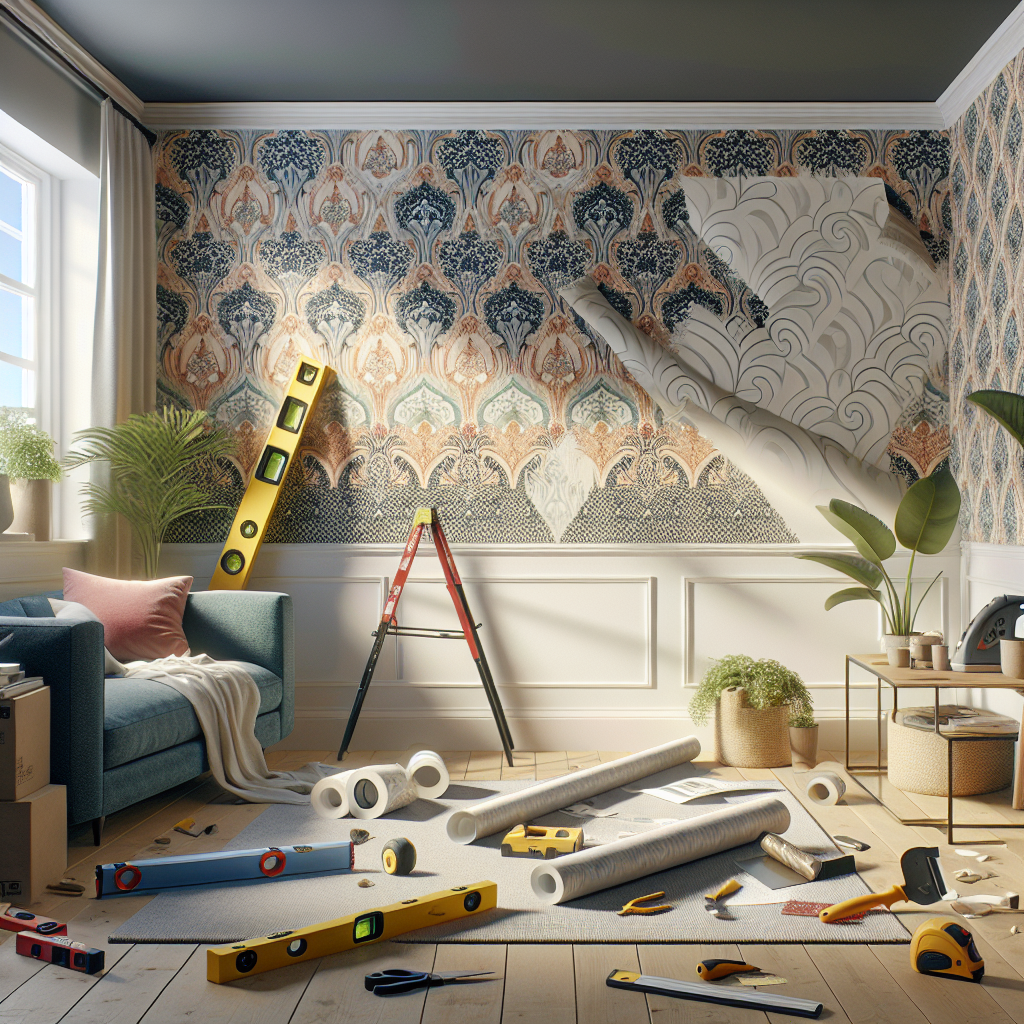
With your frames selected and your layout planned, it's time to tackle the actual installation process. Proper hanging techniques are essential for ensuring your gallery wall looks clean, secure, and visually appealing.Wall Preparation
Before you start hammering nails into the wall, take a moment to prepare the surface. Use a stud finder to locate any wooden studs behind the drywall, as these will provide the most secure anchoring points for your frames. If you're unable to find studs in the desired locations, consider using wall anchors or toggle bolts to ensure a sturdy and secure hold. Avoid relying solely on drywall screws or nails, as they may not be able to support the weight of your frames over time.Hanging Hardware
When it comes to hanging hardware, you have several options to choose from: - Picture wire: This classic hanging method involves attaching wire to the back of each frame, allowing you to easily hang them on nails or picture hooks. - D-rings or keyhole hangers: These hardware pieces are attached directly to the back of the frame, providing a discreet and secure way to hang your artwork. - Command strips or hooks: For a damage-free solution, consider using Command strips or hooks, which can be easily removed without leaving behind any marks on the wall. Whichever method you choose, be sure to follow the manufacturer's instructions carefully to ensure a secure and level hang.