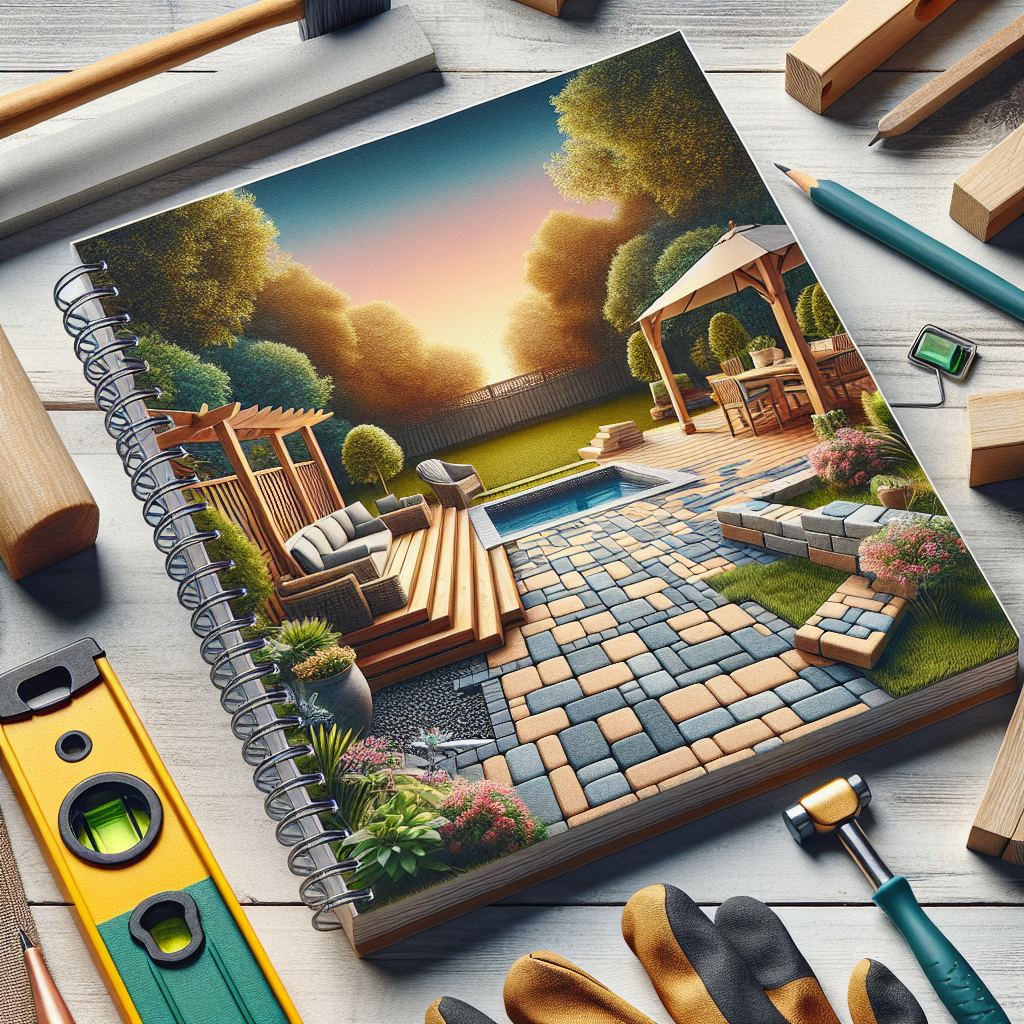
Upgrade Your Backyard Oasis: A Comprehensive Guide to DIY Patio Pavers
Transforming your outdoor living space with a stunning patio can be a game-changer, elevating your home's curb appeal and providing a versatile area for entertaining, relaxation, and family gatherings. While hiring a professional landscaper may be tempting, tackling a DIY patio paver project can be a rewarding and cost-effective way to customize your backyard oasis. In this comprehensive guide, we'll walk you through the entire process of installing patio pavers, ensuring a visually appealing and long-lasting result that you can complete in a single weekend.
Understanding Patio Pavers: Why They're a Brilliant Choice
Patio pavers offer a multitude of advantages over traditional concrete slabs or wooden decks. These modular, interlocking units provide a durable, slip-resistant surface that can withstand heavy foot traffic, outdoor furniture, and even the occasional vehicle. Pavers come in a wide range of colors, shapes, and textures, allowing you to create custom patterns and designs that seamlessly integrate with your home's architectural style and landscaping.
One of the primary benefits of patio pavers is their low-maintenance nature. Unlike concrete, which can crack and stain over time, pavers are easy to clean and maintain. Should a paver become damaged, it can be easily replaced without disrupting the entire surface. Additionally, patio pavers are highly permeable, allowing water to drain through the joints and reducing the risk of standing puddles or flooding.
Choosing the Right Patio Pavers
Selecting the right patio pavers for your outdoor space is the first crucial step in your DIY project. Consider factors such as the overall style of your home, the climate in your region, and your personal design preferences. Popular paver materials include natural stone (such as travertine, limestone, or granite), concrete, and interlocking brick.
Natural stone pavers offer a timeless, high-end aesthetic and exceptional durability, but they come with a higher price tag. Concrete pavers, on the other hand, are more affordable and available in a vast array of colors and patterns. Interlocking brick pavers are a classic choice that can create a charming, Old-World-inspired look.
When it comes to paver size, the most common options are 4x8 inches, 6x6 inches, and 8x8 inches. Larger pavers can create a more seamless, cohesive appearance, while smaller pavers allow for more intricate designs. Consider the overall scale of your outdoor space and the desired aesthetic when selecting the appropriate paver size.
Preparing the Site for Patio Paver Installation
 Before you can begin laying your patio pavers, you'll need to properly prepare the site. Start by clearing the area of any existing vegetation, debris, or structures. Excavate the soil to a depth of approximately 4-6 inches, ensuring a level, stable foundation for your pavers.
Next, install a geotextile fabric or landscape fabric over the excavated area. This will help prevent weeds from growing through the pavers and provide a stable base for the crushed stone or gravel that will be added next. Spread a 3-4 inch layer of crushed stone or gravel over the fabric, tamping it down firmly with a plate compactor or hand tamper.
The final step in site preparation is to create a 1-inch layer of leveling sand over the compacted gravel. Use a straight-edge tool, such as a 2x4 board, to ensure the sand is evenly distributed and level across the entire surface.
Laying the Patio Pavers
With the site properly prepared, you're ready to begin the exciting process of laying your patio pavers. Start by marking out the desired dimensions of your patio using stakes and string. This will help you maintain a straight, uniform edge throughout the installation.
Begin laying the pavers in the corner of the patio, working your way outward in a staggered pattern. Use a rubber mallet to gently tap each paver into place, ensuring they are level and tightly fitted together. For curved or irregular edges, you may need to cut pavers to fit using a paver saw or angle grinder.
As you progress, be mindful of maintaining a consistent joint width between the pavers, typically around 1/8 to 1/4 inch. This will not only enhance the visual appeal of your patio but also allow for proper drainage and expansion.
Cutting Pavers for Edges and Corners
Cutting pavers to fit along the edges and around obstacles can be a bit tricky, but with the right tools and techniques, you can achieve a professional-looking result. Use a paver saw or angle grinder with a masonry blade to carefully cut the pavers to the desired size and shape.
Before you can begin laying your patio pavers, you'll need to properly prepare the site. Start by clearing the area of any existing vegetation, debris, or structures. Excavate the soil to a depth of approximately 4-6 inches, ensuring a level, stable foundation for your pavers.
Next, install a geotextile fabric or landscape fabric over the excavated area. This will help prevent weeds from growing through the pavers and provide a stable base for the crushed stone or gravel that will be added next. Spread a 3-4 inch layer of crushed stone or gravel over the fabric, tamping it down firmly with a plate compactor or hand tamper.
The final step in site preparation is to create a 1-inch layer of leveling sand over the compacted gravel. Use a straight-edge tool, such as a 2x4 board, to ensure the sand is evenly distributed and level across the entire surface.
Laying the Patio Pavers
With the site properly prepared, you're ready to begin the exciting process of laying your patio pavers. Start by marking out the desired dimensions of your patio using stakes and string. This will help you maintain a straight, uniform edge throughout the installation.
Begin laying the pavers in the corner of the patio, working your way outward in a staggered pattern. Use a rubber mallet to gently tap each paver into place, ensuring they are level and tightly fitted together. For curved or irregular edges, you may need to cut pavers to fit using a paver saw or angle grinder.
As you progress, be mindful of maintaining a consistent joint width between the pavers, typically around 1/8 to 1/4 inch. This will not only enhance the visual appeal of your patio but also allow for proper drainage and expansion.
Cutting Pavers for Edges and Corners
Cutting pavers to fit along the edges and around obstacles can be a bit tricky, but with the right tools and techniques, you can achieve a professional-looking result. Use a paver saw or angle grinder with a masonry blade to carefully cut the pavers to the desired size and shape.
 When cutting pavers, always wear protective gear, such as safety goggles and a dust mask, to ensure your safety. Measure the space you need to fill and mark the pavers accordingly before cutting. Take your time and make clean, precise cuts to ensure a seamless fit.
Securing the Patio Pavers
Once all the pavers are in place, it's time to secure them by filling the joints with polymeric sand. Spread the sand evenly over the entire patio surface, using a broom to work it into the joints. Then, use a plate compactor or hand tamper to compact the sand, ensuring it fills the spaces between the pavers.
After compacting the sand, lightly mist the patio with water to activate the polymeric binder in the sand. This will create a durable, flexible seal that helps prevent weed growth and stabilize the pavers.
For the final touch, apply a paver sealer to the surface of the patio. This will protect the pavers from weathering, staining, and fading, while also enhancing their color and overall appearance. Be sure to follow the manufacturer's instructions for proper application and drying time.
Maintenance and Care for Your Patio Pavers
Proper maintenance is key to ensuring your patio pavers remain in top condition for years to come. Regularly sweep the surface to remove debris and prevent the growth of weeds or moss between the joints. Every 1-2 years, consider reapplying a paver sealer to maintain the protective barrier and keep your patio looking its best.
In the event of a paver becoming cracked or damaged, it can be easily replaced without disrupting the entire patio. Simply lift out the affected paver, clean the underlying surface, and insert a new one, securing it with polymeric sand.
Key Takeaways
When cutting pavers, always wear protective gear, such as safety goggles and a dust mask, to ensure your safety. Measure the space you need to fill and mark the pavers accordingly before cutting. Take your time and make clean, precise cuts to ensure a seamless fit.
Securing the Patio Pavers
Once all the pavers are in place, it's time to secure them by filling the joints with polymeric sand. Spread the sand evenly over the entire patio surface, using a broom to work it into the joints. Then, use a plate compactor or hand tamper to compact the sand, ensuring it fills the spaces between the pavers.
After compacting the sand, lightly mist the patio with water to activate the polymeric binder in the sand. This will create a durable, flexible seal that helps prevent weed growth and stabilize the pavers.
For the final touch, apply a paver sealer to the surface of the patio. This will protect the pavers from weathering, staining, and fading, while also enhancing their color and overall appearance. Be sure to follow the manufacturer's instructions for proper application and drying time.
Maintenance and Care for Your Patio Pavers
Proper maintenance is key to ensuring your patio pavers remain in top condition for years to come. Regularly sweep the surface to remove debris and prevent the growth of weeds or moss between the joints. Every 1-2 years, consider reapplying a paver sealer to maintain the protective barrier and keep your patio looking its best.
In the event of a paver becoming cracked or damaged, it can be easily replaced without disrupting the entire patio. Simply lift out the affected paver, clean the underlying surface, and insert a new one, securing it with polymeric sand.
Key Takeaways
- Patio pavers offer a durable, customizable, and low-maintenance solution for upgrading your outdoor living space.
- Careful planning and site preparation are crucial for a successful DIY patio paver installation.
- Choosing the right paver material, size, and pattern can enhance the overall aesthetic of your backyard oasis.
- Properly laying, securing, and sealing the pavers will ensure a long-lasting, visually appealing patio.
- Regular maintenance, such as cleaning and resealing, will keep your patio pavers looking their best for years to come.