Master the Art of Patio Landscaping with Our Cost-Effective Guide
Elevate the beauty and functionality of your outdoor living space with a stunning DIY stone patio. Whether you're looking to create a cozy conversation area, a dining oasis, or a serene retreat, a well-designed stone patio can instantly transform your backyard into a true extension of your home. In this comprehensive guide, we'll walk you through the step-by-step process of selecting the right stones, preparing the ground, and installing a beautiful stone patio all by yourself - adding value and timeless appeal to your property.Why Build a DIY Stone Patio?
Investing in a stone patio offers numerous benefits that make it a smart and rewarding home improvement project:- Increased Home Value: A well-executed stone patio can significantly boost your home's curb appeal and perceived value, making it a smart long-term investment.
- Elevated Outdoor Living: A stone patio provides a comfortable, weather-resistant surface for entertaining, relaxing, and enjoying your backyard to the fullest.
- Customizable Design: With a wide range of stone types, shapes, and patterns to choose from, you can create a patio that perfectly complements your home's style and your personal aesthetic.
- Durability and Longevity: Stone patios are incredibly durable and can withstand heavy foot traffic, inclement weather, and the test of time with minimal maintenance.
- Cost-Effective Solution: By tackling the project yourself, you can achieve a high-end look and feel at a fraction of the cost of a professional installation.
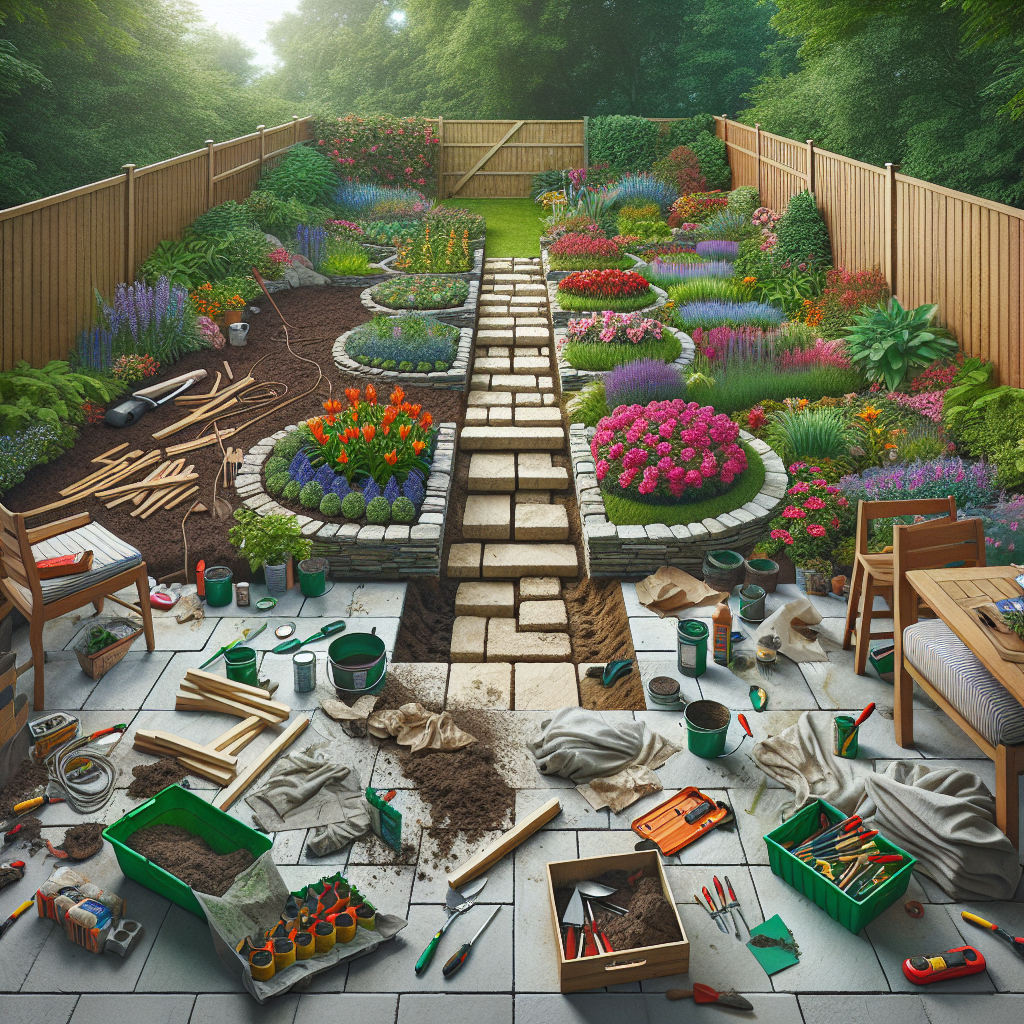
Selecting the Right Stones for Your Patio
The type of stone you choose for your patio will have a significant impact on the overall look and feel of your outdoor space. Here are some of the most popular and versatile options to consider:Flagstone
Flagstone is a natural sedimentary stone known for its irregular, organic shapes and unique color variations. It's a popular choice for patios due to its slip-resistant surface and timeless, rustic aesthetic. Flagstone comes in a variety of hues, including shades of gray, brown, and beige, allowing you to create a custom look that complements your home's exterior.Bluestone
Bluestone is a durable, high-quality natural stone that exudes a sleek, contemporary vibe. Its smooth, uniform surface and cool blue-gray tones make it a popular choice for modern or transitional-style homes. Bluestone is also highly resistant to weathering and staining, making it a low-maintenance option for your patio.Pavers
Interlocking concrete pavers are a versatile and budget-friendly option for DIY patio projects. Available in a wide range of shapes, sizes, and colors, pavers allow you to create intricate patterns and designs to suit your specific style. Pavers are also relatively easy to install, making them a great choice for homeowners new to DIY landscaping.Natural Stone Tiles
For a more seamless, finished look, consider natural stone tiles like travertine, limestone, or slate. These tiles are typically larger and more uniform in size than flagstone, offering a clean, sophisticated aesthetic. Stone tiles can be laid in a variety of patterns, from classic running bond to contemporary herringbone, to elevate the visual interest of your patio. When selecting your stones, consider factors like durability, slip-resistance, and maintenance requirements, as well as your budget and the overall style of your home and backyard. It's also important to calculate the square footage of your patio area to determine the appropriate amount of material needed.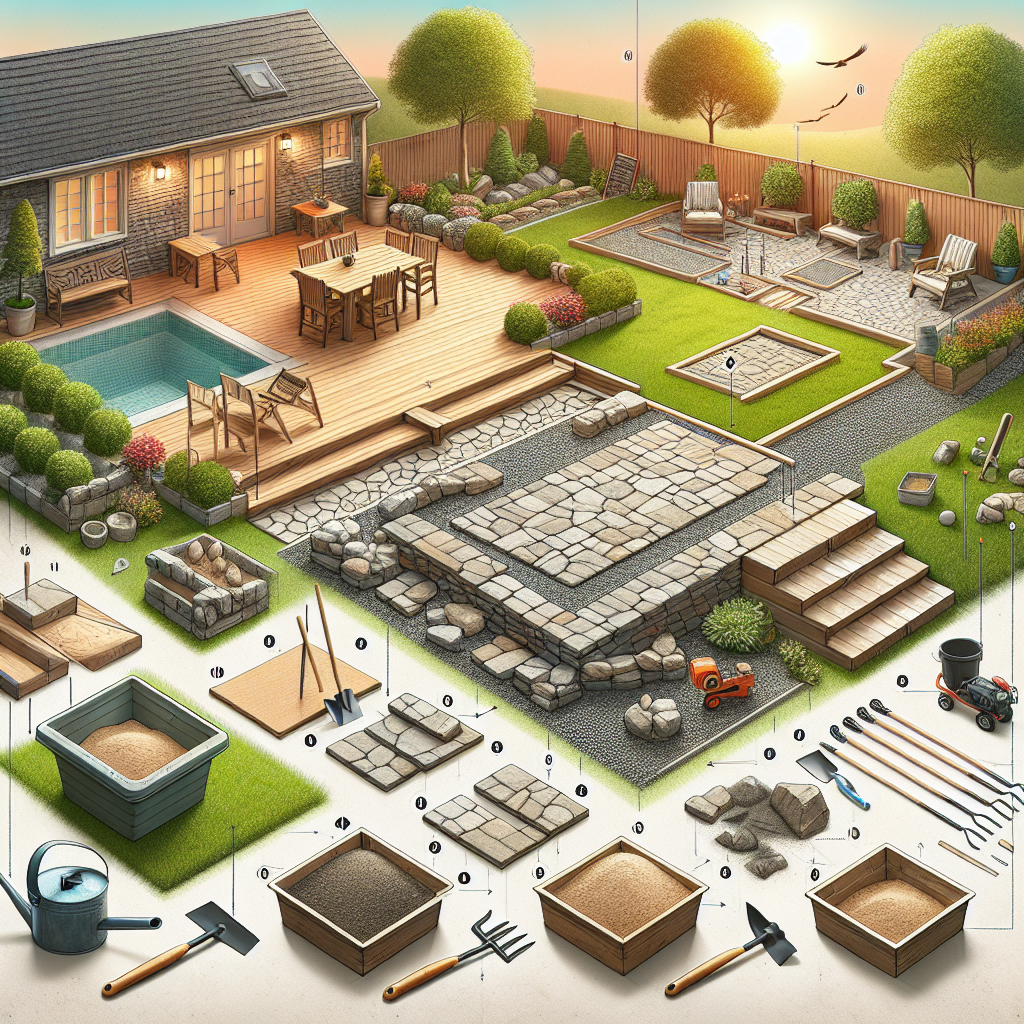
Preparing the Ground for Your DIY Stone Patio
Before you can begin laying your stones, you'll need to properly prepare the ground to ensure a stable, level surface. Here's a step-by-step guide to get your patio foundation ready:Step 1: Mark the Patio Boundaries
Use stakes and string to outline the perimeter of your patio, allowing for a few extra inches on each side to accommodate the thickness of the stones.Step 2: Remove Existing Vegetation
Carefully remove any grass, weeds, or other vegetation from the patio area using a sod cutter, shovel, or weed trimmer. Dispose of the debris properly.Step 3: Excavate the Soil
Dig down 4-6 inches within the patio boundaries, creating a level, stable base for your stones. Be sure to remove any topsoil, rocks, or roots that could potentially cause uneven settling.Step 4: Compact the Soil
Use a plate compactor or hand tamper to thoroughly compact the exposed soil, ensuring a solid foundation. This step is crucial to prevent future shifting or sinking of your patio.Step 5: Lay a Gravel Base
Spread a 2-3 inch layer of crushed gravel or crushed stone over the compacted soil. This gravel base will provide additional stability and drainage for your patio.Step 6: Compact the Gravel
Once again, use a plate compactor or hand tamper to firmly compact the gravel layer, creating a smooth, level surface for your stone patio.Step 7: Add a Sand Bed
Spread a 1-inch layer of coarse sand over the compacted gravel. This sand bed will help to level the stones and allow for small adjustments during the installation process. By taking the time to properly prepare the ground, you'll ensure that your DIY stone patio remains stable, level, and crack-free for years to come.Installing Your DIY Stone Patio
With your foundation ready, it's time to start laying the stones and bringing your backyard vision to life. Follow these step-by-step instructions for a professional-looking patio installation:
Step 1: Layout the Stones
Arrange the stones within the patio boundaries, experimenting with different patterns and placements until you achieve the desired look. Leave a 1/2-inch to 1-inch gap between each stone to allow for expansion and drainage.Step 2: Cut Stones as Needed
Use a stone-cutting saw or angle grinder with a masonry blade to trim any stones that need to be sized to fit the patio perimeter or around obstacles like trees or flower beds.Step 4: Secure the Stones
Apply a generous amount of polymeric sand into the gaps between the stones, then mist the surface lightly with water. The sand will harden and lock the stones in place, creating a sturdy, long-lasting patio.Step 5: Edge the Patio
Install sturdy metal or plastic edging around the perimeter of the patio to contain the stones and prevent them from shifting over time.Step 6: Add Finishing Touches
Consider adding decorative elements like patio furniture, planters, or landscape lighting to truly transform your outdoor living space. You can also fill any remaining gaps with additional polymeric sand or small stones for a polished, professional look.Maintaining Your DIY Stone Patio
One of the key benefits of a stone patio is its durability and low-maintenance requirements. However, to keep your DIY masterpiece looking its best for years to come, follow these simple maintenance tips:- Regular Sweeping: Use a broom or leaf blower to regularly remove debris, leaves, and dirt from the patio surface.
- Reapply Polymeric Sand: Over time, the polymeric sand between the stones may need to be replenished. Simply sweep it into the gaps and mist with water to refresh the seal.
- Clean with a Pressure Washer: Periodically clean the patio with a pressure washer set to a low setting to remove any stubborn stains or discoloration.
- Reseal as Needed: Depending on the climate and foot traffic, you may need to reseal the patio every 2-3 years to maintain its water-resistant properties.
- Address Cracks or Uneven Stones: Promptly repair any cracks or shifting stones to prevent further damage and maintain the structural integrity of your patio.
Key Takeaways
- A DIY stone patio is a cost-effective way to transform your backyard and increase your home's value. - Carefully select the right type of stone, considering factors like durability, slip-resistance, and aesthetic appeal. - Properly prepare the ground by excavating, compacting, and layering gravel and sand to create a stable foundation. - Use step-by-step installation techniques to lay the stones in your desired pattern, cutting and fitting them as needed. - Maintain your patio through regular sweeping, sand replenishment, and occasional cleaning and resealing. With our comprehensive guide, you now have the knowledge and confidence to tackle a DIY stone patio project that will wow your guests and elevate your outdoor living experience. Get ready to transform your backyard into a stunning, functional oasis that adds lasting value to your home.