Elevate Your Outdoor Living with a Customized Pergola
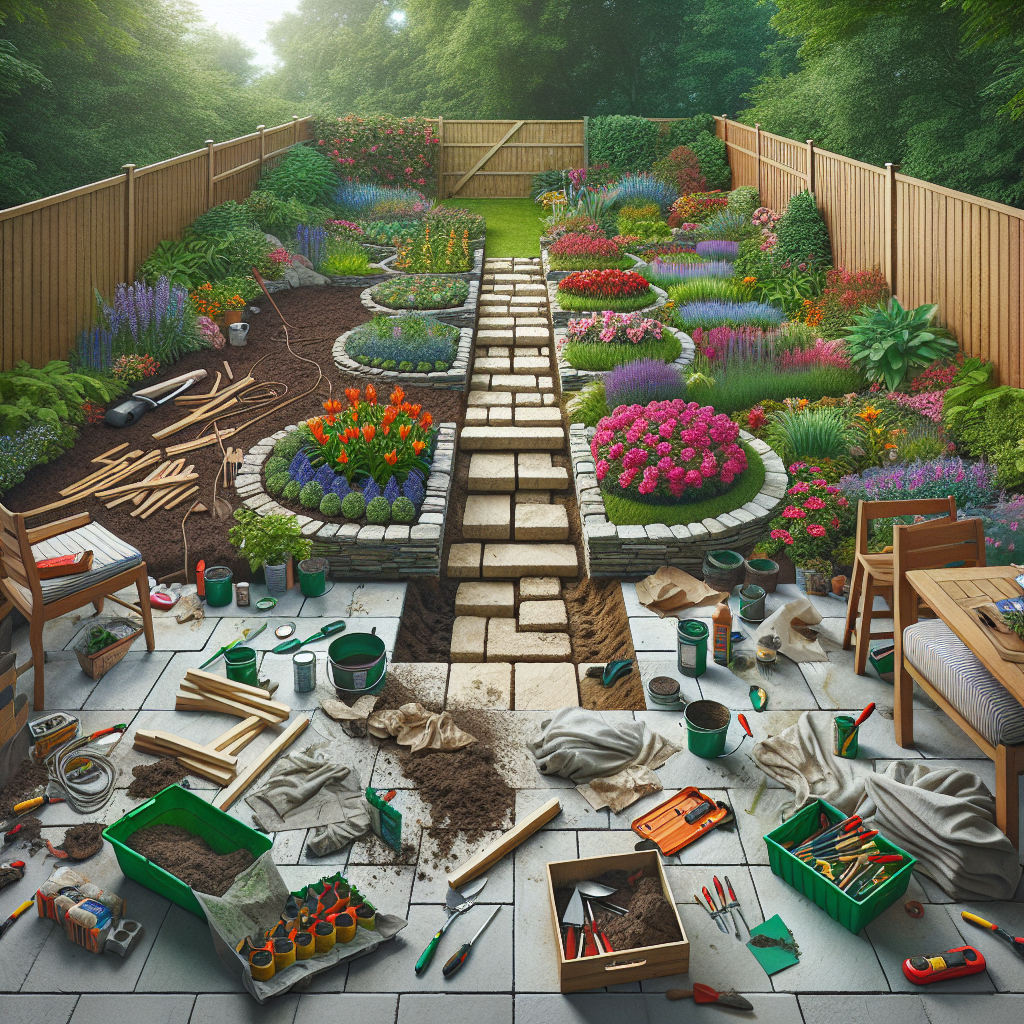
Transforming your backyard into an oasis of tranquility and style has never been easier. By building a stunning DIY pergola, you can instantly enhance the aesthetic appeal of your outdoor space, increase your home's value, and create a beautiful setting for relaxation, entertainment, and cherished moments with loved ones. This step-by-step guide will empower you to master the art of outdoor carpentry and construct a cost-effective, personalized pergola that will be the envy of your neighborhood. With our expert insights and practical advice, you can bring your backyard vision to life without the need for professional help - just a weekend of your time and a few essential tools.Understanding the Benefits of a DIY Pergola
A well-designed pergola does more than just add visual interest to your backyard. It can:- Increase your home's resale value by enhancing curb appeal and providing a desirable outdoor living feature.
- Create a comfortable, shaded oasis where you can enjoy meals, host gatherings, or simply relax.
- Seamlessly blend indoor and outdoor living by connecting your home to the surrounding landscape.
- Elevate the aesthetic of your backyard with a customized structure that complements your home's architecture and personal style.
- Offer a versatile platform for adding climbing vines, hanging plants, string lights, or other decorative elements.
Choosing the Right Materials for Your Pergola
The first step in your DIY pergola project is selecting the appropriate building materials. This decision will not only impact the overall look and feel of your structure but also its durability and longevity. Consider the following options:Pressure-Treated Lumber
Pressure-treated lumber is a popular and cost-effective choice for pergola construction. This wood has been infused with preservatives that protect it from rot, insect damage, and weathering, making it an ideal material for outdoor use. Cedar and redwood are also excellent, naturally weather-resistant options, though they may come with a higher price tag.Vinyl or Aluminum
For a low-maintenance, long-lasting pergola, consider using vinyl or aluminum. These materials are immune to rotting, splitting, or warping, and they require minimal upkeep. Vinyl can be molded into various decorative styles, while aluminum offers a sleek, contemporary aesthetic.Composite Materials
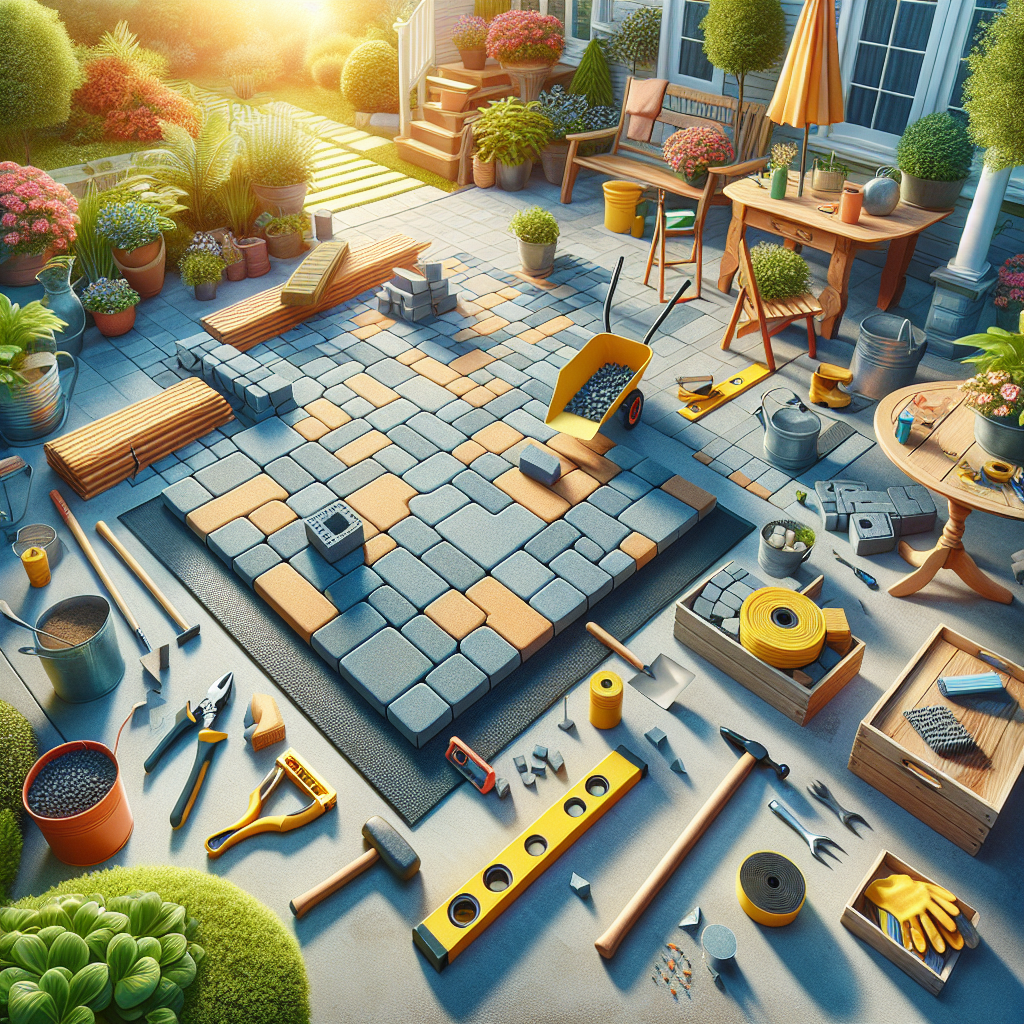
Composite wood-plastic blends are another durable and weather-resistant option for your pergola. These materials combine the natural look of wood with the durability of synthetic components, providing an excellent balance of form and function. Regardless of the material you choose, ensure it is rated for outdoor use and compatible with your local climate and weather conditions. Additionally, factor in the cost of fasteners, connectors, and any finishing touches, as these can significantly impact your overall budget.Laying the Foundation: Pergola Footings and Supports
The foundation of your pergola is the key to its structural integrity, so it's essential to get this step right. Begin by determining the ideal placement for your pergola, considering factors such as sun exposure, wind patterns, and proximity to your home or other structures.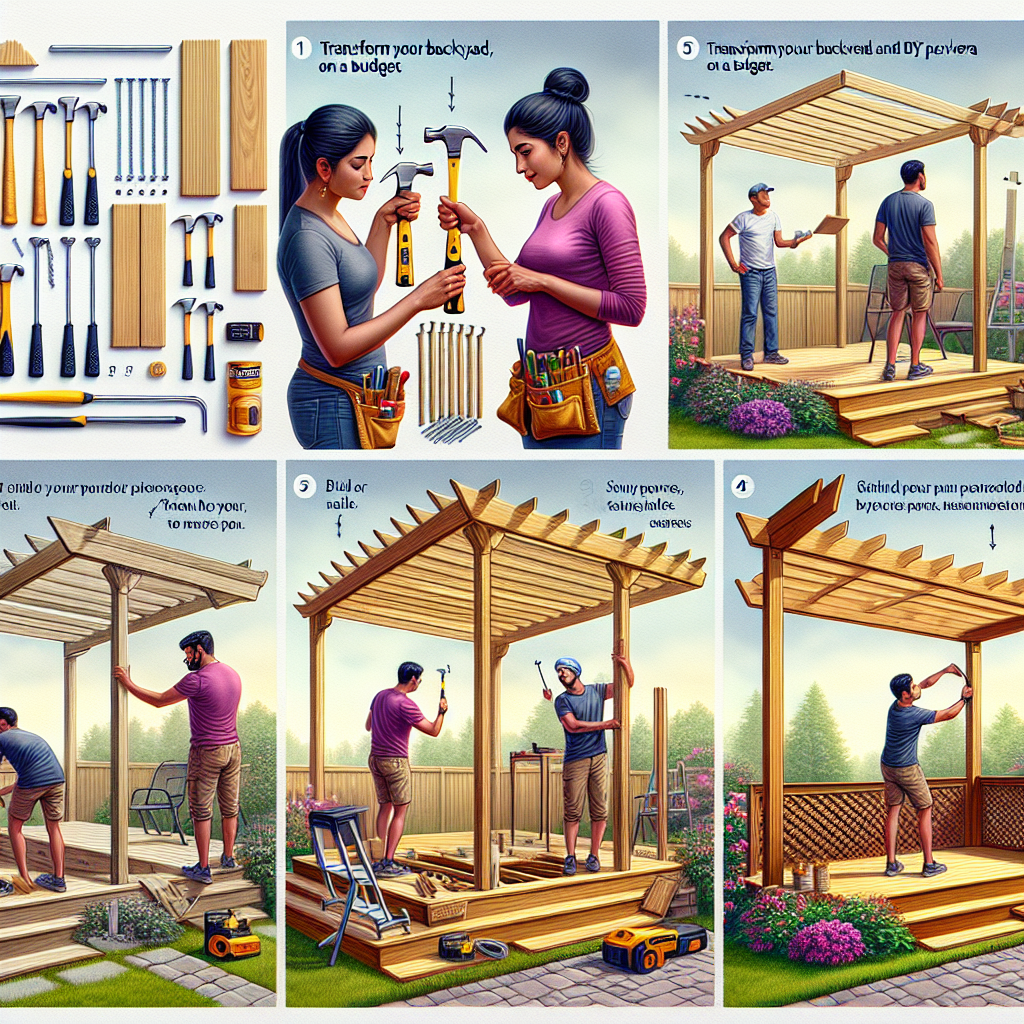
Excavating and Pouring Concrete Footings
Dig holes for your pergola posts, ensuring they are deep enough to provide a stable, secure base. The depth will depend on your local soil conditions and building code requirements, but a general rule of thumb is to bury the posts at least one-third of their total height. Pour concrete into the holes, allowing it to cure fully before proceeding.Attaching the Pergola Posts
Once the concrete footings have hardened, you can attach the pergola posts. If using pressure-treated lumber, be sure to apply a weather-resistant sealant or paint to the bottom few inches to protect the wood from moisture. Securely bolt the posts to the concrete footings, ensuring they are perfectly plumb and level.Constructing the Overhead Frame
With the posts in place, you can begin assembling the overhead framework of your pergola. Attach the beams and rafters according to your design plan, using the appropriate fasteners and connectors. Ensure the structure is square, level, and sturdy enough to support the weight of any additional features, such as a roof or hanging plants. By taking the time to establish a solid foundation, you'll lay the groundwork for a pergola that will stand the test of time and withstand the elements for years to come.Customizing Your Pergola Design
One of the joys of building a DIY pergola is the ability to personalize it to suit your unique style and preferences. From the overall shape and size to the decorative details, the design possibilities are endless. Consider the following options:Pergola Shape and Size
Pergolas come in a variety of shapes, including square, rectangular, L-shaped, and even circular. The size you choose will depend on the available space in your backyard, as well as your intended use for the structure. Measure the area carefully and leave enough clearance around the pergola for comfortable movement and access.Roofing and Shade Options
While traditional pergolas feature an open, slatted roof, you can also opt for a solid roof or add a retractable canopy for more customized shade control. Other options include installing lattice panels, hanging sheer curtains, or training climbing vines to create a natural, living overhead cover.Decorative Accents
Personalize your pergola with decorative elements that complement your home's architectural style and your personal aesthetic. Consider adding carved or decorative end beams, ornamental hardware, or even a pergola-mounted swing or bench for added comfort and visual interest.Lighting and Electrical Accessories
Enhance the ambiance of your pergola by incorporating lighting fixtures, such as string lights, pendant lamps, or low-voltage path lighting. You can also integrate electrical outlets to power outdoor speakers, fans, or other accessories, making your pergola a true extension of your living space. By exploring these design options, you can transform your DIY pergola into a unique, custom-tailored addition to your backyard that reflects your individual style and preferences.Step-by-Step Guide to Building Your Pergola
Now that you've planned the details of your pergola, it's time to put your carpentry skills to work. Follow these step-by-step instructions to bring your backyard vision to life:Gather Your Tools and Materials
Assemble the necessary tools and materials, including:- Pressure-treated lumber or other outdoor-rated materials
- Power saw (circular saw, miter saw, or table saw)
- Drill and drill bits
- Hammer or mallet
- Measuring tape, level, and square
- Exterior-grade screws, bolts, and other fasteners
- Wood sealant or paint (optional)
Mark and Cut the Pergola Components
Using your measurements, mark and cut the lumber to the required lengths for the posts, beams, and rafters. Double-check your cuts to ensure accuracy and a precise fit.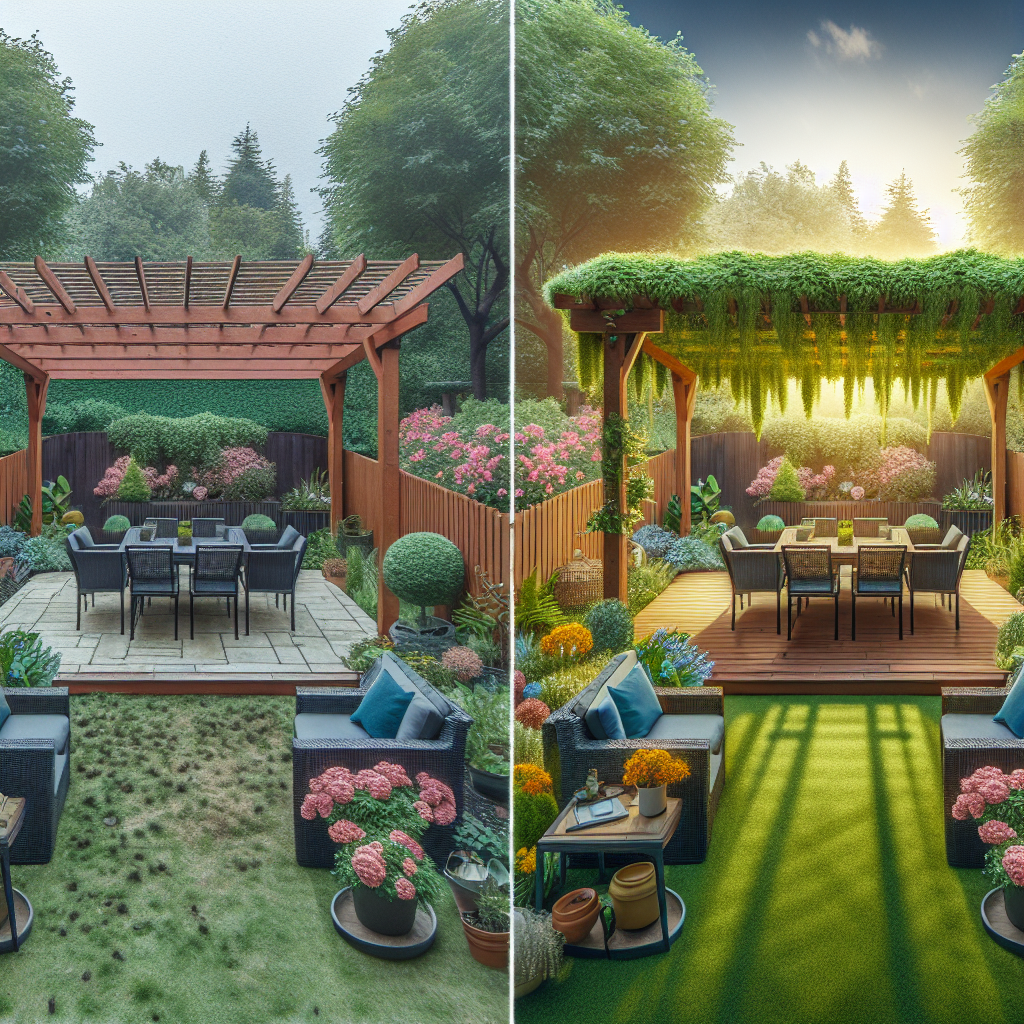
Assemble the Pergola Frame
Start by attaching the posts to the concrete footings, ensuring they are plumb and level. Next, secure the beams to the top of the posts, creating the overhead frame. Finally, add the rafters, spacing them evenly and securely fastening them to the beams.Install Any Additional Features
If you're adding a solid roof, lattice panels, or other custom elements, incorporate them into the frame at this stage. Remember to follow the manufacturer's instructions and safety guidelines.Finish and Seal the Pergola
Once the structure is complete, apply a weather-resistant sealant or paint to protect the wood from the elements. This step is crucial for ensuring the longevity of your DIY pergola.Add the Final Touches
Finally, accessorize your pergola with lighting, hanging plants, or any other decorative elements that align with your vision. Step back and admire your handiwork - you've just transformed your backyard into a beautiful, functional outdoor oasis!Cost-Saving Strategies for Your DIY Pergola
Building a pergola doesn't have to break the bank. By employing a few savvy strategies, you can create a stunning, high-quality structure on a budget:- Shop sales and discounts: Keep an eye out for seasonal sales, clearance items, and online deals on lumber, hardware, and other materials.
- Opt for pressure-treated lumber: As mentioned earlier, pressure-treated wood is a cost-effective and durable option for outdoor projects.
- Consider used or reclaimed materials: Scour local salvage yards, antique stores, or online marketplaces for gently used lumber, beams, or other repurposed materials that can be incorporated into your pergola design.
- Enlist the help of friends or family: Recruit willing volunteers to assist with the construction process, potentially saving you the cost of hiring professional help.
- Explore DIY finishing techniques: Instead of hiring a painter or stainer, consider applying the finishing touches yourself using affordable, do-it-yourself methods.
Key Takeaways
Building a DIY pergola is a rewarding project that can transform your outdoor living space, increase your home's value, and provide a beautiful setting for relaxation and entertainment. Remember these key points:- Carefully consider the materials, design, and customization options to create a pergola that suits your style and budget.
- Establish a strong, secure foundation with properly installed concrete footings and posts.
- Personalize your pergola with custom features, lighting, and decorative accents to make it a unique reflection of your home and personality.
- Employ cost-saving strategies, such as using pressure-treated lumber and repurposed materials, to build your pergola on a budget.
- Follow safety guidelines and best practices throughout the construction process to ensure a sturdy, long-lasting structure.