DIY Weatherstripping: Seal Drafts and Save Energy in Your Home
Drafts and air leaks are the bane of any homeowner's existence. Not only do they make your home uncomfortable, but they can also significantly impact your energy bills and carbon footprint. Fortunately, DIY weatherstripping is an affordable and effective solution that any homeowner can tackle. In this comprehensive guide, we'll cover everything you need to know to seal those frustrating drafts and start saving on your energy costs.Understanding the Importance of Weatherstripping
Drafts and air leaks are a major contributor to energy waste in homes. In fact, the U.S. Department of Energy estimates that air leaks account for 25-40% of the energy used for heating and cooling in a typical home. These drafts not only make your home feel uncomfortable, but they can also lead to higher utility bills, uneven temperature distribution, and increased wear and tear on your HVAC system. Weatherstripping is a simple and cost-effective way to address these issues. By sealing gaps and cracks around windows, doors, and other entry points, you can dramatically improve your home's energy efficiency and create a more comfortable living environment. Proper weatherstripping can save the average homeowner up to 20% on their annual heating and cooling costs.Identifying Air Leaks and Drafts
The first step in effective weatherstripping is to locate the areas in your home that are letting in unwanted air. Here are some common places to check:Windows
- Look for gaps around the window frame, especially at the corners - Check for cracks or worn weatherstripping along the sash - Inspect the sill for any openings or cracksDoors
- Examine the area where the door meets the frame, including the top and sides - Check the door sweep (the seal along the bottom of the door) for any gaps or damage - Inspect the threshold for cracks or uneven surfacesElectrical Outlets and Switches
- Remove outlet and switch covers and look for any openings or gaps - Seal any visible cracks or holes with caulk or foam sealantAttic Hatches and Recessed Lighting
- Ensure the attic hatch or recessed lighting fixtures are properly sealed and insulatedOther Common Trouble Spots
- Plumbing and utility pipe penetrations - Attic access points - Fireplace dampers - Garage doors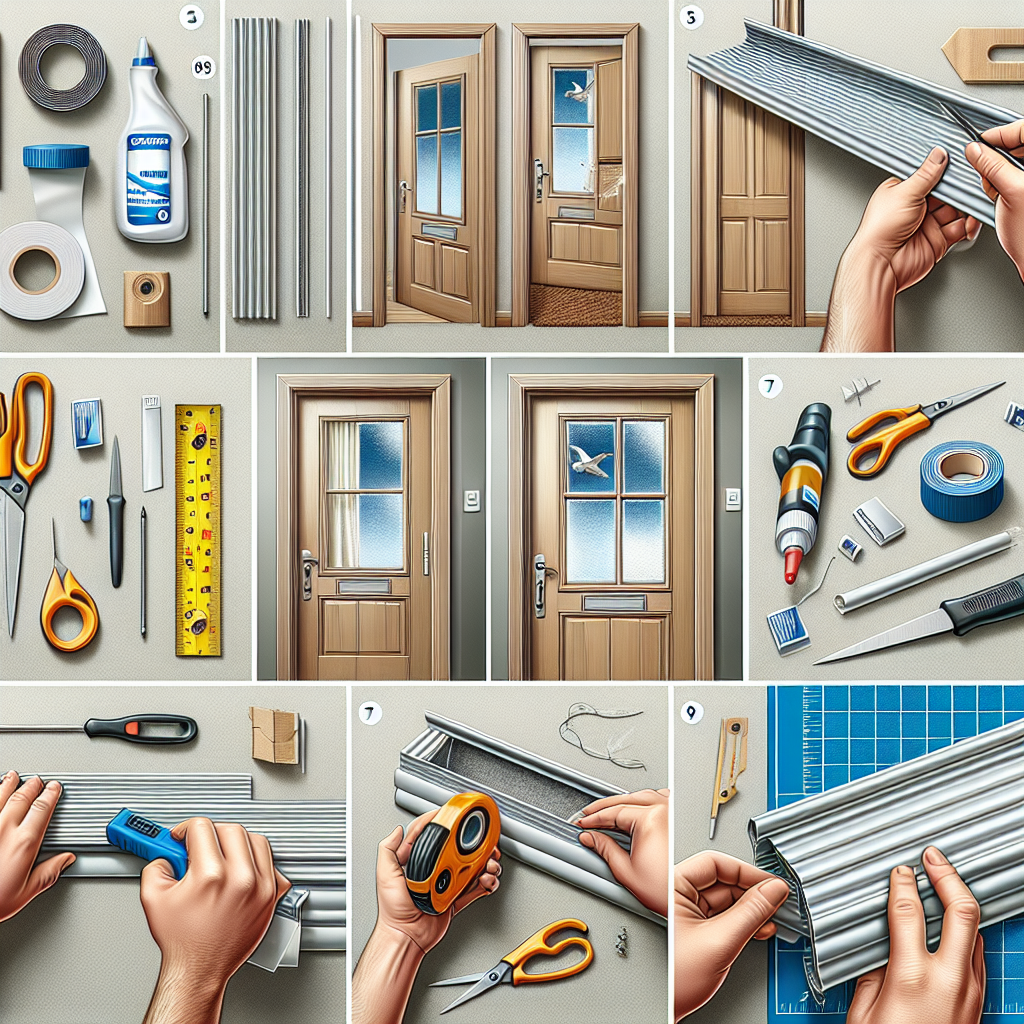
Choosing the Right Weatherstripping Materials
There are a variety of weatherstripping materials available, each with its own unique characteristics and best applications. Here are some of the most common options:Foam Tape
- Compressible foam that seals gaps and cracks - Ideal for windows, door frames, and other irregular surfaces - Easy to apply and comes in a range of sizes and colorsV-Strip or Felt Weatherstripping
- Made from a flexible vinyl or felt material - Effective for sealing gaps around doors and windows - Offers a tight seal and can be easily installedDoor Sweeps and Thresholds
- Installed at the bottom of doors to seal the gap between the door and the floor - Available in a variety of materials, including vinyl, metal, and rubber - Easy to replace and adjust as neededCaulk and Sealants
- Used to fill larger gaps and cracks around windows, doors, and other entry points - Silicone and latex caulk are the most common options - Look for products specifically designed for weatherproofing and outdoor useExpandable Foam Sealant
- Fills hard-to-reach gaps and cracks - Expands to create a durable, airtight seal - Useful for sealing around pipes, electrical outlets, and attic hatches When selecting weatherstripping materials, consider factors such as the size and shape of the gaps you need to seal, the materials used in your home's construction, and your budget. It's often helpful to use a combination of products to achieve the best results.DIY Weatherstripping Installation Guide
With the right materials and a little bit of elbow grease, you can easily tackle weatherstripping projects throughout your home. Here's a step-by-step guide to get you started: