
Choosing the Ideal Spray Paint for Your Project
The first step to achieving a perfect spray paint finish is selecting the right product for the job. Not all spray paints are created equal, and the type you choose can make a significant difference in the final outcome.Understanding Paint Formulas
When browsing the spray paint aisle, you'll notice a variety of formulas, each with its own unique properties and best-suited applications. Here's a quick rundown of the most common types:- Acrylic latex: A water-based paint that dries to a matte or satin finish. Ideal for indoor surfaces like wood, metal, and plastic.
- Enamel: An oil-based paint that provides a glossy, durable finish. Great for high-traffic areas and exterior projects.
- Specialty paints: Formulas designed for specific surfaces, such as glass, plastic, or fabric. These offer unique properties like increased flexibility or heat resistance.
Assessing Surface Compatibility
Once you've determined the right paint type, you'll need to ensure it's compatible with the surface you're painting. Check the product's label for guidance on suitable materials, and always perform a spot test on a hidden area to verify adhesion and finish.Considering Sheen and Coverage
Spray paints also come in a variety of sheen levels, from flat and matte to high-gloss. Choose a finish that complements your project and personal style preferences. Additionally, consider the paint's coverage rate, which is typically measured in square feet per can. Heavily textured or porous surfaces may require more paint for full coverage.Preparing the Surface for Flawless Application
Proper surface preparation is crucial for achieving a smooth, professional-looking spray paint finish. Skipping this step can lead to issues like peeling, bubbling, or an uneven appearance.Cleaning and Degreasing
Start by thoroughly cleaning the surface to remove any dirt, grease, or residue that could interfere with the paint's adhesion. Use a degreasing agent or mild soap and water, then rinse and allow the surface to dry completely.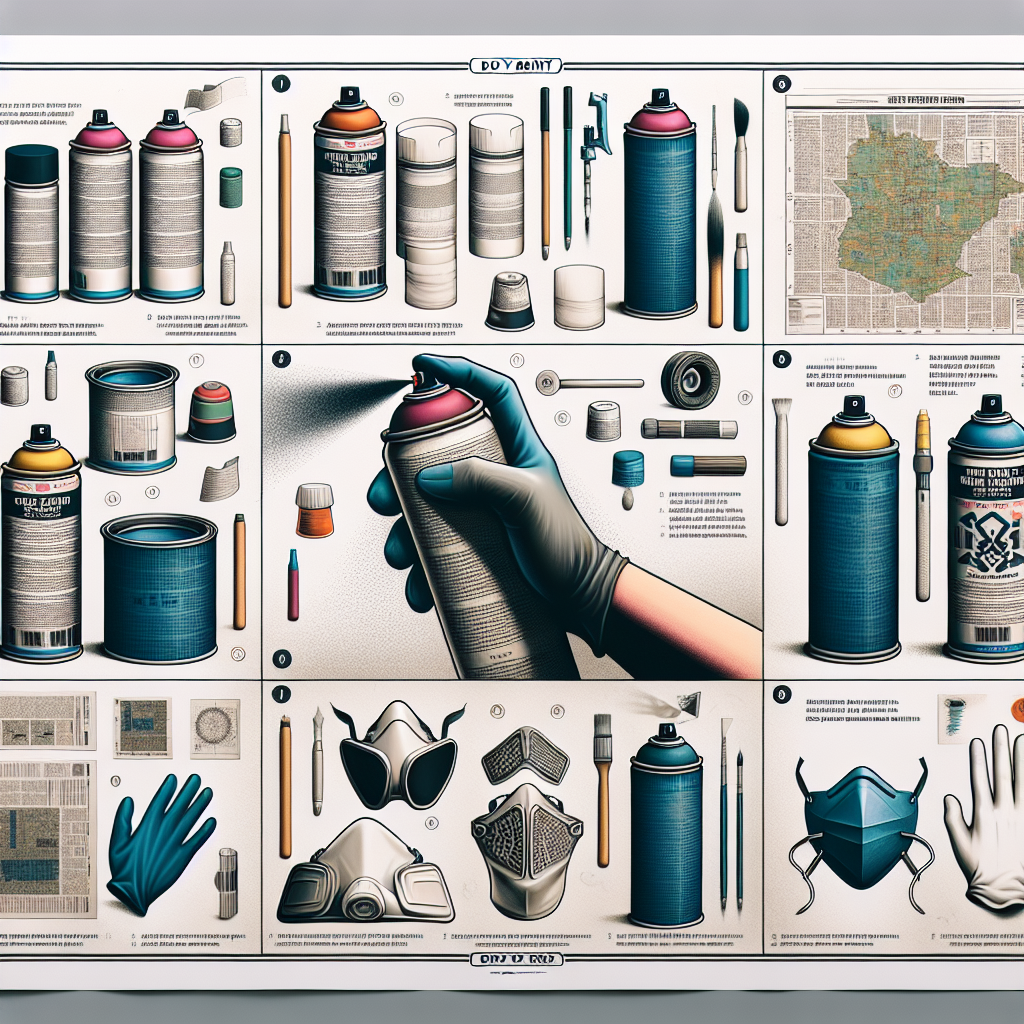
Sanding and Priming
For best results, lightly sand the surface to create a smooth, even base for the paint. This step helps the spray paint adhere more effectively, especially on glossy or slick materials. After sanding, apply a compatible primer to further enhance adhesion and promote a flawless final finish.Masking and Protecting Surrounding Areas
Take the time to properly mask off any areas you don't want painted, using painter's tape and disposable plastic sheeting. This step will save you a lot of cleanup time and ensure crisp, clean lines around your project.Achieving a Smooth Spray Paint Finish
With the surface properly prepared, it's time to focus on the spray painting technique itself. Mastering these key steps will help you get that coveted smooth, even coverage every single time.Shaking and Thinning the Paint
Begin by shaking the spray paint can vigorously for at least 1-2 minutes, or until the paint is thoroughly mixed. This ensures the pigments are evenly distributed, which is crucial for consistent coverage. If the paint appears too thick, you can thin it with a small amount of the manufacturer-recommended solvent to improve its atomization and flow.Maintaining the Proper Spray Distance
The distance between the spray nozzle and the surface is critical for a smooth finish. Hold the can approximately 10-12 inches away and keep it parallel to the surface as you spray. Avoid getting too close, as this can lead to drips and runs.Utilizing Overlapping Passes
Apply the paint using a series of slow, even passes, overlapping each stroke by about 50% to ensure full coverage. This technique helps prevent visible streaks or gaps in the finish.Controlling Your Spray Patterns
Pay close attention to your spray patterns, keeping them consistent and avoiding skips or splotches. Use a steady, sweeping motion, and be mindful of your arm position to maintain an even spray flow.Maintaining the Proper Painting Angle
When painting vertical or angled surfaces, hold the spray can perpendicular to the surface to ensure an even, consistent coating. Adjust your body position as needed to maintain the proper angle throughout the project.Applying Multiple Thin Coats
Rather than attempting to achieve full coverage in a single, thick coat, apply several thin, even layers of paint. This approach helps prevent drips, runs, and an uneven final finish. Allow the appropriate drying time between coats, as specified on the product label.Troubleshooting Common Spray Paint Issues
Drips and Runs
Applying the paint too thickly or holding the can too close to the surface can lead to drips and runs. If this happens, simply allow the paint to dry, then lightly sand the affected area and re-spray using thinner, more even coats.Orange Peel Texture
An "orange peel" finish, characterized by a bumpy, uneven surface, is often caused by spraying the paint from too far away or using a formula that's too thick. Thin the paint slightly and adjust your spray distance to correct this issue.Excessive Overspray
Overspray, or paint that lands on unintended surfaces, can be minimized by spraying in a well-ventilated area and using proper masking techniques. If you encounter excessive overspray, wipe it away immediately before it has a chance to dry.Dust and Debris Inclusions
Painting in a dusty or dirty environment can lead to unwanted particles getting trapped in the paint film. Always work in a clean, climate-controlled space to avoid this problem. If you do encounter dust or debris, lightly sand the affected area and re-coat.Key Takeaways
Achieving a smooth, professional-looking spray paint finish every time comes down to several key factors:- Selecting the right paint formula for your specific project and surface
- Thoroughly preparing the surface through cleaning, sanding, and priming
- Mastering spray painting techniques like proper distance, overlapping passes, and consistent patterns
- Applying multiple thin, even coats rather than a single thick layer
- Troubleshooting common issues like drips, texture problems, and debris inclusions