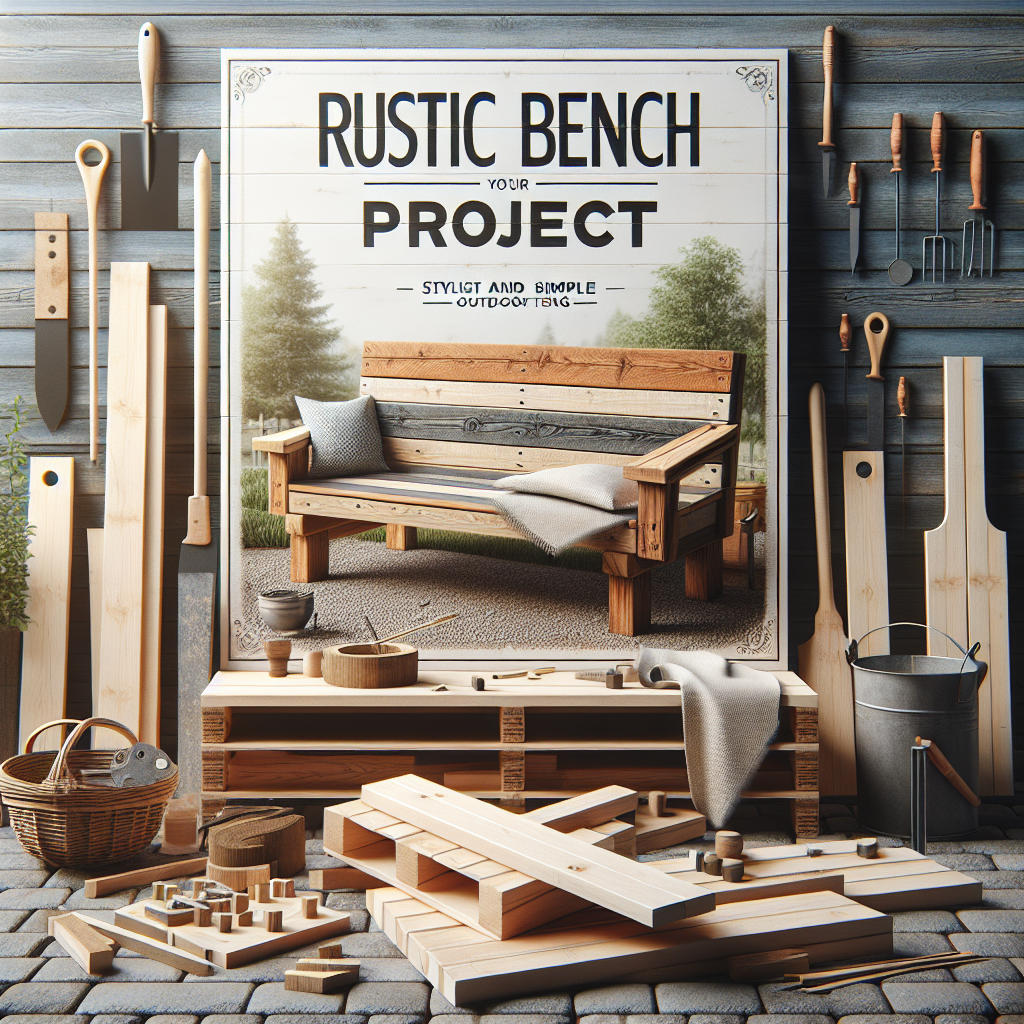
Rustic Bench Project: Stylish and Simple Outdoor Seating
Elevate your outdoor living space with a charming and functional rustic bench. Whether you're looking to create a cozy seating area on your patio, deck, or garden, a handcrafted rustic bench can instantly transform the ambiance and provide a comfortable spot to relax, entertain guests, or enjoy the great outdoors. In this comprehensive guide, we'll walk you through the step-by-step process of building a stylish and simple rustic bench that will become a beloved addition to your home.Why Build a Rustic Bench?
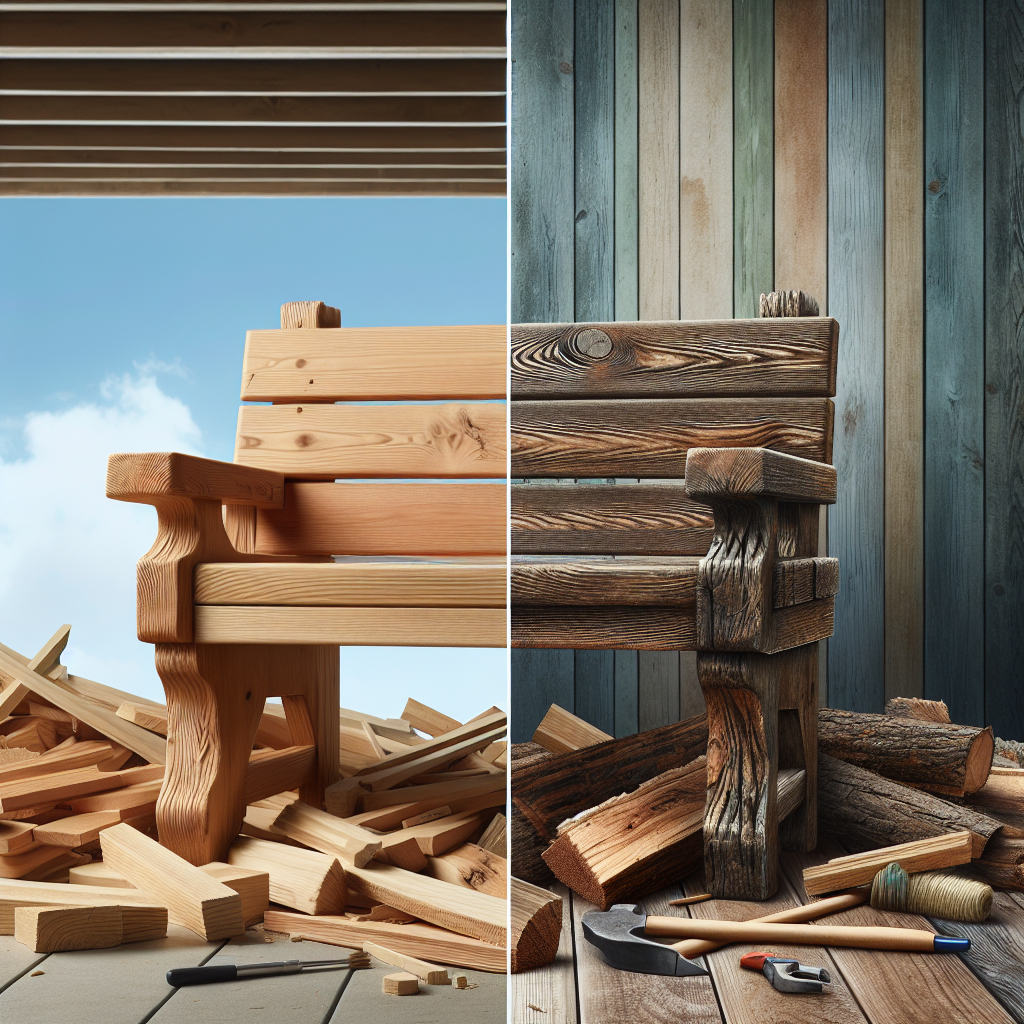
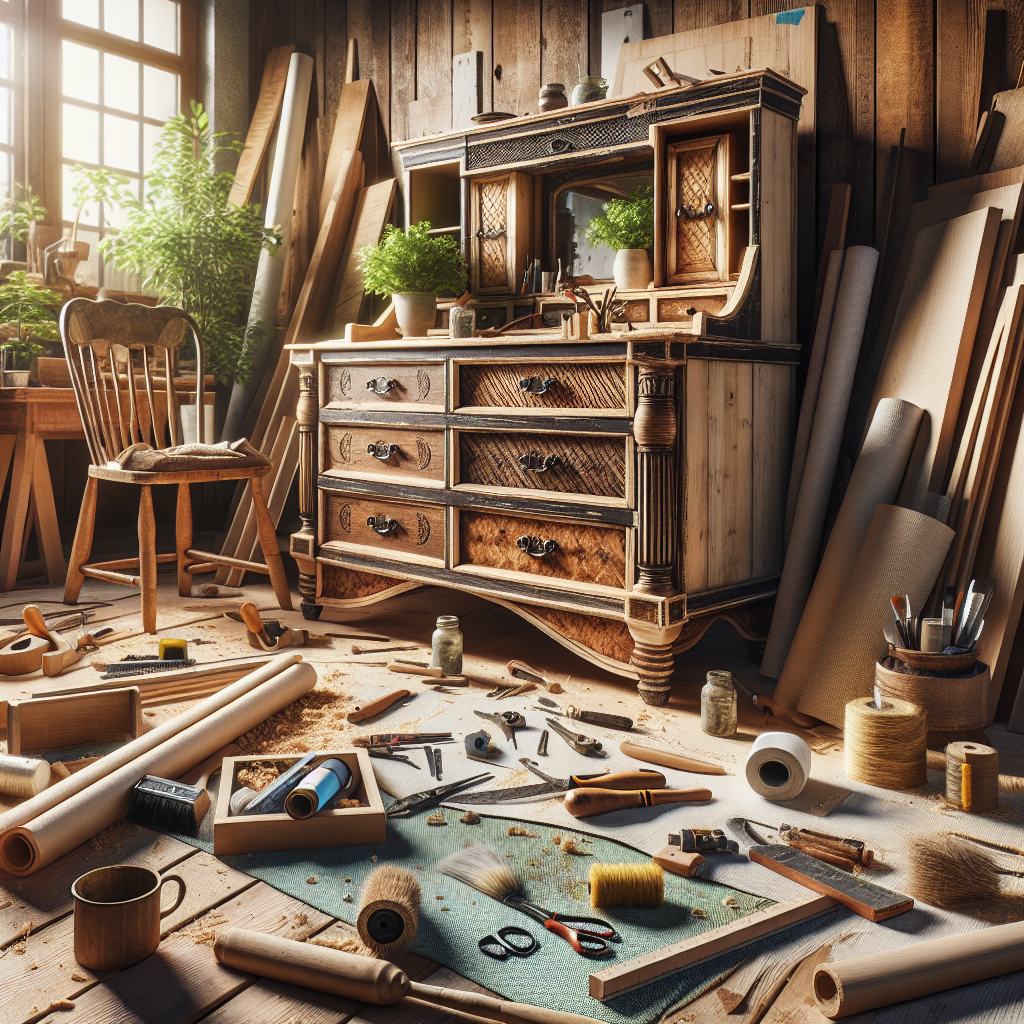
Rustic benches offer a timeless and inviting aesthetic that seamlessly blends with a variety of outdoor settings. Unlike sleek, modern designs, a rustic bench exudes a warm, cozy charm that instantly creates a sense of farmhouse-inspired coziness. These sturdy, nature-inspired pieces can withstand the elements, making them a practical and durable choice for your outdoor living spaces. Moreover, building a rustic bench yourself allows you to customize the design to suit your specific needs and preferences. From the size and shape to the wood species and finish, you can create a one-of-a-kind piece that perfectly complements your existing outdoor decor. DIY enthusiasts will also appreciate the satisfaction of crafting a functional and visually appealing piece of furniture with their own hands.Essential Tools and Materials
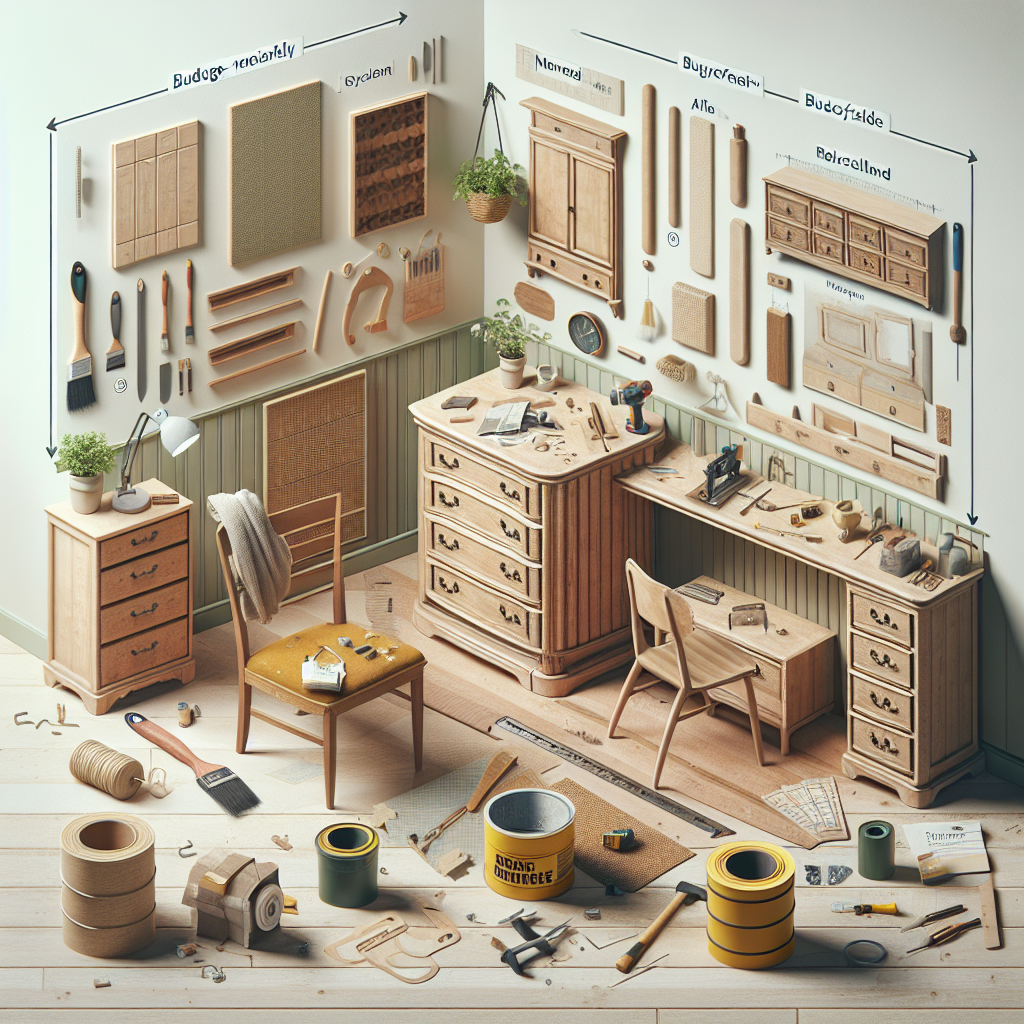
To bring your rustic bench project to life, you'll need the following tools and materials:Tools:
- Circular saw or miter saw
- Drill and drill bits
- Orbital sander
- Clamps
- Measuring tape
- Pencil
- Safety glasses and gloves
Materials:
- 2x6 or 2x8 untreated pine or cedar boards (for the seat)
- 4x4 or 6x6 untreated pine or cedar posts (for the legs)
- Wood screws (3-inch and 4-inch lengths)
- Wood glue
- Sandpaper (80-grit and 120-grit)
- Wood stain or sealant (optional)
Designing Your Rustic Bench
Before you start building, it's essential to plan the overall design and dimensions of your rustic bench. Consider the available space in your outdoor area and the desired seating capacity to determine the appropriate size. A good rule of thumb is to allow around 18-24 inches of width per person for comfortable seating. You can choose to build a simple, rectangular bench or opt for a more unique shape, such as a curved or angled design. Experiment with different leg configurations, such as straight, angled, or even cross-braced, to achieve your desired aesthetic.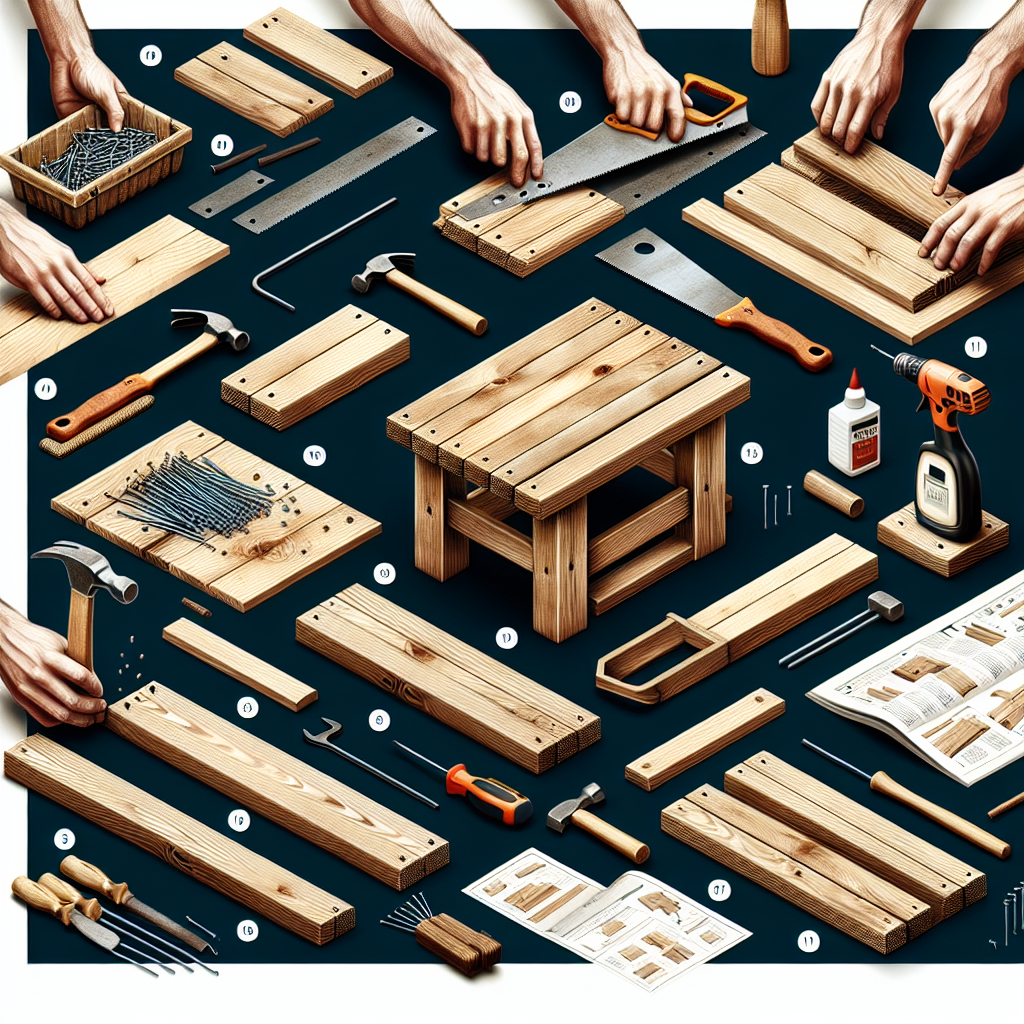
Measuring and Cutting the Lumber
Once you've finalized the design, measure and cut the lumber accordingly. For the seat, cut the 2x6 or 2x8 boards to the desired length, ensuring they are all the same size. For the legs, measure and cut the 4x4 or 6x6 posts to the desired height, keeping in mind that the overall bench height should be between 16-18 inches for comfortable seating. Remember to always wear safety glasses and gloves when operating power tools, and follow the manufacturer's instructions for safe use.Assembling the Rustic Bench
With your materials prepped, it's time to start the assembly process. Follow these steps to build your rustic bench:Step 1: Prepare the Seat
Arrange the cut boards for the seat side by side, ensuring they are evenly spaced and positioned tightly together. Apply a generous amount of wood glue along the edges of the boards, then clamp them together to hold the seat in place while the glue dries, which can take up to 24 hours.Step 2: Attach the Legs
Position the leg posts at each corner of the seat, ensuring they are perpendicular to the surface. Predrill holes through the seat boards and into the leg posts, then secure them in place with 4-inch wood screws.Step 3: Add Reinforcement (Optional)
For added stability and support, you can attach cross-braces between the legs. Measure and cut 2x4 or 2x6 boards to the desired length, then screw them into the leg posts, approximately 8-12 inches from the ground.Step 4: Sand and Finish
Once the assembly is complete, use an orbital sander to smooth the surface of the bench, starting with 80-grit sandpaper and progressing to 120-grit for a finer finish. Wipe away any dust, then apply a wood stain or sealant of your choice to protect the rustic charm of the bench and prolong its outdoor lifespan.Customizing Your Rustic Bench
The beauty of a DIY rustic bench is the ability to personalize it to your unique style and preferences. Consider the following customization options:Wood Species
While untreated pine and cedar are popular choices for their natural, weathered appearance, you can also explore other wood types, such as oak, walnut, or reclaimed barn wood, to create a distinct look.