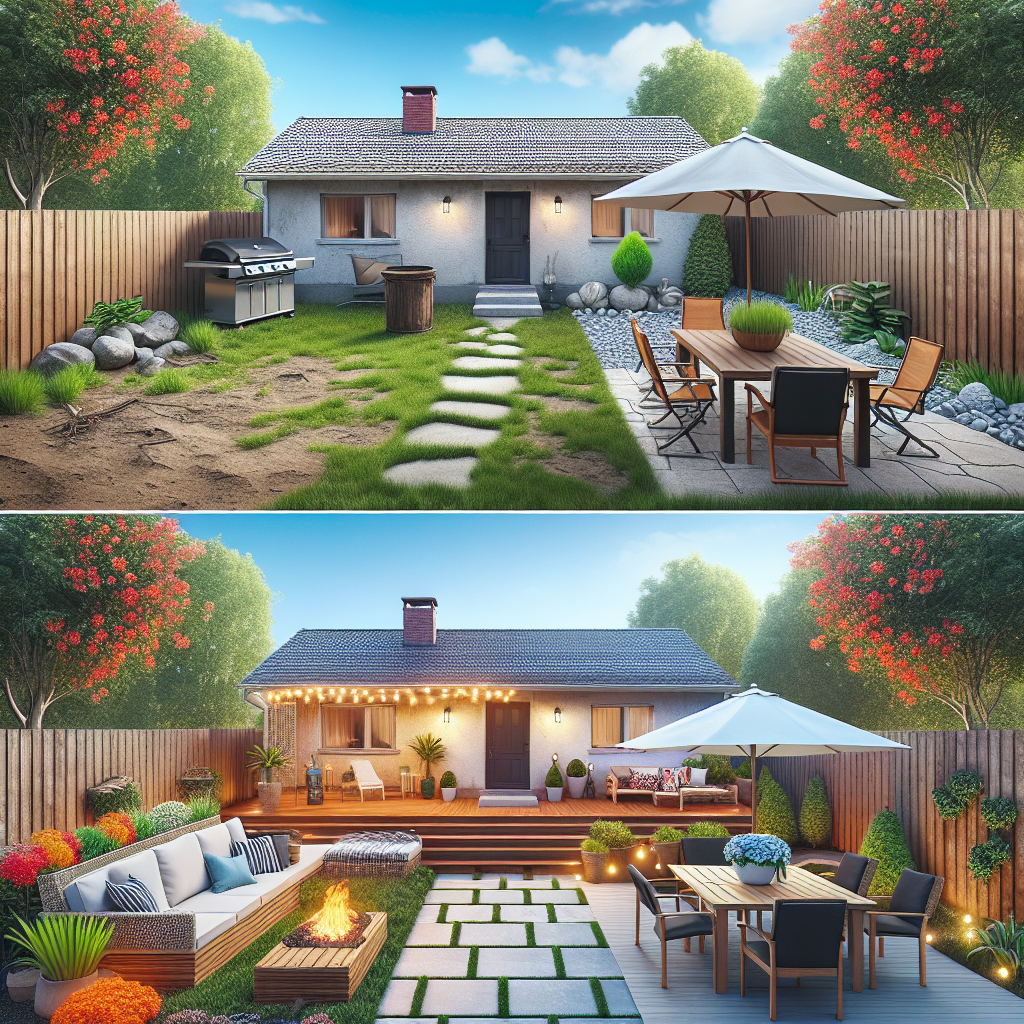
Transform Your Outdoor Oasis on a Budget
Your backyard is an extension of your living space, offering a tranquil retreat from the hustle and bustle of daily life. But if your patio looks tired and dated, it can dampen the entire ambiance. Fear not - with some smart DIY projects, you can revamp your outdoor area and create a stylish, functional oasis without breaking the bank. In this comprehensive guide, we'll walk you through simple yet impactful techniques to transform your patio into a backyard paradise. From installing a beautiful paver patio to building a cozy DIY fire pit and cultivating a lush garden, we'll cover all the essential elements to elevate your outdoor living experience. Get ready to impress your guests, increase your home's value, and enjoy your revamped backyard for years to come.Plan Your Patio Makeover
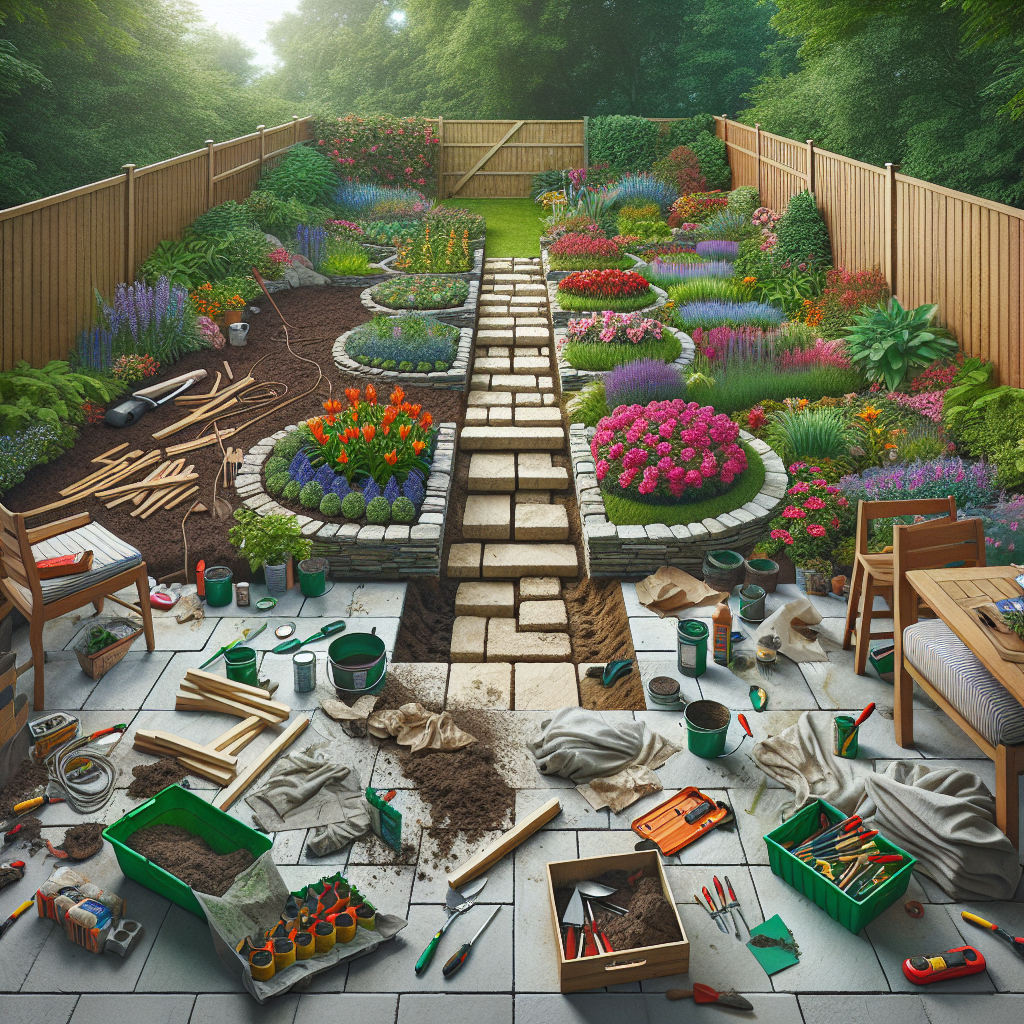
Before diving into the hands-on projects, it's crucial to have a solid plan in place. Start by assessing your current patio setup - consider the size, layout, and any existing features or structures you want to keep or work around. Think about how you envision using the space - will it be primarily for dining, lounging, or entertaining? Next, establish your budget. DIY patio upgrades can be incredibly cost-effective, but it's wise to allocate funds for materials, tools, and potential unexpected expenses. As a general guideline, a basic paver patio installation can range from $8 to $22 per square foot, while a custom fire pit can cost anywhere from $300 to $1,500 or more, depending on the materials and design. Once you have a clear vision and budget in mind, it's time to dive into the exciting world of patio transformations. Let's begin with the foundation - installing a beautiful paver patio.Install a Stunning Paver Patio
A paver patio is a fantastic way to instantly upgrade your outdoor living space. Pavers come in a wide variety of colors, textures, and patterns, allowing you to create a personalized look that complements your home's architecture and landscape. Plus, pavers are incredibly durable, easy to maintain, and can significantly increase your home's resale value.Step-by-Step Paver Patio Installation
1. **Measure and Mark the Area**: Start by measuring the desired patio size and use marking paint or stakes to outline the boundaries. 2. **Excavate and Prepare the Base**: Dig out the area to a depth of 4-6 inches, making sure the surface is level and compacted. Add a 2-inch layer of crushed gravel or stone to create a stable foundation. 3. **Install Edging**: Place sturdy plastic or metal edging around the perimeter to contain the pavers and provide a clean, finished look. 4. **Spread and Compact the Bedding Sand**: Apply a 1-inch layer of coarse bedding sand over the gravel base and use a plate compactor to compact it thoroughly. 5. **Lay the Pavers**: Begin laying the pavers in your desired pattern, starting from the edges and working your way inward. Use a rubber mallet to gently tap each paver into place.
Create a Cozy DIY Fire Pit
Nothing sets the mood for outdoor gatherings quite like a warm, crackling fire pit. Building your own fire pit is a straightforward DIY project that can transform your patio into a cozy, inviting space. Not only does a fire pit extend the usability of your outdoor living area, but it also adds significant value to your home.DIY Fire Pit Construction
1. **Choose a Location**: Select a spot that is at least 10 feet away from any structures, trees, or overhanging branches. Ensure the area is level and well-drained. 2. **Prepare the Base**: Excavate a circular area approximately 4-6 inches deep and 3-4 feet in diameter. Fill the hole with a 2-inch layer of crushed gravel or stone to improve drainage. 3. **Assemble the Fire Pit**: Arrange the fire pit blocks or stones in a circular pattern, stacking them 12-16 inches high. Secure the layers with a high-heat mortar or fire-resistant adhesive. 4. **Add the Fire Pit Ring**: Place a metal fire pit ring or insert into the center of the assembled blocks. This will help contain the fire and protect the underlying materials. 5. **Install the Capstone**: Top the fire pit with a sturdy, heat-resistant capstone or cover to provide a flat surface for placing wood or logs. 6. **Create a Safety Perimeter**: Surround the fire pit with a 3-4 foot wide ring of pea gravel, crushed stone, or other non-flammable material to prevent the spread of sparks. 7. **Customize with Accessories**: Consider adding features like a grate for cooking, a spark screen, or decorative elements like stone or tile to personalize your fire pit. When using the fire pit, always follow safety guidelines, keep a fire extinguisher nearby, and never leave the fire unattended. Proper maintenance, such as periodically removing ashes and cleaning the pit, will ensure years of safe, enjoyable use.