Understanding the Toilet Flapper
The toilet flapper is a small but critical component of your toilet's flush mechanism. It's responsible for sealing the opening at the bottom of the toilet tank, holding water until you flush, and then allowing the water to rapidly flow into the bowl, creating the flushing action. Over time, the flapper can become worn, cracked, or misaligned, causing water to continuously leak from the tank into the bowl. This results in the telltale running toilet sound, as well as higher water bills and potential water damage if left unattended. Replacing a toilet flapper is one of the most common and essential DIY plumbing repairs homeowners can perform. By taking the time to properly diagnose and fix a faulty flapper, you can resolve running water issues, stop water waste, and avoid the need for a full toilet replacement.Signs Your Toilet Flapper Needs Replacement
There are several clear indicators that your toilet flapper needs to be replaced:Constant Running Water
If you hear the persistent sound of running water from your toilet tank, it's a surefire sign the flapper isn't sealing properly. This constant water flow from the tank to the bowl wastes thousands of gallons per year and drives up your water utility bills.Water Continuously Trickling into the Bowl
Another obvious sign is if you can see water continuously dripping or trickling from the tank into the toilet bowl, even when the toilet hasn't been flushed. This slow leak is caused by a damaged or misaligned flapper.Visible Cracks or Deterioration
Inspect the flapper itself and look for any visible cracks, warping, or deterioration of the rubber or plastic material. Even small imperfections can prevent the flapper from creating a proper seal.Frequent, Inefficient Flushing
If you find yourself having to flush the toilet multiple times to clear the bowl, or if the flush seems weaker than normal, the flapper is likely not opening and closing fully, disrupting the flush mechanism.Flushing Issues After a Tank Refill
Observe your toilet's behavior after it refills the tank following a flush. If the water level in the bowl drops slowly or the flush seems weak, the flapper may be sticking or not sealing properly.Gathering the Right Tools and Materials
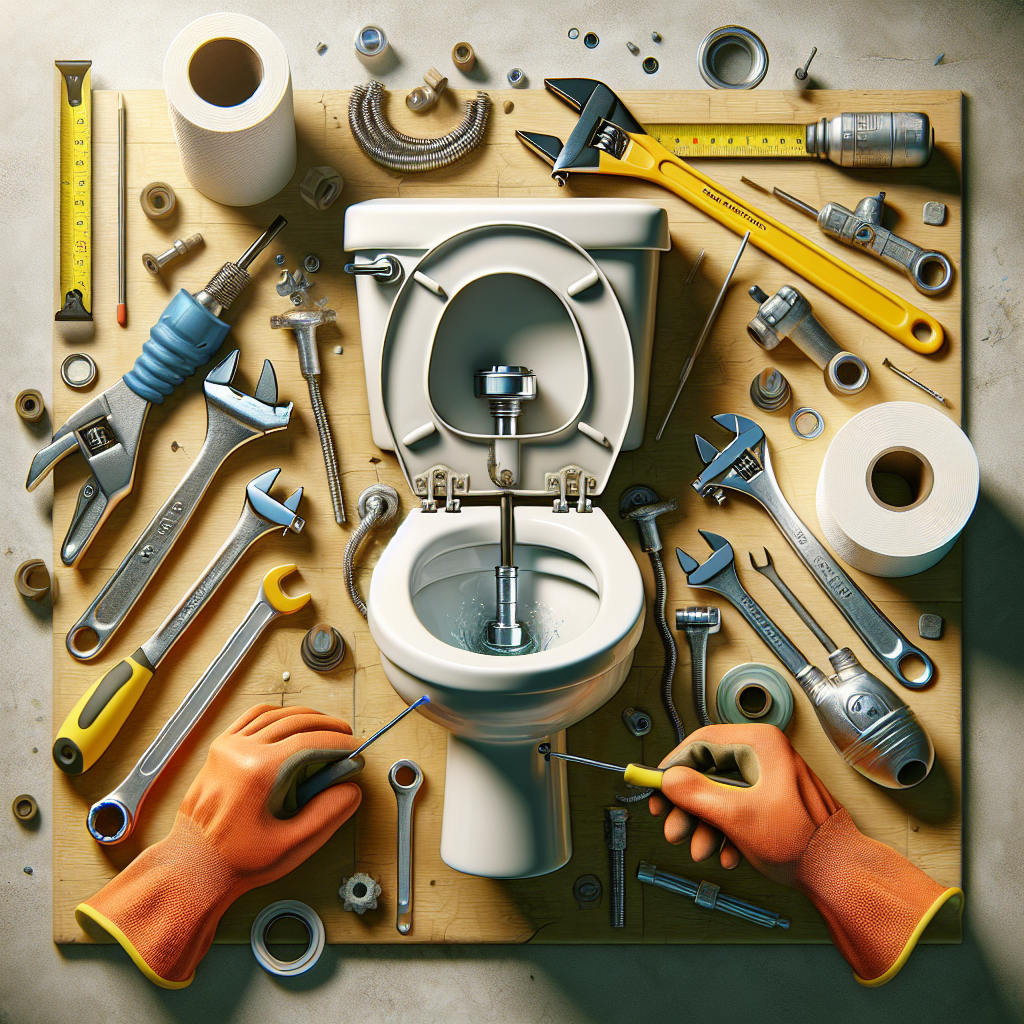
Before you get started, make sure you have the following tools and materials on hand:- Replacement Toilet Flapper - Choose a flapper that is compatible with your specific toilet model. Bring the old flapper to the store to ensure a perfect fit.
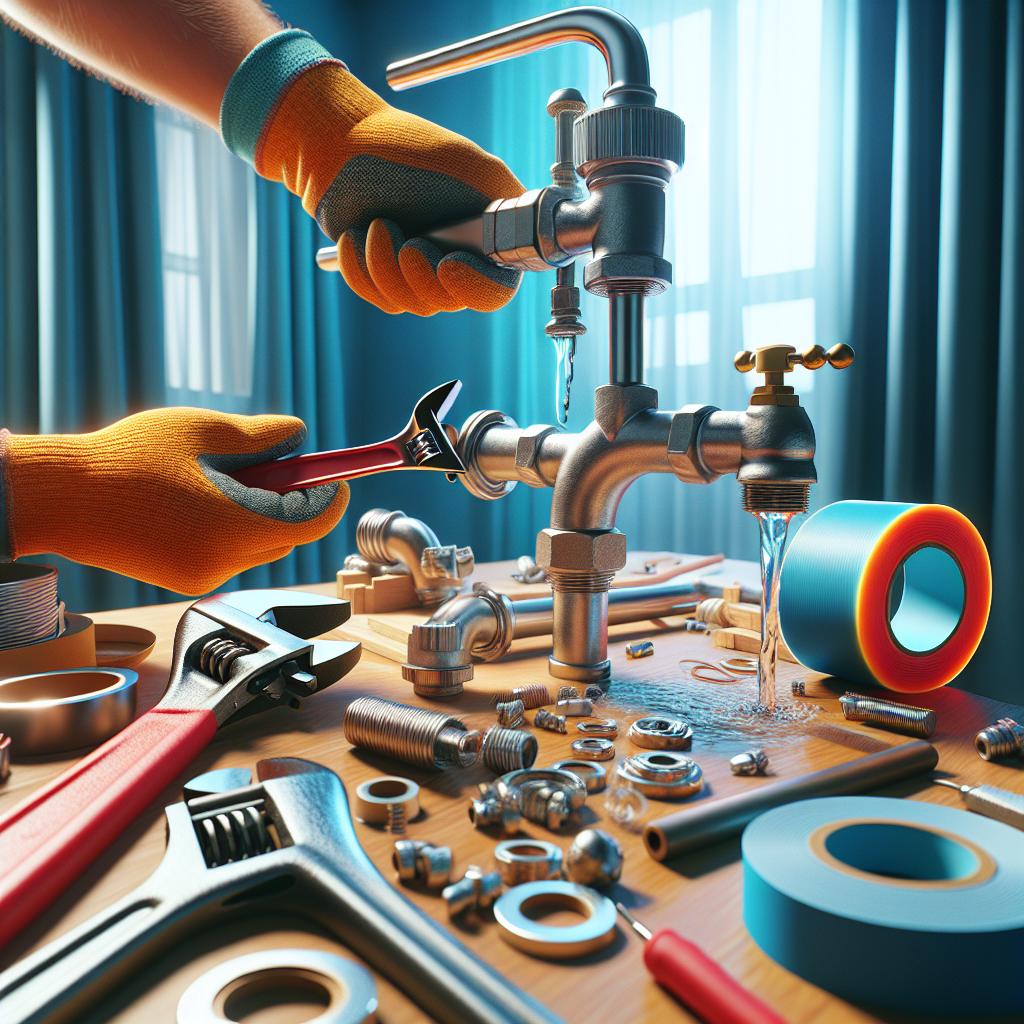
- Pliers or Adjustable Wrench - For removing the old flapper and adjusting the chain or lever.
- Bucket or Towel - To catch any water that may spill during the replacement process.
- Flashlight (optional) - For better visibility inside the toilet tank.
- Rubber Gloves (optional) - For added cleanliness and protection.
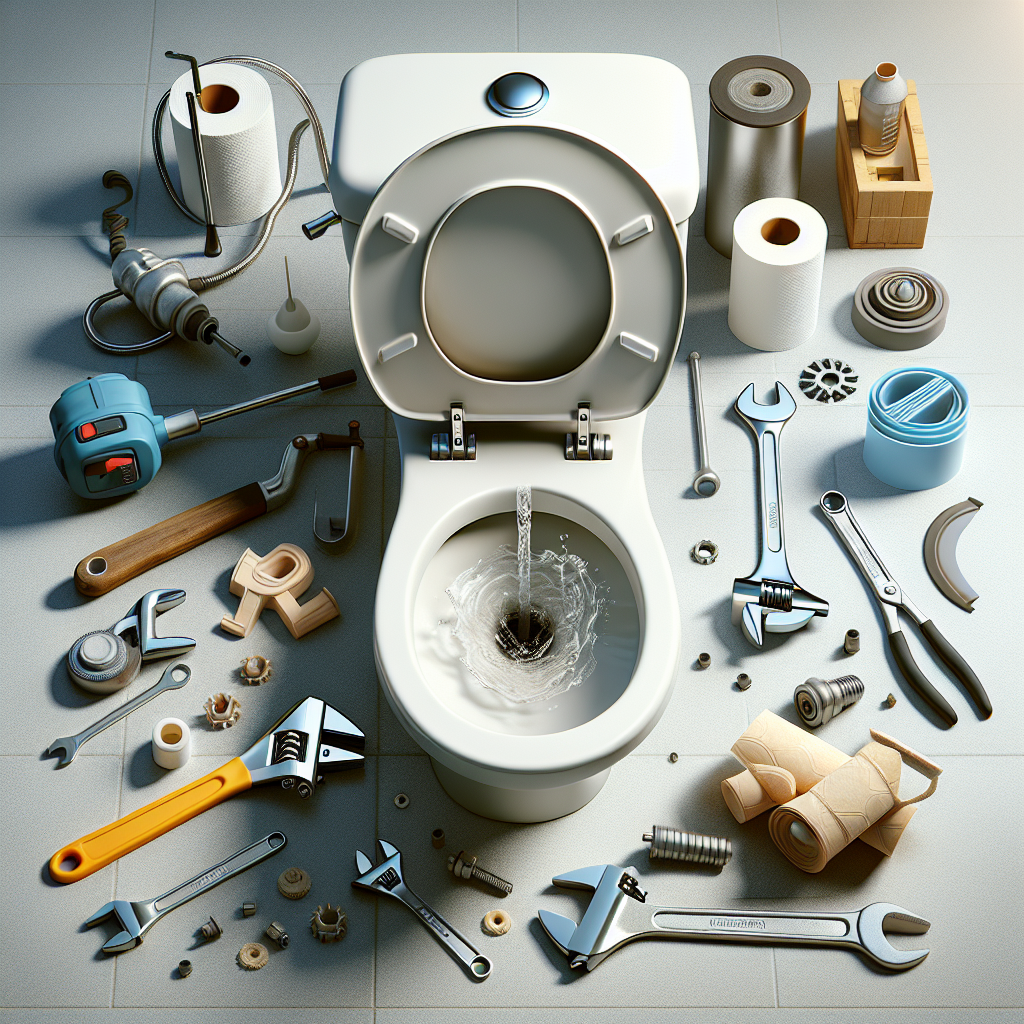
Step-by-Step Toilet Flapper Replacement
1. Shut Off the Water Supply
Locate the shut-off valve behind or beside the toilet and turn it clockwise to the fully closed position. This will stop the water flow to the tank, making the replacement process much easier.2. Flush the Toilet
Once the water supply is turned off, flush the toilet to empty the tank. This will prevent any water from spilling out during the flapper replacement.3. Remove the Old Flapper
Examine the existing flapper and identify how it's connected to the tank. There are typically two methods:- Chain-Attached Flapper - Locate the clip or hook that attaches the chain to the flapper. Use pliers to unhook the chain from the flapper.
- Lever-Attached Flapper - The flapper may be connected directly to the flush lever. Gently pull the flapper off the lever to detach it.
4. Install the New Flapper
Take your replacement flapper and align it over the flush valve opening at the bottom of the tank. Ensure it sits flat and creates a proper seal. If your new flapper has a chain, reattach it to the flush lever using the clip or hook. Make sure the chain has enough slack to allow the flapper to open fully during a flush, but not so much that it gets tangled. For lever-attached flappers, simply press the new flapper onto the lever end until it clicks into place securely.5. Adjust the Chain or Lever
With the new flapper installed, it's important to properly adjust the chain or lever to optimize the flush mechanism. The goal is to have the flapper open fully during a flush, then close tightly to create a seal.- For Chain-Attached Flappers - Gently pull the chain taut, allowing about 1/2 to 1 inch of slack. Secure the chain to the lever using the clip or hook.
- For Lever-Attached Flappers - Lift the lever and observe how the flapper moves. Adjust the position of the flapper on the lever until it opens and closes smoothly.
6. Turn the Water Supply Back On
Slowly turn the shut-off valve counterclockwise to restore the water flow to the tank. Allow the tank to fully refill before flushing the toilet.7. Test and Adjust as Needed
Flush the toilet several times and observe the water flow and refill process. If the flapper is not sealing properly, causing a leak or weak flush, go back and readjust the chain or lever positioning until you achieve the desired performance.Troubleshooting Common Flapper Issues
While replacing a toilet flapper is generally a straightforward process, you may encounter a few challenges along the way. Here are some common problems and solutions:Flapper Won't Seal Properly
If the new flapper isn't creating a tight seal, try the following: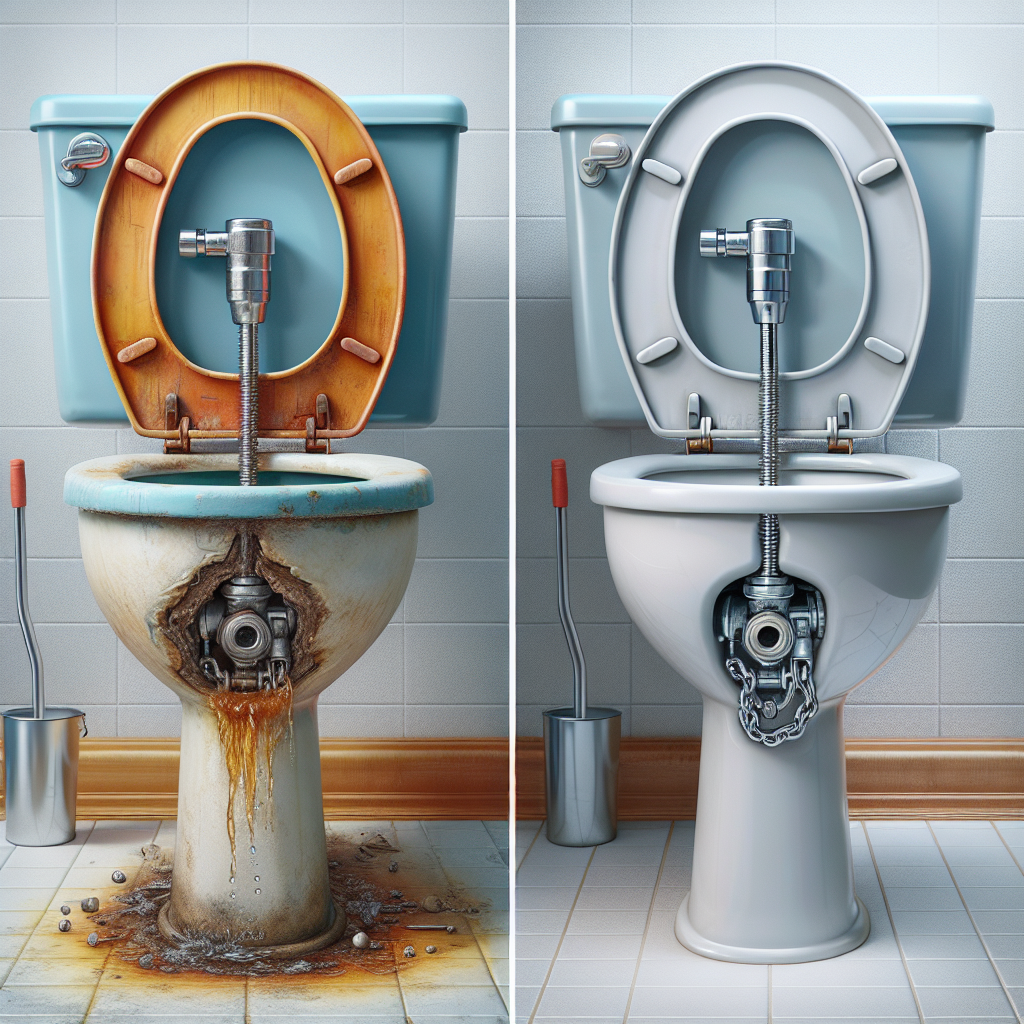
- Adjust the chain or lever to provide the right amount of slack.
- Check that the flapper is aligned correctly over the flush valve opening.
- Clean the flush valve seat to remove any debris or mineral buildup.
- Consider replacing the entire flush valve if the seat is severely worn or damaged.
Flapper Keeps Getting Stuck Open
A flapper that remains partially open can cause continuous water flow. Causes may include:- Chain or lever is too tight, preventing the flapper from closing fully.
- Debris or mineral deposits are interfering with the flapper's movement.
- The flapper material has become stiff or warped over time.
Weak or Inefficient Flushing
If the toilet isn't flushing properly after the flapper replacement:- Ensure the chain or lever provides enough slack for the flapper to open completely.
- Check the water level in the tank - it should be about 1 inch below the overflow tube.
- Clean the flush valve and surrounding areas to improve water flow.
- Consider upgrading to a more efficient flapper model designed for better flushing.
Cost and Budget Considerations
The good news is that replacing a toilet flapper is an extremely affordable DIY fix. A quality replacement flapper typically costs between $2 and $10, depending on the brand and features. For those on a tight budget, generic or universal flappers are available for under $5. These basic models get the job done but may not last as long or perform as well as premium options. Homeowners with a larger home improvement budget may want to invest in a more durable, high-performance flapper. These advanced models often include features like:- Elongated or custom-fit designs for a perfect seal
- Self-adjusting mechanisms for optimized flushing
- Extended warranties up to 10 years
- Water-saving technologies to reduce consumption
Key Takeaways
Replacing a toilet flapper is an essential DIY home repair that can solve running water issues and save you money on water bills. Here are the key points to remember:- A faulty or worn flapper is the most common cause of a constantly running toilet.
- Signs a flapper needs replacement include visible damage, water leaks, and inefficient flushing.
- The process involves shutting off the water, removing the old flapper, installing a new one, and adjusting the chain or lever.
- Troubleshoot issues like poor sealing, sticking, and weak flushing by fine-tuning the flapper positioning.
- Quality replacement flappers are very affordable, often under $10, making this an inexpensive DIY fix.