Safe Electrical Repair for Beginners: A Comprehensive Guide to Replacing a Light Switch
Changing a light switch may seem like a simple task, but it involves working with electrical components that can be dangerous if not handled properly. As a homeowner or DIY enthusiast, knowing how to replace a light switch safely is an essential skill that can save you time, money, and potentially dangerous situations. In this comprehensive guide, we'll walk you through the process step-by-step, highlighting important safety considerations and providing expert tips to ensure a successful and secure light switch replacement.Understanding the Basics of Light Switch Replacement
Light switches are relatively straightforward devices, but they do play a crucial role in the electrical system of your home. A standard light switch is designed to interrupt the flow of electricity, turning a light fixture on and off. When you flip the switch, it completes or breaks the circuit, allowing or preventing the current from reaching the light. Replacing a light switch is a common home improvement task, and it's often necessary when the existing switch is worn, outdated, or no longer functioning properly. Whether you're upgrading to a new smart switch, installing a dimmer, or simply replacing a faulty unit, the process is generally the same. However, it's important to approach this project with caution, as working with electricity can be hazardous if you're not familiar with the proper safety protocols.Preparing for the Light Switch Replacement
Before you begin the light switch replacement process, it's crucial to gather the necessary tools and materials and ensure your work area is safe and accessible. Here's what you'll need:- New light switch: Choose a replacement switch that matches the existing wiring and electrical box. Make sure it's compatible with your home's electrical system.
- Screwdrivers: You'll need a flathead screwdriver and a Phillips head screwdriver to remove the existing switch and install the new one.
- Wire strippers: These tools will help you safely remove and reconnect the wires.
- Electrical tape: For securing wire connections and insulating exposed wires.
- Voltage tester: This device will help you confirm that the power is turned off before you start working.
- Flashlight or work light: Adequate lighting is essential for safe and efficient work, especially in dimly lit areas.
- Electrical gloves: Protective gloves can help prevent shocks and burns during the replacement process.
Removing the Existing Light Switch
With the power turned off, you can now begin the process of removing the existing light switch. Follow these steps carefully:- Unscrew the switch plate cover and set it aside.
- Locate the screws holding the light switch in place and remove them.
- Gently pull the switch out of the electrical box, being careful not to stress or damage the wires.
- Examine the existing wiring and take note of how the switch is connected. This will help you properly install the new switch.
- If there are any wire nuts or other connectors, carefully unscrew or twist them to disconnect the wires.
- Once the switch is completely disconnected, you can remove it from the electrical box.

Installing the New Light Switch
With the old switch removed, you can now proceed with the installation of the new unit. Follow these steps carefully:- Ensure that the power is still turned off by testing the wires with a voltage tester.
- Identify the different wires in the electrical box, typically including a hot wire (black or red), a neutral wire (white), and a ground wire (green or bare copper).
- Connect the wires to the new switch, matching the colors and configurations of the previous switch. Secure the connections with wire nuts.
- Carefully tuck the wired switch back into the electrical box, making sure no exposed conductors are visible.
- Secure the new switch in place using the screws provided.
- Attach the switch plate cover and screw it in place.
- Restore power to the circuit at the breaker box and test the new switch to ensure it's functioning properly.
Advanced Light Switch Replacement Techniques
While the basic process of replacing a light switch is relatively straightforward, there are some advanced techniques and considerations that may come into play, depending on the specific circumstances of your project.Replacing a Three-Way Switch
A three-way switch is used to control a single light fixture from two different locations, such as at the top and bottom of a staircase. Replacing a three-way switch requires a bit more care and attention, as the wiring configuration is more complex. You'll need to ensure that the new switch is compatible with the existing three-way system and that you properly connect the traveler wires.Installing a Dimmer Switch
If you're upgrading to a dimmer switch, you'll need to ensure that the new switch is compatible with the type of light fixture you have. Some dimmers are designed for specific bulb types, such as incandescent or LED. Improper installation or use of an incompatible dimmer can result in flickering, buzzing, or even damage to the light fixture.Replacing Switches in Older Homes
Homes built before the 1960s may have outdated wiring systems or electrical boxes that don't meet current safety standards. In these cases, you may need to upgrade the electrical box or consider hiring an electrician to ensure the new switch is properly installed and grounded.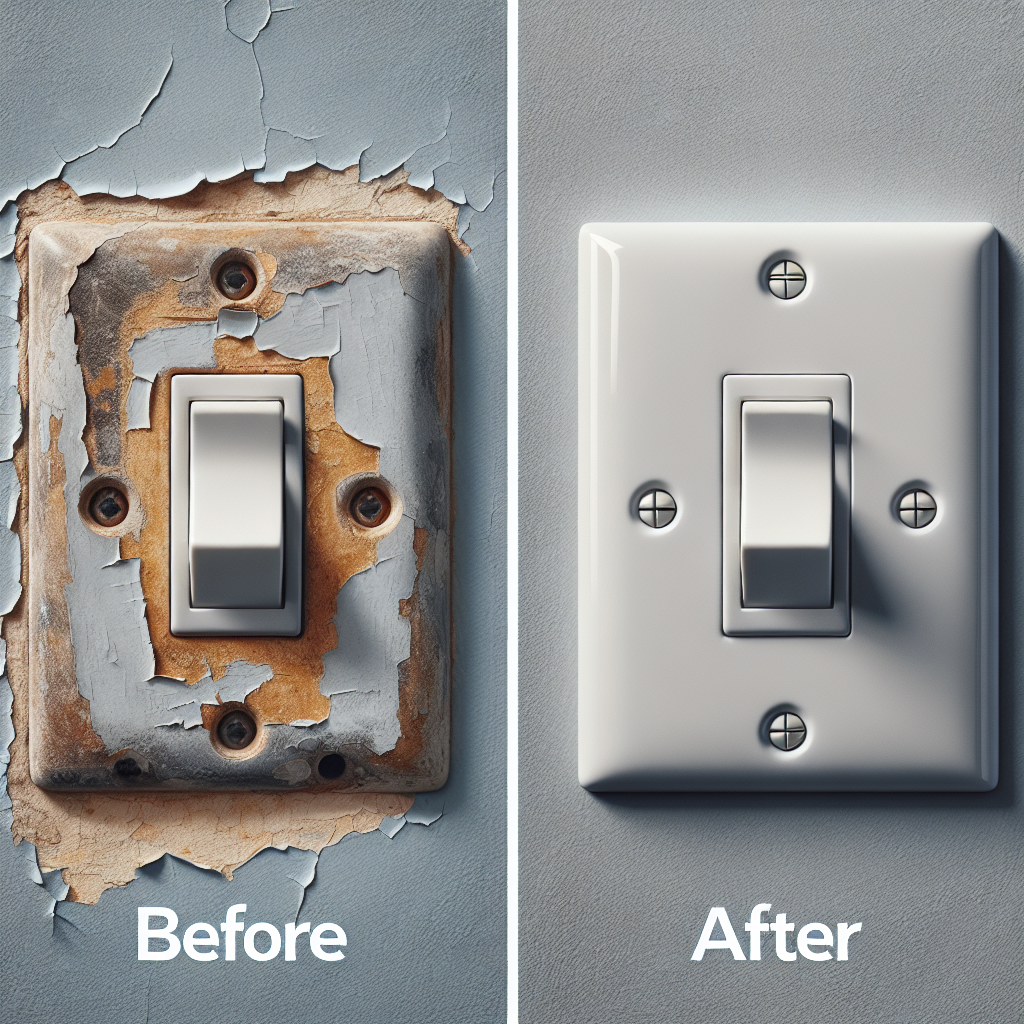
Safety Considerations for Light Switch Replacement
Electrical work, even seemingly simple tasks like replacing a light switch, carries inherent risks. Always prioritize safety when undertaking any home improvement project involving electricity. Here are some essential safety tips to keep in mind:- Turn off power at the circuit breaker: Ensure the power to the light switch is completely turned off before beginning any work. Verify this with a voltage tester.
- Wear protective equipment: Use insulated gloves and safety glasses to protect yourself from potential shocks or debris.
- Avoid exposed wires: Keep all wire connections secured and insulated to prevent accidental contact with live electrical components.
- Work in a well-lit area: Adequate lighting is crucial for safely performing electrical work and avoiding mistakes.
- Know your limits: If you're not comfortable with the complexity of the project or feel unsure about any part of the process, it's best to consult a licensed electrician.
Key Takeaways
Replacing a light switch is a common home improvement task that, when done correctly, can improve the functionality and aesthetics of your home. However, it's essential to approach this project with caution and a thorough understanding of electrical safety. Remember these key takeaways:- Gather all the necessary tools and materials before beginning the project, and ensure the power is turned off at the circuit breaker.
- Carefully follow the step-by-step instructions for removing the existing switch and installing the new one, paying close attention to the wiring configurations.
- Be aware of advanced techniques, such as replacing three-way switches or installing dimmers, and consult a professional if you're unsure about any part of the process.
- Prioritize safety throughout the project by wearing protective equipment, avoiding exposed wires, and working in a well-lit area.
- If you feel uncomfortable or unsure at any point, it's best to consult a licensed electrician to ensure the job is done safely and correctly.