Revitalize Your Kitchen Cabinets: Paint or Stain?
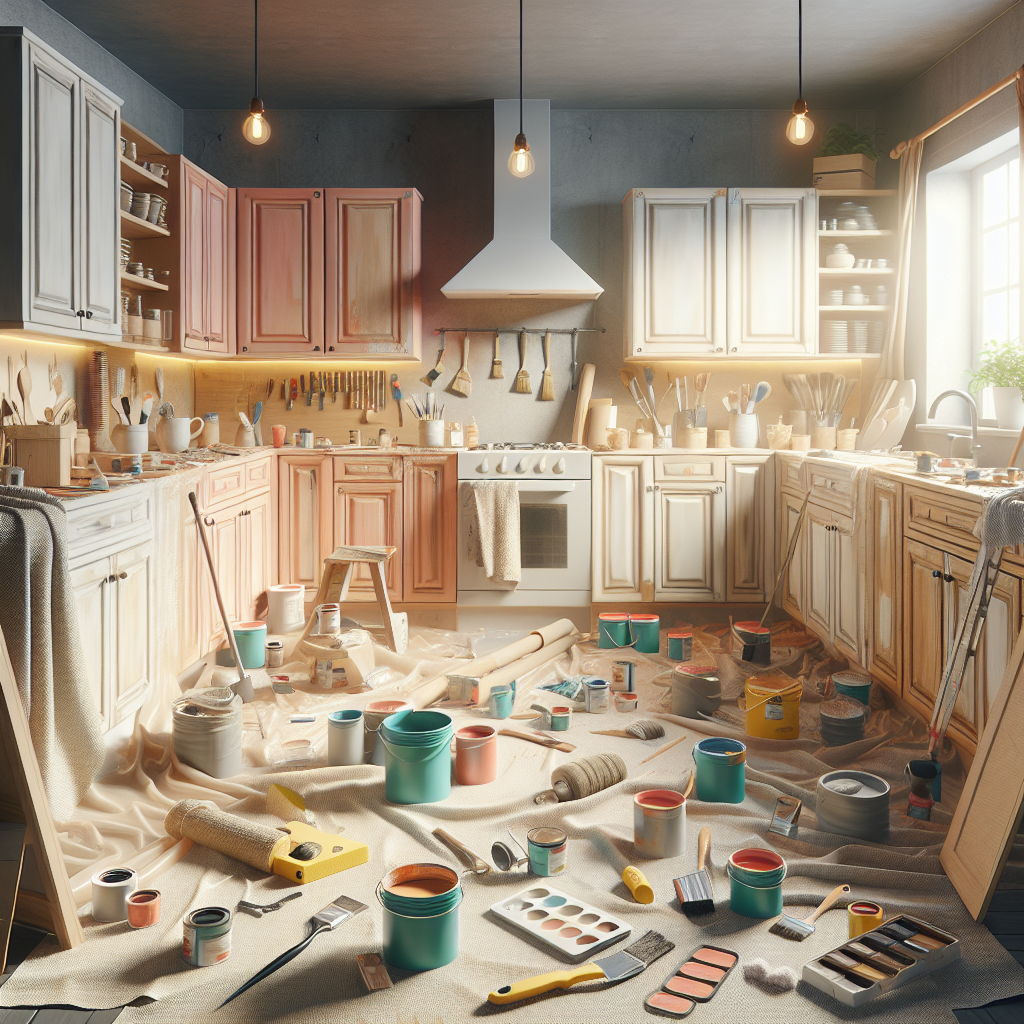
Your kitchen cabinets are the focal point of your cooking space, setting the tone for the entire room. Over time, they can start to look dated, worn, or simply not match your evolving design preferences. If you're ready to breathe new life into your kitchen, refinishing your cabinets is an impactful and cost-effective solution. The big question is: should you paint or stain them? This comprehensive guide will walk you through the pros and cons of each approach, offer step-by-step instructions, and provide expert tips to help you achieve professional-looking results, whether you choose a painted or stained cabinet finish.Understanding the Refinishing Process
Refinishing your kitchen cabinets involves completely stripping the existing finish, sanding the surfaces, and then applying a new paint or stain. This is a more intensive project than simply refreshing the cabinet doors with new hardware or a new coat of the same finish. The refinishing process typically includes the following steps:- Emptying the cabinets and removing the doors, drawers, and hardware
- Degreasing and cleaning the cabinet surfaces
- Stripping the existing finish using chemical or sanding methods
- Sanding the cabinet boxes, doors, and drawers to prepare for the new finish
- Priming the surfaces (for paint projects)
- Applying the new paint or stain
- Reassembling the cabinets with new hardware
Painting vs. Staining Cabinets
Both painting and staining your cabinets can deliver a beautiful, updated look, but the two approaches offer distinct advantages and disadvantages to consider.Painting Cabinets
Pros of Painting Cabinets:- Wider range of color options to choose from
- Can completely transform the look and feel of your kitchen
- Easier to achieve a clean, uniform finish
- Paint can help hide imperfections in the cabinet surfaces
- Paint is generally more durable and easier to clean than stain
- More intensive preparation work required (degreasing, sanding, priming)
- Paint can chip or peel over time, especially in high-use areas
- Requires more ongoing maintenance and touch-ups
- Paint finishes may not have the same natural, wood-grain appearance as stain
Staining Cabinets
Pros of Staining Cabinets:- Preserves the natural beauty and texture of the wood
- Stains generally require less intensive surface preparation
- Stains are less prone to chipping or peeling over time
- Stains can be more forgiving of minor imperfections in the wood
- Stains often require less ongoing maintenance than paint
- Limited color options compared to paint
- Stains may not provide as dramatic a transformation as paint
- Stains can be more challenging to apply evenly for a professional look
- Stains may require additional protective clear coats for durability
Painting Kitchen Cabinets: Step-by-Step
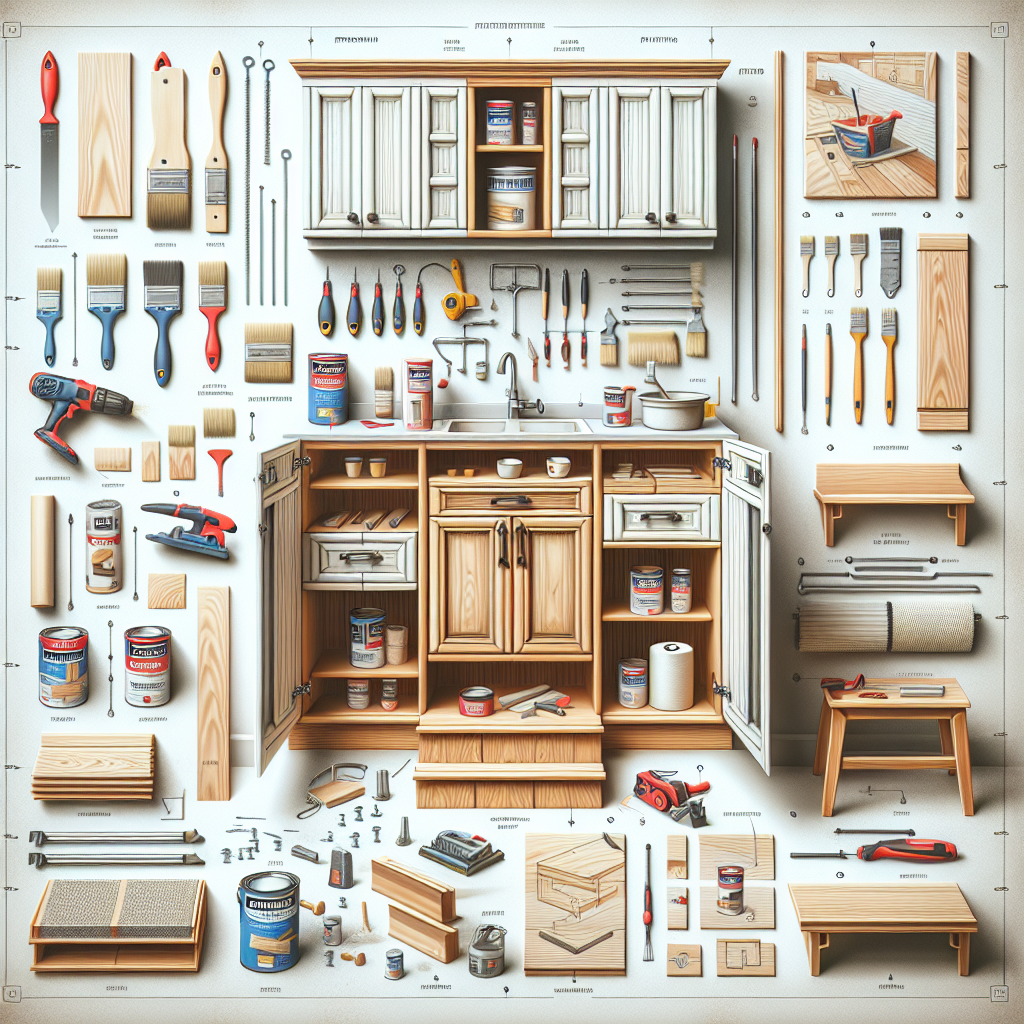
If you've decided to paint your kitchen cabinets, here's a detailed step-by-step guide to help you achieve professional-looking results:Supplies Needed:
- Degreasing cleaner
- Medium-grit sandpaper (120-150 grit)
- Fine-grit sandpaper (180-220 grit)
- Primer (oil-based or latex, depending on cabinet material)
- High-quality cabinet paint (latex or oil-based)
- Paint rollers, brushes, and trim pads
- Painter's tape
- Drop cloths or plastic sheeting
- Screwdriver set
Preparation:
- Empty the cabinets and remove all doors, drawers, and hardware.
- Thoroughly clean the cabinet surfaces with a degreasing cleaner to remove any built-up grime or residue.
- Sand the cabinet boxes, doors, and drawers using medium-grit sandpaper to rough up the existing finish and help the new paint adhere.
- Wipe away any dust or debris with a clean, lint-free cloth.
- Apply painter's tape to any areas you don't want painted, such as hinges or countertops.
- Cover the floor and surrounding areas with drop cloths or plastic sheeting to protect against drips and spills.
Priming:
- Choose a high-quality primer that's compatible with the cabinet material (oil-based for wood, latex for laminate or thermofoil).
- Apply the primer in thin, even coats using a roller or brush, following the manufacturer's instructions for drying time.
- Sand the primed surfaces lightly with fine-grit sandpaper to create a smooth base for the paint.
- Wipe away any remaining dust with a clean cloth.
Painting:
- Select a high-quality cabinet paint, either latex or oil-based, that's designed for high-traffic surfaces.
- Apply the paint in thin, even coats using a roller for the flat surfaces and a brush for edges and corners.
- Allow the paint to dry completely between coats, following the manufacturer's recommended drying times.
- Apply a second or third coat as needed to achieve full, even coverage.
- Let the final coat dry thoroughly before reassembling the cabinets.
Staining Kitchen Cabinets: Step-by-Step
If you prefer the natural look and feel of wood, here's how to stain your kitchen cabinets:Supplies Needed:
- Degreasing cleaner
- Medium-grit sandpaper (120-150 grit)
- Fine-grit sandpaper (180-220 grit)
- Wood stain in your desired color
- Clear polyurethane or lacquer (optional)
- Stain applicators (rags, brushes, or sponges)
- Painter's tape
- Drop cloths or plastic sheeting
- Screwdriver set
Preparation:
- Empty the cabinets and remove all doors, drawers, and hardware.
- Thoroughly clean the cabinet surfaces with a degreasing cleaner to remove any built-up grime or residue.
- Sand the cabinet boxes, doors, and drawers using medium-grit sandpaper to prepare the surfaces for staining.
- Wipe away any dust or debris with a clean, lint-free cloth.
- Apply painter's tape to any areas you don't want stained, such as hinges or countertops.
- Cover the floor and surrounding areas with drop cloths or plastic sheeting to protect against drips and spills.
Staining:
- Choose a high-quality wood stain in your desired color and finish (e.g., semi-gloss, satin, or matte).
- Apply the stain in thin, even coats using a clean rag, brush, or sponge, following the manufacturer's instructions.
- Wipe away any excess stain after the recommended dwell time to prevent blotchy or uneven results.
- Allow the stain to dry completely before applying any additional coats or moving on to the next step.
Sealing (Optional):
- For added protection and a smooth, uniform finish, consider applying a clear polyurethane or lacquer topcoat.
- Apply the sealant in thin, even coats using a clean brush or applicator, following the manufacturer's instructions.
- Allow the sealant to dry completely between coats, as recommended.
Cost Considerations
The cost of refinishing your kitchen cabinets can vary widely depending on the size of your kitchen, the condition of the existing finish, and whether you choose to paint or stain. Estimated Costs for Painting Cabinets:- Materials (primer, paint, sandpaper, etc.): $200-$500
- Professional labor (if hiring): $1,000-$5,000+
- DIY labor time: 20-40 hours
- Materials (stain, sealant, sandpaper, etc.): $150-$400
- Professional labor (if hiring): $800-$3,000+
- DIY labor time: 15-30 hours
Key Takeaways
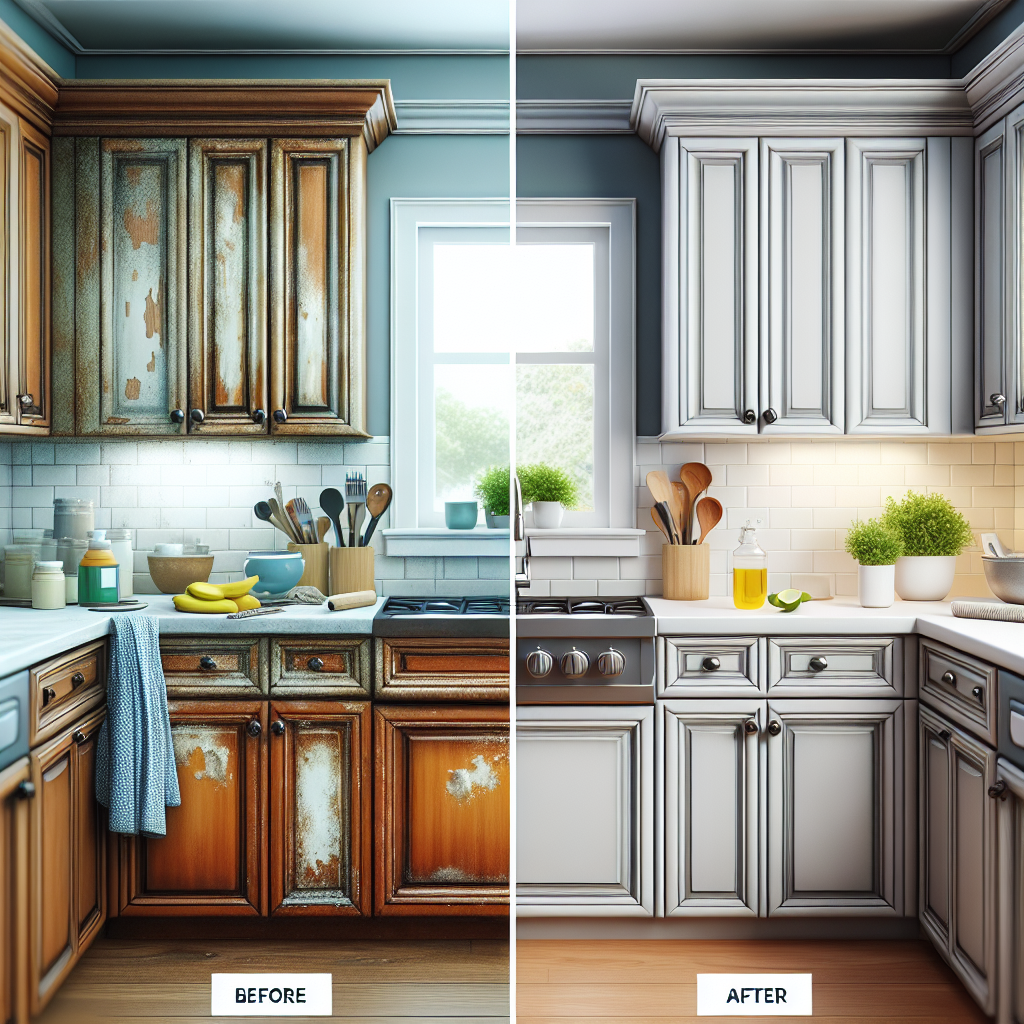
Refinishing your kitchen cabinets, whether with paint or stain, can be a transformative project that breathes new life into your cooking space. Consider the following key points when deciding which approach is right for you:- Painting offers more color options and a clean, uniform finish, but requires more intensive surface preparation.
- Staining preserves the natural wood grain and character, and generally requires less intensive prep work.
- Both options can be done as a DIY project, but painting may be more time-consuming and labor-intensive.
- Proper surface preparation, using high-quality materials, and following best practices are essential for achieving professional-looking results.
- Factor in the ongoing maintenance required for each finish when making your decision.
- Weigh the cost and time investment against the desired aesthetic and long-term durability.