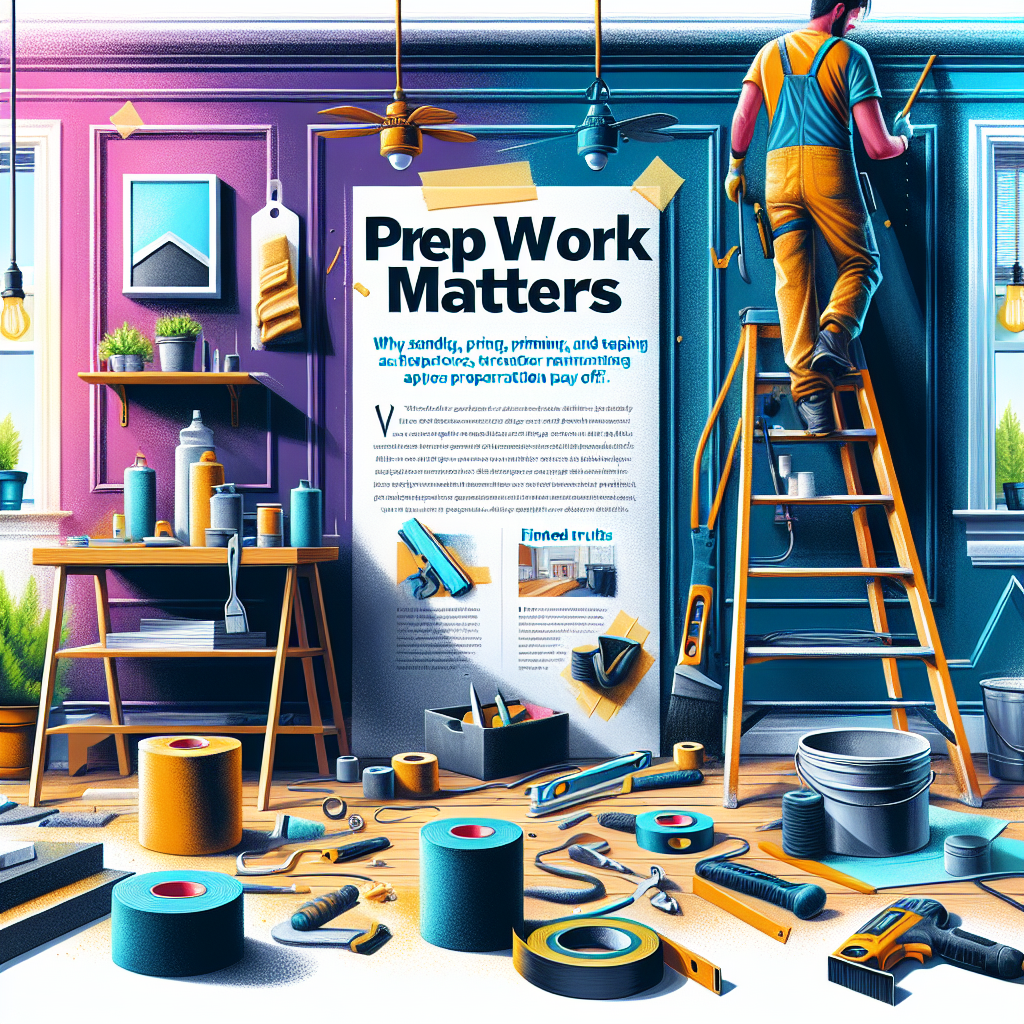
The Importance of Prep Work
Cutting corners on preparation is one of the most common mistakes DIYers make. It's understandable - the allure of jumping straight into the fun part of a project is strong. But skimping on prep work almost always leads to disappointing results down the line. Whether you're painting, installing new flooring, or refinishing furniture, taking the time to properly sand, prime, and tape will pay massive dividends. According to a recent survey, 78% of professional contractors cite improper prep work as the leading cause of project failures. The numbers don't lie - prep work isn't just important, it's essential. Spending that extra time upfront can mean the difference between a project that looks polished and one that falls apart within a few months.Sanding: The Foundation of a Smooth Finish
Sanding is the crucial first step in any painting, staining, or refinishing project. It may seem tedious, but taking the time to thoroughly sand the surface will ensure your final finish is smooth, even, and long-lasting.Why Sanding is Important
- Removes existing paint, stain, or varnish to create a clean, even surface - Smooths out imperfections, dings, and scratches in the underlying material - Helps the new paint, stain, or finish adhere better for a more durable result - Allows you to easily fill in any holes or gaps before applying the final coatBest Sanding Practices
- Start with a coarse grit sandpaper (80-100 grit) to remove the bulk of the material - Work your way up to finer grits (120-150 grit) to smooth the surface - Sand in the direction of the wood grain for best results - Use an orbital sander for large flat surfaces and a palm sander for edges and corners - Thoroughly wipe away any dust between each grit to ensure a clean surface Proper sanding takes time and effort, but the payoff is a glass-smooth finish that will make your paint, stain, or other final treatment look professional. Skimping on this crucial first step is a recipe for disappointment.Priming: The Key to Long-Lasting Paint
The Purpose of Primer
- Creates a uniform, sealed surface for the topcoat to adhere to - Blocks stains and imperfections from bleeding through the new paint - Improves the overall coverage and opacity of the topcoat - Helps the paint bond more securely for a longer-lasting finishChoosing the Right Primer
- Oil-based primers work best for wood, metal, and glossy surfaces - Latex primers are ideal for drywall, plaster, and other porous materials - Specialty primers exist for stains, rust, and other unique challenges Always follow the manufacturer's instructions for proper application and drying times. Taking shortcuts with primer may seem like it saves time upfront, but it will lead to flaking, peeling, and other issues that require even more work to fix later on.Taping: The Secret to Crisp, Clean Edges
The final piece of the prep work puzzle is thorough taping. Carefully applying painter's tape to edges, trim, and other areas you don't want painted may seem tedious, but it's essential for achieving professional-looking results.Why Taping is Important
- Prevents paint from bleeding onto adjacent surfaces - Creates clean, sharp lines between painted and unpainted areas - Protects delicate surfaces like trim, hardware, and floors - Saves time on touch-ups and clean-up later onTaping Best Practices
- Use high-quality painter's tape designed for the job at hand - Apply the tape with firm pressure to ensure a tight seal - Overlap tape edges to create a barrier against paint bleed - Remove the tape carefully while the paint is still wet - Touch up any areas where the paint seeped under the tape Proper taping takes time and patience, but the alternative is dealing with messy, ragged paint lines that detract from the overall look. It's a small investment of effort that makes a huge difference in the final results.The Cost of Skipping Prep Work
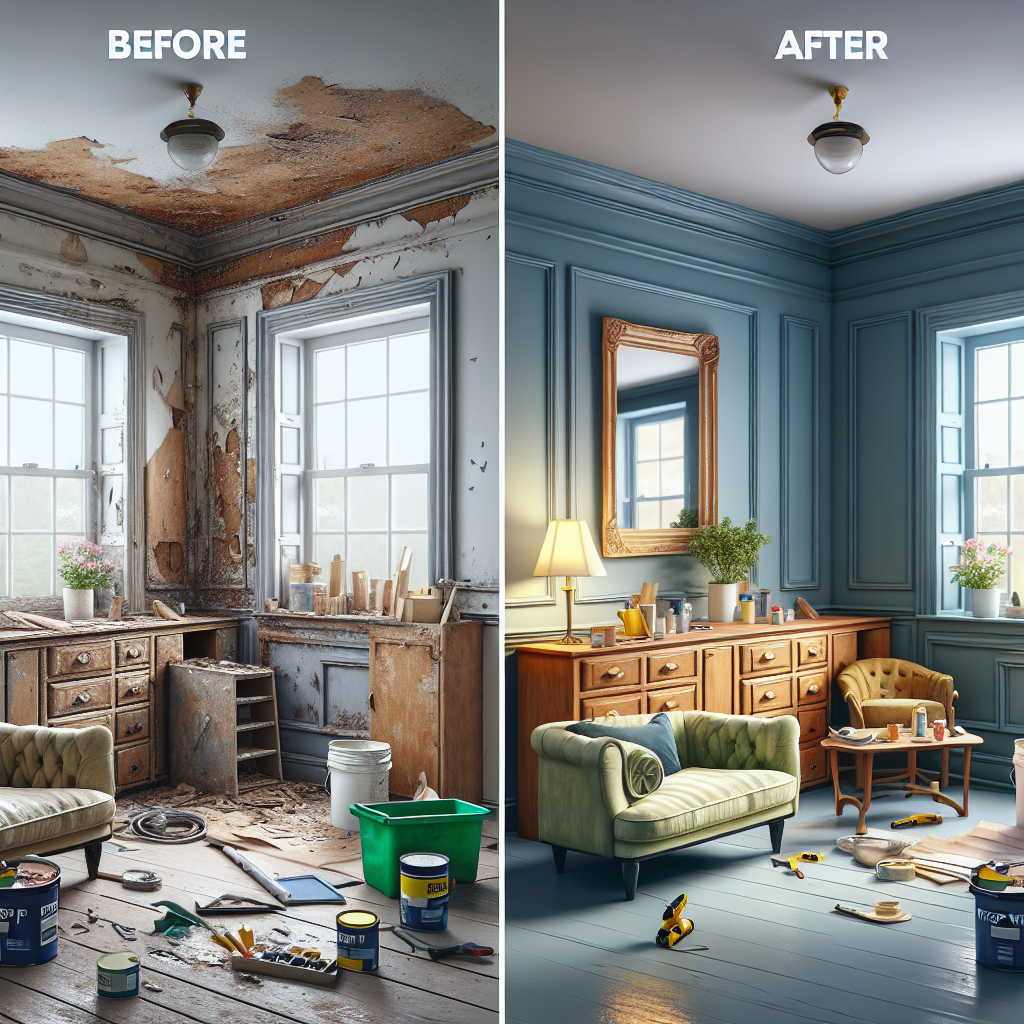
Investing in Prep Work Pays Off
While prep work may not be the most exciting part of a home improvement project, it's absolutely essential for achieving professional-looking, long-lasting results. Sanding, priming, and taping take time and effort, but the payoff is worth it. A meticulous prep job sets the foundation for: - Smooth, even finishes that look polished and luxurious - Paint, stain, or other treatments that last for years, not months - Crisp, clean lines that elevate the overall aesthetic - Less time and money spent on touch-ups and repairs down the line At the end of the day, proper prep work is an investment in the longevity and quality of your project. It's the unsung hero that turns a good DIY job into a great one. So the next time you're tempted to skip those "boring" prep steps, remember - it's the key to achieving professional-level results you can be proud of.Key Takeaways
- Sanding, priming, and taping are essential prep steps that should never be skipped - Proper prep work creates a smooth, even surface for better paint adhesion and a long-lasting finish - Skimping on prep often leads to issues like peeling, chipping, and uneven paint that require costly fixes - Investing the time upfront on prep work pays off in the form of a polished, professional-looking final product - Don't underestimate the importance of the "boring" stuff - prep work is the unsung hero of any successful DIY project