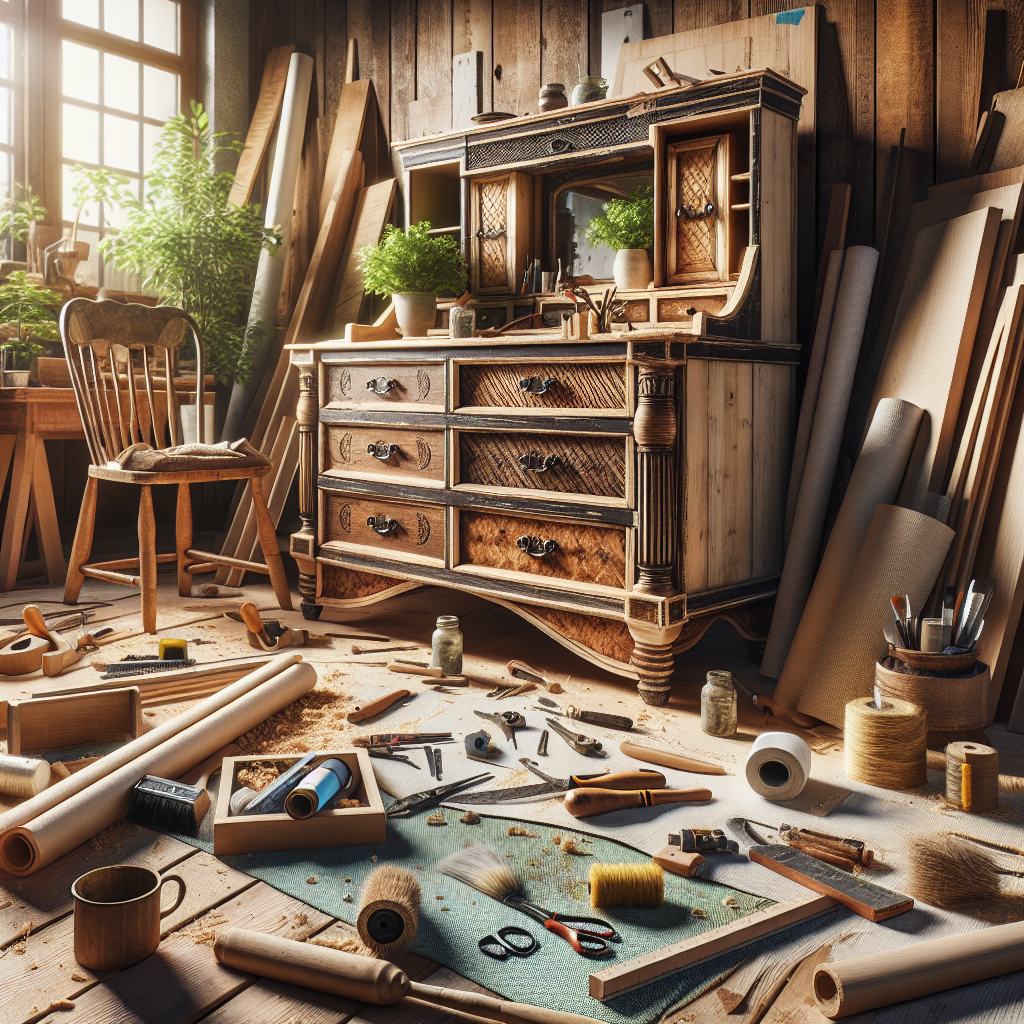
Choosing the Right Furniture Pieces
The first step in your farmhouse furniture makeover is finding the right pieces to work with. Look for solid wood furniture with simple, clean lines that will lend themselves well to a distressed finish. Avoid anything too ornate or detailed, as those embellishments can get lost in the distressing process. Some prime candidates include:- Unfinished wood furniture like dressers, side tables, bookcases, and cabinets
- Vintage or antique furniture with a dated finish
- Inexpensive, mass-produced pieces from big box stores
Preparing the Surface for Painting
Once you've selected your furniture, the real work begins. Proper surface preparation is crucial for ensuring a smooth, long-lasting paint finish. Start by thoroughly cleaning the piece to remove any dirt, grease, or residue. Use a degreasing cleaner and steel wool or fine sandpaper to lightly scuff up the surface and help the paint adhere.Priming the Furniture
Priming is an essential step that many DIYers skip, but it can make a big difference in the final result. Apply a high-quality primer coat, making sure to get into all the nooks and crannies. This will help the paint grip the surface and prevent any bleed-through of the original finish. For best results, use a chalk-based or oil-based primer.Sanding and Distressing
After the primer has fully dried, lightly sand the entire piece using fine-grit sandpaper (220-grit or higher). This will create a smooth, even surface for painting. Pay special attention to any edges, corners, or details that you want to appear authentically distressed later on.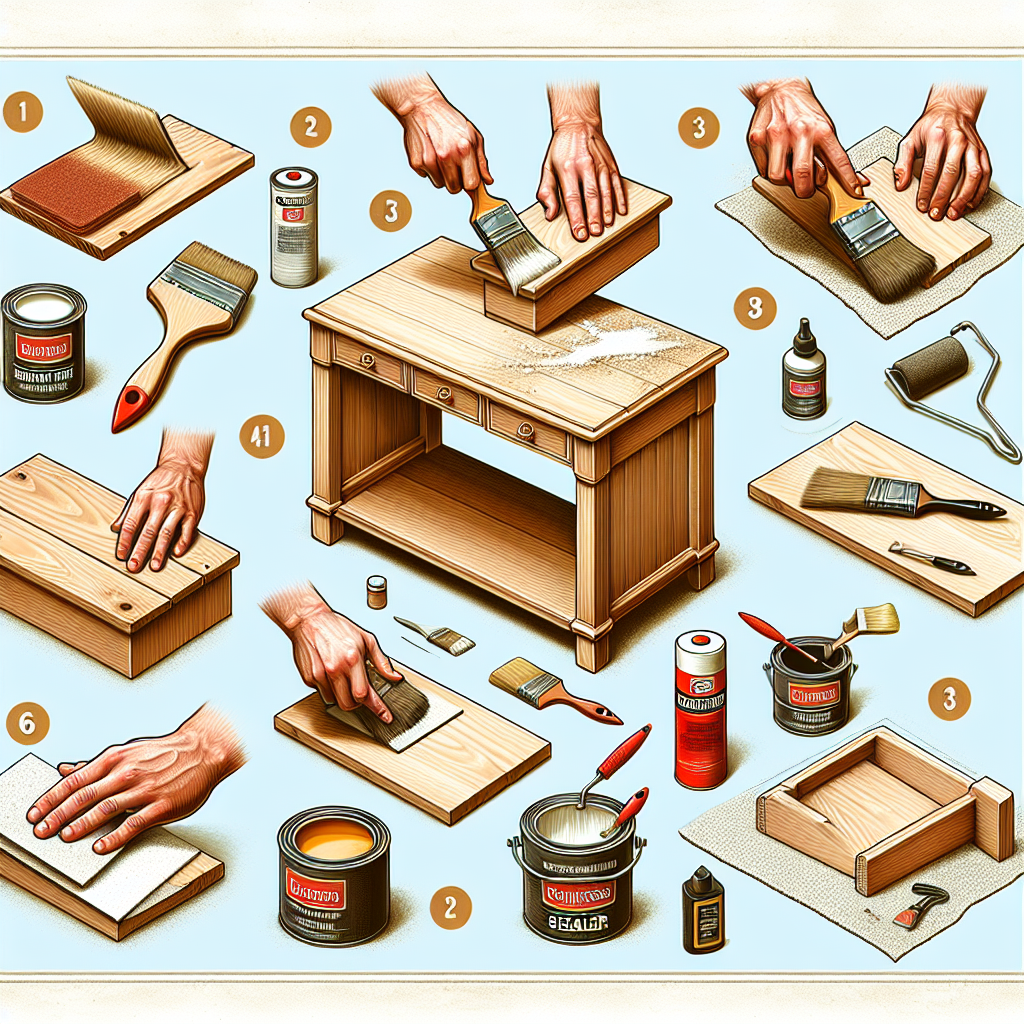
Choosing the Right Paint
Now for the fun part - selecting the perfect paint color and finish! When it comes to achieving that farmhouse look, neutral tones like white, gray, and beige are classic choices. But don't be afraid to get creative with bolder colors like blue, green, or even black for a more dramatic effect.Types of Paint to Consider
For the most authentic farmhouse aesthetic, you'll want to use a chalk-based paint or milk paint. These paints have a matte, chalky finish that lends itself beautifully to distressing. Alternatively, you can use a high-quality latex or oil-based paint and then apply a distressed finish over the top. Whichever paint you choose, make sure to select a brand that is specifically formulated for furniture and cabinets. These paints are more durable and less prone to chipping or peeling over time.Applying the Paint
When painting, use long, even strokes and work in sections to ensure full coverage. Apply at least two coats, allowing ample drying time between each one. For an extra smooth finish, lightly sand the surface with fine-grit paper after the final coat.Distressing the Painted Furniture
The distressing process is where you'll really bring out that beloved farmhouse charm. There are several techniques you can use to create an authentically aged and weathered look:Distressing with Sandpaper
After the paint has fully dried, start sanding the high-traffic areas and edges of the furniture using medium-grit (120-grit) sandpaper. Focus on corners, crevices, and areas that would naturally experience more wear and tear over time. Gradually work your way to finer 220-grit paper to achieve a smooth, vintage finish.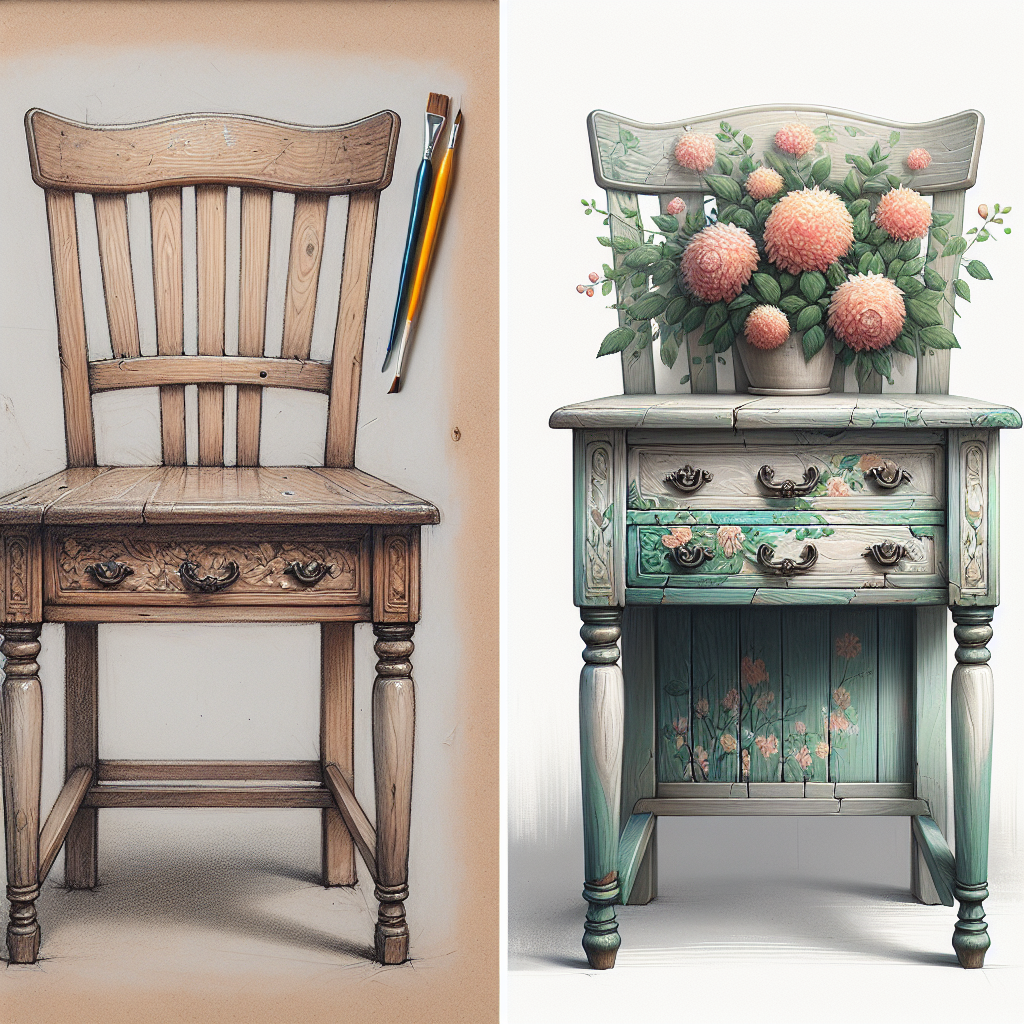
Distressing with Wax or Glaze
For an even more pronounced distressed effect, apply a furniture wax or glaze after painting. Rub the wax or glaze into the crevices and edges, then wipe away the excess with a clean rag. This will create a subtle, aged patina.Using Distressing Tools
If you want to get a little more creative, try using specialized distressing tools like cheese graters, wire brushes, or even keys to create authentic-looking dings, scratches, and worn spots. Randomly apply these techniques over the surface to mimic years of natural wear and tear.Sealing and Protecting the Finish
To ensure your newly distressed furniture piece lasts for years to come, it's important to seal and protect the finish. Apply a clear, matte topcoat such as a furniture wax or polyurethane. This will help prevent chipping, scratching, and fading while maintaining the desired distressed look.Key Takeaways
Transforming generic furniture into farmhouse-inspired masterpieces doesn't have to be an expensive endeavor. By carefully selecting the right pieces, properly preparing the surface, and mastering the art of distressing, you can achieve stunning results on a budget. Remember these key tips:- Look for quality, solid wood furniture with simple lines
- Thoroughly clean and prime the surface before painting
- Choose chalk-based or milk paints for the most authentic farmhouse look
- Experiment with sanding, waxing, and specialized distressing tools
- Seal the finish with a protective topcoat to preserve the distressed effect