Declutter Your Way to a Serene, Organized Home
Living in a small home can present unique challenges when it comes to storage and organization. But with a little creativity and some clever DIY projects, you can transform underutilized areas into functional, space-saving solutions. Say goodbye to the clutter and hello to a calm, decluttered living space. In this comprehensive guide, we'll explore seven innovative DIY storage ideas that will help you maximize your square footage and regain control of your home. From repurposed furniture to custom built-ins, these projects use inexpensive, easy-to-find materials to create practical storage without breaking the bank. With step-by-step instructions and expert tips, you'll be able to tackle these weekend warrior-approved upgrades and experience the life-changing magic of organization in just one weekend.1. Under-Stair Storage Cubbies
One of the most overlooked storage opportunities in small homes is the space under the stairs. Instead of letting this area collect dust, transform it into a customized storage system with easy-to-build cubbies.Materials Needed:
- 1/2" plywood or MDF (enough to create the desired number of cubbies)
- Wood glue
- Finish nails or small screws
- Paint or stain (optional)
- Measuring tape, pencil, and saw
Instructions:
1. Measure the available space under your stairs and determine the ideal size and number of cubbies. Aim for cubbies that are 12-16 inches deep and 12-18 inches wide to accommodate a variety of storage containers. 2. Cut the plywood or MDF to size using a saw. You'll need pieces for the top, bottom, sides, and any vertical dividers between cubbies. 3. Arrange the pieces and use wood glue and finish nails or screws to assemble the cubby structure. Make sure all joints are secure. 4. If desired, paint or stain the cubbies to match your home's decor. 5. Install the cubby unit under the stairs, ensuring it is level and sturdy. You can secure it to the wall for added stability. 6. Add your choice of storage bins, baskets, or decorative elements to customize the cubbies and maximize the organization. These under-stair cubbies are perfect for storing everything from out-of-season clothing and holiday decor to cleaning supplies and hobby items. The modular design allows you to create a custom storage solution tailored to your specific needs.2. Vertical Wall-Mounted Shelving
When floor space is limited, take advantage of your vertical walls to create additional storage. Wall-mounted shelving units are an excellent way to maximize unused wall real estate and keep frequently used items within easy reach.Materials Needed:
- Wooden boards or pre-made shelves (1x4, 1x6, or 1x8 work well)
- Bracket hardware or shelf supports
- Drill and drill bits
- Level
- Stud finder
- Screws
- Optional: paint or stain
Instructions:
1. Measure the available wall space and determine the ideal number, size, and spacing of your shelves. Aim for shelves that are 12-16 inches deep. 2. Use a stud finder to locate the wall studs where you'll be mounting the shelves. This will provide the most secure attachment points. 3. Mark the shelf placement on the wall using a level to ensure the shelves are straight. 4. Attach the shelf brackets or supports to the wall, securing them into the studs with screws. 5. Place the wooden boards or pre-made shelves onto the brackets, making sure they are level. 6. If desired, paint or stain the shelves to match your decor. 7. Load up the shelves with your most-used items, keeping the heaviest objects on the bottom shelves. This vertical shelving solution is perfect for displaying decorative items, storing cookbooks, organizing office supplies, and so much more. The best part? You can customize the number, size, and placement of the shelves to fit your specific space and storage needs.3. Floating Vanity with Hidden Storage
In small bathrooms, every inch of space counts. Transform a traditional vanity cabinet into a space-saving, floating design with hidden storage compartments.Materials Needed:
- 1/2" plywood or MDF for the vanity body
- 1x2 or 1x3 boards for the frame
- Wood glue and finish nails or screws
- Drill and drill bits
- Sandpaper
- Paint or stain (optional)
- Countertop material (e.g., laminate, solid surface, or butcher block)
- Bathroom sink and faucet
Instructions:
1. Measure your bathroom space and determine the ideal vanity size. Aim for a depth of 18-24 inches and a width that fits your available wall space. 2. Cut the plywood or MDF to size for the vanity body. Create the top, sides, and any interior shelves or compartments.
4. Multipurpose Bench with Storage
Transform a simple bench into a multipurpose storage solution for your entryway, mudroom, or any other high-traffic area of your home.Materials Needed:
- 1x6 or 1x8 boards for the seat
- 2x4 boards for the base and supports
- Wood glue and finish nails or screws
- Hinges for the storage compartment
- Drill and drill bits
- Sandpaper
- Paint or stain (optional)
Instructions:
1. Measure the available space and determine the desired size of your bench, aiming for a depth of 16-24 inches and a length that fits your needs. 2. Cut the 1x6 or 1x8 boards to size for the bench seat. 3. Construct the base using the 2x4 boards. Create a rectangular frame and add any necessary supports or legs. 4. Attach the bench seat to the base using wood glue and finish nails or screws. 5. Add hinges to the underside of the bench seat, creating a storage compartment underneath. 6. Sand the entire bench and paint or stain as desired. 7. Install the bench in your chosen location, ensuring it is level and secure. 8. Fill the hidden storage compartment with items like shoes, hats, gloves, or other seasonal accessories. This multipurpose bench offers a practical solution for storing everyday items while also providing a comfortable seating area. The hidden storage compartment keeps your entryway or mudroom clutter-free and organized.5. Repurposed Dresser as a Pantry
If you have a spare dresser or cabinet taking up space, consider transforming it into a custom pantry for your kitchen. This repurposed storage solution can provide ample space for canned goods, spices, and other dry goods.Materials Needed:
- Old dresser or cabinet
- Wood glue and finish nails or screws
- Sandpaper
- Paint or stain (optional)
- Shelving materials (e.g., plywood, 1x boards)
- Drill and drill bits
Instructions:
1. Thoroughly clean and inspect the dresser or cabinet, making any necessary repairs. 2. Remove the drawers and measure the interior space to determine the best shelving configuration. 3. Cut shelving materials to size and install them within the dresser or cabinet using wood glue and finish nails or screws. 4. Sand the entire unit, including the exterior, to prepare it for painting or staining. 5. Apply a fresh coat of paint or stain to the dresser or cabinet, transforming it to match your kitchen's aesthetic. 6. Reinstall the drawers (if applicable) and add any additional organizational accessories, such as baskets or labels. 7. Place the repurposed pantry in your kitchen, making sure it is level and secure.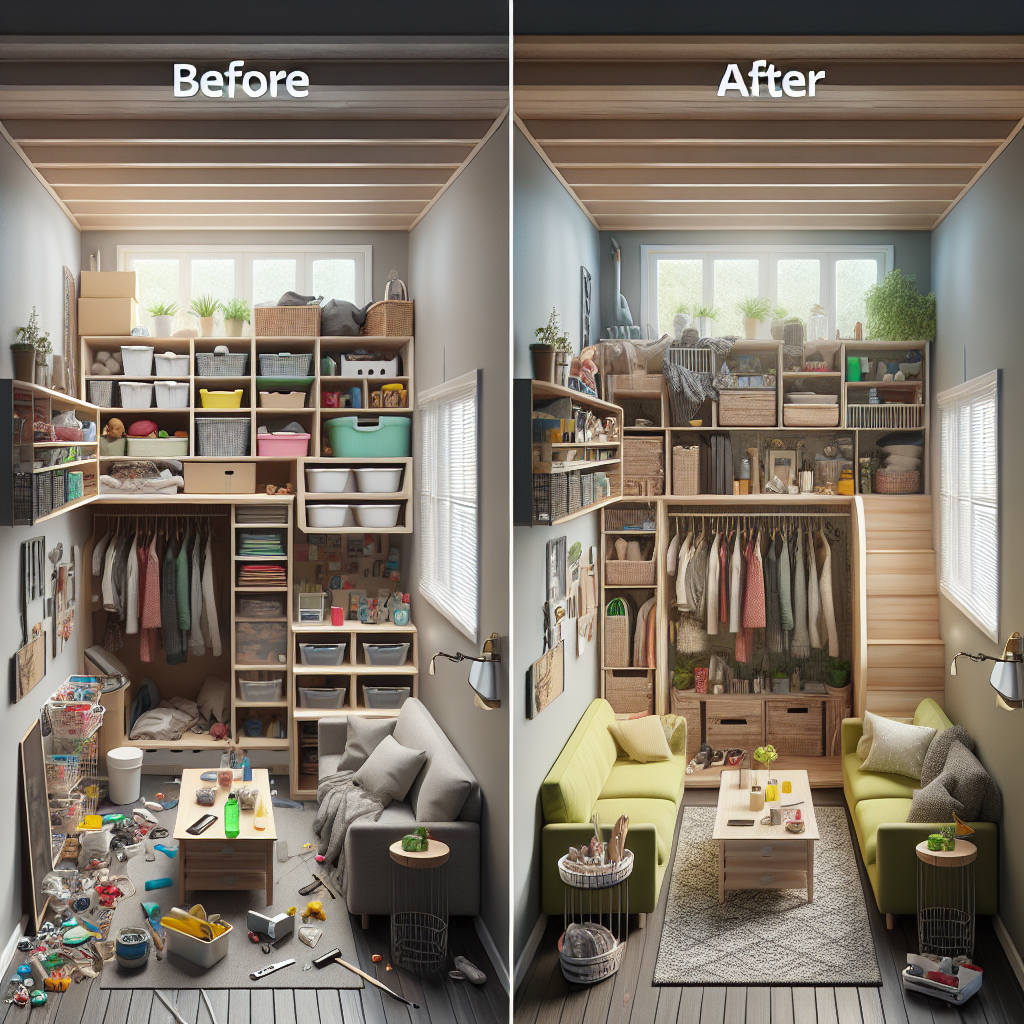
6. Corner Shelving Unit
Corner spaces are often overlooked, but they can be transformed into highly functional storage solutions. A custom corner shelving unit can maximize this underutilized area and keep frequently used items within easy reach.Materials Needed:
- 1x4, 1x6, or 1x8 boards for the shelves
- 2x2 or 2x4 boards for the frame
- Wood glue and finish nails or screws
- Drill and drill bits
- Sandpaper
- Paint or stain (optional)
Instructions:
1. Measure the available corner space and determine the ideal size and number of shelves. 2. Cut the 1x boards to size for the shelves, ensuring they fit the corner dimensions. 3. Construct the frame using the 2x2 or 2x4 boards. Create a sturdy, triangular structure that will support the shelves. 4. Attach the shelves to the frame, securing them with wood glue and finish nails or screws. 5. Sand the entire unit and apply a coat of paint or stain, if desired. 6. Install the corner shelving unit, making sure it is level and securely attached to the wall. 7. Organize your items on the shelves, placing heavier objects on the bottom and lighter items on the top. This corner shelving unit is perfect for displaying decorative accents, storing cookbooks, or keeping frequently used items within easy reach. The customizable design allows you to create a storage solution that fits your specific corner dimensions and organizational needs.7. Sliding Barn Door Media Console
If you have a TV or media equipment taking up valuable floor space, consider building a custom sliding barn door media console. This innovative solution transforms a blank wall into a functional storage and display area.Materials Needed:
- 1x6 or 1x8 boards for the shelves and doors
- 2x4 boards for the frame
- Barn door hardware (track, rollers, and pulls)
- Wood glue and finish nails or screws
- Drill and drill bits
- Sandpaper
- Paint or stain (optional)
Instructions:
1. Measure the available wall space and determine the ideal size for your media console. Consider the dimensions of your TV and any other equipment that will be housed within. 2. Construct the frame using the 2x4 boards, creating a sturdy structure that can support the weight of your media components. 3. Cut the 1x6 or 1x8 boards to size for the shelves and sliding doors. 4. Assemble the shelves, securing them to the frame with wood glue and finish nails or screws. 5. Install the barn door hardware, including the track, rollers, and pulls, following the manufacturer's instructions. 6. Attach the sliding doors to the hardware, ensuring they move smoothly. 7. Sand the entire unit and apply a coat of paint or stain, if desired. 8. Position the media console against the wall, securing it to the studs for stability. 9. Load up the shelves with your TV, cable box, game consoles, and other media equipment. The sliding barn door design not only provides ample storage but also offers a unique, space-saving aesthetic for your living room or entertainment area. This custom media console helps conceal your electronics while keeping them easily accessible.Key Takeaways
- Maximize your small home's storage potential by transforming underutilized areas into functional, custom solutions.
- Utilize vertical wall space, repurpose existing furniture, and build multi-purpose units to declutter your home without breaking the bank.
- These DIY projects can be completed in a single weekend, giving you an organized, serene living space to enjoy.
- By implementing these innovative storage ideas, you'll be able to reclaim your square footage and enjoy a more peaceful, clutter-free environment.