Unlock your home improvement potential with our step-by-step guide on using a miter saw. Learn the tricks of the trade, safety precautions, and cost-saving techniques to create precise cuts for your custom woodworking projects.
If you're a DIY enthusiast or a homeowner looking to take on more ambitious woodworking projects, mastering the miter saw is an essential skill. This versatile power tool can unlock a whole new world of custom furniture, trim work, and home renovations that add value and character to your living space. However, wielding a miter saw with confidence and precision takes practice and know-how. In this comprehensive guide, we'll walk you through everything you need to know to become a miter saw expert. From choosing the right model for your needs to executing flawless cuts every time, you'll gain the knowledge and techniques to tackle your home improvement projects with professional-level results.Understanding the Miter Saw: A Versatile Woodworking Tool
At its core, a miter saw is a power tool designed for making clean, accurate cross-cuts and miter cuts in wood. Unlike a traditional hand saw, a miter saw uses a circular blade mounted on an arm that swings down to slice through the material. This allows for precise, repeatable cuts at a variety of angles, making it an invaluable asset for carpenters, woodworkers, and DIY enthusiasts. Miter saws come in several key varieties, each with their own unique features and capabilities:Standard Miter Saw
The most basic type, a standard miter saw can make simple cross-cuts and miter cuts up to 45 degrees in either direction. These models are ideal for general-purpose woodworking tasks and basic home improvement projects.Compound Miter Saw
Building on the standard design, a compound miter saw adds the ability to tilt the blade, allowing for complex bevel cuts. This expanded functionality makes compound miter saws a popular choice for crown molding, picture frames, and other angled joinery work.Sliding Miter Saw
Sliding miter saws feature a blade that can travel back and forth on rails, enabling wider cross-cuts than a standard model. These advanced tools are perfect for tackling larger workpieces, such as wide boards or trim.Dual Bevel Miter Saw
The most sophisticated miter saw design, dual bevel models can tilt the blade to the left or right, making them incredibly versatile for intricate projects. This feature is especially useful for crown molding, furniture making, and other applications that require complex angled cuts. Regardless of the specific type, all miter saws share common components and core functionality. Understanding how these parts work together is the first step to mastering this essential woodworking tool.Miter Saw Anatomy and Key Features
To get the most out of your miter saw, it's important to familiarize yourself with its key components and how they function:The Blade
At the heart of any miter saw is the circular blade, which does the actual cutting work. Miter saw blades typically range from 8 to 12 inches in diameter, with more teeth providing smoother, cleaner cuts. Be sure to choose a blade suitable for the type of wood you'll be working with.The Fence
The fence is the stationary part of the miter saw that supports the workpiece during cutting. It's critical to ensure your fence is properly aligned and secure to maintain accuracy.The Miter Adjustment
The miter adjustment allows you to rotate the entire saw assembly to the left or right, enabling angled cuts. Most miter saws have positive stops at common angles like 45 degrees to simplify setup.The Bevel Adjustment
On compound and dual bevel miter saws, the bevel adjustment tilts the blade to the left or right, allowing for beveled cuts. This is essential for creating mitered corners and other complex joinery.The Miter Detent Plate
This component houses the positive stops for common miter angles, making it easy to quickly and accurately set the saw to the desired angle.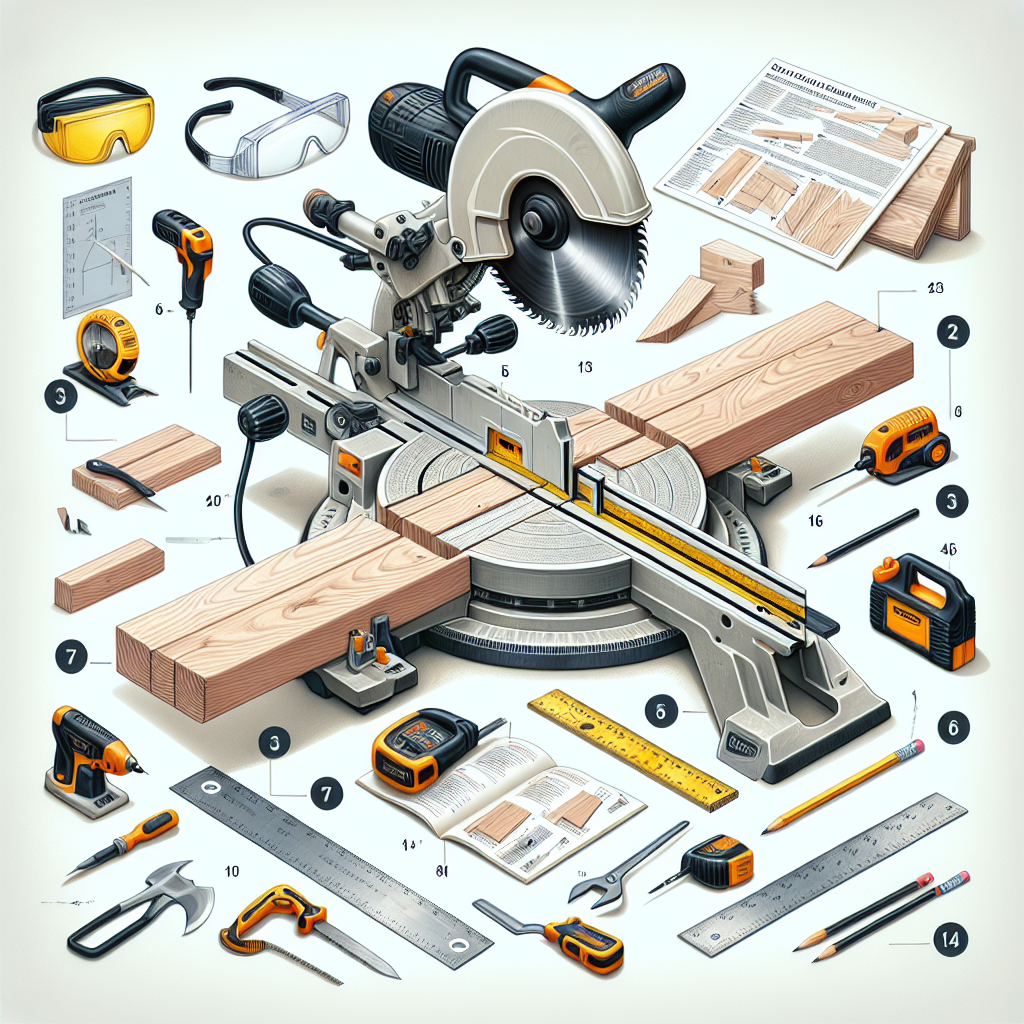
The Laser Guide
Many modern miter saws include a built-in laser guide that projects a thin line onto the workpiece, helping you line up your cuts with precision.The Dust Collection System
Most miter saws come equipped with a dust bag or port to capture wood chips and debris, keeping your work area clean. Mastering the use of these various features is key to unlocking the full potential of your miter saw and achieving professional-quality results.Choosing the Right Miter Saw for Your Needs
With so many miter saw models and features available, selecting the right one for your workshop or home improvement projects can feel overwhelming. Here are the most important factors to consider when choosing a miter saw:Blade Size
The blade diameter directly correlates to the maximum width of material the saw can accommodate. For most DIY and home renovations, an 8-inch or 10-inch blade will be sufficient. Larger 12-inch models are better suited for industrial or heavy-duty applications.Miter and Bevel Capabilities
Determine the types of cuts you'll need to make. A standard miter saw may be all you require for basic 90-degree and 45-degree cuts, while a compound or dual bevel model offers greater versatility for complex joinery.Stationary vs. Sliding
If you regularly work with wider boards or trim, a sliding miter saw can handle larger workpieces. However, these models tend to be more expensive and take up more shop space.Corded vs. Cordless
Cordless miter saws provide greater mobility and freedom of movement, making them convenient for on-site work or projects in tight spaces. But corded models generally offer more power and runtime.Brand and Reputation
Research well-known miter saw brands with a track record of quality, durability, and customer satisfaction. Trusted names like Dewalt, Makita, and Bosch are always a safe bet.Budget
Miter saws can range from $100 for a basic model to $500 or more for a top-of-the-line professional-grade saw. Determine your project needs and available budget to find the right balance of features and cost. Carefully evaluating these factors will help you select the perfect miter saw to tackle your DIY home improvement goals with confidence.Mastering Miter Saw Techniques: Precision Cutting for Stunning Results
Now that you've chosen the right miter saw for your needs, it's time to learn how to wield this powerful tool with skill and precision. Proper technique is essential for achieving clean, accurate cuts every time.Workpiece Preparation
Before making any cuts, ensure your workpiece is properly secured and supported. Use clamps to hold the material firmly in place on the miter saw's fence. This will prevent dangerous kickback and improve cutting accuracy.Blade Alignment and Adjustment
Double-check that your miter and bevel settings are correctly adjusted and the blade is parallel to the fence. Many miter saws have adjustment knobs or screws to fine-tune these alignments.Cutting Technique
When making a cut, start by gently lowering the blade to touch the workpiece, then apply steady, even pressure to complete the cut. Avoid forcing the blade – let it do the work. For longer pieces, use a roller stand or outfeed support to prevent the material from sagging and compromising the cut.Angle Cuts and Miters
Setting the miter and bevel angles precisely is crucial for creating clean, seamless joints. Use the positive miter detent stops to quickly and accurately position the saw. When cutting miters, always make test cuts on scrap material to ensure a perfect fit.