Identifying and Fixing Common Household Leaks
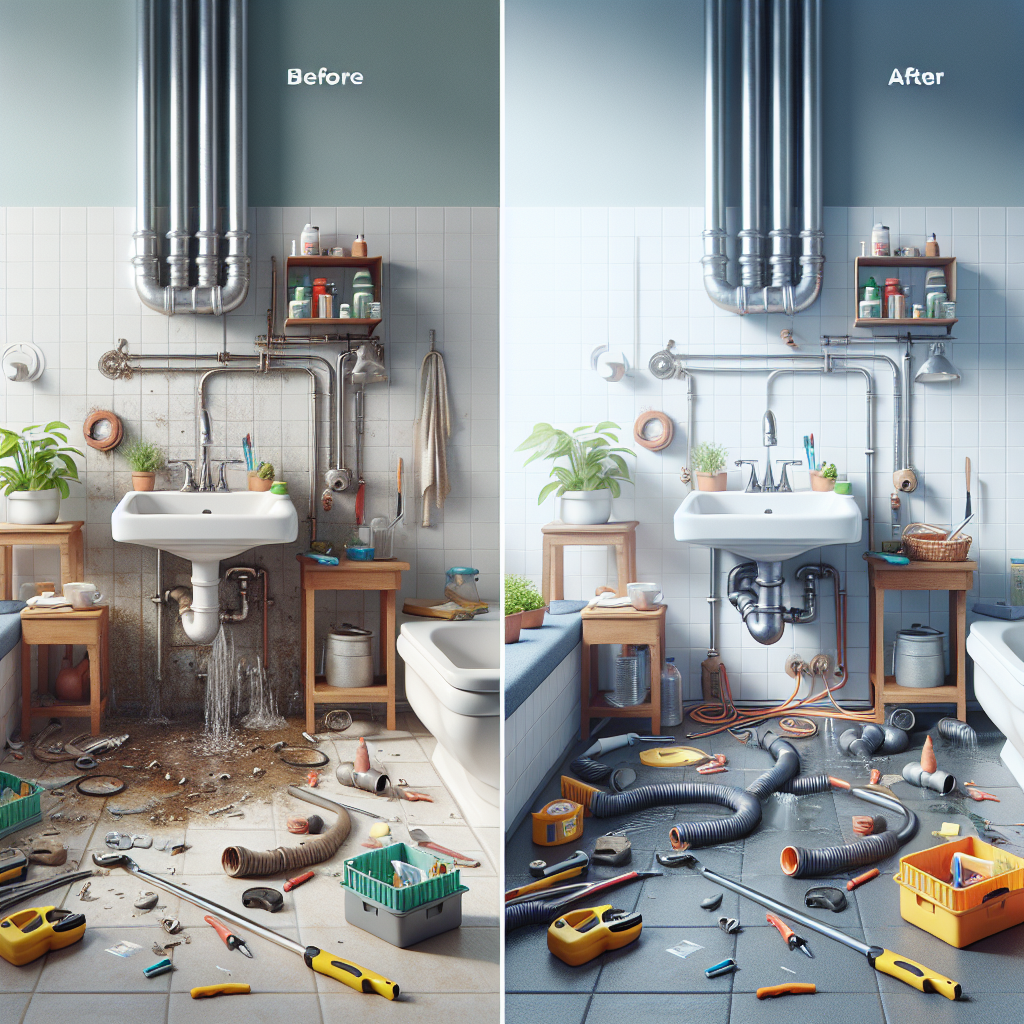
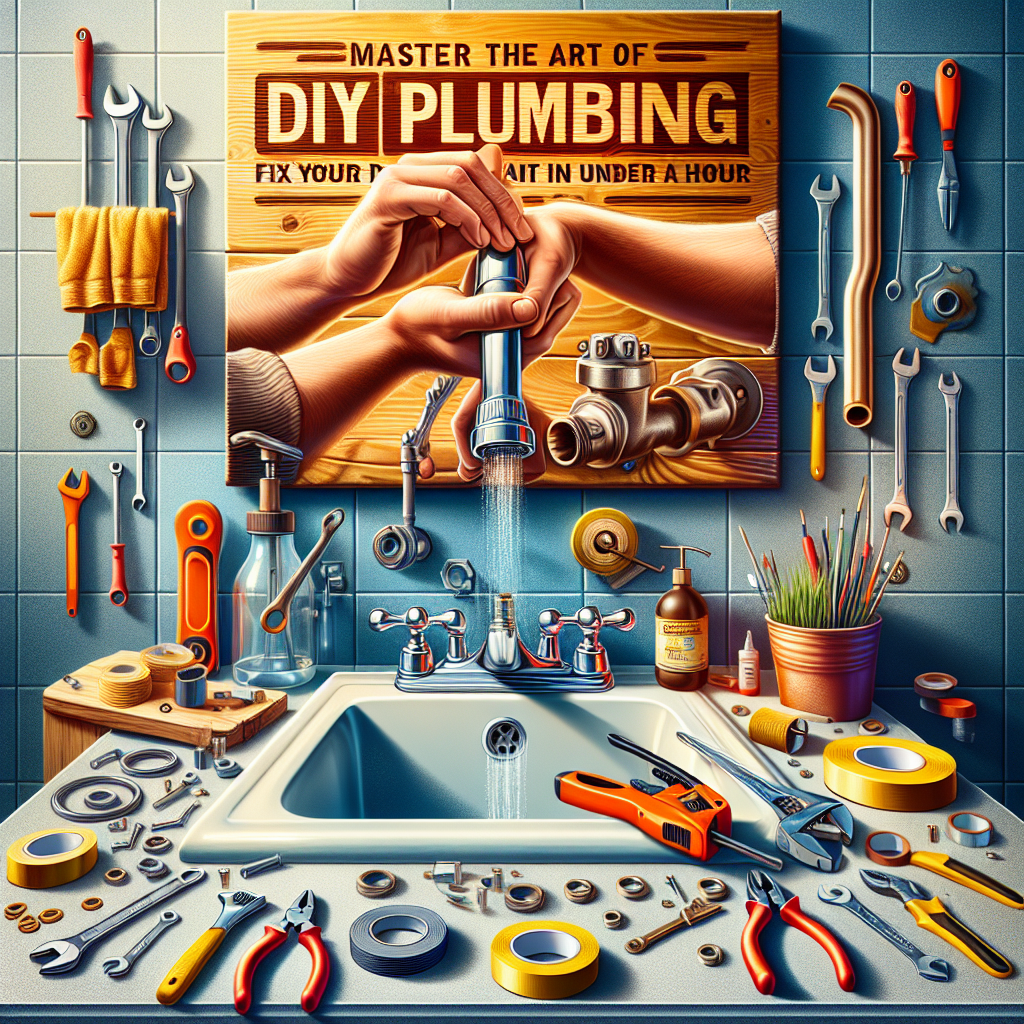
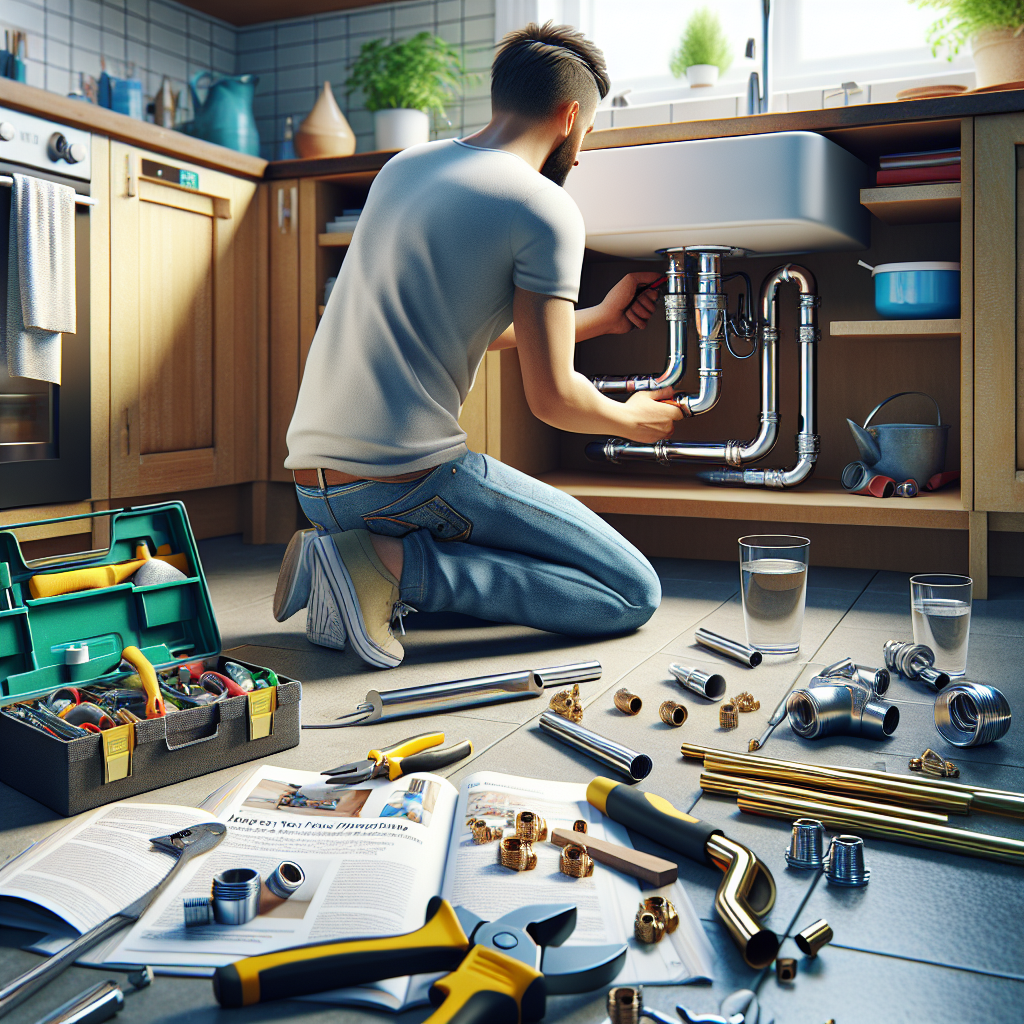
Leaks in your home's plumbing system can be a frustrating and costly problem, but with the right knowledge and a little elbow grease, you can save hundreds on plumber fees by tackling these issues yourself. Whether it's a dripping faucet, a leaky pipe, or a malfunctioning toilet, this comprehensive guide will walk you through the steps to pinpoint and fix common household leaks. With these DIY techniques, you'll be able to address plumbing problems quickly and efficiently, without any previous plumbing experience required.Understanding the Importance of Prompt Leak Repair
Ignoring a plumbing leak, no matter how small, can lead to a cascade of problems. Unattended leaks can cause water damage, promote mold growth, and even lead to structural issues in your home. The longer a leak goes unrepaired, the more extensive the damage and the higher the repair costs will be. According to the U.S. Environmental Protection Agency (EPA), the average American household wastes more than 10,000 gallons of water per year due to leaks. That's enough water to fill a backyard swimming pool! Fixing leaks not only saves you money on your utility bills, but it also helps conserve our precious water resources.Common Household Leaks and Their Causes
Before you can effectively repair a leak, it's important to understand the underlying causes. Here are some of the most common household leaks and their typical culprits:Dripping Faucets
Dripping faucets are one of the most prevalent plumbing issues. This is usually caused by worn-out washers or seals, a buildup of mineral deposits, or a faulty faucet mechanism.Leaky Pipes
Pipes can develop leaks for a variety of reasons, including corrosion, excessive water pressure, freezing temperatures, or physical damage. Leaks are often found at joints, connections, or points where the pipe material has deteriorated.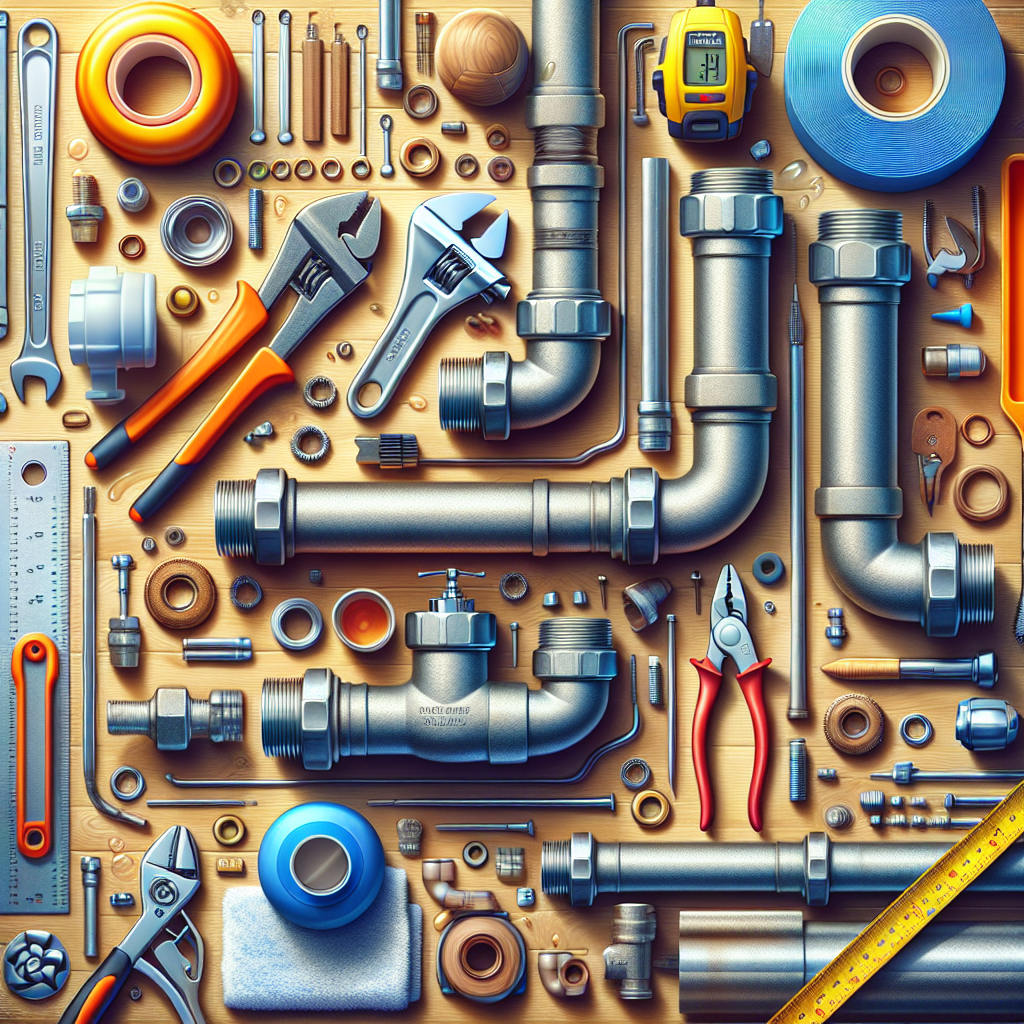
Running Toilets
A constantly running toilet is typically the result of a malfunctioning flapper valve, a faulty fill valve, or a problem with the tank-to-bowl connections.Sink or Tub Drain Leaks
Leaks around sinks and tubs are commonly caused by worn-out or improperly installed gaskets, loose connections, or cracks in the plumbing components.Water Heater Leaks
Water heater leaks can stem from a variety of issues, such as a faulty temperature and pressure (T&P) relief valve, a corroded tank, or loose connections.Tools and Supplies Needed for DIY Leak Repair
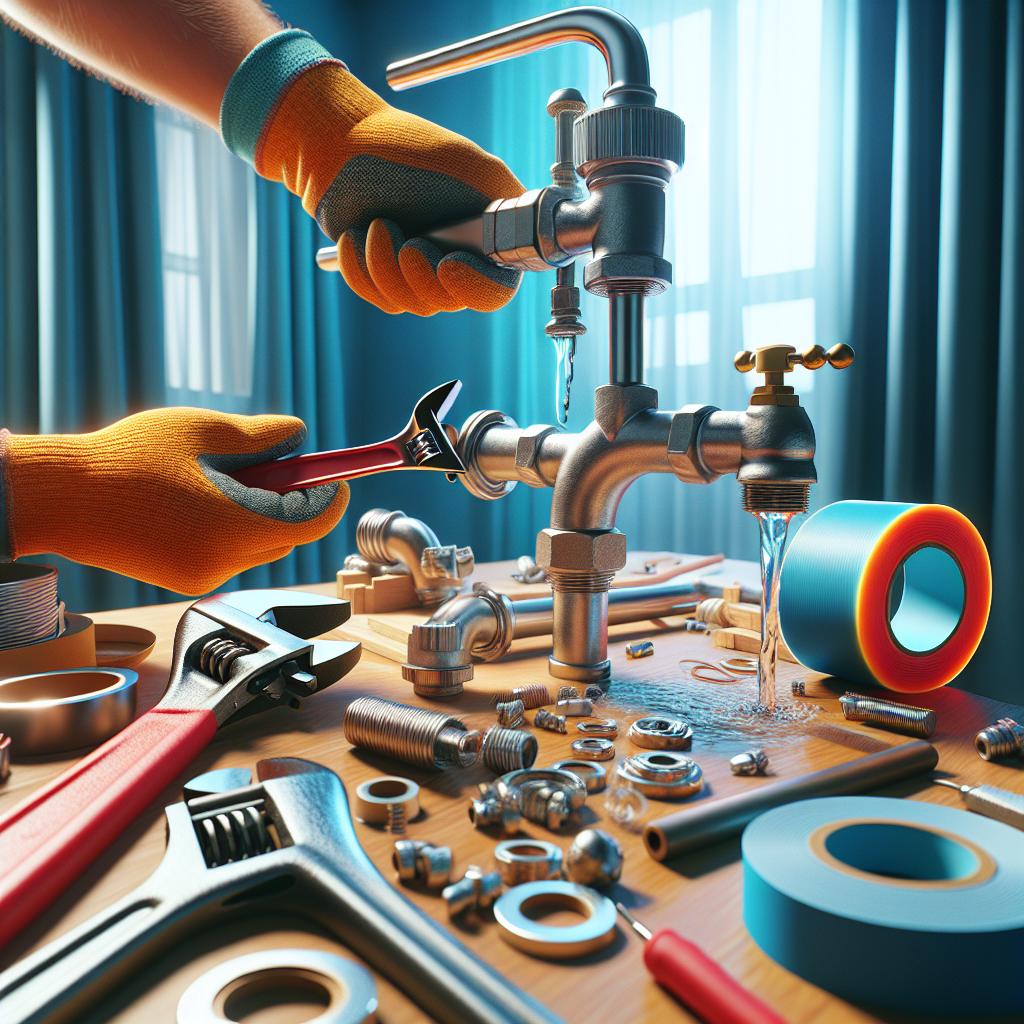
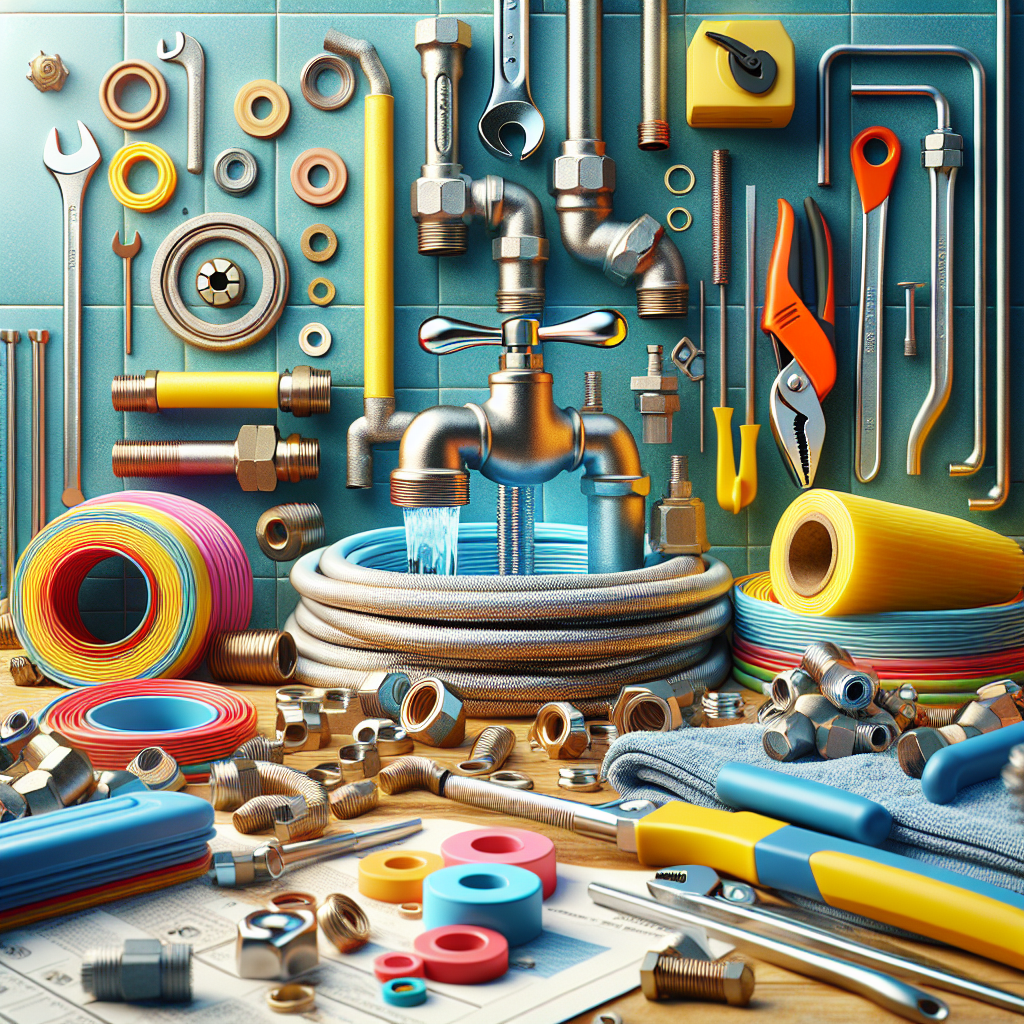
Tackling plumbing leaks doesn't require a fully stocked toolbox, but having the right equipment on hand can make the job much easier. Here are the essential tools and supplies you'll need:- Plumber's Wrench: Also known as a basin wrench, this tool is essential for accessing and tightening faucet and pipe connections.
- Plunger: A plunger is useful for clearing clogs and dislodging obstructions in sinks, tubs, and toilets.
- Bucket and Rags: Have a bucket and clean rags on hand to catch and contain any water that may spill during the repair process.
- Plumber's Putty: This adhesive sealant can be used to create a watertight seal around sink and tub drains.
- Replacement Parts: Depending on the type of leak, you may need to have replacement washers, gaskets, flappers, or other plumbing components readily available.
- Pipe Tape (Teflon Tape): This tape helps create a tighter seal on threaded pipe connections.
- Slip-Joint Pliers: These versatile pliers can grip and twist a variety of plumbing fittings and components.
- Tube Cutter or Hacksaw: If you need to cut or trim pipes, these tools will come in handy.
Step-by-Step Guide to Fixing Common Household Leaks
Now that you have the necessary tools and supplies, let's dive into the step-by-step process for repairing some of the most common household leaks.Fixing a Dripping Faucet
1. Turn off the water supply to the faucet by locating the shut-off valve under the sink or behind the faucet. 2. Remove the faucet handle and any trim or escutcheon plates to access the internal components. 3. Use a basin wrench to loosen and remove the faucet stem or cartridge. 4. Inspect the washers, o-rings, and other internal seals, and replace any worn or damaged parts. 5. Clean the faucet seat and stem, then reassemble the faucet, ensuring all connections are tight. 6. Turn the water supply back on and check for any remaining leaks.