
Master the Power Drill: A Comprehensive Guide to DIY Home Repairs
Learn essential techniques, safety tips, and cost-saving tricks to confidently tackle common household fixes with your power drill. No need for expensive professionals!
As a homeowner, having a reliable power drill in your tool arsenal can be a game-changer when it comes to tackling DIY projects and unexpected repairs. From hanging shelves and assembling furniture to patching drywall and installing fixtures, a versatile power drill is an indispensable tool that can save you time, money, and the hassle of calling in a professional. In this comprehensive guide, we'll dive deep into the world of power drills, equipping you with the knowledge and confidence to master this essential tool. Whether you're a seasoned DIYer or just starting your home improvement journey, you'll learn essential techniques, safety best practices, and cost-saving tricks to handle a wide range of common household fixes on your own.Choosing the Right Power Drill for Your Needs
The first step in mastering the power drill is selecting the right model for your specific needs. Power drills come in a variety of sizes, styles, and features, so it's important to understand the key factors to consider before making a purchase.Corded vs. Cordless Power Drills
Corded power drills offer a consistent, reliable power source and are generally more powerful than their cordless counterparts. They're ideal for heavy-duty projects or continuous use, such as drilling through thick materials or driving large screws. On the other hand, cordless drills provide greater mobility and flexibility, allowing you to work in tight spaces or on projects away from a power outlet. When choosing between corded and cordless, consider the type of projects you'll be tackling, the available power sources in your work area, and the weight and portability requirements. Cordless drills are generally more convenient for smaller, less intensive tasks, while corded models are better suited for larger-scale DIY jobs.Drill Bit Sizes and Types
Power drills come with a wide range of drill bit sizes and types, each designed for specific applications. Common bit sizes range from 1/16 inch to 1/2 inch, with larger bits used for drilling holes in thicker materials like wood or metal. Additionally, specialized bits like countersink, hole saw, and spade bits can be used for more specialized tasks. When choosing drill bits, consider the materials you'll be working with, the size and depth of the holes you need to create, and any specific features required, such as a self-centering point or a pilot tip. It's a good idea to invest in a comprehensive drill bit set that covers a range of sizes and types to handle various DIY projects.Torque and Speed Settings
Power drills often feature variable speed and torque settings, allowing you to adjust the tool's performance to suit the task at hand. Higher torque settings are ideal for driving screws or drilling through dense materials, while lower speeds are better suited for delicate work or drilling into softer materials. Look for a power drill with a wide range of speed and torque options, as well as a clutch mechanism that allows you to control the amount of torque applied. This versatility will enable you to tackle a broader spectrum of DIY projects with precision and efficiency.Essential Power Drill Techniques
Now that you've selected the right power drill for your needs, it's time to master the essential techniques that will help you confidently tackle a variety of DIY home repairs and projects.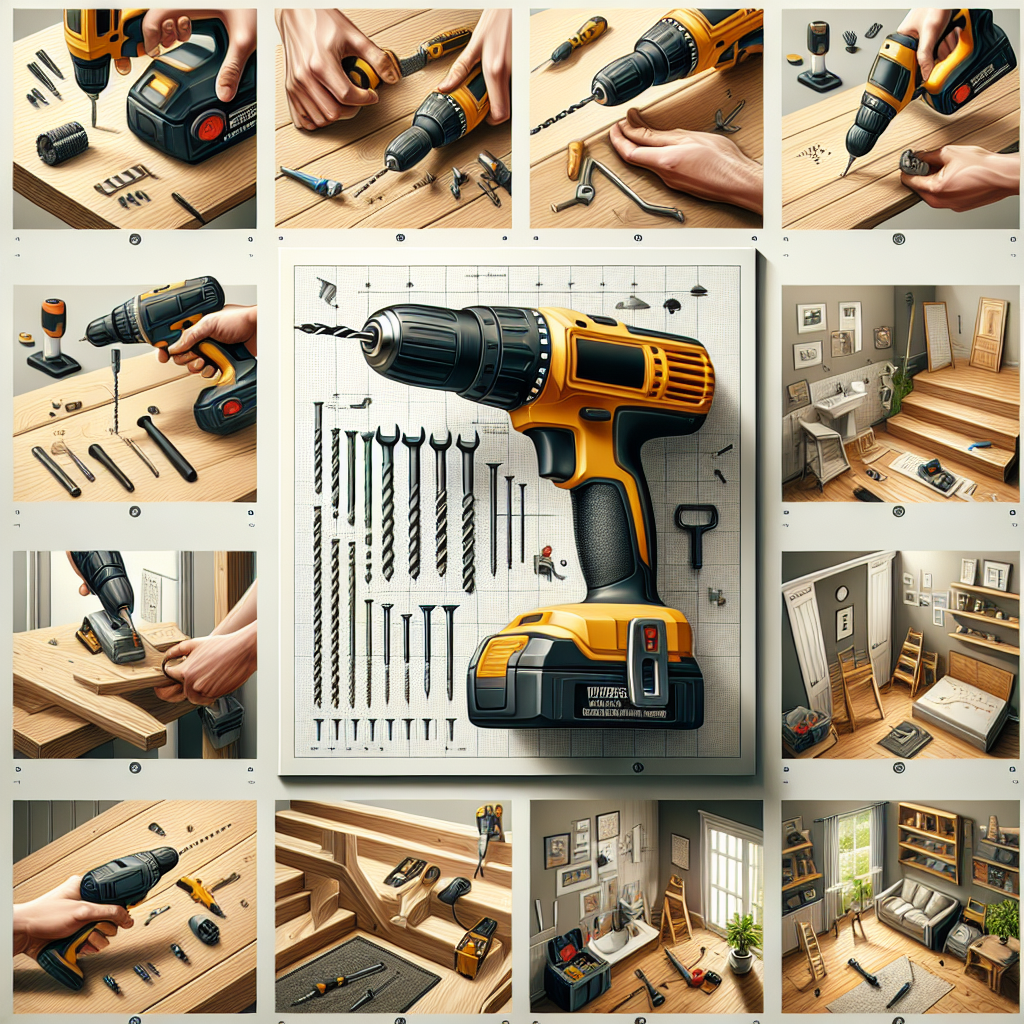
Drilling Holes
One of the most common uses for a power drill is creating precise holes in a variety of materials, from wood and drywall to metal and concrete. To ensure clean, accurate holes, follow these steps: 1. Mark the drilling location with a pencil or a center punch to create a guide. 2. Start with a pilot hole using a smaller drill bit to establish the correct hole diameter and prevent the material from cracking or splitting. 3. Gradually increase the drill bit size to the desired diameter, applying steady, even pressure and withdrawing the bit frequently to clear debris. 4. For hard materials like concrete or brick, use a masonry drill bit and apply firm, steady pressure to avoid the bit walking or skipping. 5. When drilling through walls, be mindful of any electrical wiring, plumbing, or other obstacles that may be hidden behind the surface.Driving Screws
Power drills are incredibly useful for quickly and efficiently driving screws into a variety of materials. To ensure a secure, professional-looking result, follow these tips: 1. Use the appropriate screwdriver bit for the type and size of the screws you're using. 2. Start by pre-drilling a pilot hole slightly smaller than the screw's diameter to prevent the material from splitting. 3. Apply steady, even pressure as you drive the screw, being careful not to overtighten and strip the threads. 4. For delicate materials like drywall or softwood, use a countersink bit to create a recessed area for the screw head, then finish with a flush or slightly recessed installation. 5. Adjust your drill's torque setting to the appropriate level for the material and screw size to avoid damage.Mixing and Applying Compounds
Power drills can also be used to efficiently mix and apply various compounds, such as drywall mud, joint compound, or epoxy. This can be particularly useful for larger projects or when dealing with thick, viscous materials. 1. Attach a mixing paddle or mortar paddle bit to your power drill. 2. Mix the compound thoroughly, ensuring it reaches a consistent, lump-free consistency. 3. For applying the compound, use a drywall knife or putty knife to spread it evenly over the surface. 4. Clean the mixing paddle and drill bit immediately after use to prevent the compound from hardening and damaging your tool.Sanding and Polishing
Power drills can be outfitted with a variety of sanding and polishing attachments, making them a versatile tool for finishing and refining surfaces. From smoothing down rough wood to buffing out scratches on metal, a power drill with the right accessories can save you time and effort compared to manual sanding. 1. Choose sanding discs, pads, or polishing bonnets that are the appropriate grit or material for your project. 2. Start with a coarser grit and gradually work your way up to finer grits to achieve a smooth, even finish. 3. Apply light, even pressure and keep the attachment moving to avoid creating divots or uneven areas. 4. Regularly clean the sanding or polishing attachment to prevent clogging and maintain optimal performance.Power Drill Safety Essentials
While power drills are incredibly useful tools, it's essential to prioritize safety when operating them to prevent injury and ensure successful DIY projects. Here are some crucial safety tips to keep in mind:Personal Protective Equipment (PPE)
Always wear appropriate personal protective equipment when using a power drill, including safety glasses, hearing protection, and sturdy work gloves. This will help shield you from flying debris, noise, and potential contact with the spinning drill bit.Secure the Workpiece
Ensure the material you're working on is securely clamped or held in place to prevent it from moving or slipping during drilling or screwing. This will help maintain control of the power drill and minimize the risk of accidents.Avoid Loose Clothing and Jewelry
Keep your clothing, hair, and jewelry securely tucked away to prevent them from getting caught in the spinning drill bit, which can lead to serious injury.