Master the Installation of Your Own Smart Home Security System
In today's connected world, securing your home has never been more important - or easier. Smart home security systems offer a cost-effective, DIY-friendly way to transform your house into a high-tech fortress, giving you total control and 24/7 peace of mind. By installing your own smart security system, you can save hundreds, if not thousands, on professional installation fees while tailoring the setup to your unique needs and preferences.Why a Smart Home Security System is Worth the Investment
Smart home security is no longer just for tech-savvy early adopters. These advanced systems have become increasingly accessible and user-friendly, making them a smart investment for homeowners of all skill levels. Here are a few key reasons why a DIY smart security setup is worth considering:- Enhanced Safety and Monitoring - Modern smart security systems offer a comprehensive suite of sensors, cameras, and alert capabilities to detect potential intruders, fires, and other emergencies, notifying you instantly via smartphone.
- Customizable and Scalable - Smart home security allows you to start small and gradually expand your system as your needs and budget evolve, tailoring it to your specific home and lifestyle.
- Remote Access and Control - With a smart security system, you can arm, disarm, and monitor your home from anywhere using a mobile app or web portal, giving you total command over your property's protection.
- Cost Savings - Bypassing professional installation fees and having the flexibility to choose only the components you need can save you hundreds or even thousands of dollars compared to traditional security systems.
- Increased Home Value - A modern, high-tech security setup can be a major selling point if you ever decide to put your home on the market, potentially boosting its resale value.
Choosing the Right Smart Home Security System
Before you dive into a DIY smart security installation, it's important to evaluate your specific needs and preferences to find the right system for your home. Consider factors like:System Size and Scalability
How large is your home, and how many entry points, rooms, and outdoor areas do you need to cover? Look for a modular system that allows you to start small and expand over time as your security needs grow.Compatible Devices and Integrations
Many smart home security systems can integrate with other connected devices like smart lights, thermostats, and voice assistants. Decide which smart home features are most important to you.Monitoring and Alert Options
Determine whether you want a self-monitored system that sends alerts to your smartphone, a professionally monitored plan with 24/7 dispatch services, or a hybrid approach.Power and Connectivity
Will your security system be hardwired, battery-powered, or a combination? Assess your home's electrical setup and WiFi coverage to ensure reliable, uninterrupted operation.Budget and Ongoing Costs
Smart home security can range from a few hundred dollars for a basic DIY kit to thousands for a comprehensive, professional-grade solution. Factor in any monthly fees for monitoring or cloud storage. Once you've considered these key factors, you can start researching specific smart security brands and models that align with your needs and budget. Some top-rated DIY options include SimpliSafe, Abode, Ring Alarm, and Vivint Smart Home.Preparing for Your Smart Security Installation
With your system selected, it's time to get ready for the installation process. Here are some essential pre-installation steps to ensure a smooth and successful DIY project:Gather the Necessary Tools and Materials
Depending on your specific system, you may need tools like a drill, screwdriver set, level, and ladder. Refer to the manufacturer's instructions for a full list of required items.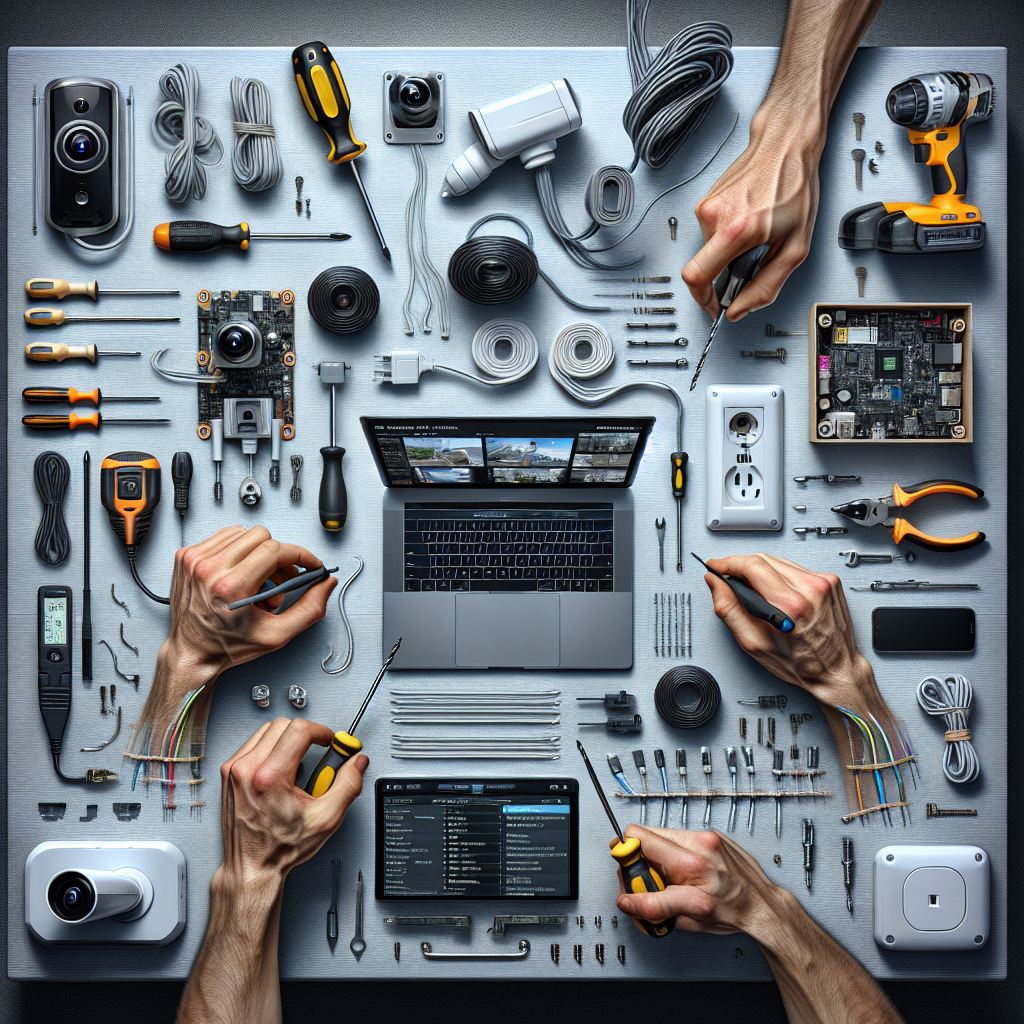
Map Out Your Home's Layout
Sketch a floor plan of your home, noting the locations of doors, windows, power outlets, and WiFi access points. This will help you strategically place sensors, cameras, and other components.Assess Your Home's Construction
Understand the materials and structures you'll be working with, such as drywall, wood, or brick. This will inform your mounting techniques and hardware needs.Clear the Installation Areas
Prepare the spaces where you'll be installing components by removing any obstructions or furniture that could interfere with the process.Ensure Adequate Power and Internet
Verify that your home's electrical system and WiFi network can support the security system's power and connectivity requirements.Review the Manufacturer's Instructions
Carefully read through the step-by-step installation guide provided by the system's manufacturer. This will help you understand the proper procedures and avoid any costly mistakes. With your preparation complete, you're ready to begin the hands-on process of installing your new smart home security system.Step-by-Step Smart Security Installation
The actual installation process can vary depending on the specific system you've chosen, but here's a general step-by-step guide to get you started:1. Mount the Control Panel or Hub
This is the brain of your smart security system, typically a central control panel or a compact hub device. Choose a location that's easily accessible but out of plain sight, and ensure it's within range of your home's WiFi network.2. Install the Entry Sensors
Place door and window sensors at all accessible entry points to your home. These wireless sensors will detect when a door or window is opened and alert your system.3. Position Motion Detectors
Strategic placement of motion sensors is crucial for comprehensive coverage. Install them in high-traffic areas, entryways, and rooms with multiple access points.4. Set Up Security Cameras
Mount indoor and outdoor cameras in locations that provide a clear view of your home's perimeter and key areas. Ensure they have a power source and reliable internet connectivity.5. Connect Smart Lighting and Sirens
Integrate smart light bulbs and sirens that can be triggered by your security system to deter intruders and draw attention to potential threats.6. Integrate Smart Home Devices
If desired, link your security system with other connected home devices like smart thermostats, smart plugs, and voice assistants for seamless, automated control.7. Configure and Test the System
Follow the manufacturer's instructions to properly configure your security system, including setting up user accounts, enabling notifications, and testing the functionality of each component.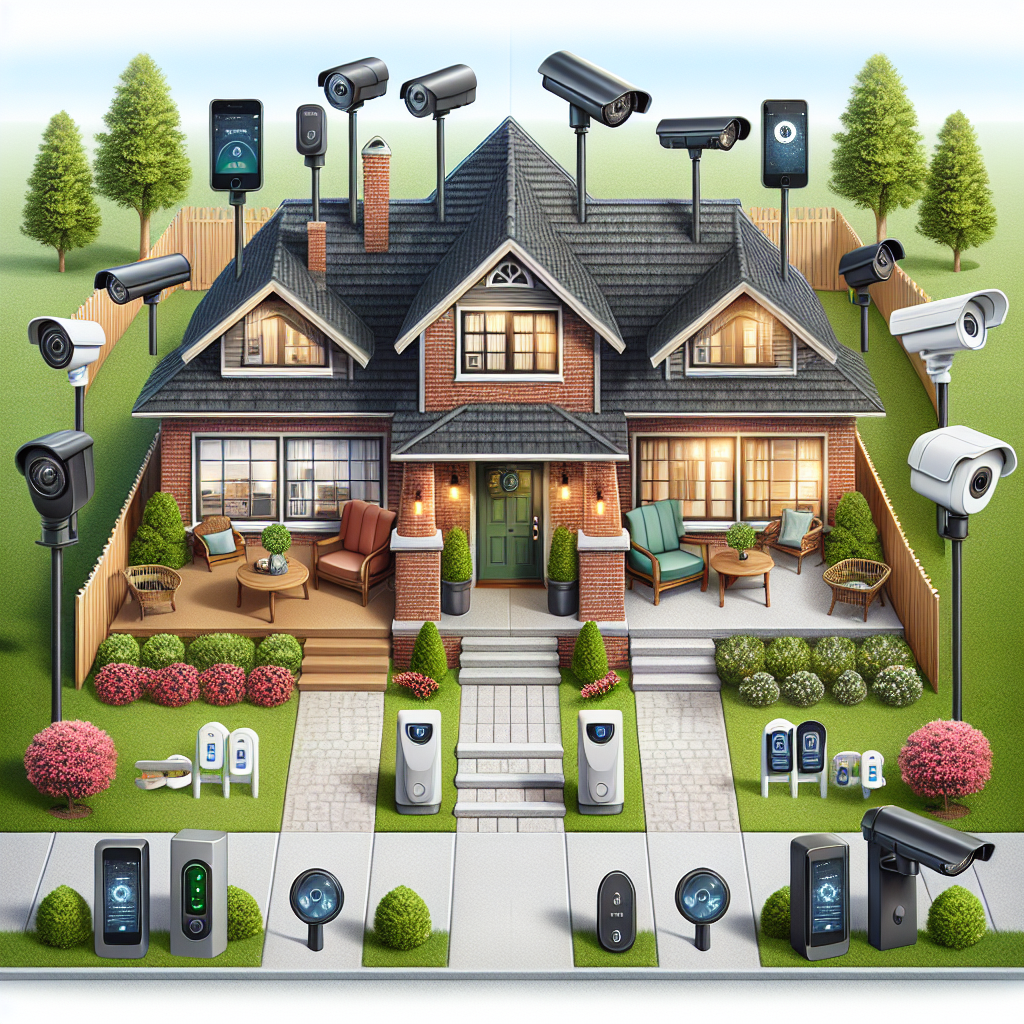
8. Familiarize Yourself with the Mobile App
Download the companion mobile app and explore its features, such as remote arming/disarming, live camera feeds, and alert management. Throughout the installation process, be sure to strictly adhere to all safety guidelines and best practices provided by the system's manufacturer. Proper placement, wiring, and configuration are essential for ensuring your smart security system operates reliably and effectively.Maintaining and Optimizing Your Smart Security System
Once your smart home security system is up and running, it's important to establish a routine of maintenance and optimization to keep it performing at its best. Here are some key steps to consider:Regular Testing and Battery Checks
Periodically test your system's functionality, including triggering sensors and verifying alert notifications. Replace any batteries in wireless components as needed.Firmware and Software Updates
Stay on top of any system updates released by the manufacturer to ensure your security features are current and any vulnerabilities are addressed.Camera Adjustments and Cleaning
Ensure your security cameras remain properly positioned and clear of any obstructions or dirt buildup that could impair their performance.Integrating New Smart Home Devices
As you expand your connected home ecosystem, seamlessly integrate any new devices with your security system for enhanced automation and control.Reviewing and Adjusting Settings
Periodically review your system's settings and notifications to optimize performance and minimize false alarms.Backup and Data Management
If your system offers cloud storage or video recording features, establish a routine backup process and manage your data accordingly. By diligently maintaining and optimizing your smart home security system, you can enjoy the peace of mind and protection it provides for years to come.Key Takeaways
In summary, here are the key highlights for mastering the installation of your own smart home security system:- Smart home security systems offer enhanced safety, customization, remote access, and cost savings compared to traditional security setups.
- Carefully evaluate your specific needs and preferences to choose the right smart security system for your home, considering factors like size, compatible devices, monitoring options, and budget.
- Prepare for the installation process by gathering the necessary tools, mapping your home's layout, and reviewing the manufacturer's instructions.
- Follow a step-by-step approach to properly mount the control panel, install sensors and cameras, integrate smart devices, and configure the system.
- Maintain and optimize your smart security system through regular testing, firmware updates, camera adjustments, and settings reviews.