Master the Art of Fixing Leaky Faucets: A Comprehensive DIY Guide
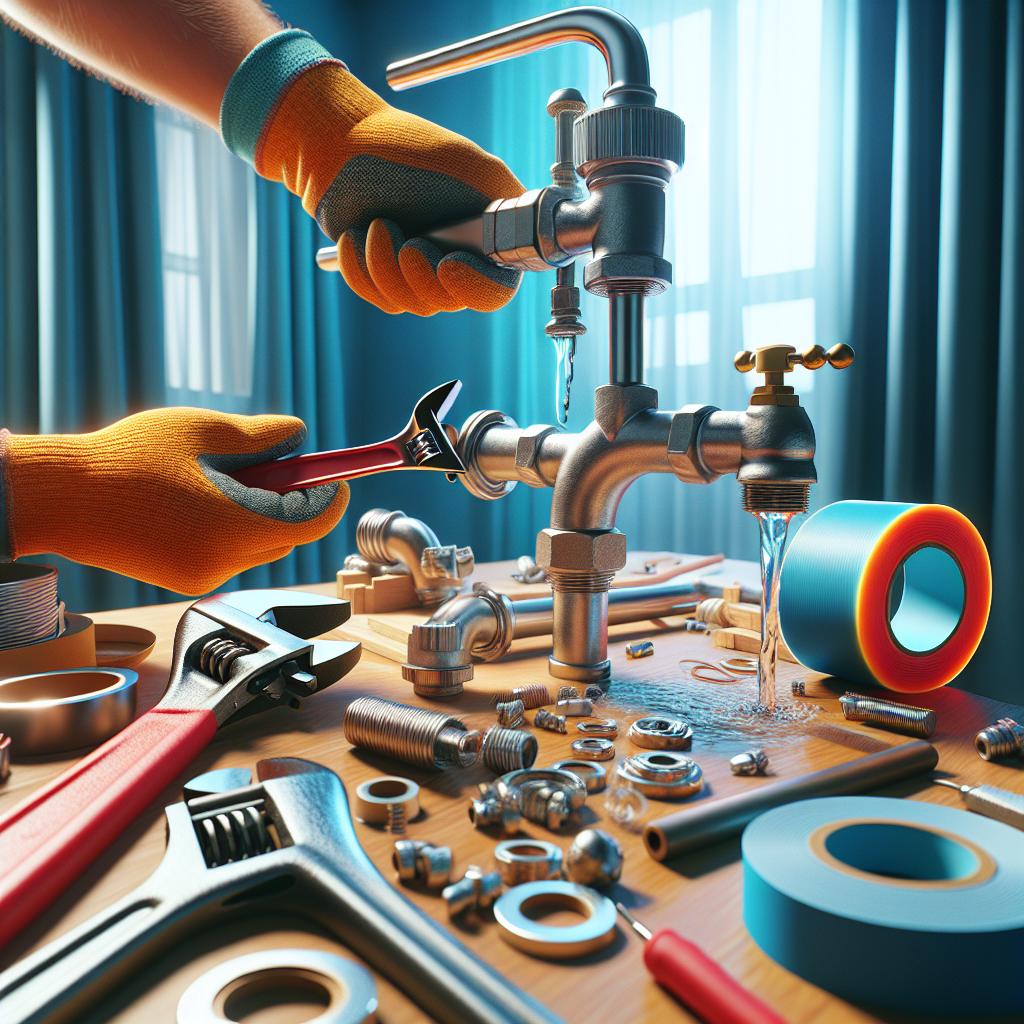
Drip, drip, drip - the maddening sound of a leaky faucet can drive any homeowner crazy. But before you call in a plumber and fork over a hefty repair bill, know this: fixing a leaky faucet is often a straightforward DIY project that can save you both money and water. In this comprehensive guide, we'll walk you through the step-by-step process of diagnosing and repairing common faucet leaks, equipping you with the skills and confidence to tackle this home improvement task without the need for professional assistance.
Understanding Faucet Anatomy and Common Leak Causes
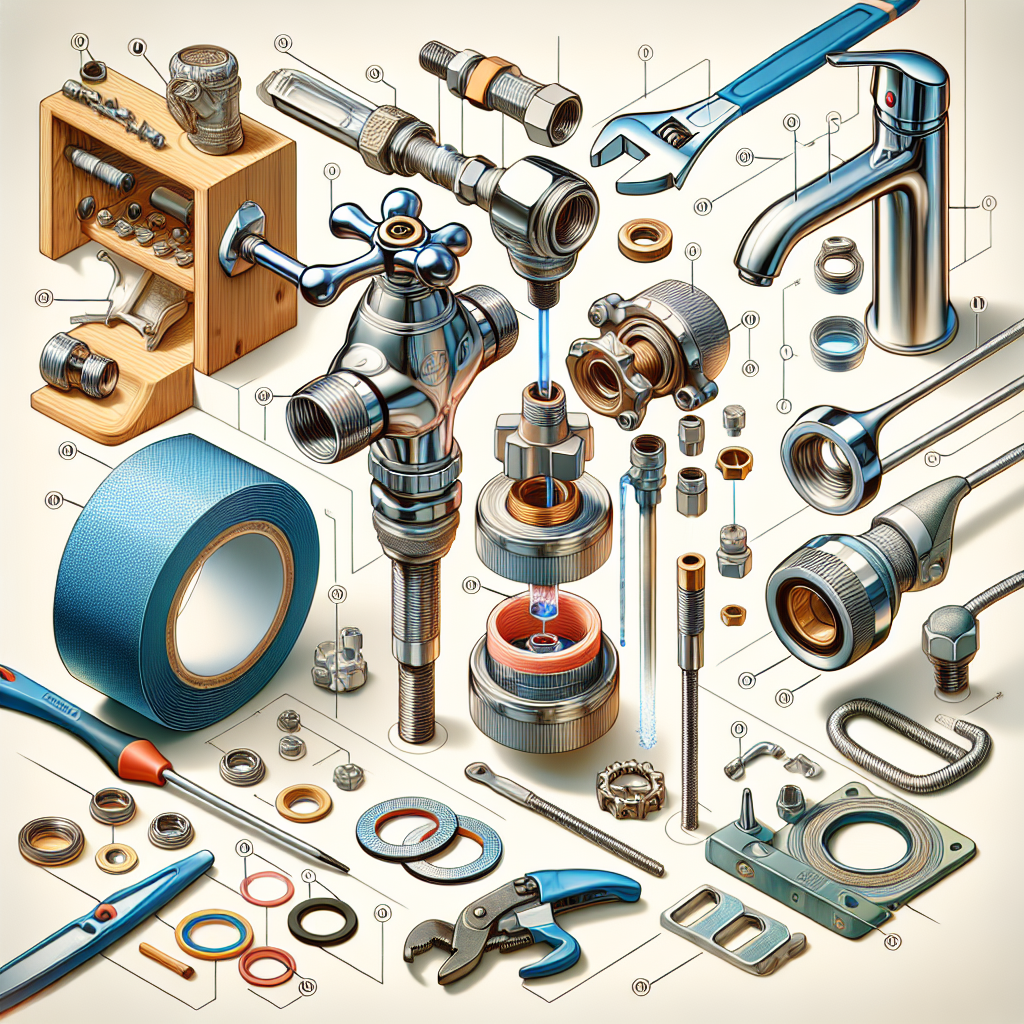
The first step in fixing a leaky faucet is understanding the basic components that make up a typical faucet and how they work together. Most standard faucets consist of the following key parts:
- Faucet handle: This is the part you turn to control the water flow.
- Stem: The stem connects the faucet handle to the inner workings and controls the water supply.
- Cartridge, ball, or ceramic disc: These are the internal mechanisms that regulate water flow and temperature.
- Washers and seals: These rubber or plastic components create a tight seal to prevent leaks.
- Faucet body: The outer casing that houses all the internal components.
Leaks can occur at any of these points, but the most common culprits are worn-out washers and seals. Over time, these rubber parts can deteriorate, crack, or become dislodged, allowing water to escape. Other potential causes include a faulty cartridge, corroded parts, or a problem with the faucet's stem. Diagnosing the Leak Before you can fix a leaky faucet, you need to identify the source of the leak. Here's how to do it:
- Observe the leak: Turn on the faucet and carefully observe where the water is coming from. Is it dripping from the spout, around the handle, or somewhere else?
- Check the water pressure: A high-pressure leak is more likely to be caused by a worn washer or seal, while a low-pressure leak may indicate a problem with the cartridge or stem.
- Identify the faucet type: Faucets can be classified as compression, cartridge, or ceramic disc. Knowing the type will help you determine the appropriate repair approach.
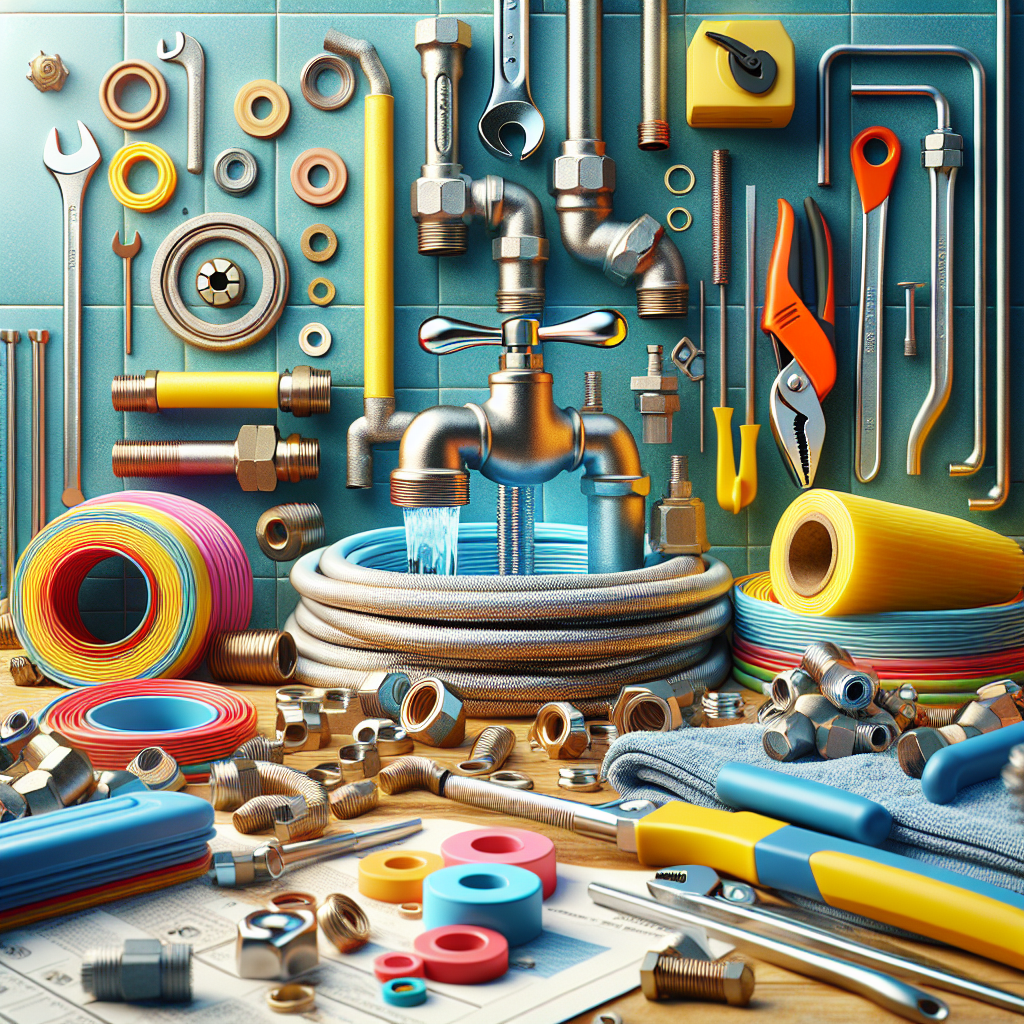
Once you've identified the source and nature of the leak, you can move on to the repair process. Repairing a Compression Faucet Leak Compression faucets are the most common type found in homes and are relatively easy to repair. Here's how to fix a leaky compression faucet: What You'll Need:
- Faucet repair kit (containing washers, O-rings, and springs)
- Pliers or basin wrench
- Screwdriver
- Penetrating oil (optional)
Step-by-Step Instructions:
- Turn off the water supply to the faucet by shutting off the valves under the sink or behind the faucet.
- Remove the faucet handle, either by unscrewing it or using a handle puller tool.
- Use pliers or a basin wrench to remove the faucet stem.
- Inspect the washers and springs inside the stem. If they are worn, cracked, or damaged, replace them with new ones from the repair kit.
- Apply a small amount of penetrating oil to the stem threads to help it slide back in more easily.
- Reassemble the faucet, making sure all components are properly aligned and tightened.
- Turn the water supply back on and check for any remaining leaks.
Repairing a Cartridge Faucet Leak
Cartridge faucets have a single-piece cartridge mechanism that controls water flow and temperature. While the repair process is a bit more involved, it's still a manageable DIY project.
 What You'll Need:
- Replacement cartridge kit
- Basin wrench
- Pliers
- Penetrating oil (optional)
Step-by-Step Instructions:
- Turn off the water supply and open the faucet to relieve any remaining pressure.
- Remove the faucet handle, then use a basin wrench to unscrew the retaining nut or collar that holds the cartridge in place.
- Carefully pull out the old cartridge and inspect it for any cracks, wear, or damage.
- Match the new replacement cartridge to the existing one, ensuring it's the correct size and model.
- Apply a small amount of penetrating oil to the new cartridge's rubber seals to help it slide in smoothly.
- Reinstall the new cartridge, making sure it's properly aligned and secured with the retaining nut or collar.
- Reassemble the faucet, turn the water back on, and check for any remaining leaks.
Repairing a Ceramic Disc Faucet Leak
Ceramic disc faucets are a more modern design that often provide a smoother, more precise operation. Repairing these types of faucets may require a bit more technical skill, but it's still a doable DIY project.
What You'll Need:
- Replacement ceramic disc cartridge
- Basin wrench
- Pliers
- Penetrating oil (optional)
Step-by-Step Instructions:
- Turn off the water supply and open the faucet to relieve any remaining pressure.
- Remove the faucet handle, then use a basin wrench to unscrew the retaining nut or collar that holds the ceramic disc cartridge in place.
- Carefully pull out the old ceramic disc cartridge and inspect it for any cracks, wear, or damage.
- Match the new replacement cartridge to the existing one, ensuring it's the correct size and model.
- Apply a small amount of penetrating oil to the new cartridge's rubber seals to help it slide in smoothly.
- Reinstall the new ceramic disc cartridge, making sure it's properly aligned and secured with the retaining nut or collar.
- Reassemble the faucet, turn the water back on, and check for any remaining leaks.
Addressing Other Faucet Leak Scenarios
While the majority of faucet leaks can be attributed to worn washers, seals, or cartridges, there are a few other potential causes worth addressing:
Leaks Around the Faucet Base
If you notice water leaking from around the base of the faucet, the issue may be a faulty seal between the faucet and the sink. To fix this, you'll need to remove the faucet, clean the sink surface, and apply a bead of silicone caulk or plumber's putty to create a watertight seal when reinstalling the faucet.
Leaks from the Faucet Spout
A leak from the spout itself may indicate a problem with the internal valve seat and spring. This typically requires disassembling the faucet further and replacing these components, which can be a more complex repair process.
Leaks from the Faucet Handle
 If water is dripping from around the faucet handle, the issue is likely a worn O-ring or packing seal. You can usually fix this by removing the handle, accessing the internal components, and replacing the damaged seals.
Cost Considerations and Budget-Friendly Options
One of the biggest benefits of DIY faucet repair is the potential cost savings compared to hiring a plumber. On average, a professional plumber can charge between $150 to $350 or more to fix a leaky faucet, depending on the complexity of the issue and your location.
In contrast, a basic faucet repair kit containing the necessary washers, O-rings, and springs typically costs between $5 to $15 at most hardware stores or online. For more complex faucet types, such as cartridge or ceramic disc models, replacement cartridges can range from $10 to $50, depending on the brand and quality.
Beyond the immediate cost savings, fixing a leaky faucet yourself can also help you reduce your monthly water bills. According to the Environmental Protection Agency (EPA), a single dripping faucet can waste up to 3,000 gallons of water per year, costing homeowners an additional $70 to $200 annually on their water bills.
Safety Considerations and Best Practices
While faucet repair is generally a straightforward DIY task, it's essential to prioritize safety throughout the process. Here are some key considerations:
If water is dripping from around the faucet handle, the issue is likely a worn O-ring or packing seal. You can usually fix this by removing the handle, accessing the internal components, and replacing the damaged seals.
Cost Considerations and Budget-Friendly Options
One of the biggest benefits of DIY faucet repair is the potential cost savings compared to hiring a plumber. On average, a professional plumber can charge between $150 to $350 or more to fix a leaky faucet, depending on the complexity of the issue and your location.
In contrast, a basic faucet repair kit containing the necessary washers, O-rings, and springs typically costs between $5 to $15 at most hardware stores or online. For more complex faucet types, such as cartridge or ceramic disc models, replacement cartridges can range from $10 to $50, depending on the brand and quality.
Beyond the immediate cost savings, fixing a leaky faucet yourself can also help you reduce your monthly water bills. According to the Environmental Protection Agency (EPA), a single dripping faucet can waste up to 3,000 gallons of water per year, costing homeowners an additional $70 to $200 annually on their water bills.
Safety Considerations and Best Practices
While faucet repair is generally a straightforward DIY task, it's essential to prioritize safety throughout the process. Here are some key considerations:
- Turn off the water supply: Ensure the water is completely shut off before disassembling the faucet to avoid any potential flooding.
- Wear protective gear: Use safety glasses and gloves to protect your eyes and hands from any sharp or hot components.
- Work in a well-lit area: Good lighting will help you see what you're doing and avoid any accidents.
- Follow manufacturer instructions: Carefully read and follow the guidance provided with any replacement parts or repair kits.
- Test the repair: Once you've reassembled the faucet, turn the water back on slowly and check for any remaining leaks before considering the job complete.
Key Takeaways
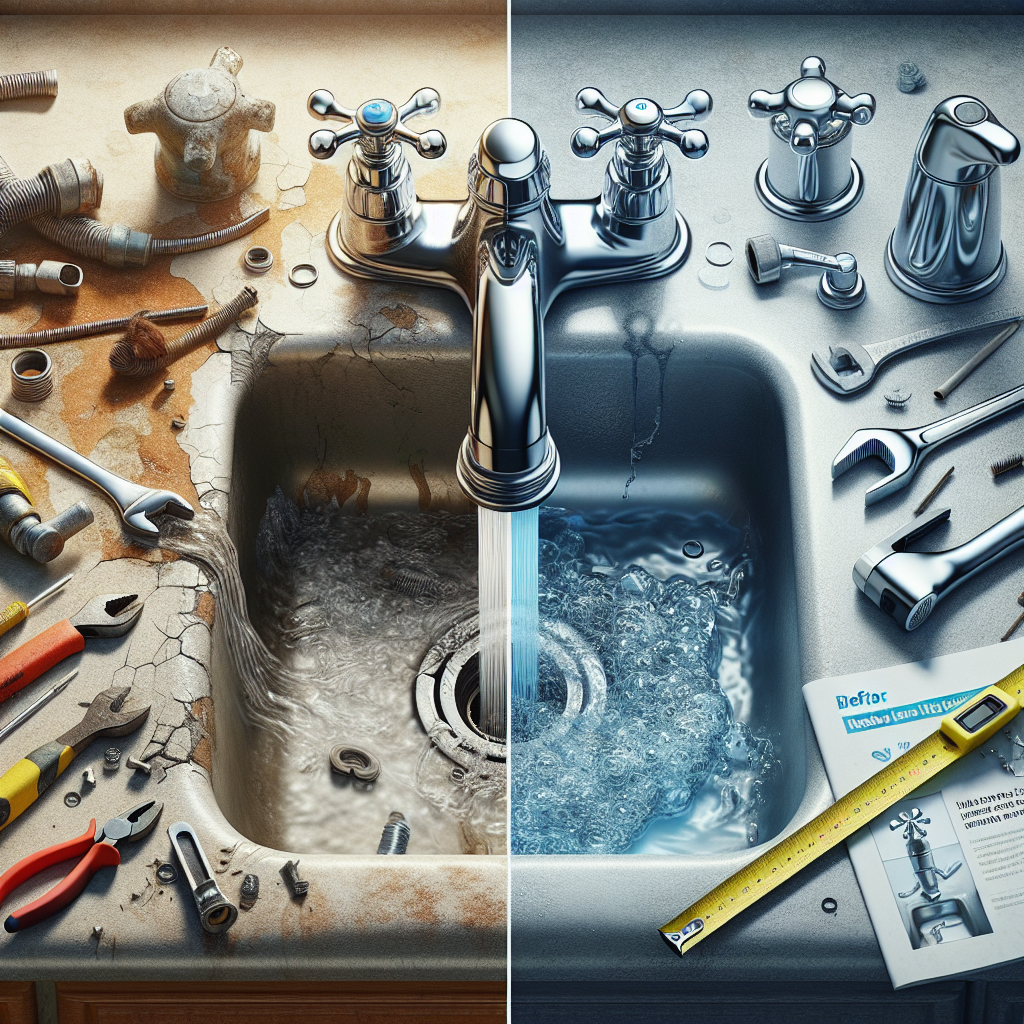
Fixing a leaky faucet is a common home improvement task that, with the right knowledge and tools, can be tackled by any DIY-inclined homeowner. By understanding faucet anatomy, diagnosing the source of the leak, and following the appropriate repair steps, you can save money, conserve water, and gain a valuable new skill. Remember to prioritize safety, work carefully, and don't hesitate to consult online tutorials or professional resources if you encounter any challenges along the way. With this comprehensive guide, you're now equipped to master the art of faucet repair and maintain a drip-free, efficient plumbing system in your home.
Final Thoughts
Fixing a leaky faucet may seem like a daunting task, but with the right approach and a little bit of DIY know-how, it's a project that any homeowner can tackle. By following the steps outlined in this guide, you'll be able to diagnose the source of the leak, identify the right repair method, and complete the job with confidence. Not only will this save you money on costly plumber bills, but it will also help you conserve water and maintain a well-functioning plumbing system in your home. So, the next time you hear that maddening drip, don't hesitate - grab your toolkit and get to work. With a little effort, you'll be well on your way to mastering the art of faucet repair.
- Replacement ceramic disc cartridge
- Basin wrench
- Pliers
- Penetrating oil (optional)
Step-by-Step Instructions:
- Turn off the water supply and open the faucet to relieve any remaining pressure.
- Remove the faucet handle, then use a basin wrench to unscrew the retaining nut or collar that holds the ceramic disc cartridge in place.
- Carefully pull out the old ceramic disc cartridge and inspect it for any cracks, wear, or damage.
- Match the new replacement cartridge to the existing one, ensuring it's the correct size and model.
- Apply a small amount of penetrating oil to the new cartridge's rubber seals to help it slide in smoothly.
- Reinstall the new ceramic disc cartridge, making sure it's properly aligned and secured with the retaining nut or collar.
- Reassemble the faucet, turn the water back on, and check for any remaining leaks.
Addressing Other Faucet Leak Scenarios
While the majority of faucet leaks can be attributed to worn washers, seals, or cartridges, there are a few other potential causes worth addressing:
Leaks Around the Faucet Base
If you notice water leaking from around the base of the faucet, the issue may be a faulty seal between the faucet and the sink. To fix this, you'll need to remove the faucet, clean the sink surface, and apply a bead of silicone caulk or plumber's putty to create a watertight seal when reinstalling the faucet.
Leaks from the Faucet Spout
A leak from the spout itself may indicate a problem with the internal valve seat and spring. This typically requires disassembling the faucet further and replacing these components, which can be a more complex repair process.
Leaks from the Faucet Handle
If water is dripping from around the faucet handle, the issue is likely a worn O-ring or packing seal. You can usually fix this by removing the handle, accessing the internal components, and replacing the damaged seals.
Cost Considerations and Budget-Friendly Options
One of the biggest benefits of DIY faucet repair is the potential cost savings compared to hiring a plumber. On average, a professional plumber can charge between $150 to $350 or more to fix a leaky faucet, depending on the complexity of the issue and your location.
In contrast, a basic faucet repair kit containing the necessary washers, O-rings, and springs typically costs between $5 to $15 at most hardware stores or online. For more complex faucet types, such as cartridge or ceramic disc models, replacement cartridges can range from $10 to $50, depending on the brand and quality.
Beyond the immediate cost savings, fixing a leaky faucet yourself can also help you reduce your monthly water bills. According to the Environmental Protection Agency (EPA), a single dripping faucet can waste up to 3,000 gallons of water per year, costing homeowners an additional $70 to $200 annually on their water bills.
Safety Considerations and Best Practices
While faucet repair is generally a straightforward DIY task, it's essential to prioritize safety throughout the process. Here are some key considerations:
- Turn off the water supply: Ensure the water is completely shut off before disassembling the faucet to avoid any potential flooding.
- Wear protective gear: Use safety glasses and gloves to protect your eyes and hands from any sharp or hot components.
- Work in a well-lit area: Good lighting will help you see what you're doing and avoid any accidents.
- Follow manufacturer instructions: Carefully read and follow the guidance provided with any replacement parts or repair kits.
- Test the repair: Once you've reassembled the faucet, turn the water back on slowly and check for any remaining leaks before considering the job complete.
Key Takeaways
Fixing a leaky faucet is a common home improvement task that, with the right knowledge and tools, can be tackled by any DIY-inclined homeowner. By understanding faucet anatomy, diagnosing the source of the leak, and following the appropriate repair steps, you can save money, conserve water, and gain a valuable new skill. Remember to prioritize safety, work carefully, and don't hesitate to consult online tutorials or professional resources if you encounter any challenges along the way. With this comprehensive guide, you're now equipped to master the art of faucet repair and maintain a drip-free, efficient plumbing system in your home.
Final Thoughts
Fixing a leaky faucet may seem like a daunting task, but with the right approach and a little bit of DIY know-how, it's a project that any homeowner can tackle. By following the steps outlined in this guide, you'll be able to diagnose the source of the leak, identify the right repair method, and complete the job with confidence. Not only will this save you money on costly plumber bills, but it will also help you conserve water and maintain a well-functioning plumbing system in your home. So, the next time you hear that maddening drip, don't hesitate - grab your toolkit and get to work. With a little effort, you'll be well on your way to mastering the art of faucet repair.