Transform Your Surfaces into Elegant, Marble-Like Finishes Without Breaking the Bank
Marble has long been a symbol of luxury and sophistication, gracing the floors, walls, and countertops of high-end homes and commercial spaces. However, the cost of genuine marble can be prohibitive for many homeowners. Enter faux marble painting - a cost-effective DIY technique that allows you to achieve the same stunning, marble-like appearance on a wide range of surfaces, from furniture to accent walls. In this comprehensive guide, we'll uncover expert tips, budget-friendly materials, and foolproof techniques to help you master the art of faux marble painting and complete a professional-looking project in a single weekend. Get ready to elevate your space with the timeless elegance of marble, without the hefty price tag.Understanding the Basics of Faux Marble Painting
Faux marble painting is a decorative technique that mimics the natural patterns and veining of genuine marble using a combination of paint, glazes, and specialized tools. By layering and blending different shades and tones, you can create a unique, one-of-a-kind marble effect that seamlessly integrates with your existing decor. The beauty of faux marble painting lies in its versatility. Unlike the installation of real marble, which can be a complex and costly endeavor, this DIY approach allows you to transform a wide range of surfaces, from walls and furniture to floors and countertops, without the need for extensive construction or demolition work.Choosing the Right Materials for Your Faux Marble Project
Before you begin your faux marble painting project, it's essential to gather the right materials. While the exact supplies may vary depending on the scope and scale of your project, here are the essential items you'll need:Paint
- Base coat paint in a neutral color (e.g., white, off-white, or light gray)
- Acrylic craft paints in a variety of colors to create the marble effect (e.g., gray, white, black, and veining shades)
Glazes and Mediums
- Acrylic glaze or medium to create a translucent, marble-like finish
- Gel medium or texture paste to add depth and dimension to the veining
Tools and Accessories
- High-quality paintbrushes (including angled, flat, and detail brushes)
- Sponges or sea sponges for applying and blending the paint
- Palette knives or putty knives for creating texture and veining
- Painter's tape and drop cloths to protect surrounding areas
- Sandpaper (120-grit and 220-grit) for surface preparation and distressing
- Clear acrylic sealer to protect the finished surface (optional)
Preparing the Surface for Faux Marble Painting
Proper surface preparation is the key to achieving a professional-looking faux marble finish. Depending on the material you're working with, the steps may vary, but here's a general guide:Cleaning and Deglossing
- Thoroughly clean the surface to remove any dirt, grease, or existing finishes. Use a degreaser or TSP substitute, if necessary.
- Lightly sand the surface with 120-grit sandpaper to dull the sheen and help the new paint adhere.
- Wipe away any dust or debris with a clean, damp cloth.
Priming and Basecoating
- Apply a high-quality primer to the cleaned surface, following the manufacturer's instructions for drying time.
- Once the primer is dry, paint a base coat in a neutral color (e.g., white, off-white, or light gray) using a high-quality acrylic paint.
- Allow the base coat to dry completely before proceeding to the next step.
Distressing the Surface (Optional)
- If desired, lightly sand the base coat with 220-grit sandpaper to create a subtle, aged appearance.
- Wipe away any dust and ensure the surface is clean and ready for the faux marble application.
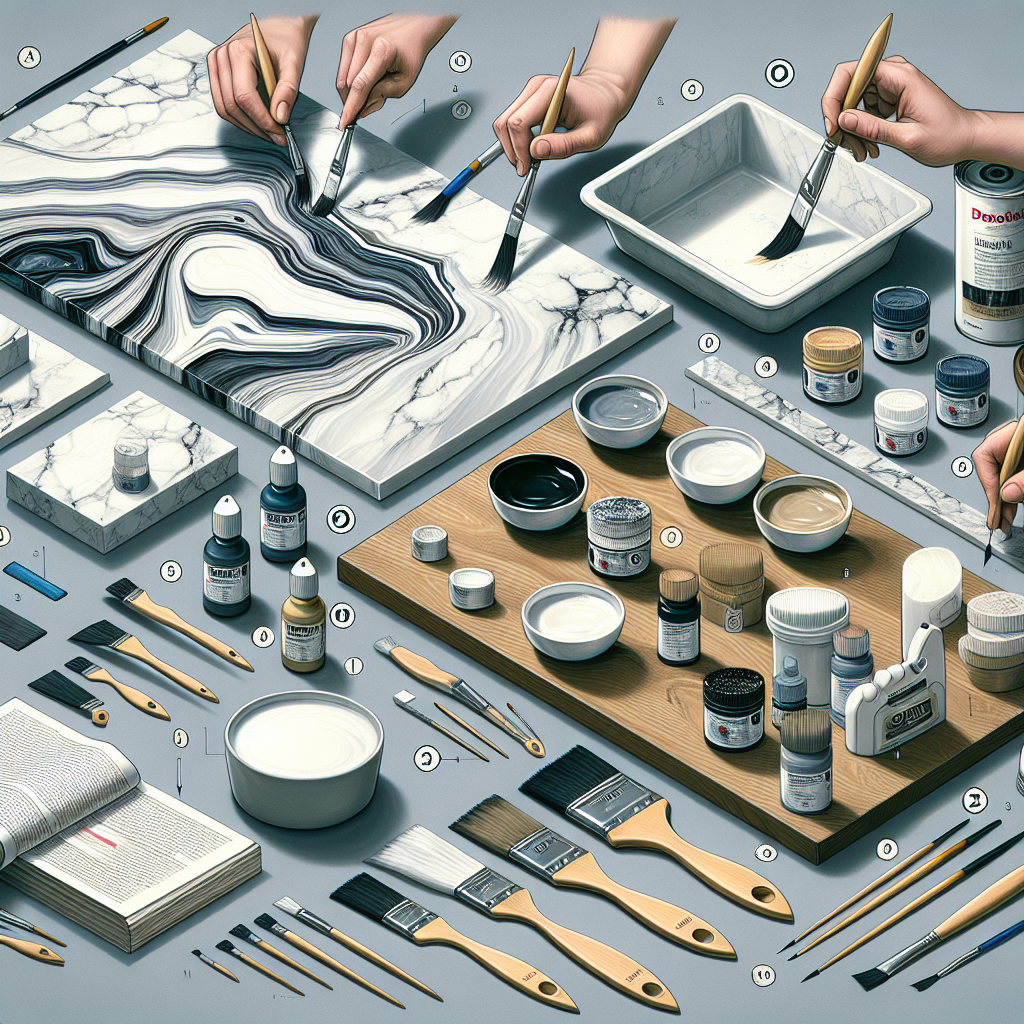
Mastering the Faux Marble Painting Technique
Now that your surface is ready, it's time to dive into the faux marble painting process. This multi-step technique may seem intimidating at first, but with a little practice, you'll be creating stunning marble-like finishes in no time.Step 1: Apply the Base Coat
- Using a high-quality paintbrush or roller, apply a smooth, even coat of your base color paint (e.g., white, off-white, or light gray) over the prepared surface.
- Allow the base coat to dry completely according to the manufacturer's instructions.
Step 2: Create the Marble Veining
- Squeeze small amounts of your veining colors (e.g., gray, black, and white) onto a palette or disposable plate.
- Dip a sponge or sea sponge into the paint colors, blotting off any excess.
- Gently dab and stipple the sponge onto the base coat, creating organic, flowing patterns that resemble natural marble veining.
- Use a palette knife or putty knife to create sharper, more defined veins by dragging and pulling the paint across the surface.
- Blend the colors and textures as you work, creating a cohesive, marble-like appearance.
- Allow the veining layer to dry completely.
Step 3: Apply the Translucent Glaze
- Mix your acrylic glaze or medium with a small amount of water to create a thin, translucent consistency.
- Using a clean, dry sponge or brush, apply the glaze over the entire surface in a thin, even layer.
- Allow the glaze to partially dry, then use a clean, dry sponge to gently dab and lift the glaze in select areas, creating a mottled, marble-like effect.
- Repeat this process, applying and lifting the glaze, until you achieve your desired marble appearance.
- Let the final glaze layer dry completely.
Step 4: Add Depth and Dimension (Optional)
- If you want to create additional depth and dimension to your faux marble, mix a small amount of gel medium or texture paste with your veining colors.
- Use a palette knife or putty knife to apply the textured mixture in strategic areas, accentuating the veining and creating a more realistic, three-dimensional effect.
- Allow the textured layer to dry completely.
Step 5: Seal and Protect the Finish (Optional)
- Once you're satisfied with the faux marble appearance, apply a clear acrylic sealer to protect the surface and enhance the marble-like sheen.
- Follow the manufacturer's instructions for application and drying time.
Cost-Saving Tips for Faux Marble Painting
One of the primary benefits of faux marble painting is its cost-effectiveness compared to installing genuine marble. Here are some tips to help you save money on your DIY project:Choose Budget-Friendly Materials
- Opt for acrylic craft paints and glazes instead of more expensive artist-grade materials.
- Explore hardware store or big-box retailer options for high-quality, affordable paint and supplies.
- Invest in versatile, multi-purpose tools (e.g., sponges, palette knives) that can be used for various projects.
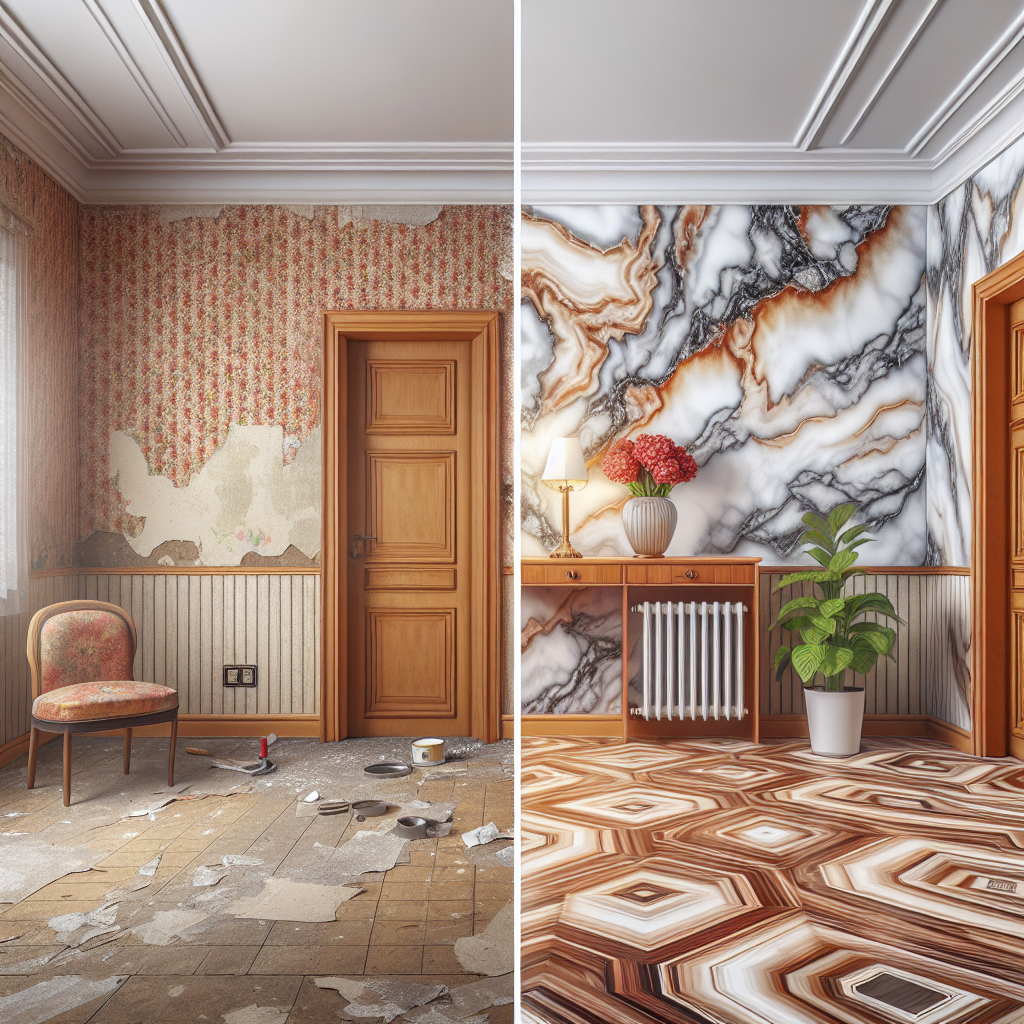
Repurpose Existing Surfaces
- Transform outdated or worn furniture, cabinets, or countertops with a faux marble finish instead of replacing them.
- Apply the faux marble technique to accent walls, backsplashes, or other small surfaces to achieve a high-end look at a fraction of the cost.
Leverage DIY Skills
- Embrace the DIY approach and invest your time and effort instead of hiring a professional painter or contractor.
- Practice the faux marble technique on small, inconspicuous areas before tackling larger projects.
- Enlist the help of friends or family members to speed up the process and make it a fun, collaborative activity.
Key Takeaways
- Faux marble painting is a cost-effective DIY technique that allows you to transform a wide range of surfaces into elegant, marble-like finishes.
- Proper surface preparation, high-quality materials, and a multi-step application process are the keys to achieving a professional-looking result.
- Embrace experimentation and practice to master the faux marble painting technique and find the methods that work best for your specific project.
- Leverage budget-friendly materials, repurpose existing surfaces, and leverage your DIY skills to create a luxurious marble-inspired look without the hefty price tag.