Transform Your Living Space with Striking, Cost-Effective Faux Marble Finishes. Learn the Techniques, Materials, and Steps to Successfully Complete Your Project in a Weekend.
Faux marble painting is a versatile and budget-friendly way to breathe new life into your living spaces. Whether you're looking to upgrade kitchen countertops, revitalize a dated bathroom vanity, or add a touch of elegant sophistication to a fireplace surround, this decorative technique allows you to achieve a high-end, luxurious look without the hefty price tag of real stone. In this comprehensive guide, we'll walk you through the essential steps to master the art of faux marble painting and transform your home with stunning, cost-effective results. From selecting the right materials and tools to perfecting the marbling technique, you'll gain the confidence and skills needed to tackle your faux marble project like a pro, even if you're a complete beginner.Understanding the Basics of Faux Marble Painting
Faux marble painting is a decorative painting technique that mimics the natural beauty and unique patterns of genuine marble. By layering various colors and applying specific techniques, you can create the illusion of high-end, luxurious marble surfaces on a wide range of materials, including wood, laminate, and even plain drywall. The key to successful faux marble painting lies in understanding the underlying marble formation process and how to replicate it through a combination of painting and finishing techniques. Genuine marble is formed over centuries by the compression and crystallization of various minerals, resulting in the mesmerizing veining and swirling patterns we admire. In the world of faux finishes, the goal is to recreate this natural aesthetic through a systematic application of paint, glazes, and specialized tools. By mastering the faux marble painting process, you can transform ordinary surfaces into stunning, one-of-a-kind works of art that elevate the overall look and feel of your living spaces.Selecting the Right Materials and Tools for Faux Marble Painting
Before you begin your faux marble painting project, it's essential to gather the appropriate materials and tools. The right supplies can make all the difference in the final outcome, so take the time to carefully consider your options and choose high-quality products that are designed for the job.Key Materials for Faux Marble Painting
- Base Paint: Choose a high-quality, water-based latex paint in a matte or eggshell finish as your base color. This will serve as the foundation for your faux marble design.
- Glaze: Opt for a quality acrylic or oil-based glaze that can be easily manipulated and blended to create the desired marbling effects.
- Tinting Colors: Invest in a set of high-pigment acrylic or oil paints in a range of complementary colors, such as whites, grays, blacks, and earth tones. These will be used to create the veining and patterns in your faux marble finish.
- Clear Topcoat: Protect your faux marble finish with a durable, high-quality clear topcoat, such as a polyurethane or lacquer. This will help seal and preserve the paint, ensuring a long-lasting, high-shine result.
Essential Tools for Faux Marble Painting
- Paint Brushes: Use a variety of high-quality synthetic or natural bristle brushes, including flat, angled, and detail brushes, to apply the base coat, glaze, and tinting colors.
- Foam Brushes: These provide a smooth, even application of the glaze and help create the illusion of natural marble veining.
- Plastic Palette Knives: Palette knives allow you to easily manipulate and blend the glaze and tinting colors, creating unique marbling effects.
- Spray Bottle: A fine-mist spray bottle can be used to lightly mist the surface with water, helping to control the flow and blending of the glaze.
- Rags or Paper Towels: Keep a supply of clean, lint-free rags or paper towels on hand to blot, dab, and wipe away excess paint or glaze as needed.
- Painter's Tape: Use high-quality painter's tape to mask off edges, trim, and surrounding areas to ensure a clean, professional-looking finish.
Preparing the Surface for Faux Marble Painting
Proper surface preparation is crucial for achieving a successful faux marble finish. The key is to create a smooth, clean, and uniform base that will allow the paint and glaze to adhere properly and showcase the marbling effects to their full potential.Preparing Different Surfaces for Faux Marble Painting
Walls: Start by thoroughly cleaning the wall surface, removing any dirt, grease, or existing paint. If necessary, sand the wall to create a smooth, even texture. Apply a high-quality primer and allow it to dry completely before beginning your faux marble painting.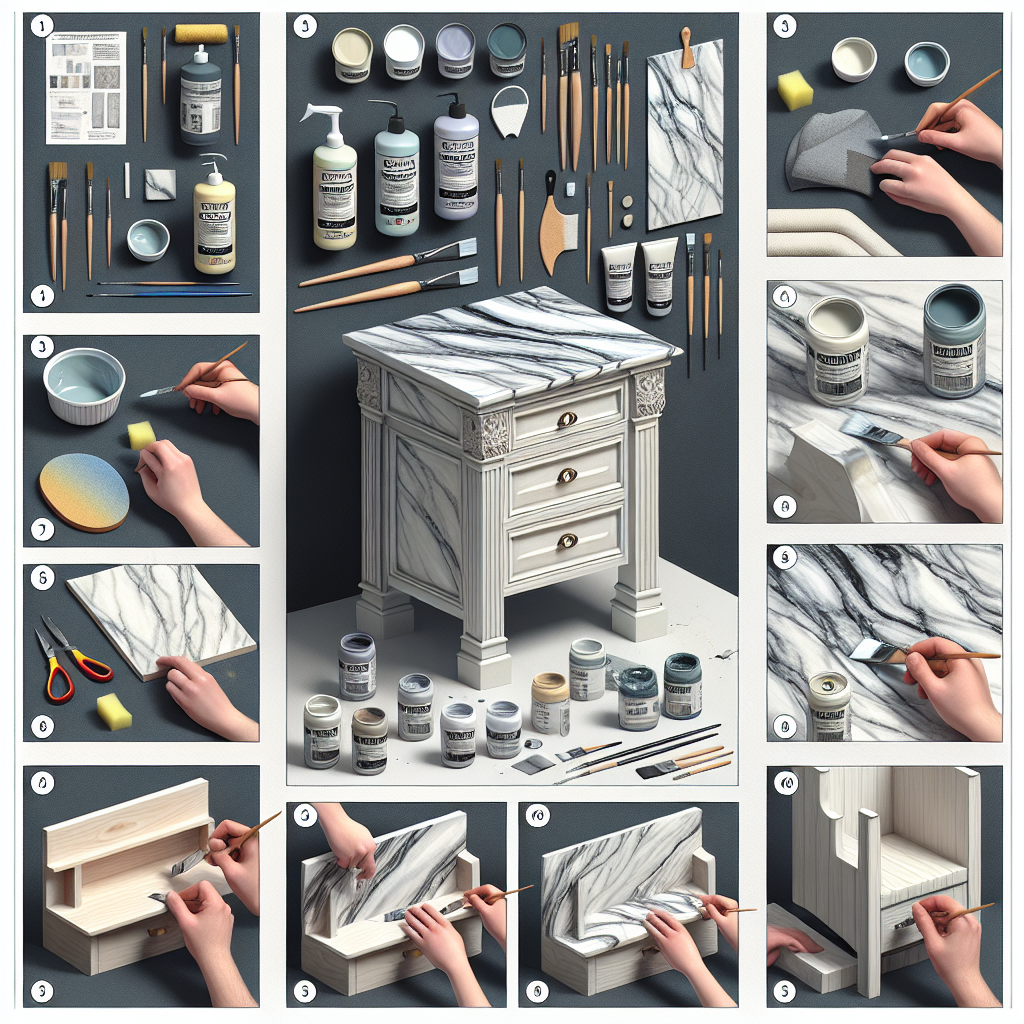
Mastering the Faux Marble Painting Technique
With your surface properly prepared and your materials and tools ready, it's time to dive into the faux marble painting process. This multi-step technique may seem daunting at first, but with practice and patience, you'll be able to create stunning, realistic-looking marble finishes in no time.Step 1: Apply the Base Coat
Begin by applying a high-quality, water-based latex paint in a matte or eggshell finish as your base color. This will serve as the foundation for your faux marble design. Apply the base coat evenly, ensuring full coverage and a smooth, consistent finish. Allow the paint to dry completely according to the manufacturer's instructions.Step 2: Create the Marbling Effect
Once the base coat is dry, it's time to start building the faux marble pattern. Begin by applying a thin, even layer of the acrylic or oil-based glaze over the entire surface. Work in manageable sections to ensure the glaze doesn't dry too quickly. Using a foam brush, lightly mist the surface with water. This will help activate the glaze and make it more pliable. Then, use a palette knife to gently drag and swirl the glaze, creating the desired marbling effects. Experiment with different techniques, such as circular motions, zig-zags, and even random splatters, to achieve a natural, organic-looking pattern. As you work, continue to lightly mist the surface with water to maintain the desired consistency and workability of the glaze. Avoid overworking the glaze, as this can lead to muddy or unnatural-looking results.Step 3: Add Tinting Colors
To add depth and complexity to your faux marble design, incorporate tinting colors using the acrylic or oil paints you selected earlier. Dip a detail brush into the paint and lightly stipple, drag, or flick the color onto the surface, creating delicate veining and unique accents. Experiment with different color combinations and application techniques to achieve the look you desire. Remember, the key is to create a natural, harmonious blend of colors that mimics the organic patterns found in genuine marble.Step 4: Blend and Refine
Once you've added the tinting colors, use a clean foam brush to gently blend and soften the edges, creating a seamless transition between the different shades and patterns. Avoid overblending, as this can diminish the depth and character of the faux marble finish. If necessary, you can also use a spray bottle to lightly mist the surface and help blend the colors further. Dab or blot with a clean rag to remove any excess paint or glaze that may have pooled in certain areas.Step 5: Apply the Topcoat
To protect your faux marble finish and ensure a long-lasting, high-shine result, apply a clear topcoat, such as a polyurethane or lacquer. Follow the manufacturer's instructions for proper application, typically using a high-quality brush or roller. Apply at least two thin, even coats, allowing the recommended drying time between each application.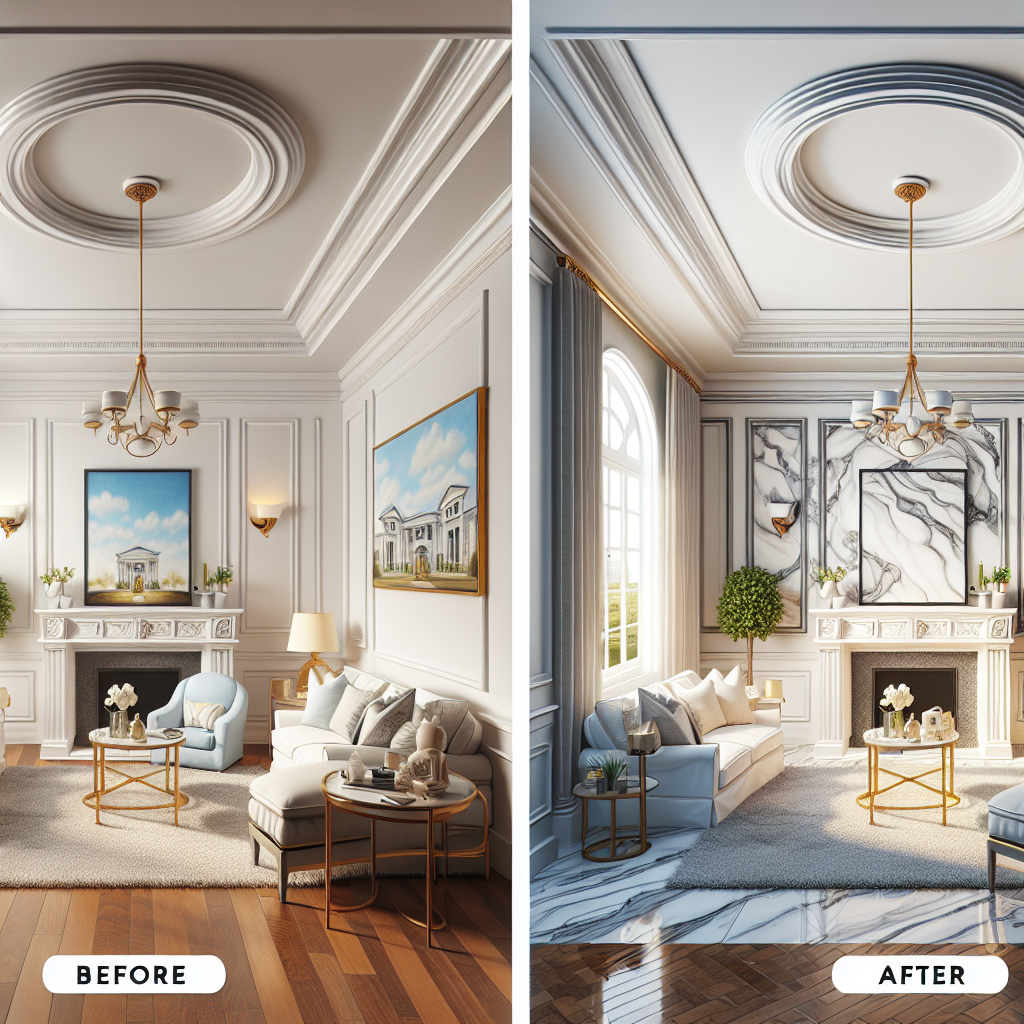
Cost Considerations and Budget-Friendly Alternatives
One of the primary benefits of faux marble painting is its cost-effectiveness compared to the installation of real marble surfaces. While the initial investment in materials and tools may seem high, the overall cost of a faux marble project is significantly lower than the price tag of genuine marble.Estimated Costs for a Faux Marble Project
The total cost of a faux marble painting project can vary depending on the size of the surface, the complexity of the design, and the quality of the materials used. As a general guideline, you can expect to spend: - Base Paint: $20-$50 per gallon - Glaze: $20-$40 per quart - Tinting Colors: $5-$15 per 2-ounce bottle - Topcoat: $30-$60 per quart - Tools and Supplies: $50-$150 (depending on the number of brushes, palette knives, etc.) For a typical kitchen countertop or bathroom vanity project, the total materials cost can range from $100 to $300, depending on the size of the surface and the quality of the products used. In comparison, the cost of a genuine marble countertop can range from $50 to $150 per square foot, making the faux marble option a much more budget-friendly choice.Budget-Friendly Faux Marble Painting Alternatives
If you're working with a tight budget, there are several cost-effective alternatives to consider for your faux marble painting project: Acrylic Paint: Instead of using high-end specialty paints and glazes, you can experiment with less expensive acrylic craft paints, which can still produce beautiful marbling effects. Household Items: Get creative with common household items, such as sponges, crumpled plastic bags, or even paper towels, to apply and manipulate the paint and glaze, creating unique faux marble patterns. Laminate or Vinyl Overlays: For a quick and easy solution, consider using pre-printed faux marble laminate or vinyl overlays, which can be easily applied to surfaces like countertops or furniture. Spray Paint Techniques: Experiment with spray paint techniques, such as layering different colors and using stencils, to achieve a faux marble look on smaller surfaces or accent pieces. By exploring these budget-friendly alternatives, you can enjoy the high-end aesthetic of faux marble painting without breaking the bank, making this decorative technique accessible to a wider range of DIY enthusiasts and homeowners.Key Takeaways
- Faux marble painting is a versatile and cost-effective way to transform a variety of surfaces in your home, from countertops to furniture, with a luxurious, high-end look.
- Proper surface preparation is crucial for achieving a successful faux marble finish, so take the time to clean, sand, and prime the area before beginning your project.
- Mastering the faux marble painting technique involves applying a base coat, creating the marbling effect with a glaze and tinting colors, and finishing with a protective topcoat.
- Experiment with different materials, tools, and techniques to find the approach that works best for your skill level and desired aesthetic.
- Faux marble painting can be a budget-friendly alternative to real marble, with the potential to save hundreds or even thousands of dollars on your home improvement projects.